When you click on links to various merchants on this site and make a purchase, this can result in this site earning a commission. Affiliate programs and affiliations include, but are not limited to, the eBay Partner Network.
Thanks for the honest feedback, 4DRZ. So often with stuff like this, people convince themselves there's something there there. It's hard to be objective when you spend money and a whole lot of effort to make it happen. So good for you.
That brace was on my list, but unscheduled with a big question mark as to whether or not it was going to happen. It's now gone. Not even going to consider it anymore.
Same thing happened to that little MTEC shifter spring. It was on my list because it was a mod that I knew about, but didn't seem worth the effort.
No problem. I don't think people should waste money on mods that don't do much and this is one of them, along with the MTEC springs you mentioned. Both make such a small difference that they are not really worth it.
Originally Posted by Lego_Maniac
I suspect that when layered onto more aggressive pads, SS lines and fresh fluid, the incremental improvement is less than if you were completely stock.
I run stock pads on the street, but you could be onto something with my stainless lines. Then again, I would think that would make the difference with the MC brace more noticeable since all the slop in the lines is removed. On my last few cars I did a MC brace after the stainless lines and noticed a much larger improvement- especially on the Subarus.
This also means that stainless steel lines are a much better improvement for our cars since I noticed a much bigger difference after installing them compared to the MC brace. And they cost about the same.
I think our firewall is a lot more solid than most cars since the additional metal the goes around the battery and brake fluid works similarly to a triangulated strut tower brace to take out a lot of flex.
Originally Posted by Rochester
Thanks for the link, Lego. And wow are people frustrated with the install.
The word "tepid" seems more appropriate than "positive".
This is the other reason the MC brace is not really worth it. Had I known that Z1 did not even line up all 3 holes that they drilled, it would have gone much easier. Now that I have all the tools and have done it once, I could probably do it in about 20-30 minutes and be a lot less frustrated.
I run stock pads on the street, but you could be onto something with my stainless lines. Then again, I would think that would make the difference with the MC brace more noticeable since all the slop in the lines is removed. On my last few cars I did a MC brace after the stainless lines and noticed a much larger improvement- especially on the Subarus.
This also means that stainless steel lines are a much better improvement for our cars since I noticed a much bigger difference after installing them compared to the MC brace. And they cost about the same.
I think our firewall is a lot more solid than most cars since the additional metal the goes around the battery and brake fluid works similarly to a triangulated strut tower brace to take out a lot of flex.
I bet the SS lines are a more significant mod that the MBC brace. Once you start modifying components on a car, you start getting diminishing returns on the mods.
It's like how Stillen claims 19 horsepower for the catback and 14 horsepower for their LT CAI, but combined, you aren't picking up 33 horsepower.
Originally Posted by 4DRZ
This is the other reason the MC brace is not really worth it. Had I known that Z1 did not even line up all 3 holes that they drilled, it would have gone much easier. Now that I have all the tools and have done it once, I could probably do it in about 20-30 minutes and be a lot less frustrated.
I scored mine for I think $88 shipped, which at that point, I think is worth it. I absolutely wouldn't want to layer on $100+ to have it installed. Definitely not worth it if you don't feel like drinking a bunch of beer to mask the pain of your busted and cut up knuckles
I finally found a replacement aluminum dash panel for my car so I no longer have to stare at the ugly scuffed dash every time I drive it. So nice! And the best part is that it was free.
It is really only because the guy I was going to have wrap all the trim in carbon fiber was super slow to get back to me. It has been months and I still have yet to see any samples. Almost like he didn't want my business.
I am so glad this panel is back to normal because I really like the way the "brushed aluminum" trim looks and lightens up the interior.
I finally got around to flushing out my transmission fluid with Red Line MT-85 fluid. Not the most exciting upgrade (I promise the next one will be more interesting), but I am hoping it holds up better to the heat of track days. The original fluid was getting a bit dark.
Recently, I had the time to install Z1/Stillen brake cooling ducts on the front brakes for track days. The tubing and brackets that replace the dust shields are very high quality. Even though this kit is for a 370Z, it works really well on my sedan and was fairly easy to install. I was a little worried about the inlet in the bumper, but my idea to remove the fog lights and use those openings worked perfectly.
Driver's side routing- You can see the backing plate that replaces the factory dust shield. This makes it very easy to securely mount the end of the brake duct with a simple hose clamp.
This is where the tubing sneaks out of the engine bay on the driver's side and mounts to the A-arm.
Snaking around from the passenger side backing plate
Passenger side routing- you can start to see how the tubing makes its way into the engine bay.
It is a tight, but possible fit on the passenger side here- especially with a huge Hotchkis sway bar and big oil cooler lines.
Here is the 90 degree bend on the passenger side up through the fog light opening. So glad this worked out perfectly. I was prepared to do some serious "engineering" for this. The tubing is just the right size to fit snugly in the fog light opening.
Don't forget to "weather proof" your fog light plugs if you ever want to use them again.
Here is how they look from the outside- very stealthy. No one has even noticed that I no longer have fog lights.
Close up you can see the screen door mesh I used to cover up the duct opening so that no rocks, etc get inside.
Well I finally gave in and bought my 1st extended warranty for a car and got a Zurich 4 year/30,000 mile comprehensive warranty. (2,000 miles/yr. more than I will probably actually use) My wife asked if I was feeling ok as I have not held onto any of my last 5 cars for even 2 years. Next month will be two years already for the Infiniti so I might actually keep this car for 6 years?!?
My employee cost and money I won from sales contests made it impossible to pass up. This car has more electronics than any car I have ever owned, so I figure it is a good investment so I don't have to worry about anything.
The installation went pretty much as planned. I had help from one of my technicians to get out the rear subframe bushing. We cut the bushing and drained it like most people, but then he got creative and used a torch to cut the outer race to get it out. Nice work on his part as he did not even mark the subframe. (He did not want to saw it out and damage the subframe)
I had the bushing packed in ice for a few days to try to shrink it to make it easier to get in. I think that worked as the install was pretty easy with a hammer and some grease. We did not even use the tool from Autozone at all because the drive spline was too big to use on the metal bushing insert. Fortunately, we had a similar tool for a Mitsubishi that we could use. Everything else was pretty easy.
I do not really notice any difference with the rear subframe bushing. I noticed a very slight difference with the bushings in front of the differential. I will try to pay more attention now. I would say this is good preventative maintenance, but wait until you actually need the parts or have the differential out for something else as there is really no performance benefit.
i recently did mine, i forget how harsh the north can be on the cars ill have to post pictures of my install the corrosion difference is crazy.
Ive followed your build for guidance being new to this plate form and have been very happy with my car if you ever have your CSC fail i did the Z1 road race clutch package with external slave!! im very happy with the external system ill be doing a write up soon my phone fell out of my pocket while i was out on my motorcycle and i'm hoping i can salvage some of the pictures from friends that where there. being i had to pull the tranny I did the uterine tranny mount and diff bushing and brake master brace right now Im trying to finish up my intake so i can get my car tunned, i was hoping to find a upper plenum so i could have it ported i just had a spare lower plenum ported and polished i was wondering if you took your stock one apart and had any pictures of the inside
You are right about the salt up here in the winter. It still eats our cars and I am always spraying the underside clean in the winter and touching up the rust proofing in the summer.
I just went back through my pics and I did not take any of the inside of the intake plenum. I honestly don't think it makes that much of a difference as I did compare the one from Z1 with my stock intake plenum and the amount of material removed is pretty minor. If you had a dremel and a lot of patience, you could easily do it on your own.
The seat rails finally arrived today for the driver's side! I might get a chance to test fit them on Sunday, but really probably not until next weekend. I have never had a car that is so difficult to change the seats. I really hope the Sparco R600's fit me ok.
Changing the seats out was a huge improvement. You're going to love it. Also, you drop a ton of weight with the OEM seats out.
People were saying the seat rails were about 20lbs, but they are actually only about 9lbs so I should save roughly 30lbs on each seat/rail combo. Nice!
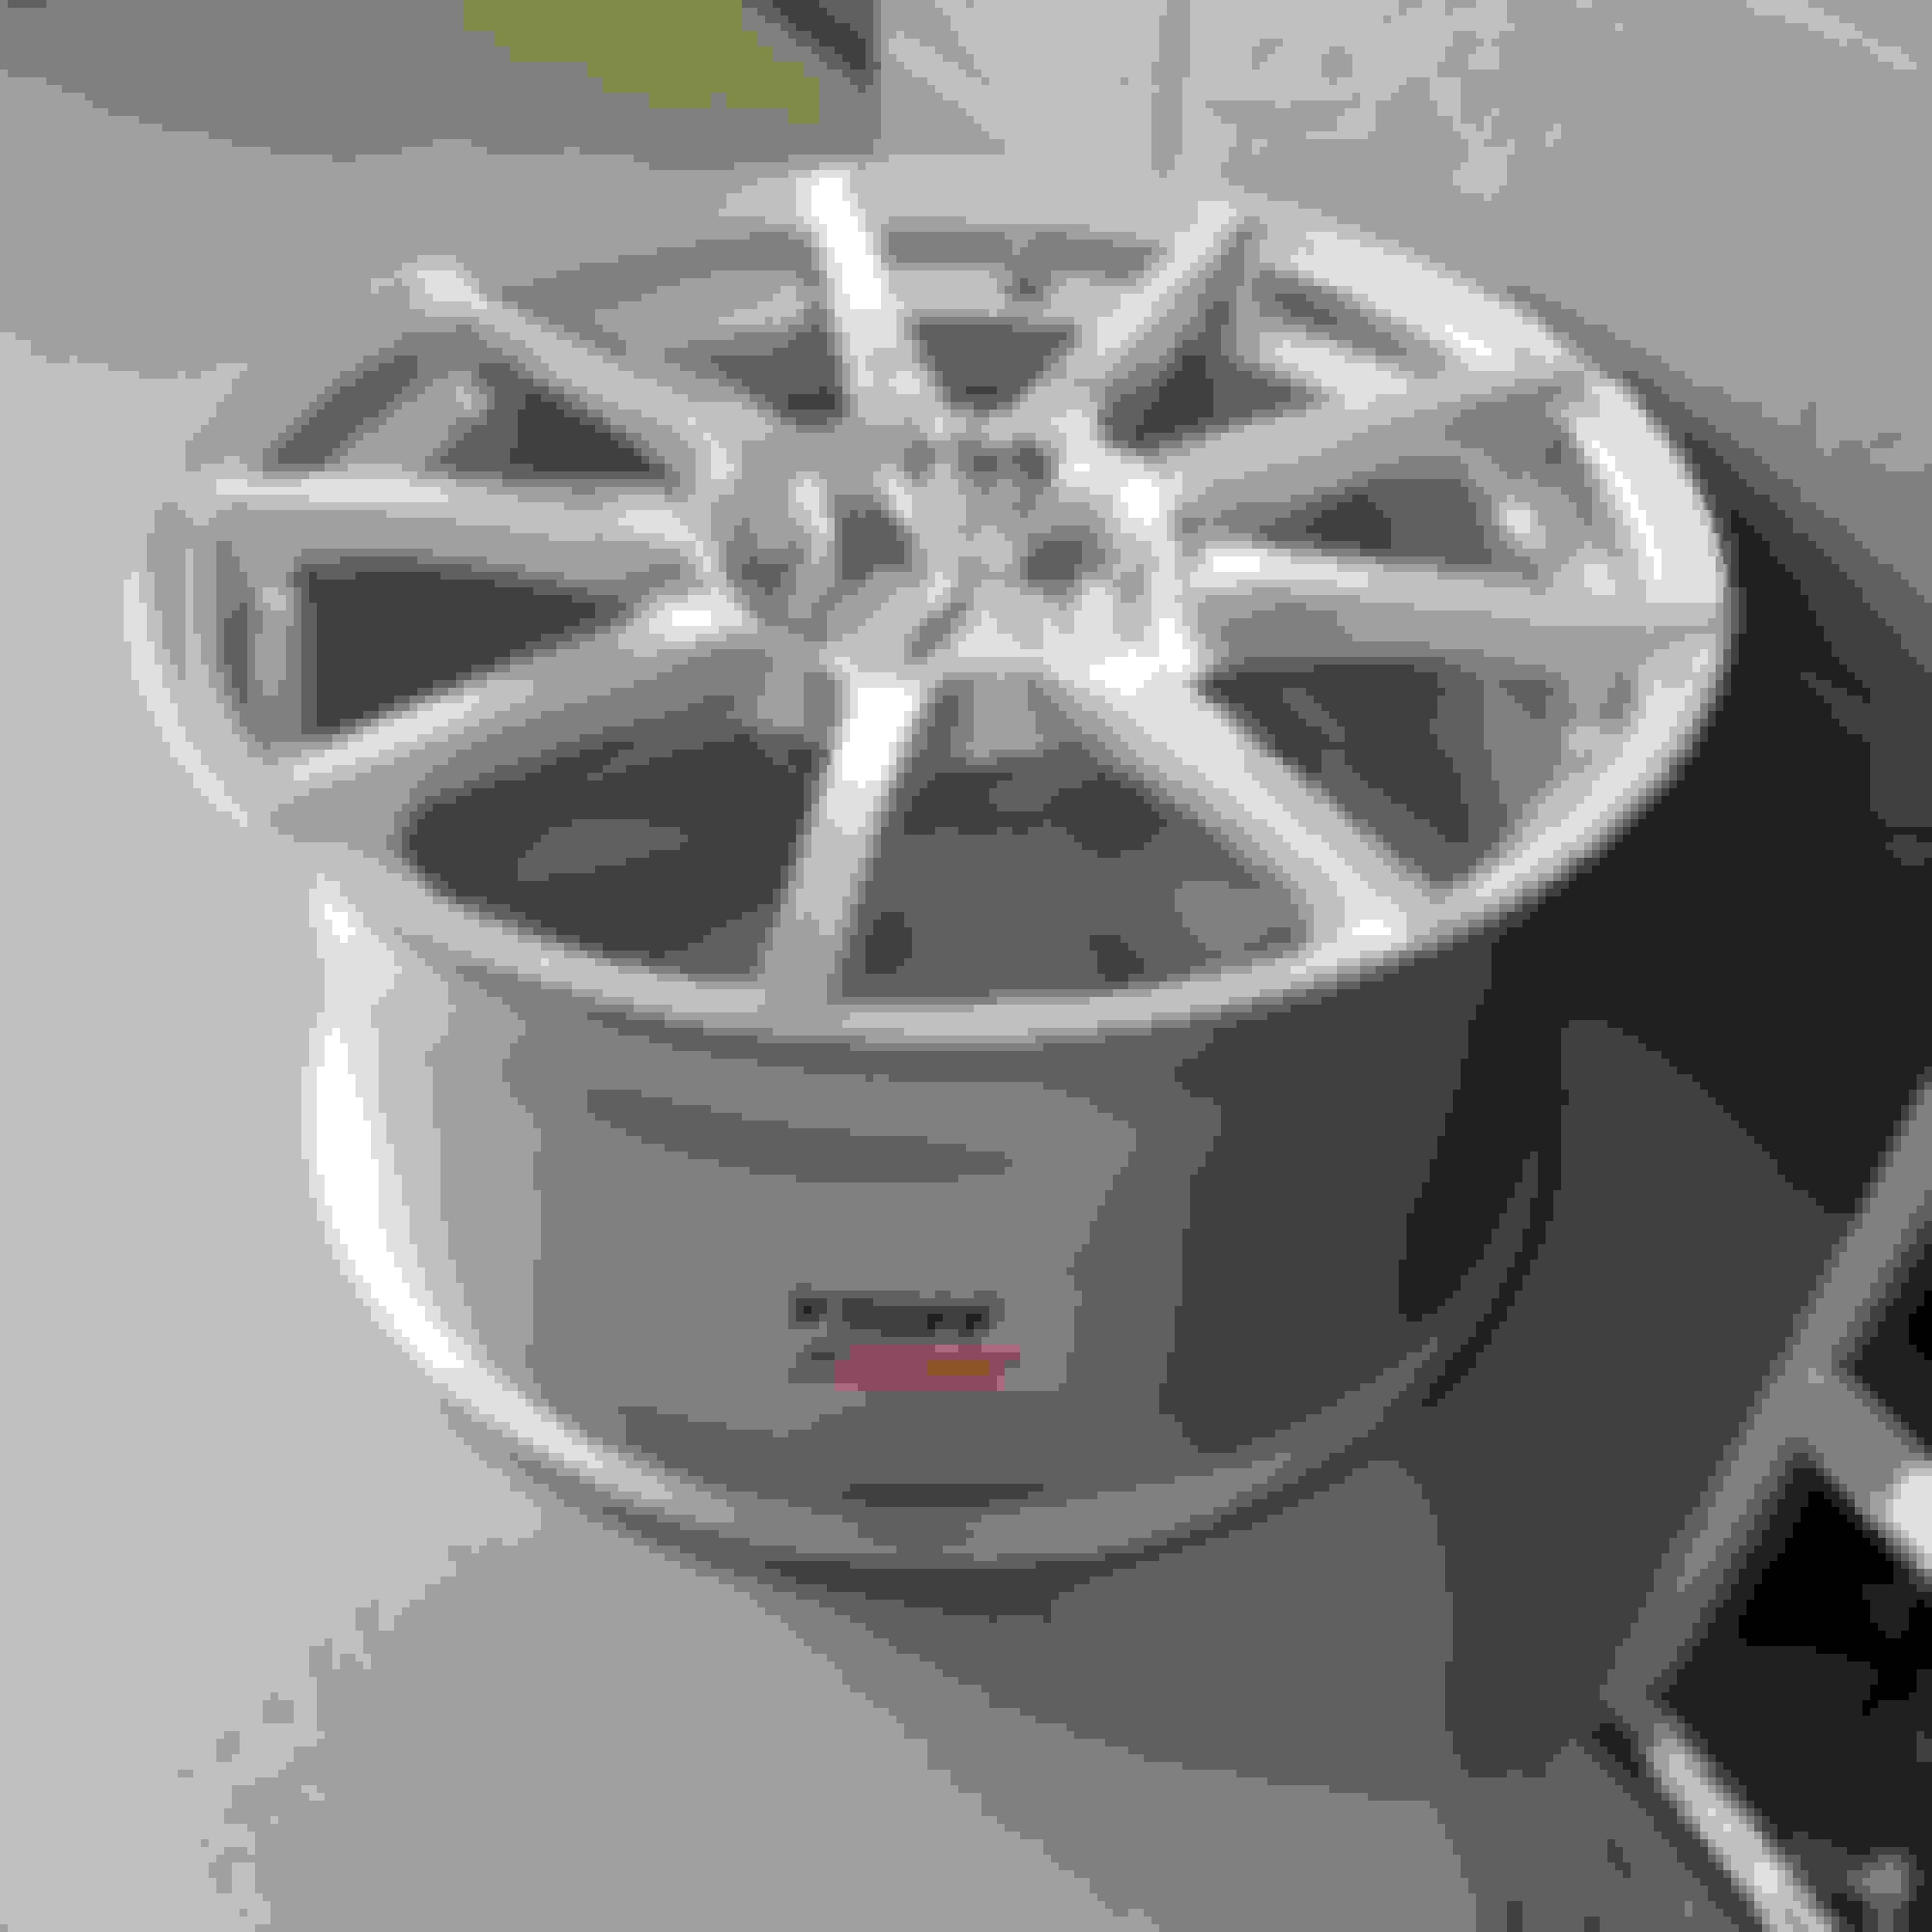
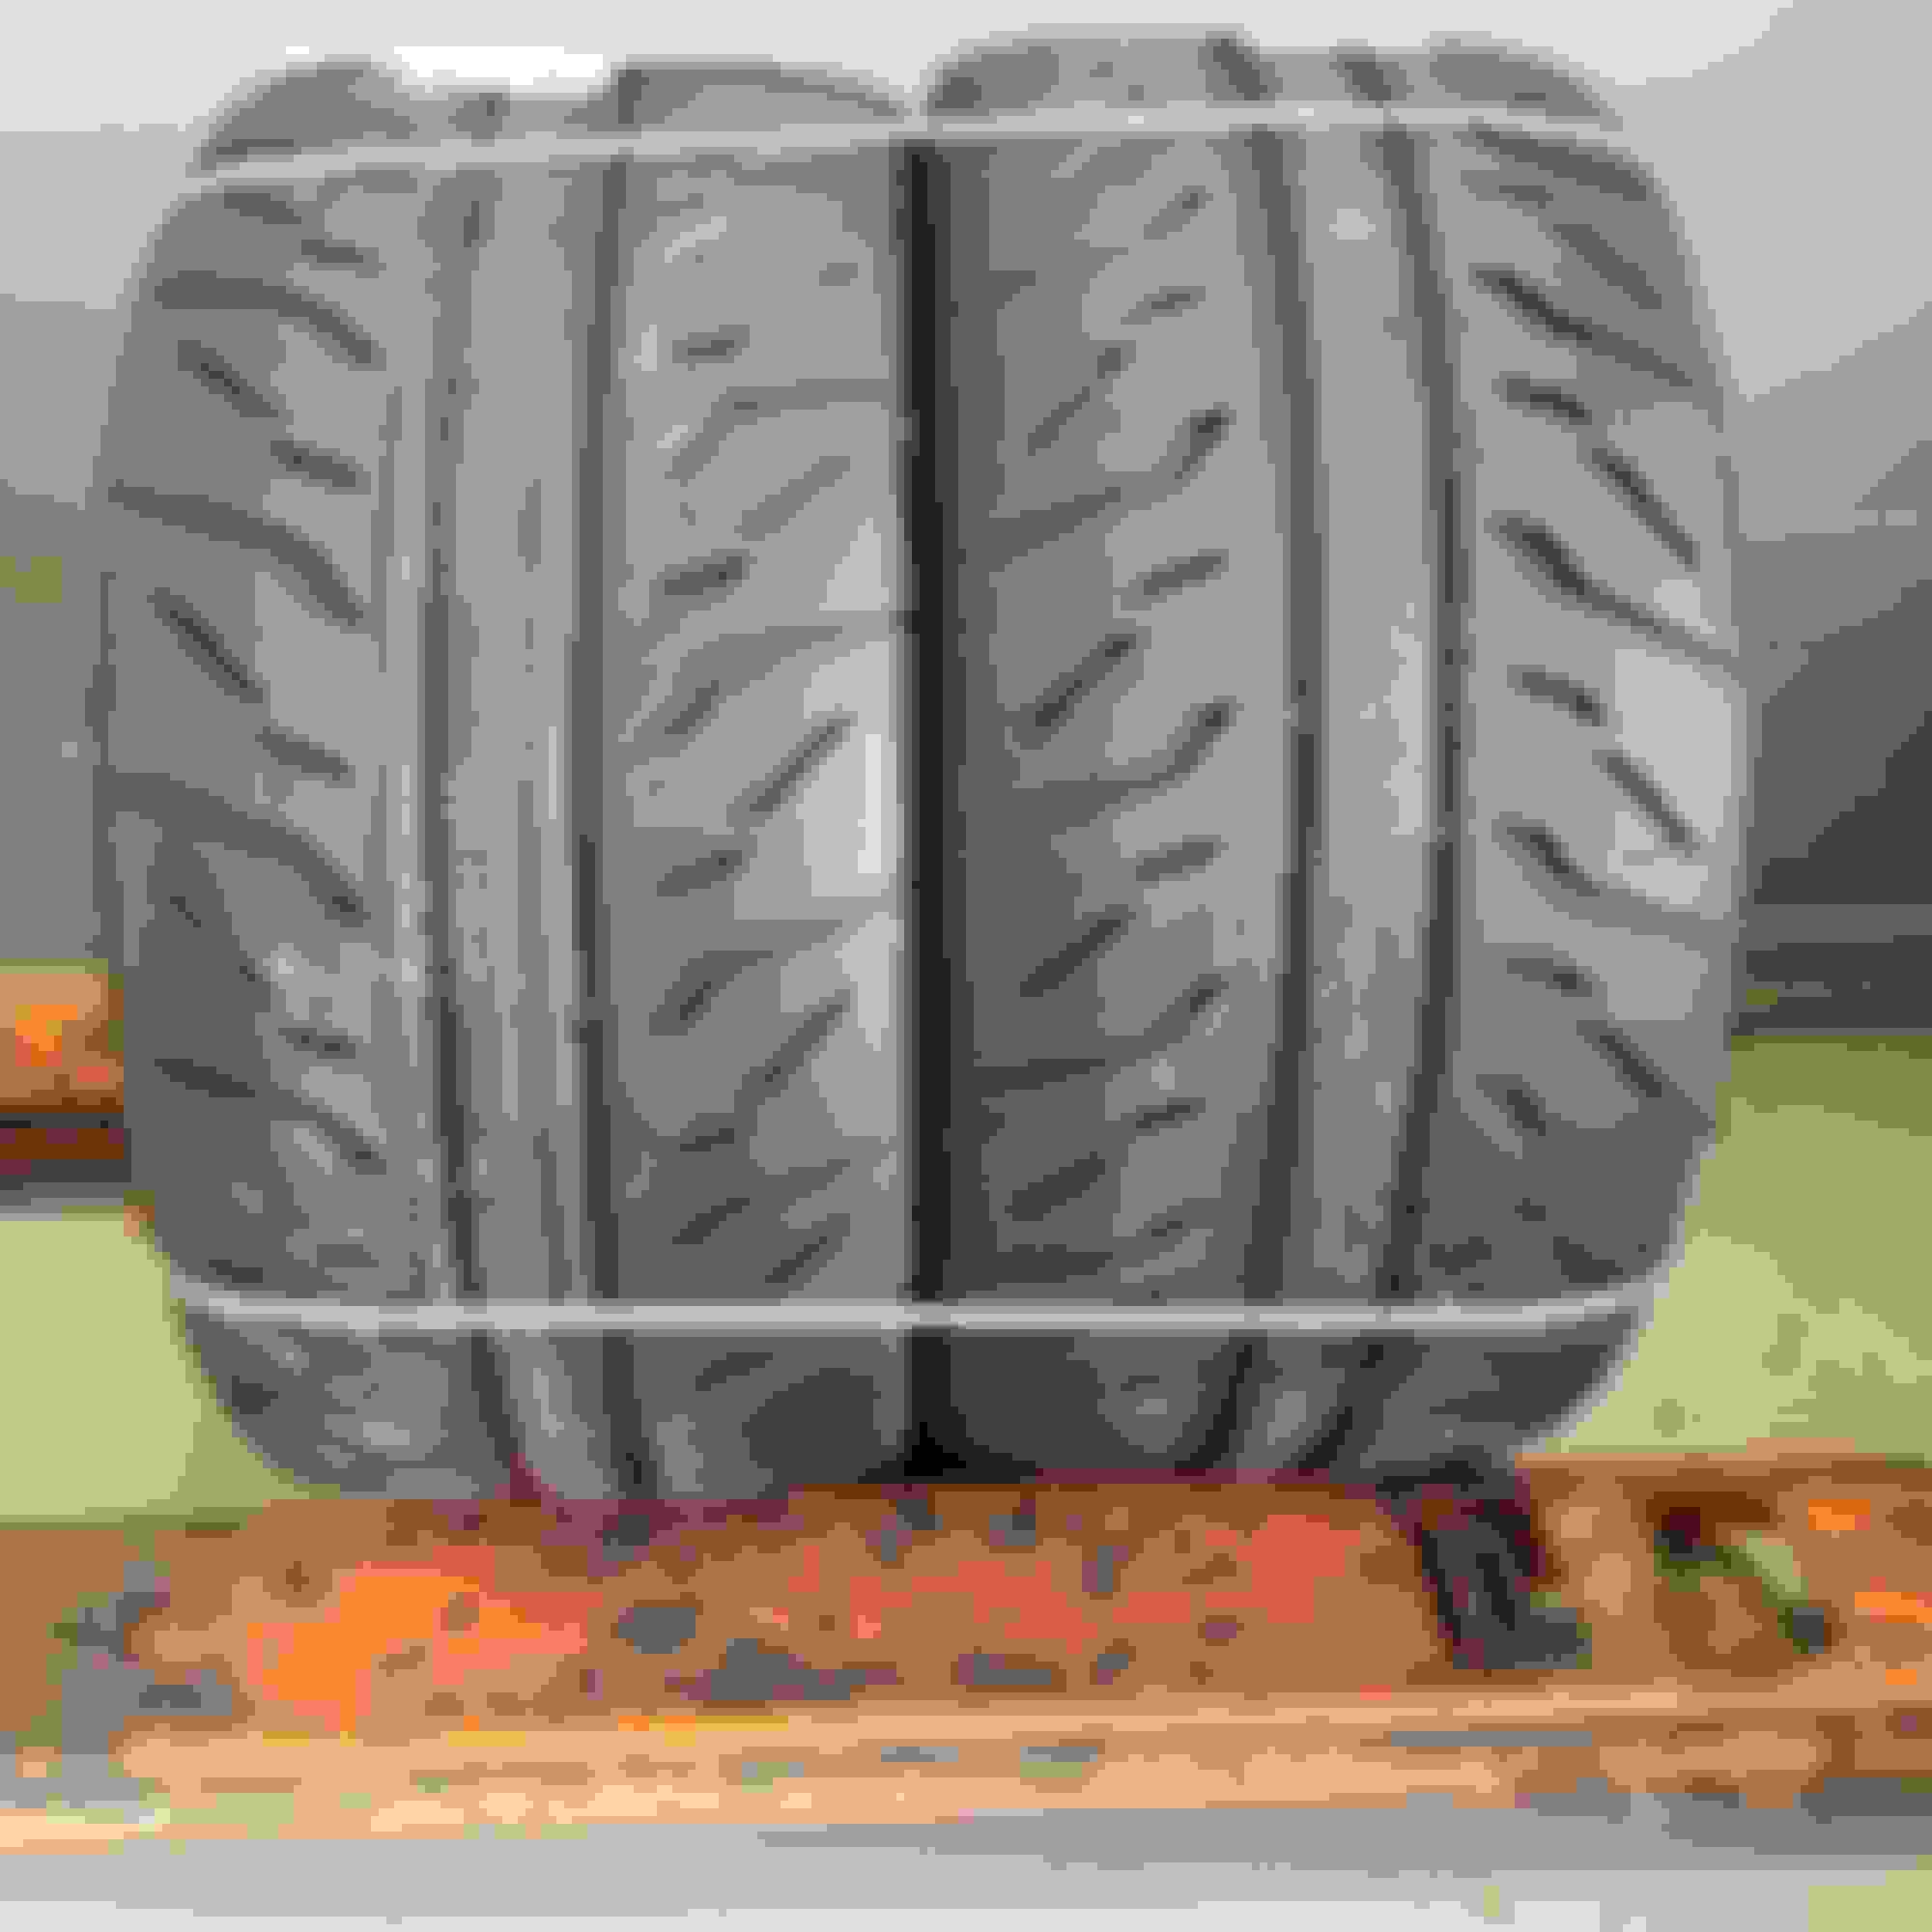
Well, I got a flat tire and decided to replace both rears since they were at 4/32's. So now I have gone through 2 sets of tires in less than 1 year. Good thing I had a tire/wheel warranty to cover at least one of the $315 tires.

 07-20-2017, 12:08 PM

 So often with stuff like this, people convince themselves there's something there there. It's hard to be objective when you spend money and a whole lot of effort to make it happen. So good for you.


 Good thing I had a tire/wheel warranty to cover at least one of the $315 tires.