When you click on links to various merchants on this site and make a purchase, this can result in this site earning a commission. Affiliate programs and affiliations include, but are not limited to, the eBay Partner Network.
Washing the car today I discovered that the driver's illuminated kick plate is starting to separate. One more reason to replace them with some Skyline kick plates...
What size/offset are your TSWs and what tires are you running? Great build!
Thanks! I did the 19x9 in the front with a 32 offset and 19x9.5 in the rear with a 41 offset. I run RE-71R tires in 245 front and 275 rear. Lots of room for the brakes and lots of grip.
One thing I noticed recently was an exhaust leak caused by separating the mid-pipe and Y-pipe when we replaced the rear differential bushings and rear differential cover. It was just a small crack in the gasket, but wow did it make the car LOUD!
I picked up a steel gasket replacement from Z1 that fixed the problem and now I can separate the exhaust as many times as I want. I would highly recommend getting these gaskets if you plan to track your car (excessive heat) or will need to separate your exhaust at any time in the future. I also picked up some gaskets for behind the cats if those gaskets ever leak.
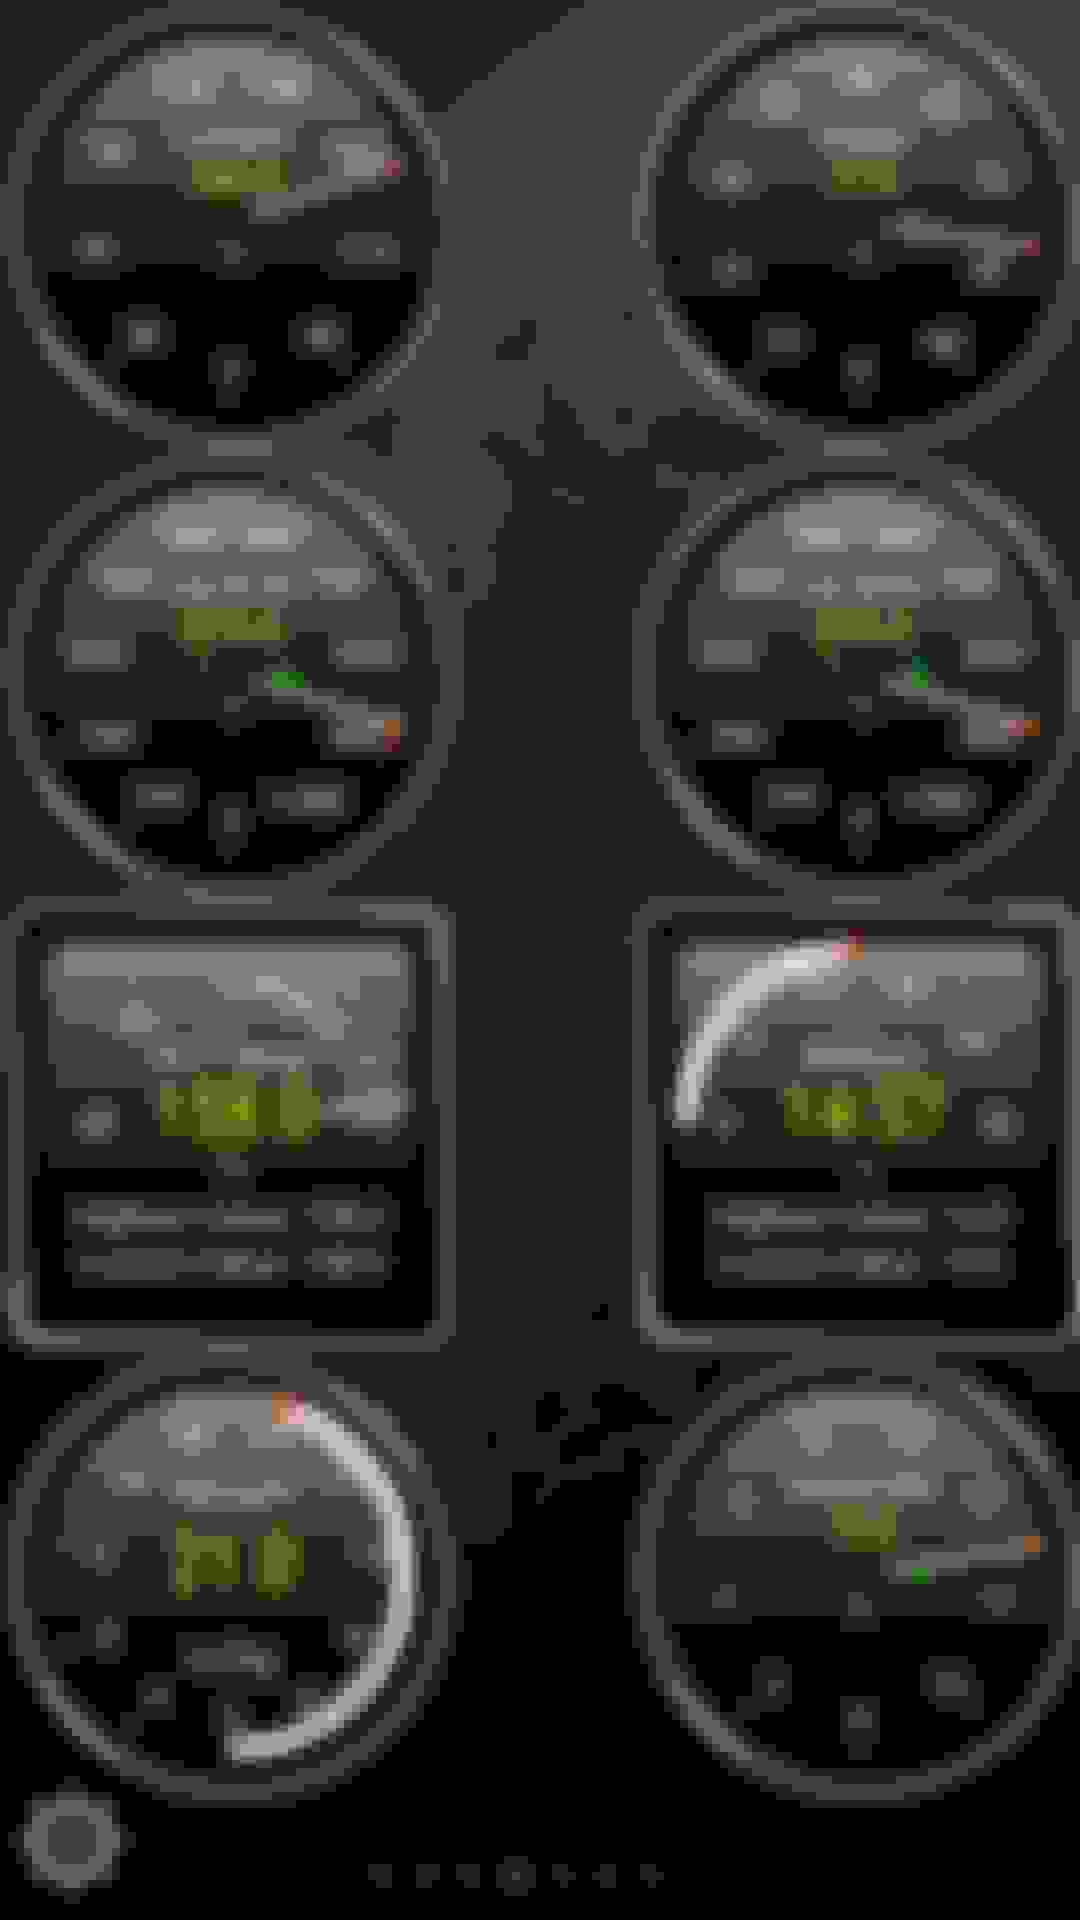
) to send all of the car's temps and vitals to my Android phone for a track day next week at Road America so I can make sure I don't overheat anything. I will be using the Torque Pro ap with the Advanced Ex plug-in. This seems like a much easier (and cheaper) way to get this crucial temp. info. compared to buying a bunch of gauges and struggling to find places to install them.
This Torque ap is actually pretty cool once you get it set up. Much easier (and cheaper) than getting actual gauges. I would definitely recommend this for track days knowing how hot our cars get.
Now I am just trying to find a good mount for it so it does not move around when I am going around corners on track. I picked up one at best buy that mounts to the vent and seems pretty stable. Considering a windshield mount. Ideas?
I ended up finding a Motortrend windshield mount at Advance Auto for my phone to use the Torque ap. It was only $12. It works very well and looks like the one below. I can now position it very close to my line of sight. It does bounce a bit on rough roads (so maybe not the best for navigation), but hardly moves while going around corners so it should be fine for tracks since they are very smooth.
Today I finally decided to install the Z1 motorsports master cylinder brace. This is a part that is extremely difficult to reach and very time consuming to install as a result. Knowing these facts, I recommend the following "tools:"
Punching bag
Trim piece puller
Stiff drink
Long needle nose pliers
Make sure no kids are around
Hook and pic set
Every extension, flex and swivel socket you own and then go buy a few more
Magnetic pick up tool
Match
5mm ball end hex bit socket
rubber gloves and thin breathable grippy gloves
Below you will see some of the tools you will need (not shown- the 27 different combinations of sockets, extensions, swivel and flex sockets needed to access 3 stupid allen bolts.)
Step 1: Take a lot of time to slowly remove the four plastic plugs in the threads you will need with the hook and pic set and long needle nose pliers. Be careful not to drop them as there is no easy way to get them back. Be sure to take breaks between the plugs to get ample use of the punching bag and stiff drink.
Step 2: After swearing for 1/2 an hour trying to get all 4 plugs out, take the match and set the directions from Z1 on fire.
Step 3: Use the rubber gloves to hold onto and very carefully maneuver the bracket into position. If you don't use the rubber gloves, order another bracket as your sweaty hands will drop it while trying to position it and you will never see it again because it is aluminum and your magnetic pick up tool only works on steel.
Step 4: Lower the allen bolt into position with the magnetic pick up tool into the hole closest to the driver's fender. Now with your (3rd?) hand try to figure out a way to get your hex socket into the allen bolt to spin it and get it started. Do not tighten it all the way down!
Step 5: After spending at least 30 minutes trying to fit all the tools and your hands in any position possible to install one simple allen bolt, thank God, slam the rest of your drink and go pour another.
Step 6: Spend the next 45min-1 hour trying to figure out how in the hell to get the allen bolt closest to the engine into position by dislocating most of your fingers and using every extension, flex socket and swivel socket known to man. Be sure to use the thin breathable grippy gloves so as not to tear off all the remaining skin on your hands.
Step 7: Pat yourself on the back (this will be easier to do now that most of your joints are dislocated.
Step 8: Waste 20 minutes trying to get the middle allen bolt into position with a hex socket that does not have a ball end only to realize you actually do need that part. Good news, Sears closed 9 minutes ago so take the rest of the night off.
Went through a similar experience with the clutch master cylinder so I can sympathize.
Good way to look at it.
Take 2 on the Z1 Brake Master Cylinder Brace: So you will definitely want to get some long hex ball sockets (5mm) so you have a fighting chance of getting the bolts installed. I would pass on Craftsman as they are too short and the ball hardly gives you any angle. I actually got mine from Harbor Freight as they are much longer and have a much wider angle to use them. They are also a fraction of the cost- $14.99 for 7 compared to $50 for 6 at sears?!?
I could get the outer two bolts in or just the middle, but not all three. It turns out that Z1 did not line up the bolt holes very well. I drilled out the center hole as much as I could before the bolt would pull itself all the way through, but that was still not enough to line up all three holes. So I just have the outer two holding it in place.
Brace installed from the top
Brace installed from the side
Once you have it installed you will realize that no normal 19 mm wrench or even crows feet will access the bolts to adjust the brace up to the master cylinder. You will need a shorty 19 mm. This is a tough size as every store I went to only had up to 18 mm. In fact, the store I work at with 6 different brands of cars and lots of master technicians- only one had a shorty 19 mm. I special ordered one from Sears so be ready for this. Z1 makes no mention of this in the instructions or when you order it so be prepared. Not the first time I got a part from Z1 and they just assume everyone has tons of specialty tools in their garage.
Because this part is not terribly well engineered and you need some specialty tools just to adjust and install it, I would not recommend it if your car is just on the street. I would also not recommend it for street use as you can really only tell a difference under threshold braking (not something you normally do on the street). You might gain some benefit from it on the track (I have yet to test it), but you will gain a lot more from high temp brake fluid, stainless lines, and better brake pads. Spend your money there 1st.
I know what you mean Lego- my hands were pretty torn up after that install.
After driving around with it on the street for a while now I can say that the master cylinder brace is a complete waste of money for the street. I have noticed zero difference. Combined with how much of a PITA it is to install, I would say skip it 100%. I think part of the reason it makes no difference is because of the secondary firewall that wraps around the brake fluid and battery that provides so much more rigidity. My Subarus all benefited dramatically from a master cylinder brace and you could feel it right away under any braking on the street.
Hopefully, I notice some difference on track with threshold braking. Time will tell.
Thanks for the honest feedback, 4DRZ. So often with stuff like this, people convince themselves there's something there there. It's hard to be objective when you spend money and a whole lot of effort to make it happen. So good for you.
That brace was on my list, but unscheduled with a big question mark as to whether or not it was going to happen. It's now gone. Not even going to consider it anymore.
Same thing happened to that little MTEC shifter spring. It was on my list because it was a mod that I knew about, but didn't seem worth the effort.
After driving around with it on the street for a while now I can say that the master cylinder brace is a complete waste of money for the street. I have noticed zero difference.
I suspect that when layered onto more aggressive pads, SS lines and fresh fluid, the incremental improvement is less than if you were completely stock.


 06-05-2017, 05:32 PM


 Good way to look at it.


