When you click on links to various merchants on this site and make a purchase, this can result in this site earning a commission. Affiliate programs and affiliations include, but are not limited to, the eBay Partner Network.
Thanks for your interest, I will try to show with and w/o the manifold shields if and when I do, it won't be until next weekend at the earliest though. Gotta get truckin' for now, I load out of Anneville near Hershey PA, go all over NY, NJ, MD, CT, sometimes OH. I am going to MA right now, so a Kenworth is my DD, hehe.
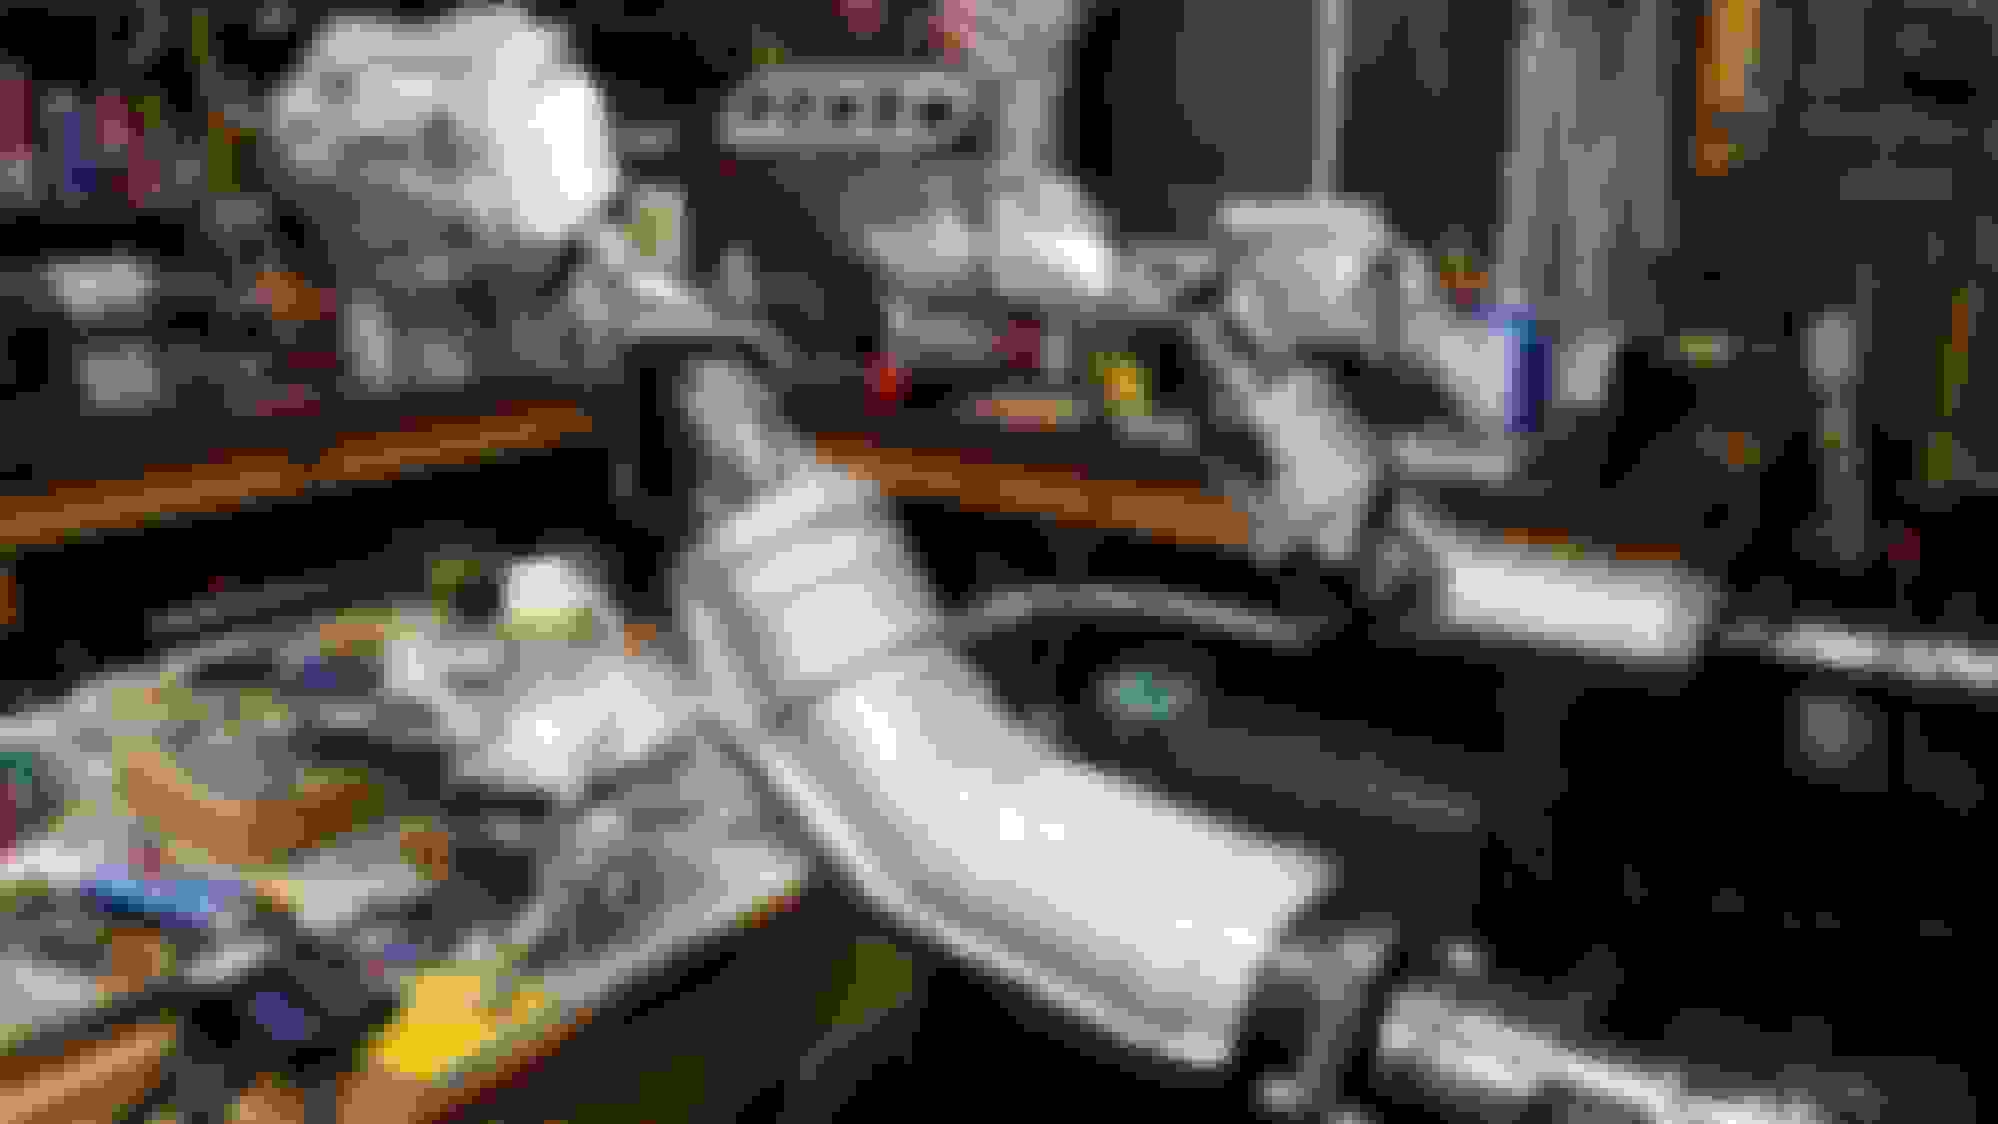
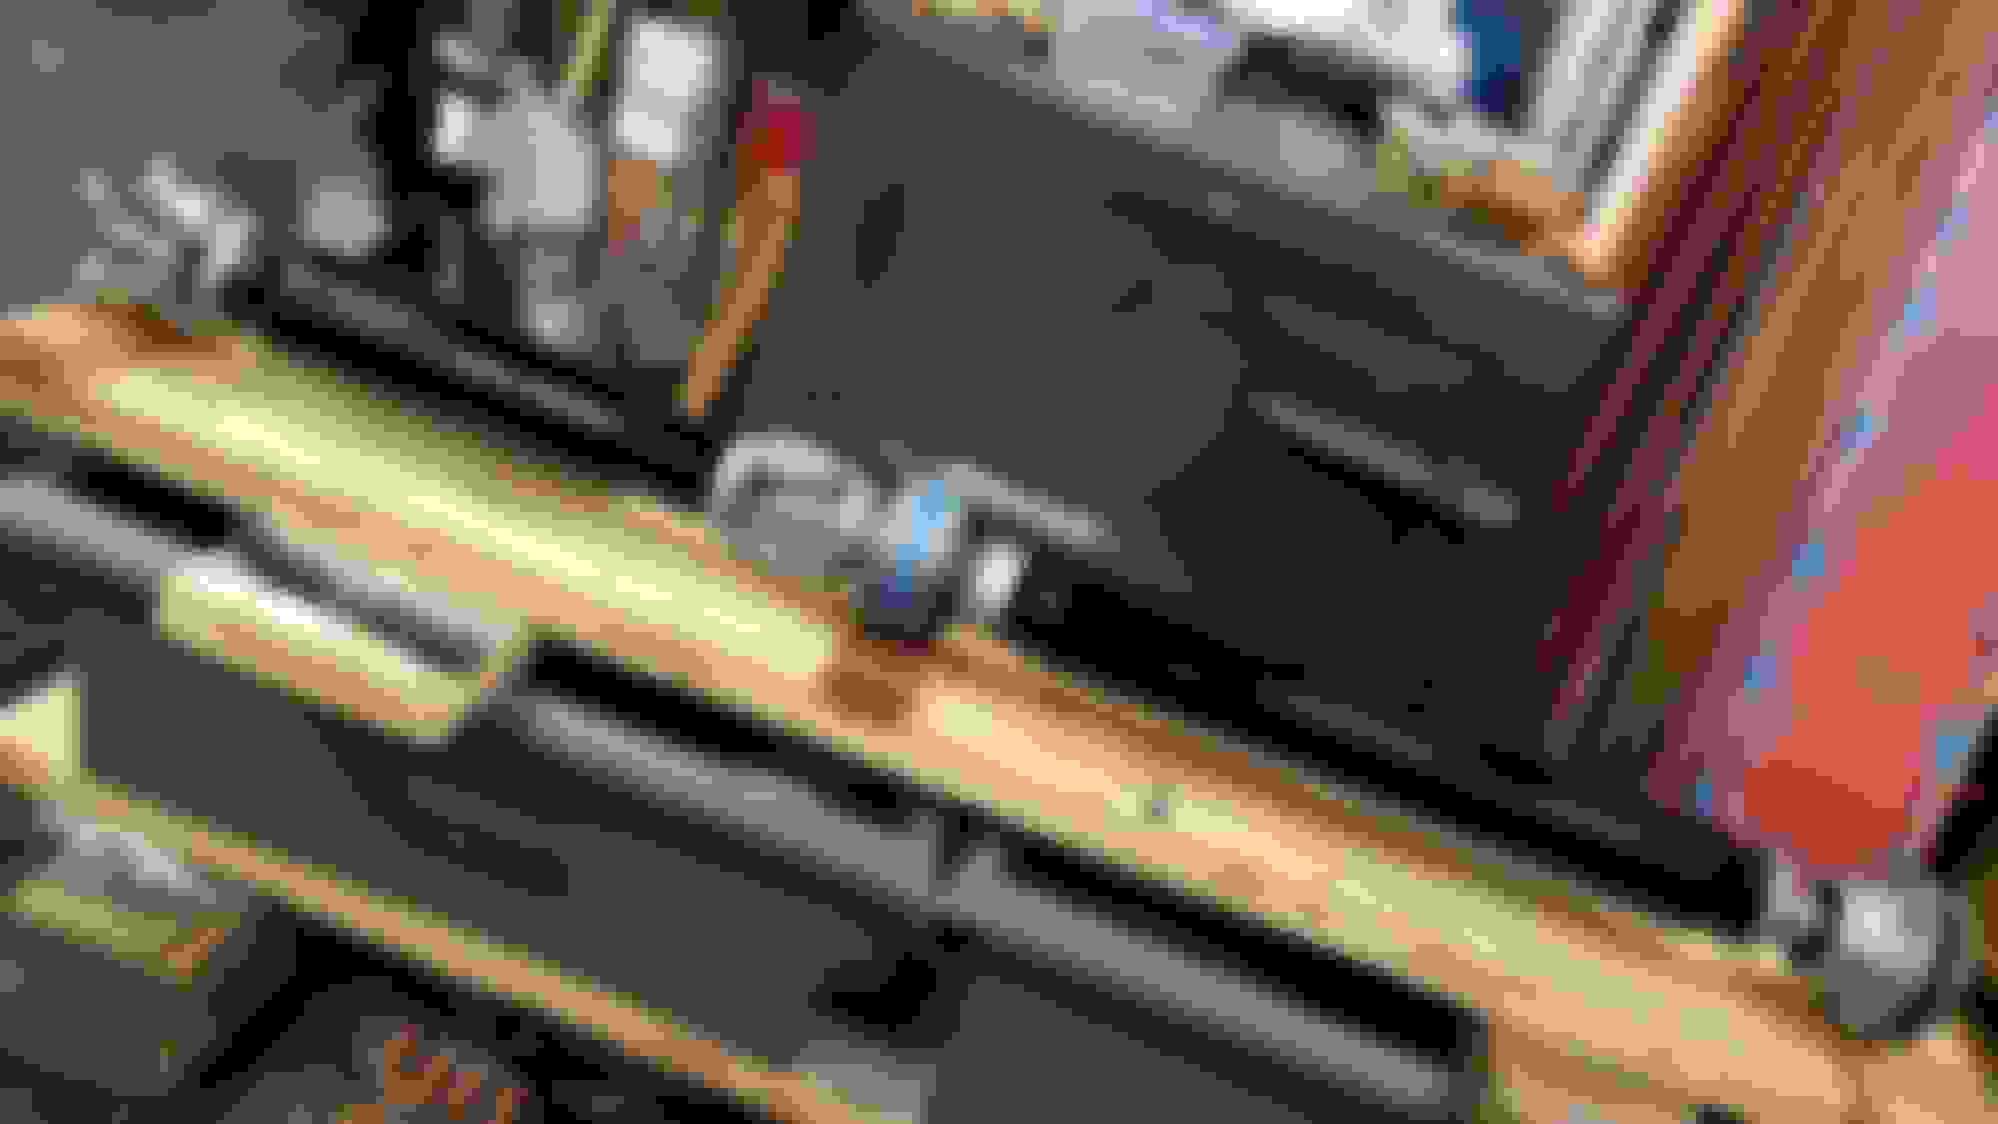
used some very small tubing to make this long reach spray wand extension
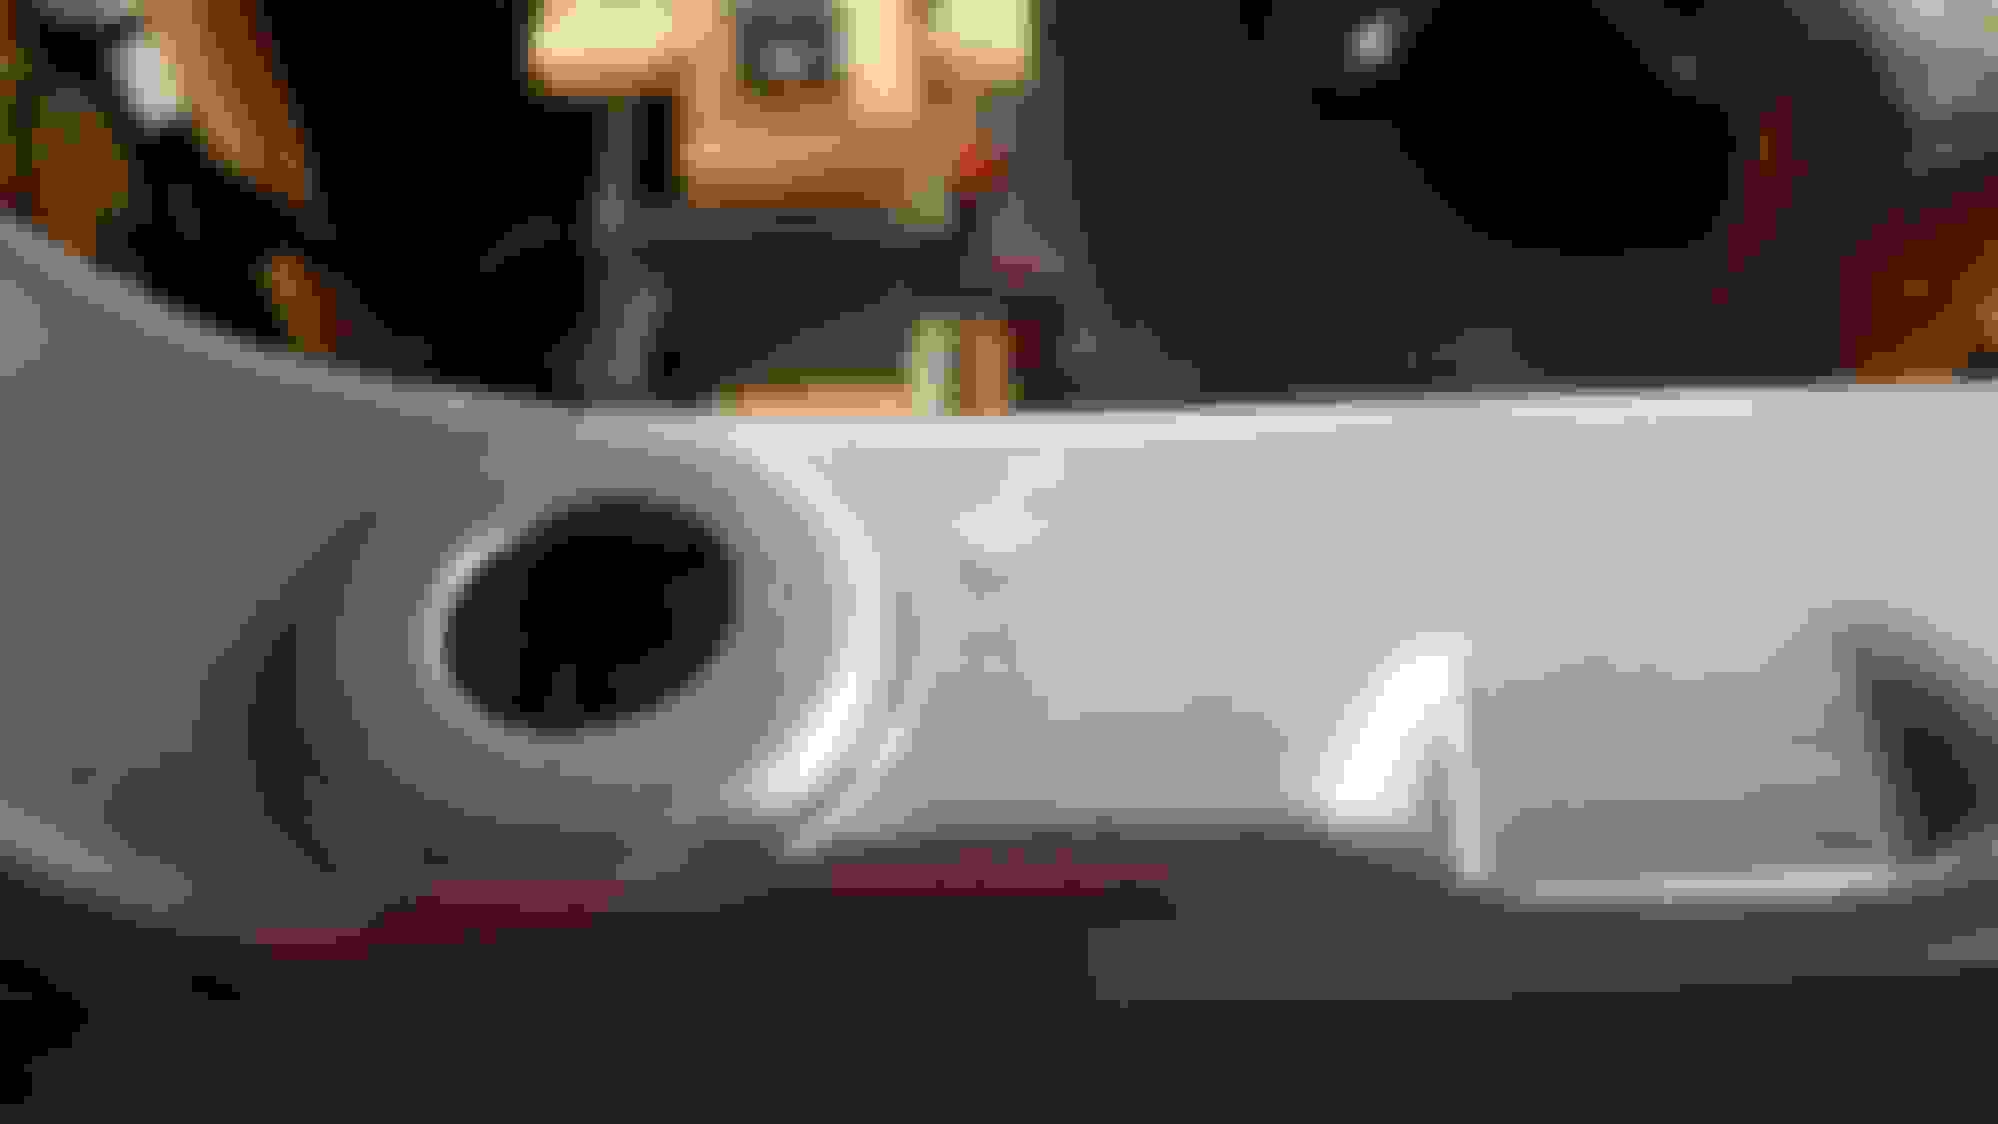
sprayed some of the kbs aluminum inside the y and resonator pipe, I have some 2000 degree vht I could go inside the headers with but don't think I will in case it would flake off and get into the cats someday.
Last edited by Justin Bailey; 09-22-2018 at 12:44 PM.
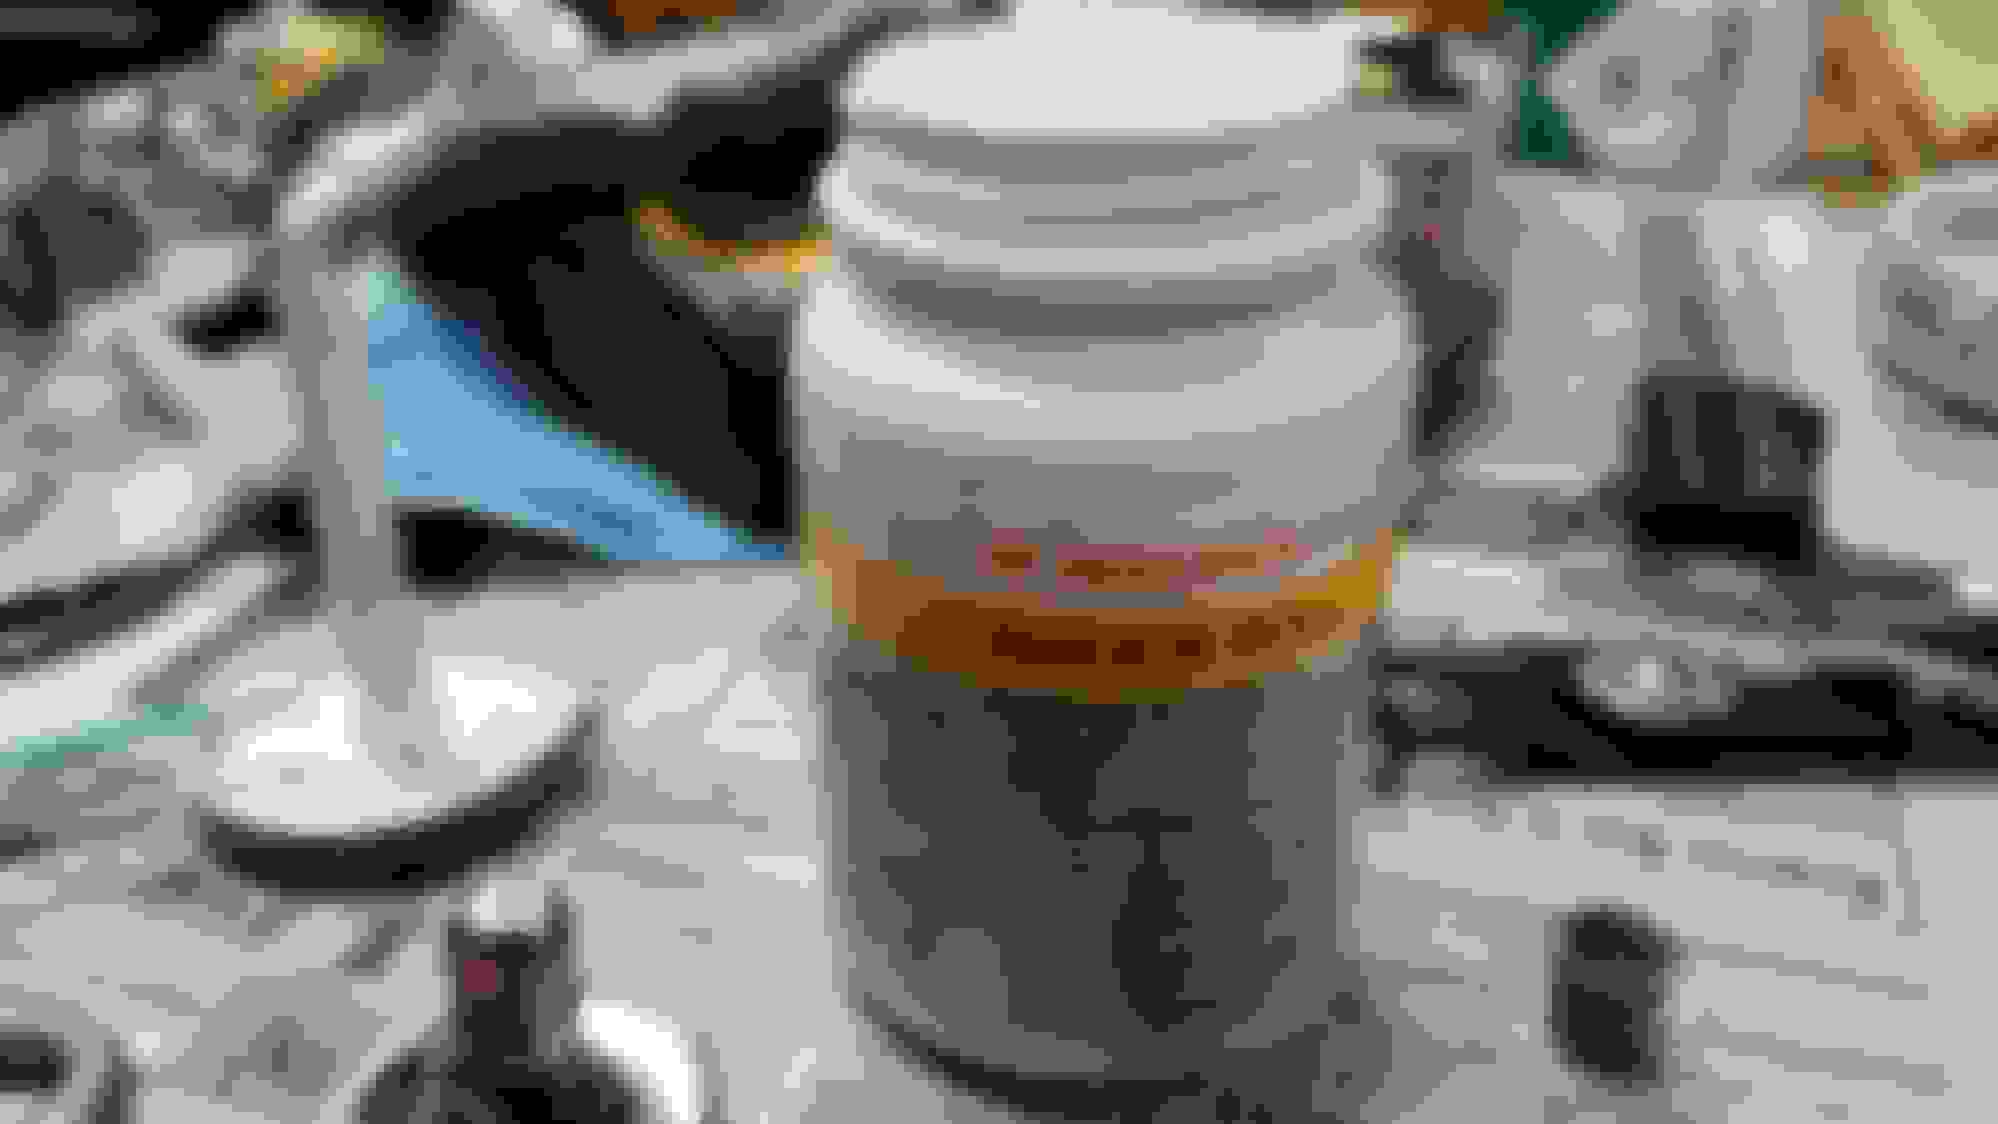
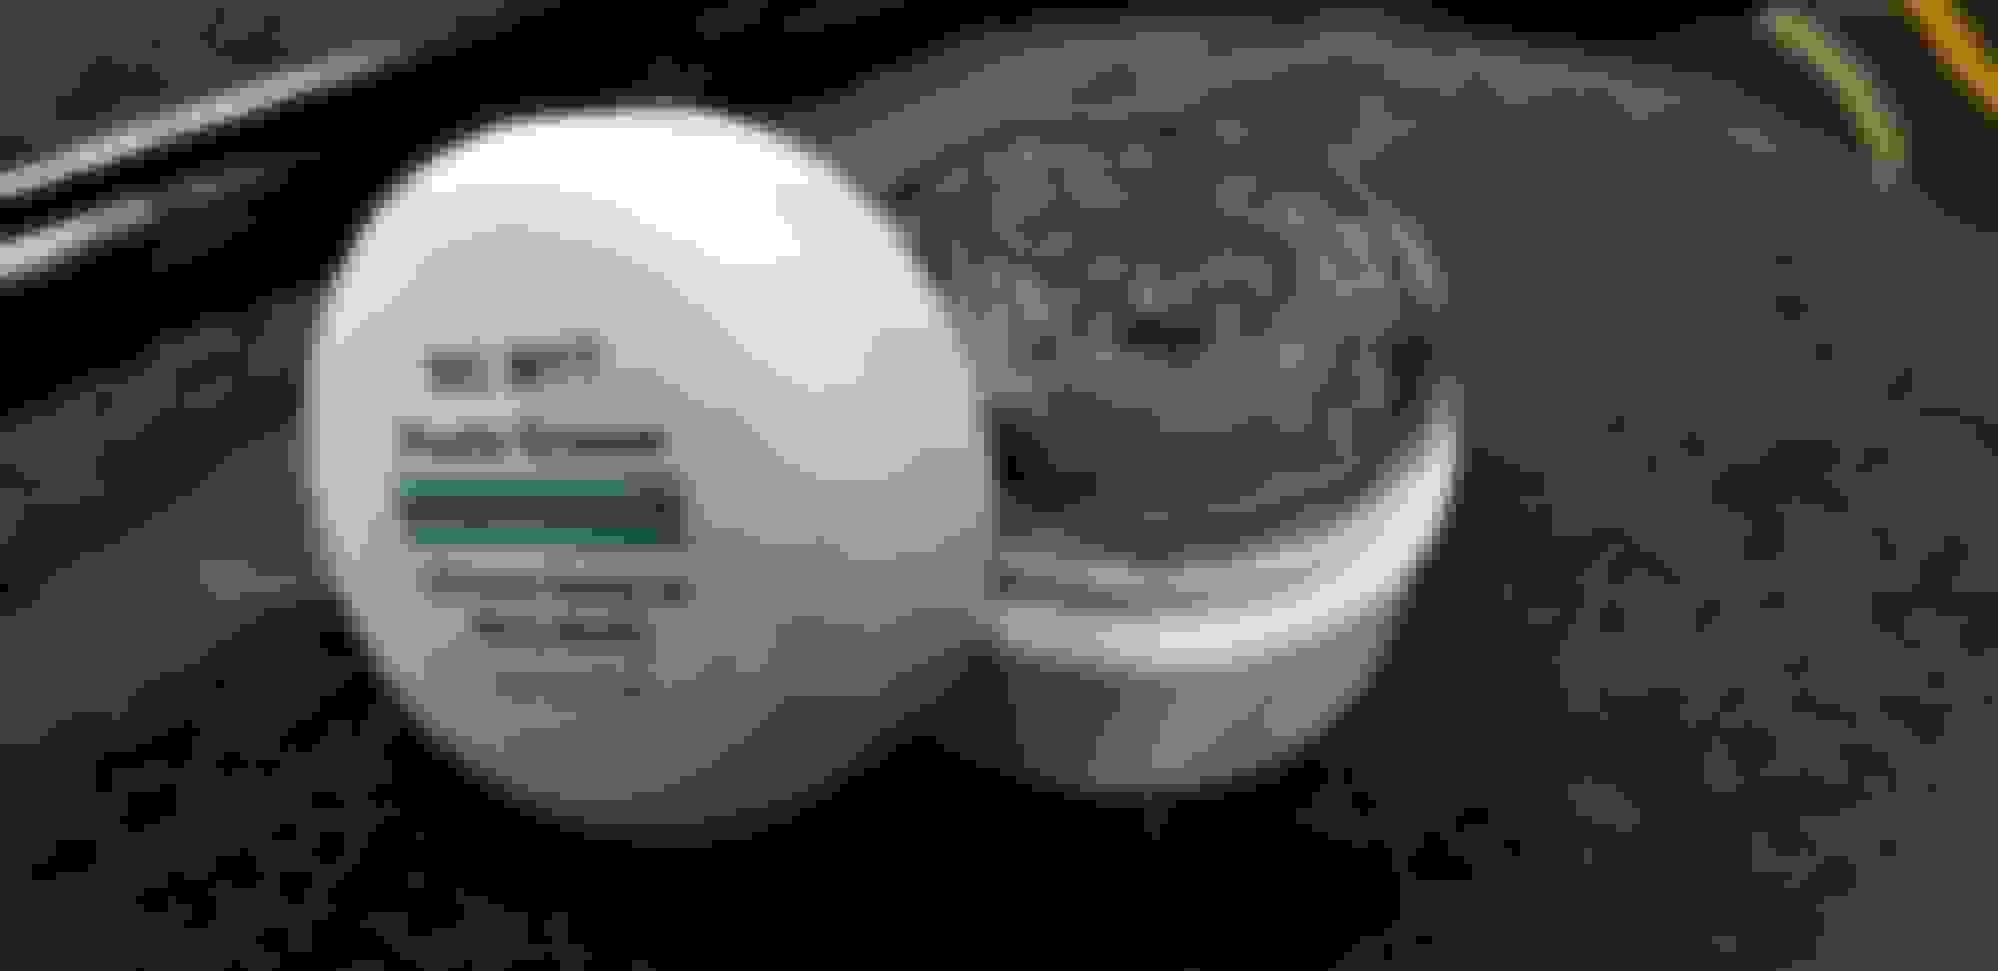
I noticed the upstream sensors had some kind of white anti seize on them, so I researched and found the only kind that is white is ceramic non metal varieties so got some of this.
Says its good to 2400 and if you search this product there is a very impressive video showing a flame test in which this won't melt or run vs. another other metallic type. Using it on everything now. I kind of over apply it knowing I will wipe off the excess.
Good job on that anti-seize. You can kill an O2 sensor with copper or moly products if you get any on the ceramic portion.
Right, the ceramic anti seize seems to be the best there is. I have washers on most of the fasteners and it's important to use it under the head of the bolt and the washer because stainless will gall even when tightening/torquing. They just grind and mar the washer without it.
Well done and thanks for the muffler-**** pictures. Very entertaining and great job on the attention to detail. Too bad it won't be seen under your car.
I know this isn't exhaust related, but rather than posting it in some other place, here are some of the odds and ends. Lots of naval jelly scrub, rinse, and repeat cycles. Then used kbs rust seal in silver and satin black. It's a very hard urethane based coating for frames and restoration to cover and seal. It is just one part, so it dries all by itself, but really seems like tough stuff.
Did not paint the cover, just cleaned and smoothed some rough areas.
weighed the final drive - it's 86 lbs
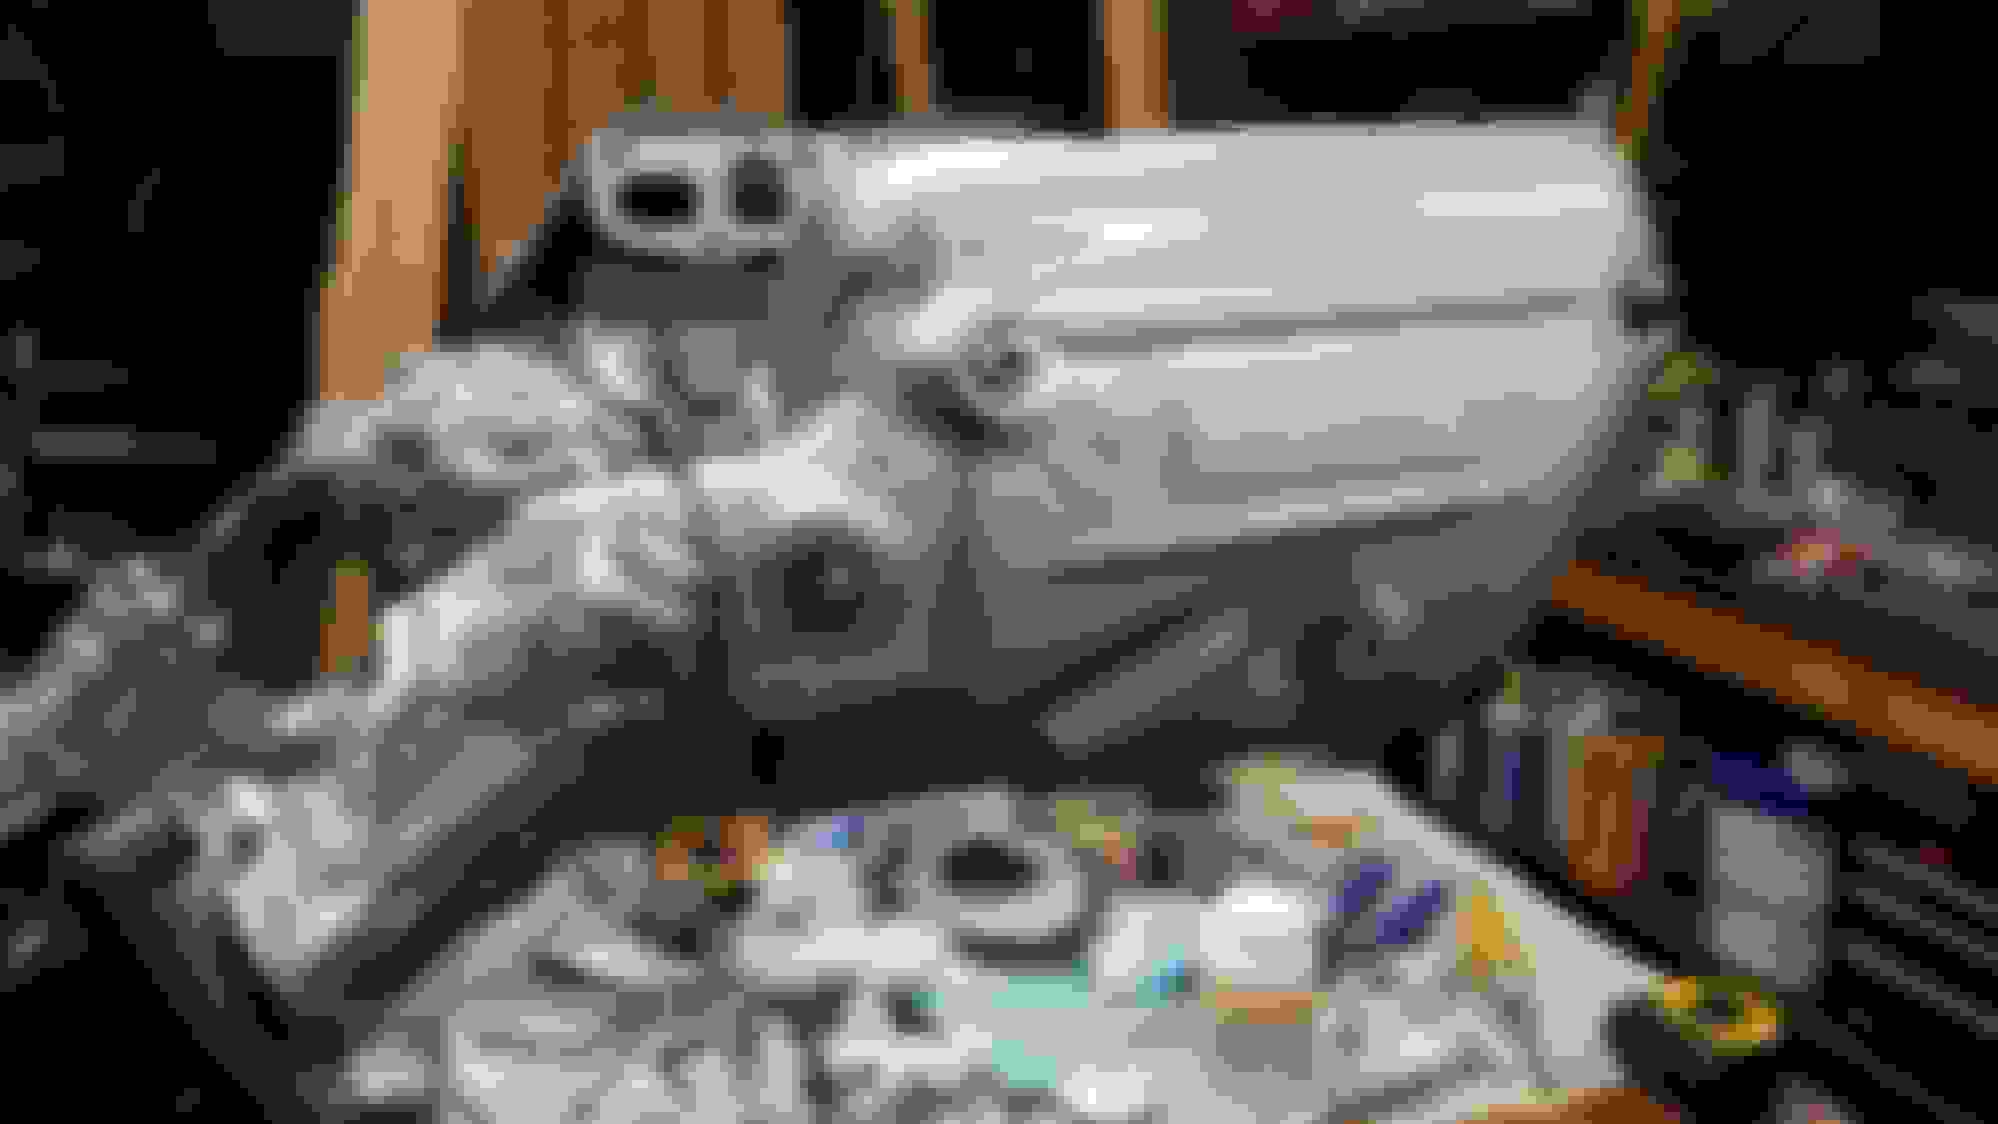
Doing this while the exhaust is off and temps are pleasant, doing the axles too. I got some Dow molykote m77 in a 2 oz amount for the hub to axle joint. Z1 sells the center bearing replacement, but it is not listed on the infiniti parts sites, tried separating with a brass punch, but did not budge at all so just left it together. I center punched very tiny matching marks on every joint and since there was no problem prior, will just reinstall the same way. I read you can turn the hub splines 180 degrees, but don't know if that is only when there is a clicking issue or if it is routine every time you would remove and install them.
Edited the picture about this bracket and having been painted with mopar paint. It has not adhered or is not very tough, could scratch it off with fingernail. Idk if it is because it was galvanized or what.
Will have to try something else for this, like the rust seal urethane, or I also ordered a primer grey high temp 650 degree 2 part urethane aerosol from eastwood, so I will strip it probably can just scrape it off with a piece of wood, then redo it.
Taking some considerable time off work to get this all to completion. Here I have the axles, de-rusted them and used a mix of silver and black rust seals. The shafts are just a satin black.
Was going to just use silver like the diff flanges, but thought some contrast is good.
The surface was rusted pretty good but took my time with naval jelly again. This is a 1st coat very thinly.
I used a brass brush on the spline area and it left some on the steel so I just left it there maybe it will deter rust, lightly smear brushed the thread area just enough to seal it.
I read in the manual to get this Molykote 77 so got some for the flat side next to the spline(s).
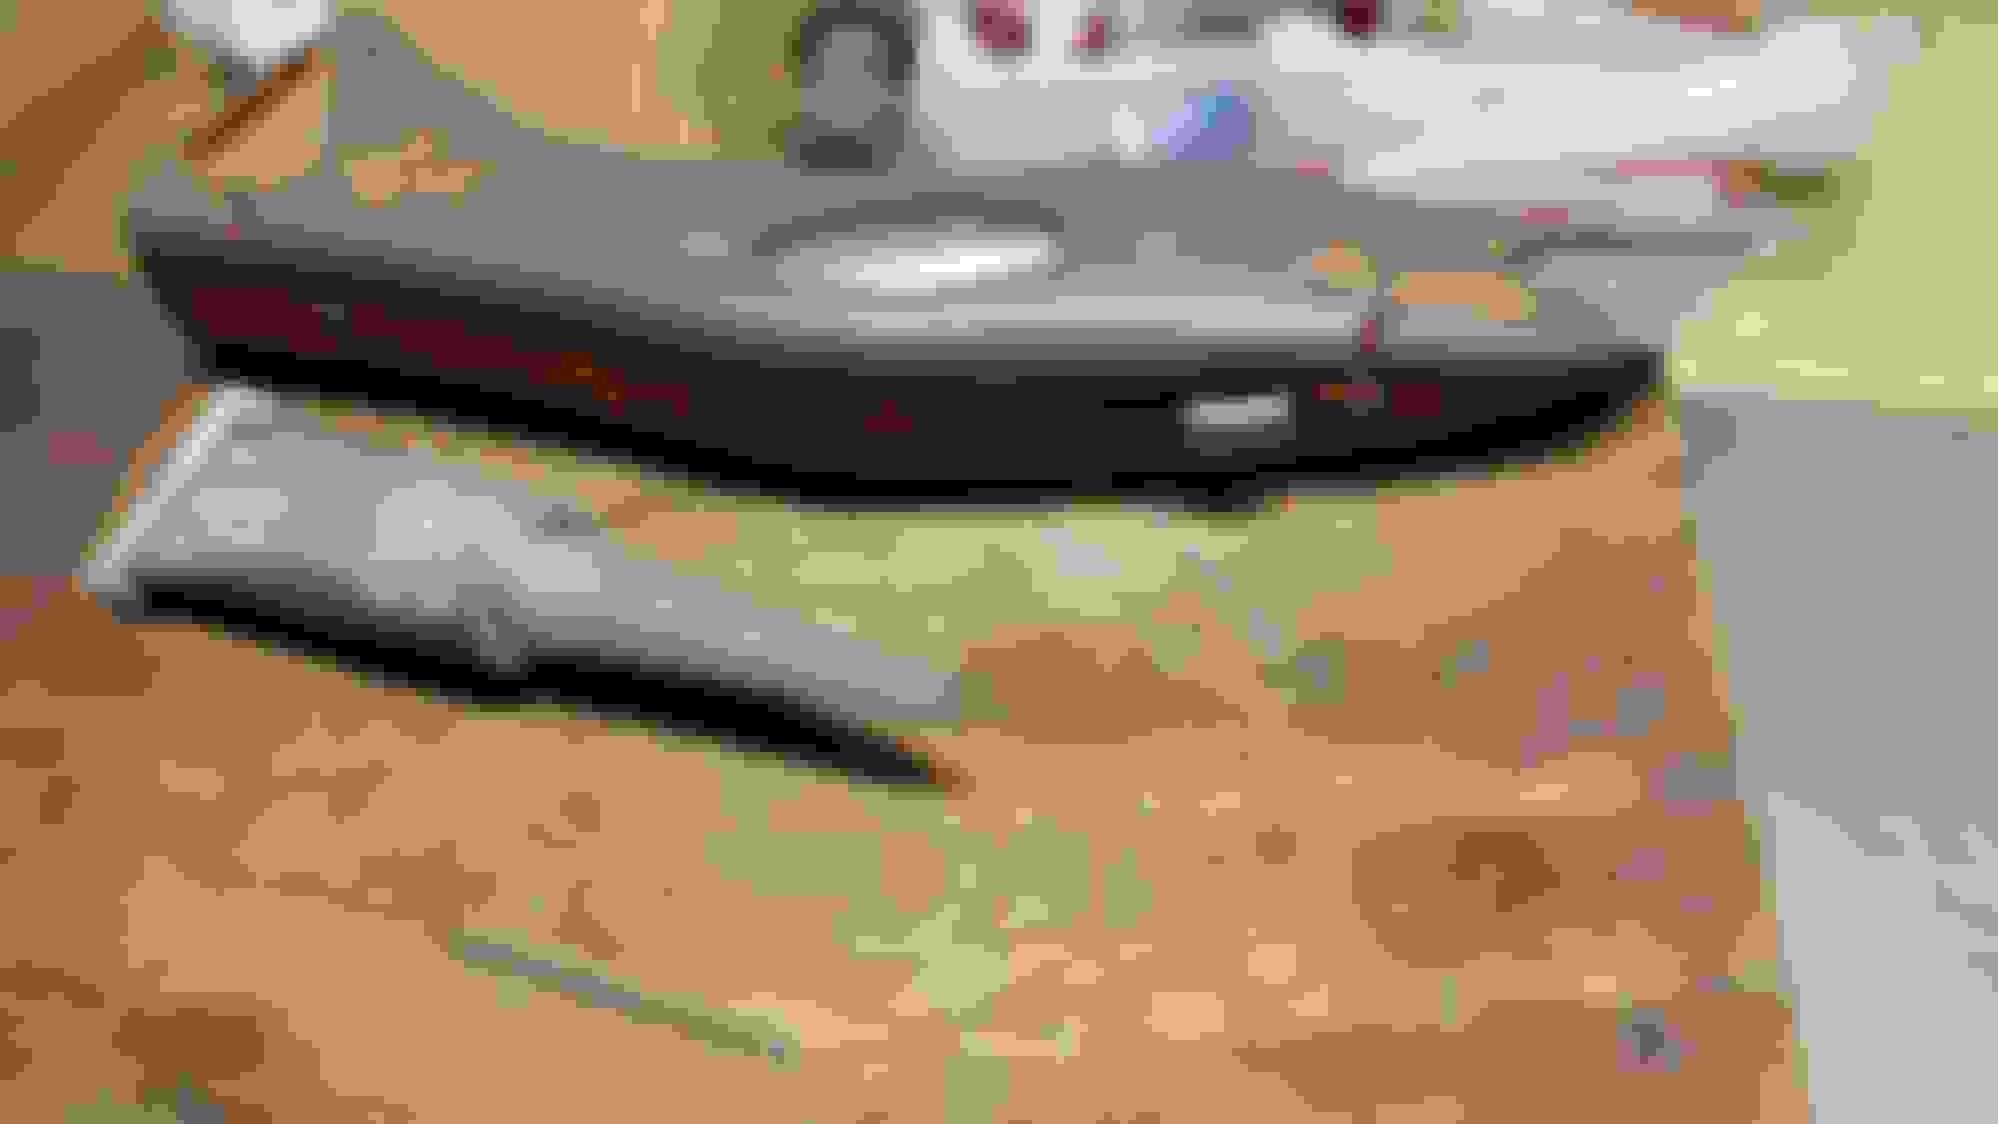
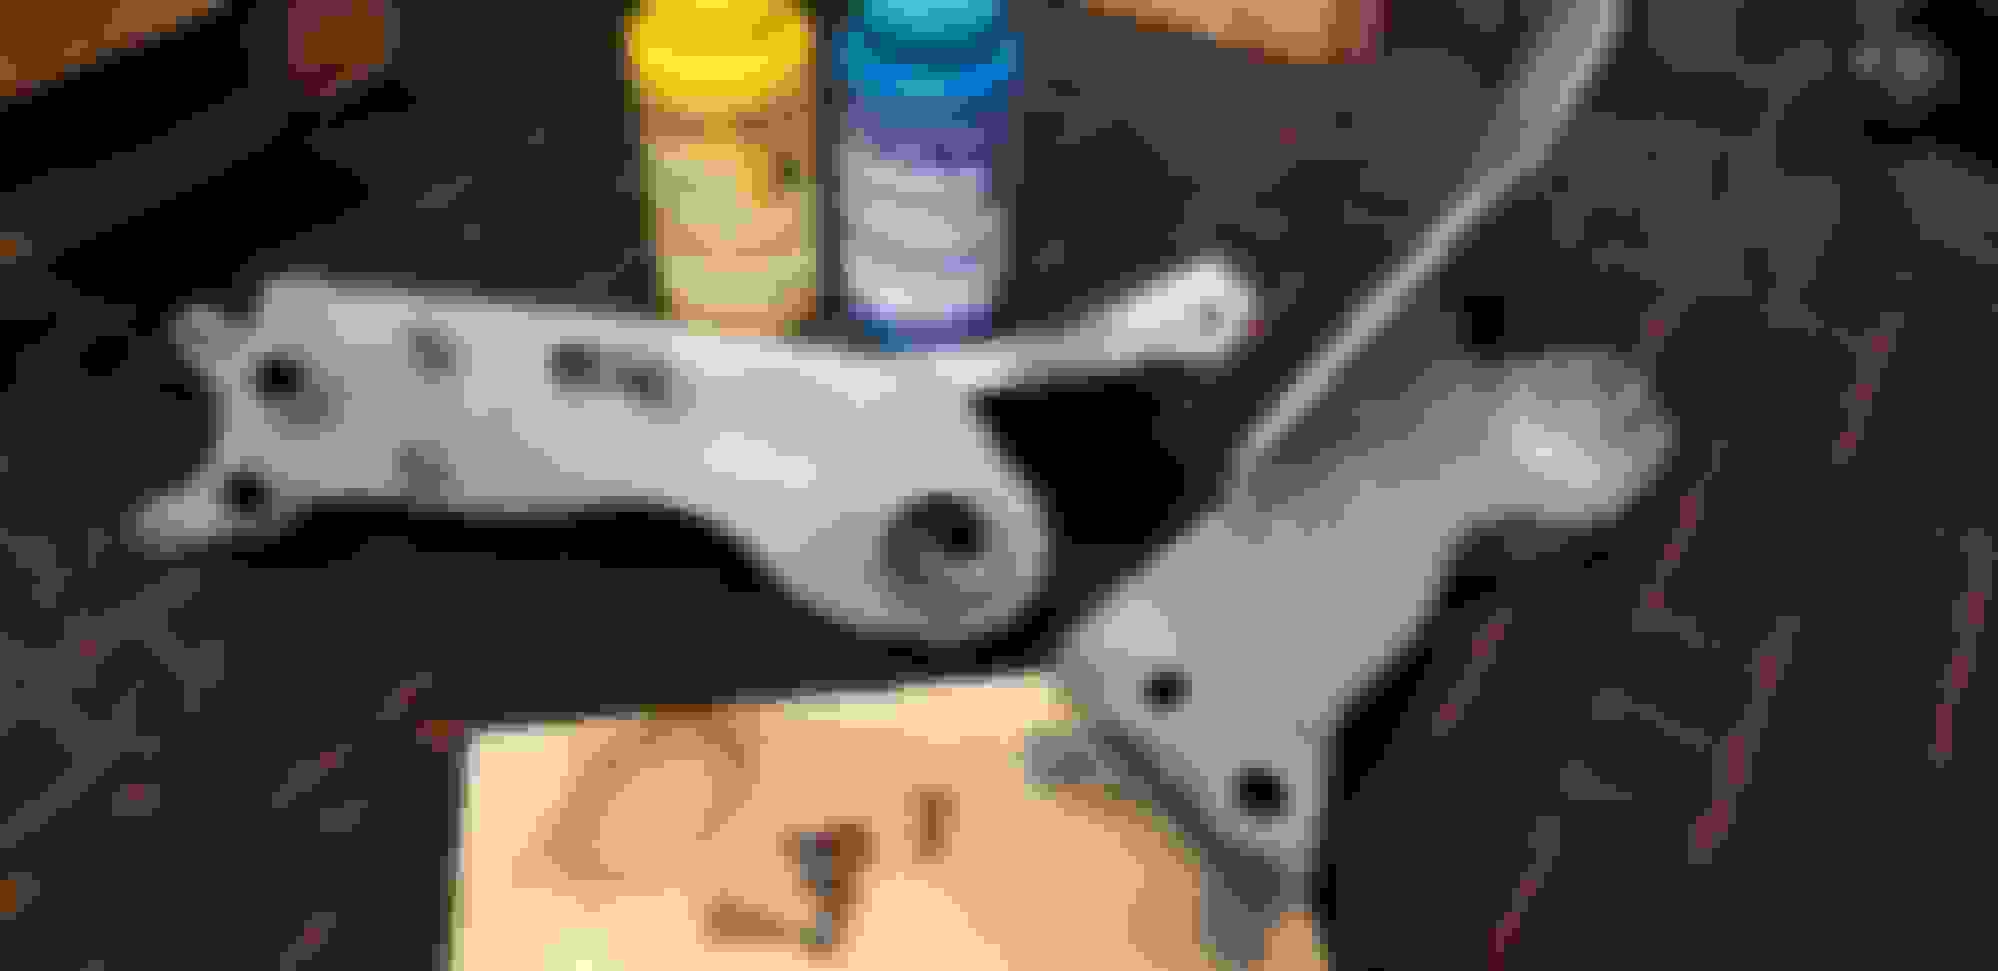
These are called 'stays'. They support the rear suspension member. They take a lot of abuse and were rusting. I found a 2 part plastic resin kit and filled them in solid adding only about 1/2 lbs to each one but they are solid now. Painted them a rust seal galvanized color, a flat silver.
They have threaded holes that do nothing but rust there, so got 6 screws to close them off, and some ARP M10 x 1.25 x 65mm SS flange bolts that won't rust for their attachment. The large member nuts go over the other ends.

 09-16-2018, 08:14 PM