When you click on links to various merchants on this site and make a purchase, this can result in this site earning a commission. Affiliate programs and affiliations include, but are not limited to, the eBay Partner Network.
Had gotten a set of 4 of these 7/8" bolts I considered using and reducing for the traverse links but they are overkill head size, but if you can see, the heads have hollow bore inside, I can cut them off and make nuts from.
The holes were 12mm but needed to enlarge them to 12.7 or 1/2" for an M14 tap.
Since the bolt shanks are so large I could complelty drill trough the head and then tap them most of the way on the lathe.
Then I could part them off, I was able to get a very smooth and flat surface on them.
The front sub frame has the large bosses around the front studs, now these nuts completely cover and exactly match their 36mm diameter. It's an extra peace of mind at least to have 2 of these inconel nuts here not just gr5 ti. I suppose the body studs could fail before these nuts would.
They are drilled for lock wire or cotter pin, but I'm just going to forget about that.
Did the same thing with a 9/16" bolt and made a nut for the diff bushing stud. Those had a 10.9mm hole. I also made a spacer to take up the play in the bushing that I enlarged to 5/8" for the puller.
When I painted the rear sub frame I didn't mask the diff bushing hole at all, so got a cylinder hone and got it back clean and smooth with that.
I then pulled the bushing back in with the same rod and washer set up with some anti seize. I wasn't sure how much honing would affect the fit security, but I was lucky and it went smoothly with a good amount of torque force so it is still very secure. I noted the up arrow and front/back orientation. (The frame is sitting upside down here)
Last edited by Justin Bailey; 03-09-2020 at 02:17 PM.
These (XM13 or 13-8 Mo SS) 9/16-18 spline bolts are a good fit for the steering rack, they have a low head height, but need an inside champhered washer because of the radius under the head. I could just sharpen the corner to a tighter radius on the lathe, I doubt the head strength would be any less than original anyway, this also has little job performing other than just staying tight and not self loosening, most of the load is in sheer I think also.
I was concerned that I will need a spline socket for these but a 15/16" 12 point socket will work fine I think, it fits tight enough anyway.
ARP makes a 9/16-18 nut in A286 SS that can go with them. These bolts are also cross drilled for cotter pins, I don't think the nut will clear the hole unless I reduce their height. They probably aren't really necessary, planning on just going with threadlock.
If I would sharpen the bolt underhead it would drop in and then the nut would clear and I could use a pin, but I think I would use a hairpin style so it is easier to remove than a bent cotter.
Update, I used the carbide insert to take the underhead radius from 5/32" to 1/32", now the head contacts the sub frame, then die cut a few more threads and 1 or 2 past where I needed when torquing, test torqued to 76 lb ft and all good, can just buy some 9/64 hairpins and add them after assembly. Paint held up well under the head and nut surface, I used the head to turn and held the nut stationary as is shown in the FSM. It doesn't really need washers IMO.
Last edited by Justin Bailey; 03-09-2020 at 06:49 PM.
Where mice can live in the g37 other than the front engine area
I found a nest inside the car cover side mirror pockets and destroyed it along with 4 babies, but the mother went up inside the frame to escape the barrage and didn't really know where the inside led to... this was last fall.
This oblong hole is where she went inside, I just sprayed WD40 all along the square tubular hollow area to try and make this an oily, unpleasant space, but never saw the mouse again. That was also back in the fall.
While today I was cleaning the underbody paint, I removed the rubber rear spring cushion here and saw, in this hole, some material that looked out of place. At first I though maybe it was sounproofing wadding insulation, but saw some sawdust then realized this is where they have nest(s). The other side was the same.
I used a hemostat clamp thingy and pulled it all out through the 1/2" hole, got it all just fine, maybe I can spray something to deter them inside the hole. After I paint, I can do something.
I got a second large SUV sized cover to cover the hood while open during the winter. The first one ripped around the back a little anyway.
I have them doubled up, but the first older one has a soft nap and I saw it had vast areas where it was stripped of this material. That was from the mice taking it off and used it in their nest. The newer one has much less of this material on the inside. Probably a good idea not to get one with that much nap for outside if mice will just use it and do that. I'm relieved that I found what was going on with them.
I looked inside the trunk , removing the spare and trying to look around under the trim with a mirror but saw no evidence of any mice in there. I'm glad. I don't think there is a way inside either the trunk or the rest of the interior for them to enter.
Last edited by Justin Bailey; 03-18-2020 at 05:05 PM.
There are some spots to address beforehand if I want to paint the underbody well at all.
There are some spot welds with a sharp burr that can get removed and smoothened.
Some welds by the rear sub frame stud that the paint fails to stick to.
The evap system component mounted right rear has a bit of rust starting.
The other bolt location to this.
This is where the rear stay mounts, it had some surface rust starting and I went over it after cleaning, but not good enough or thick enough because it has kind of shown that the rust is emerging still just sitting here for 2 years.
Here ia a place where drainage may be designed in mind, so I may not want to seal certain areas, just clean and paint. I'm considering running sealer along pinch weld layered edges and packing it into the layers because they really wick in contaminants that eventually accelerate rust.
There are rough weld spatter areas and also just foreign smudge of undercoating or debris that was just painted over.
The few bolts for the tie down have a place for salt to creep around and start rust.
I can drop down some parts and mask them but I have just begun cleaning and will get into light sanding (just by hand) to remove the sign of rust and also will use maroon scuff pads with some 3m scuff gel that I guess helps get a better even scuff for primer or paint to stick to. I'll get it wet and wash it and have ti let it dry good then also.
As far as I know the sunroof has it's own drain up front near the firewall and the rear window / trunk completely runs around and off the back of the trunk. It's hard to know how much more can be sealed and what shouldn't so water can't get trapped. I think much of the long running lap joints can be sealed especially if they run up and down more vertically, but some places I am cautioned by whether or not it needs to be able to drain. I read about people using spray expanding foam inside cavities that was a disaster for rust and just trapped moisture.
Everywhere I can't clean well, seal, or paint I just will fluid film spray inside after paint is curing a while.
Last edited by Justin Bailey; 03-18-2020 at 06:01 PM.
As far as the front goes, as long as you address the sunroof drain ends and a light coat of rtv to the wiring connectors into the firewall you should not have any water leaks inside the cabin.
Right, I'm not too worried about that or the interior, just about how if at all could any metal joints that weren't seam sealed from the factory benefit from placing more here and there under the car, ( mostly from central tunnel and back) without damming up drainage and helping to create rust. If you look a the round holes, they might be all that is required to leave open, so I can seam seal all other joints or lap edges, and pinch welded edges.
Found this driver side rear speed sensor harness end has been chewed. It was just hanging in mid air, don't see why the mouse had to hang on there and do that.
I found the cheapest identical pigtail matching the original, looks like I will be soldering a replacement in. It comes with 10" of lead wire. $60 just for that single connector, but the whole oem harness was around $150 I think.
Let me know next time you need things like this. I live in Florida and our Junkyards are starting to bring V36s
I could have gotten you that plug for a lot cheaper than that.
Haha, yes. At first I thought you were making a statement about just ending the thread already and put aftermarket cats on, like this thread is kicking a dead horse and doesn't belong, then I thought about it.
I hope everyone is safe and sane during these times, my life hasn't changed much since I'm lucky enough that my job is considered essential - propane delivery. Anyway not much progress to show because I am restocking firewood under this roof building right now from the other end of where the car is.
Btw the silver thing is a tarp over a semi truck roof wind deflector that we had from my dad's truck we removed it from, he pulled a tanker not a high van trailer that this was designed for so but it made a nice roof extension while the engine sits out in front of the car.
I raised the car another 8" with 4 cinder blocks to make it even easier to work under it for scuffing and painting. I oriented them the strong way and the load is spread over another 2x8 on top of them. I bought a phone endoscope camera and looked inside the frame, not much sign of any corrosion, was thinking about washing or at least rinsing it out inside or just spraying fluid film later.
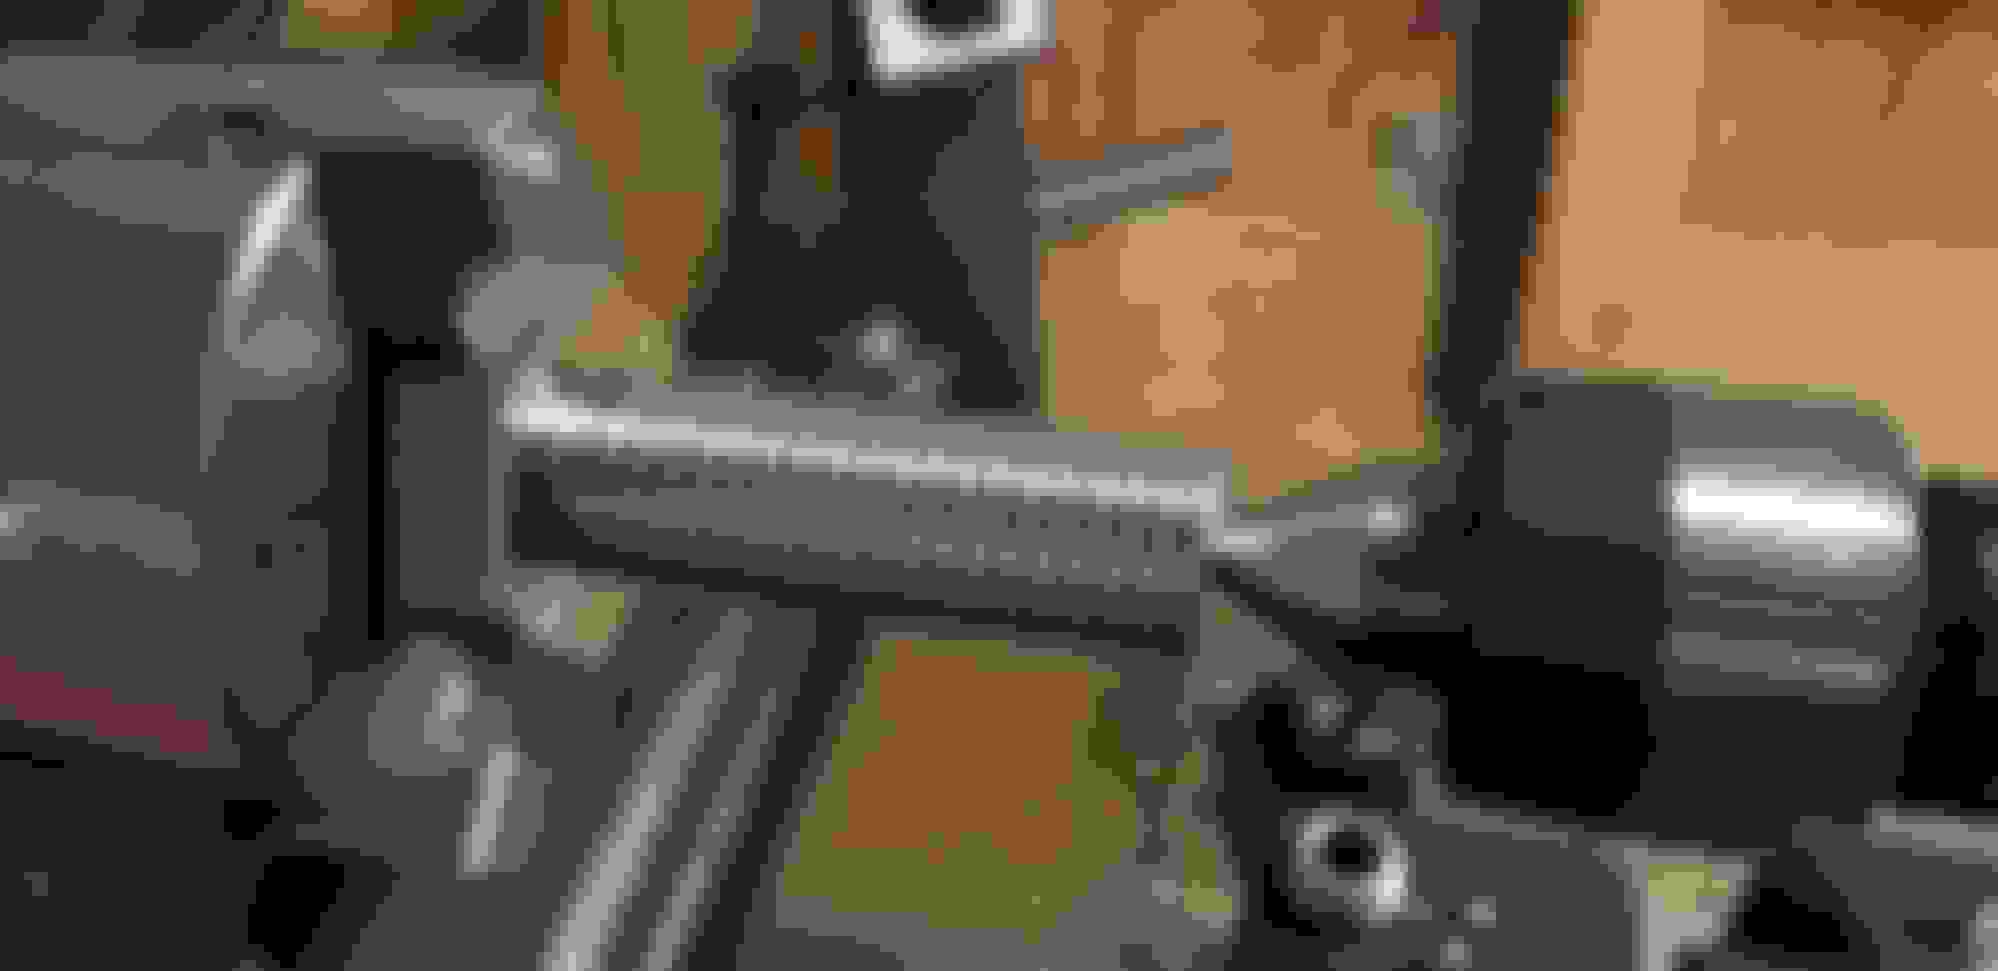
I bought a few 1" 304 stainless bolts and turned them into hat shaped spacers that go inside rubber bushings on the transmission support bracket.
Start by taking passes turning off the thread down to a smooth target diameter and cut to length.
Then drill a bolt hole. I have no reamer or boring bar this small so used a dremel flap wheel to get precise fit for the bolts, much more precise than original.
Round off the hex head and cut that off also.
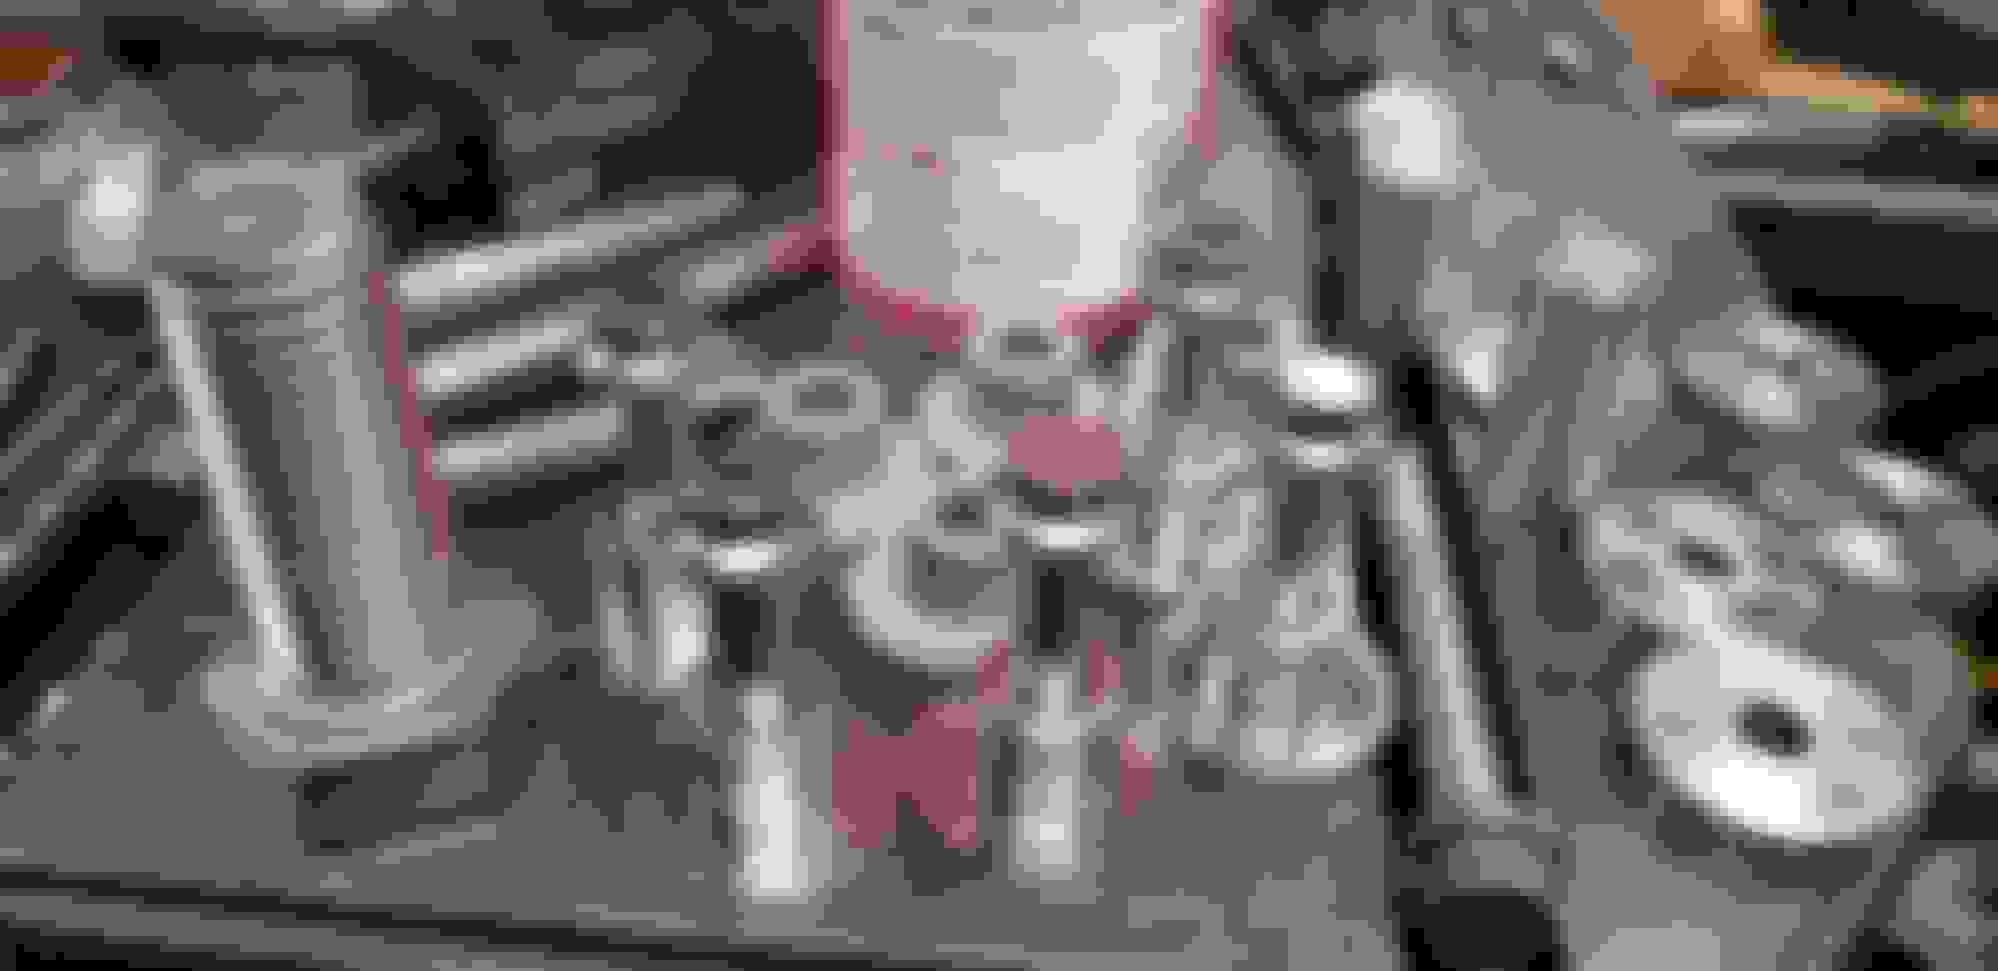
Originals are behind these, got some more arp bolts for them. One got chattered up, used a keyless chuck and live center to pinch hold them to file a bit and polish but the chuck spun and the jaws came out and messed it all up, should have put a round blank in the chuck so the nose cone couldn't rotate, I had remake remake that one.
Here is the bracket. The spacers go inside the rubber bushing in 4 corners.
It uses a heat sheilding plate and the bolts go through everything.
There is a passivation that can be done to SS that removes free iron at the surface to reduce rust staining. I found a citric acid product for this I will try, 304 isn't the best for salty damage, so it will help.
Last edited by Justin Bailey; 05-06-2020 at 11:30 AM.


 03-09-2020, 01:14 PM