When you click on links to various merchants on this site and make a purchase, this can result in this site earning a commission. Affiliate programs and affiliations include, but are not limited to, the eBay Partner Network.
Seats are turning into a total nightmare of confusion. I have two driver seats from 2008 sports (confirmed via date code on the seats) and the heated seats are TOTALLY different between the two. On the tan ones, the heater is glued to the cushion and has THREE wires. On the black one, the heater is sewn into the leather (not attached to the cushion). I really can't figure it out. Both seem to be otherwise the same. I guess I have to plug them in to the car and see if it works. its the same on the 2011 passenger seat.
Seats are turning into a total nightmare of confusion. I have two driver seats from 2008 sports (confirmed via date code on the seats) and the heated seats are TOTALLY different between the two. On the tan ones, the heater is glued to the cushion and has THREE wires. On the black one, the heater is sewn into the leather (not attached to the cushion). I really can't figure it out. Both seem to be otherwise the same. I guess I have to plug them in to the car and see if it works. its the same on the 2011 passenger seat.
They could have made changes in production due to a different vendor or just some improvement. I remember reading an article a while ago where Toyota bought some Hyundai vehicles to see how they were put together because they were quite a bit cheaper and apparently eating into Toyota's market share. Initially they could not figure out why very few of the parts were the same between cars of the same year. What they discovered is that Hyundai made running production changes throughout the year to improve their products.
Yeah it's really weird. With the date codes they are only a few months apart.
Anyways, here is what a seat looks like underneath if anyone was wondering lol. Just need to repair the foam now and put the black cover back on. Notice you can see the heater modules are on the foam on this one. Also, only the driver seats get that extra green foam apparently.
This passenger seat is in near perfect shape as well. I ordered all the stripper, dye and sealant to try dying it black. I have the black plastics off the other black passenger seat so I can just swap those over.
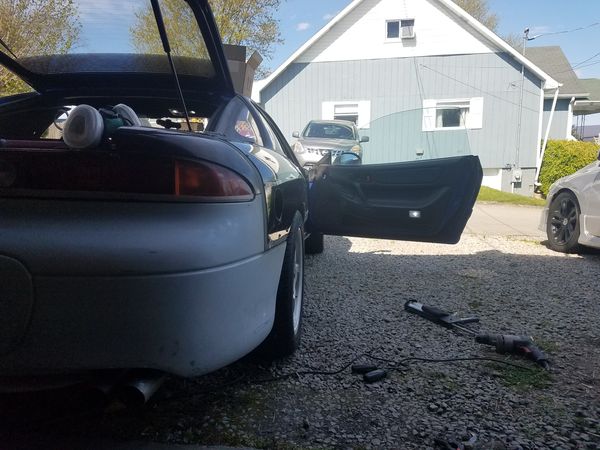
Tried wrapping my fog light trim while the bumper was getting painted. Could not get it to a quality I was ok putting on and when I gave up it was too late for paint so they are stock for right now. Dropped them off at the painter today and got a sneak peak. Car goes in for PPF tomorrow.
Started by having the silver trim painted gloss black (ignore the bags and packages). Then I wrapped my steering wheel in full alcantara and installed my alcantara shift boot. Then I cleaned, stripped, and painted the timing covers on the front of the engine to get rid of that nasty looking aluminum oxidation that these engines get. Then I replaced all the bolts on the timing covers and engine with fresh new stainless 10mm bolts, and painted my plastic engine cover. Also added some white LEDs to my start button and added a red LED behind it so that it glows at night. Also did a rear diff fluid change.
How hard was cleaning/removing covers on the front and what did you use to clean them? Definitely makes them look cleaner.
My quarantine project is still my 3000GT. Today was nerve wracking, but satisfying.
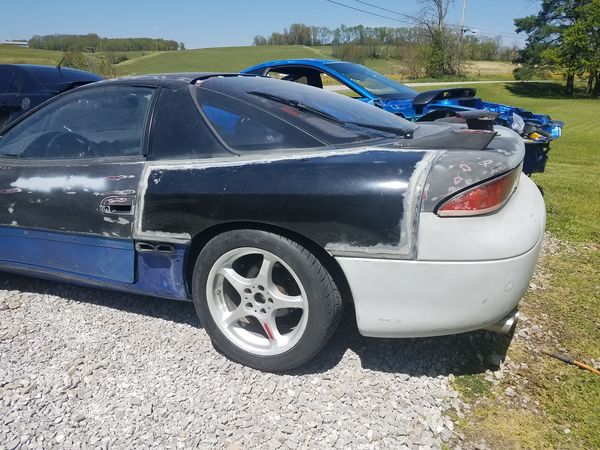
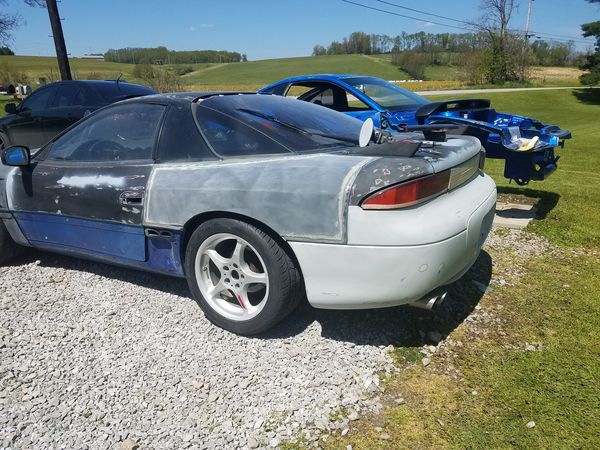
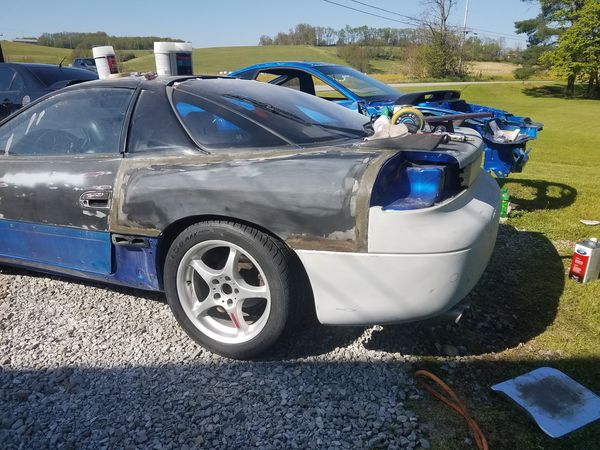
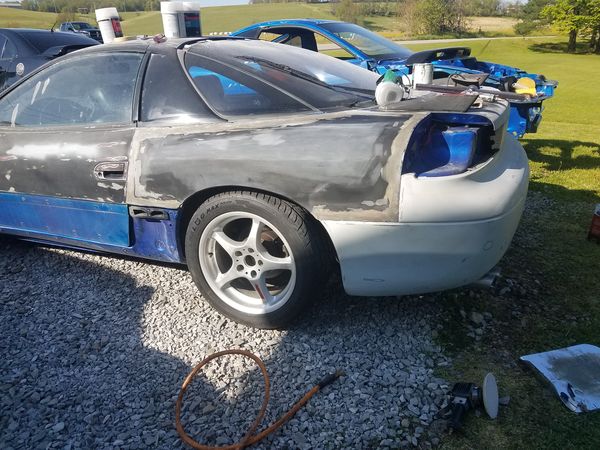
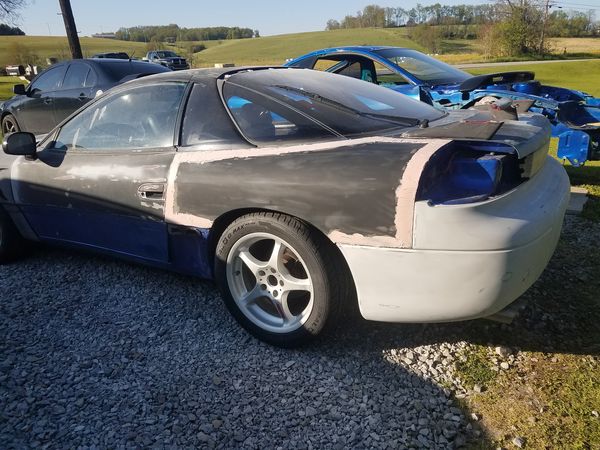
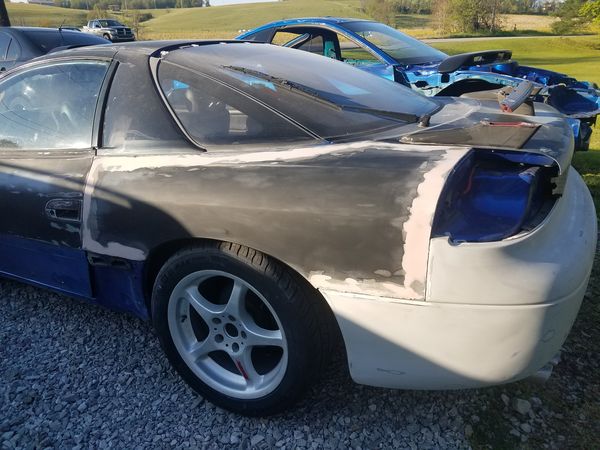
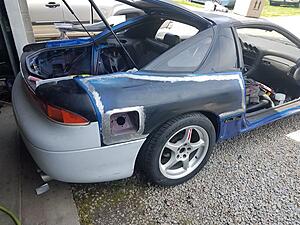
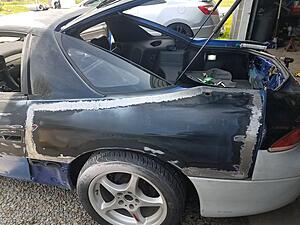
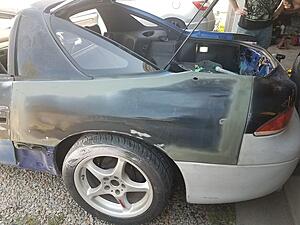
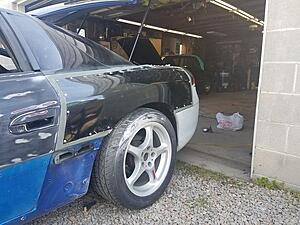
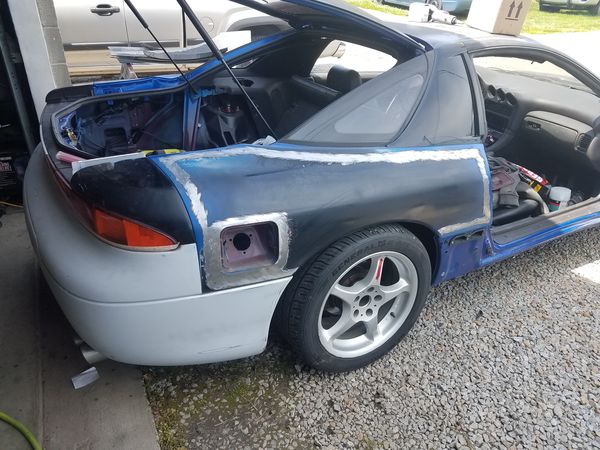
It is getting a "wide body" the front fenders were "bolt on" other than having to drill the holes and a few holes where the side skirts snap in needing to be made and ovaled.
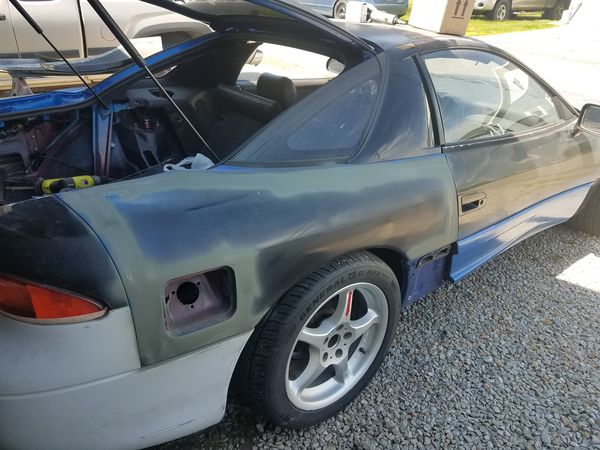
The rear quarters are overlays and cover the entire rear quarter panel. The rear is what was tackled today.
Its hard to see it in the pictures, but the added width is there. Its already a very wide car and the addition of the front and rear wide body just accentuate what is already there. I'll pull the screws out tomorrow and start feathering and molding the rear quarters and work the filler door opening. This is the most difficult part I have left to prep the car for paint. I'll post more pics once the quarters are molded and the car is closer to being ready for paint.
Where did you get your pulleys? I want to do the same thing but want to use OEM like pulleys without paying for new pulleys from the dealership. Is there a specific kit you got somewhere??
Where did you get your pulleys? I want to do the same thing but want to use OEM like pulleys without paying for new pulleys from the dealership. Is there a specific kit you got somewhere??
don't get the Continental Smooth Pulley. It's shorter and thicker than the OEM, I didn't use it, and I just re-used the OEM one.
There are many kits, but I heard Gates aren't well made, and most of the time you will get the Chinese fake parts. I don't want to risk, so I bought these part separately, and it actually cost less than the kit.
Last edited by Lee Nguyen; 05-13-2020 at 10:30 PM.
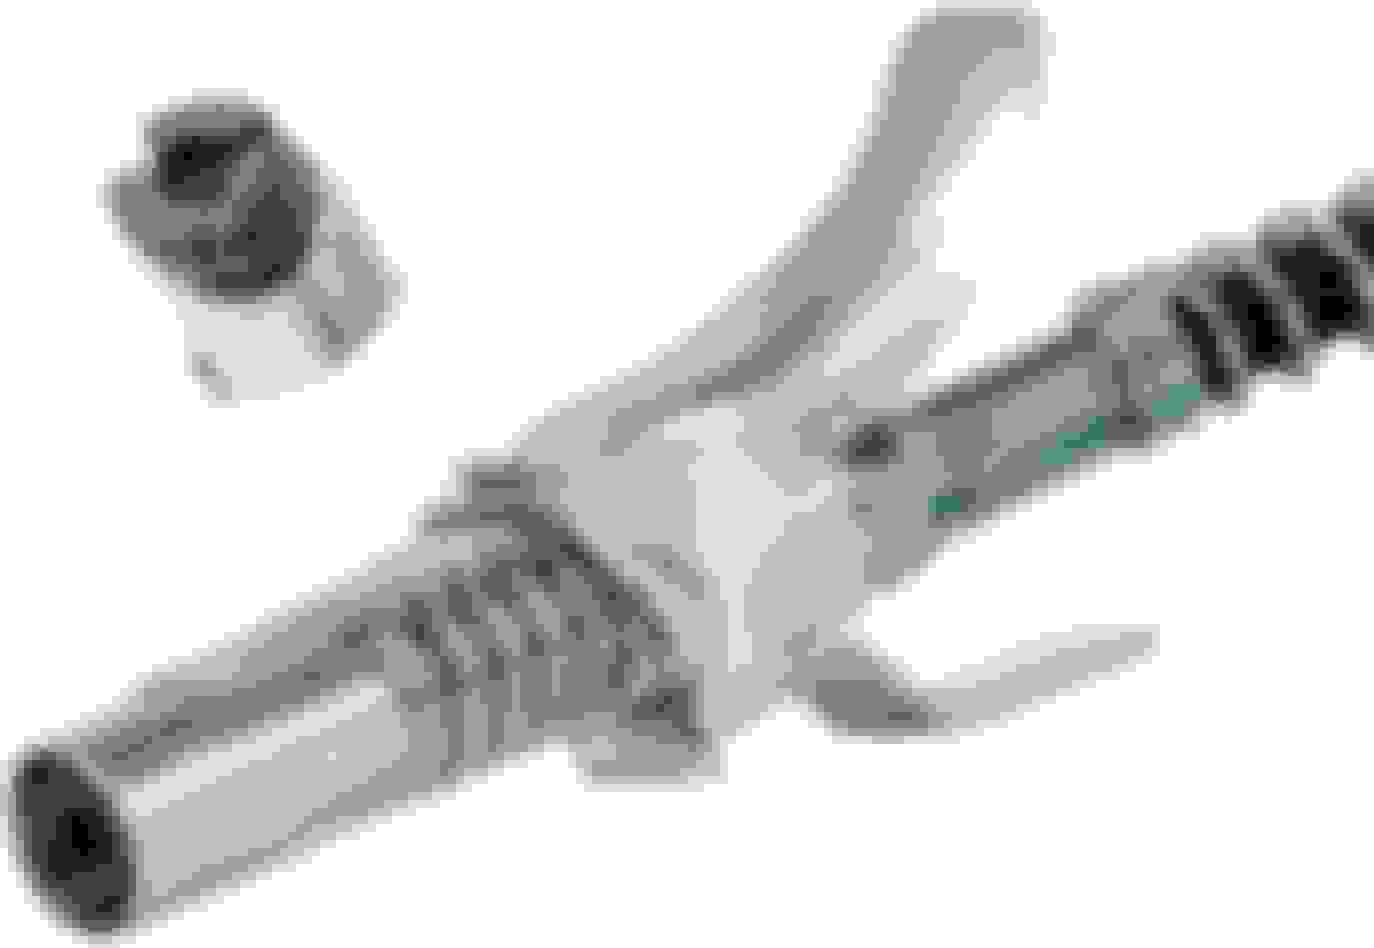
Speaking of Amazon, if greasing zerk fittings was on your to do list, then you can skip this piece of junk. This is a One Sight Locking grease gun coupler. It was one of the highest rated versions on amazon, but it is garbage. It popped off every zerk fitting I attached it to and the handle design makes it nearly impossible to get a wrench on it to tighten it to the line.
Wow! I can spin wrenches, but body work is a foreign art to me and that my friend, is definitely a project. I am in for the finished product.
I'll preface this in that I should mention that I too am not a body man. I'm a wrench and sort of an electrical guy when it comes to cars. For the body work I'm honestly just kind of winging it. I mean, I have been around body work for years, but I was never the one slinging bondo. My dad did paint and body on the side for years. Always painting someones car in our garage for extra money. I'd help, but it was always just sanding what needed sanded.
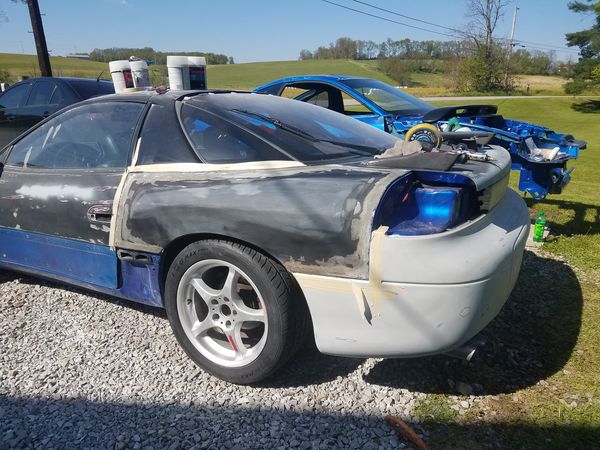
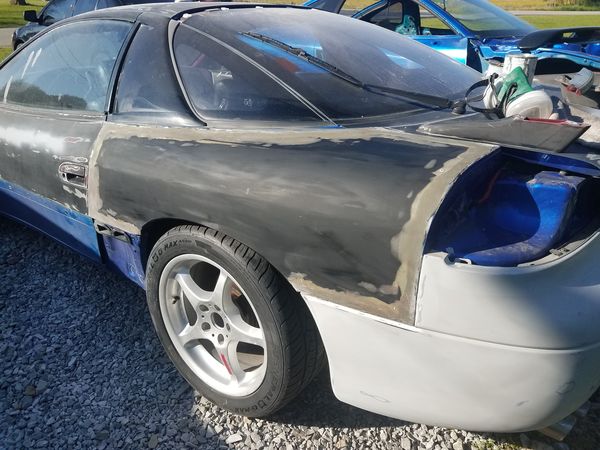
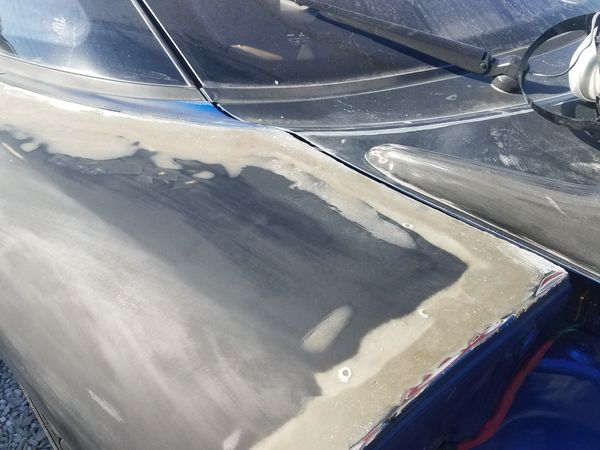
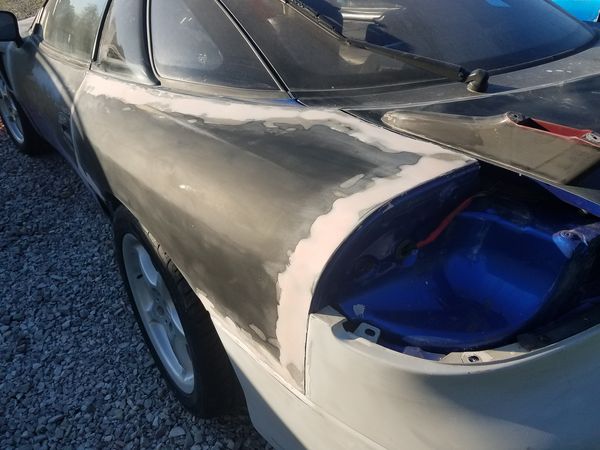
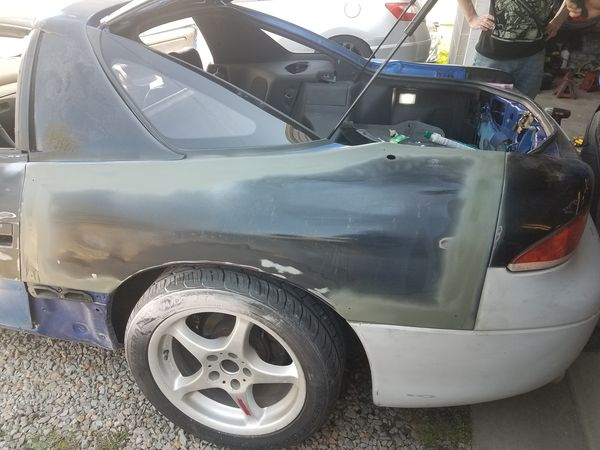
It's not quite finished but
Feathered the edges
Sanded the whole quarter
First layer of fiberglass filler
Sanded
Second (smoother) layer
Sand again
Regular bondo
After hitting it with 80 and 180
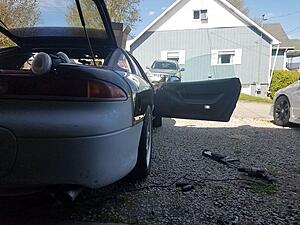
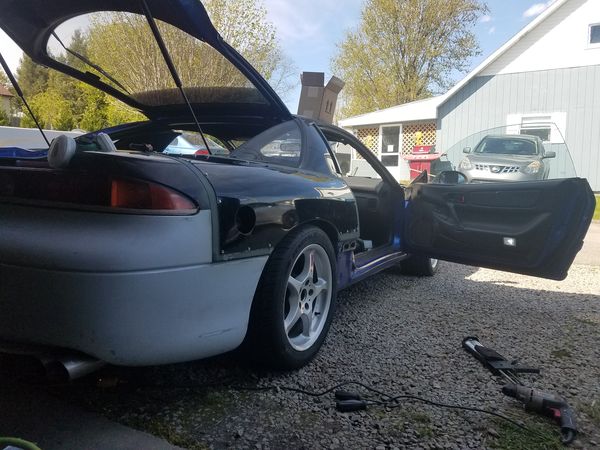
I'm going to go ahead and remove the rear bumper cover tomorrow to make for easier finishing of the bondo where it meets the body. From there I will start the same process on the passenger side to blend it in. I was hoping to have the car ready for paint by this weekend, but I just don't think that is going to happen. Hoping to get it done some time next week now.

 05-05-2020, 12:20 AM


 Wow! I can spin wrenches, but body work is a foreign art to me and that my friend, is definitely a project. I am in for the finished product.


 .
.