When you click on links to various merchants on this site and make a purchase, this can result in this site earning a commission. Affiliate programs and affiliations include, but are not limited to, the eBay Partner Network.
G37 Coupe upper control arms on my G35/7 Sedan. Got me around +2 degrees of camber (gained)
I have a 2007 G35 sedan (V36 body). This the pretty much the G37 sedans too. So this information would be useful for G37 sedans as well.
Years back I replaced one of my upper control arms (UCA) with a coupe�s UCA. I noticed that the coupe�s UCA gave my car some positive camber. My sedan was at stock height at this time, so the additional positive camber wasn�t necessary. I put a sedan UCA back on, since I didn�t need the extra positive camber at the moment.
Fast forward to this year. I lowered my sedan a little over 1�, probably like 1.2 -1.4� lower. My fronts currently measure 27� (fender to floor). The car inevitably got some negative camber.
So I thought: Replace the sedan UCAs with the coupe�s UCAs, to perhaps gain some positive camber back into the fronts...for relatively cheap. I got a pair of the coupe UCA for $60.
Using the G37 coupe arms will be great too, as they will retain the aluminum feature of the double wish-bone suspension. (unsprung mass you know)
Yes, I checked before doing all of this. They are different Part Numbers
54524-JL00C upper right Coupe (G37 and 370Z)
54525-JL00C upper left Coupe (G37 and 370Z)
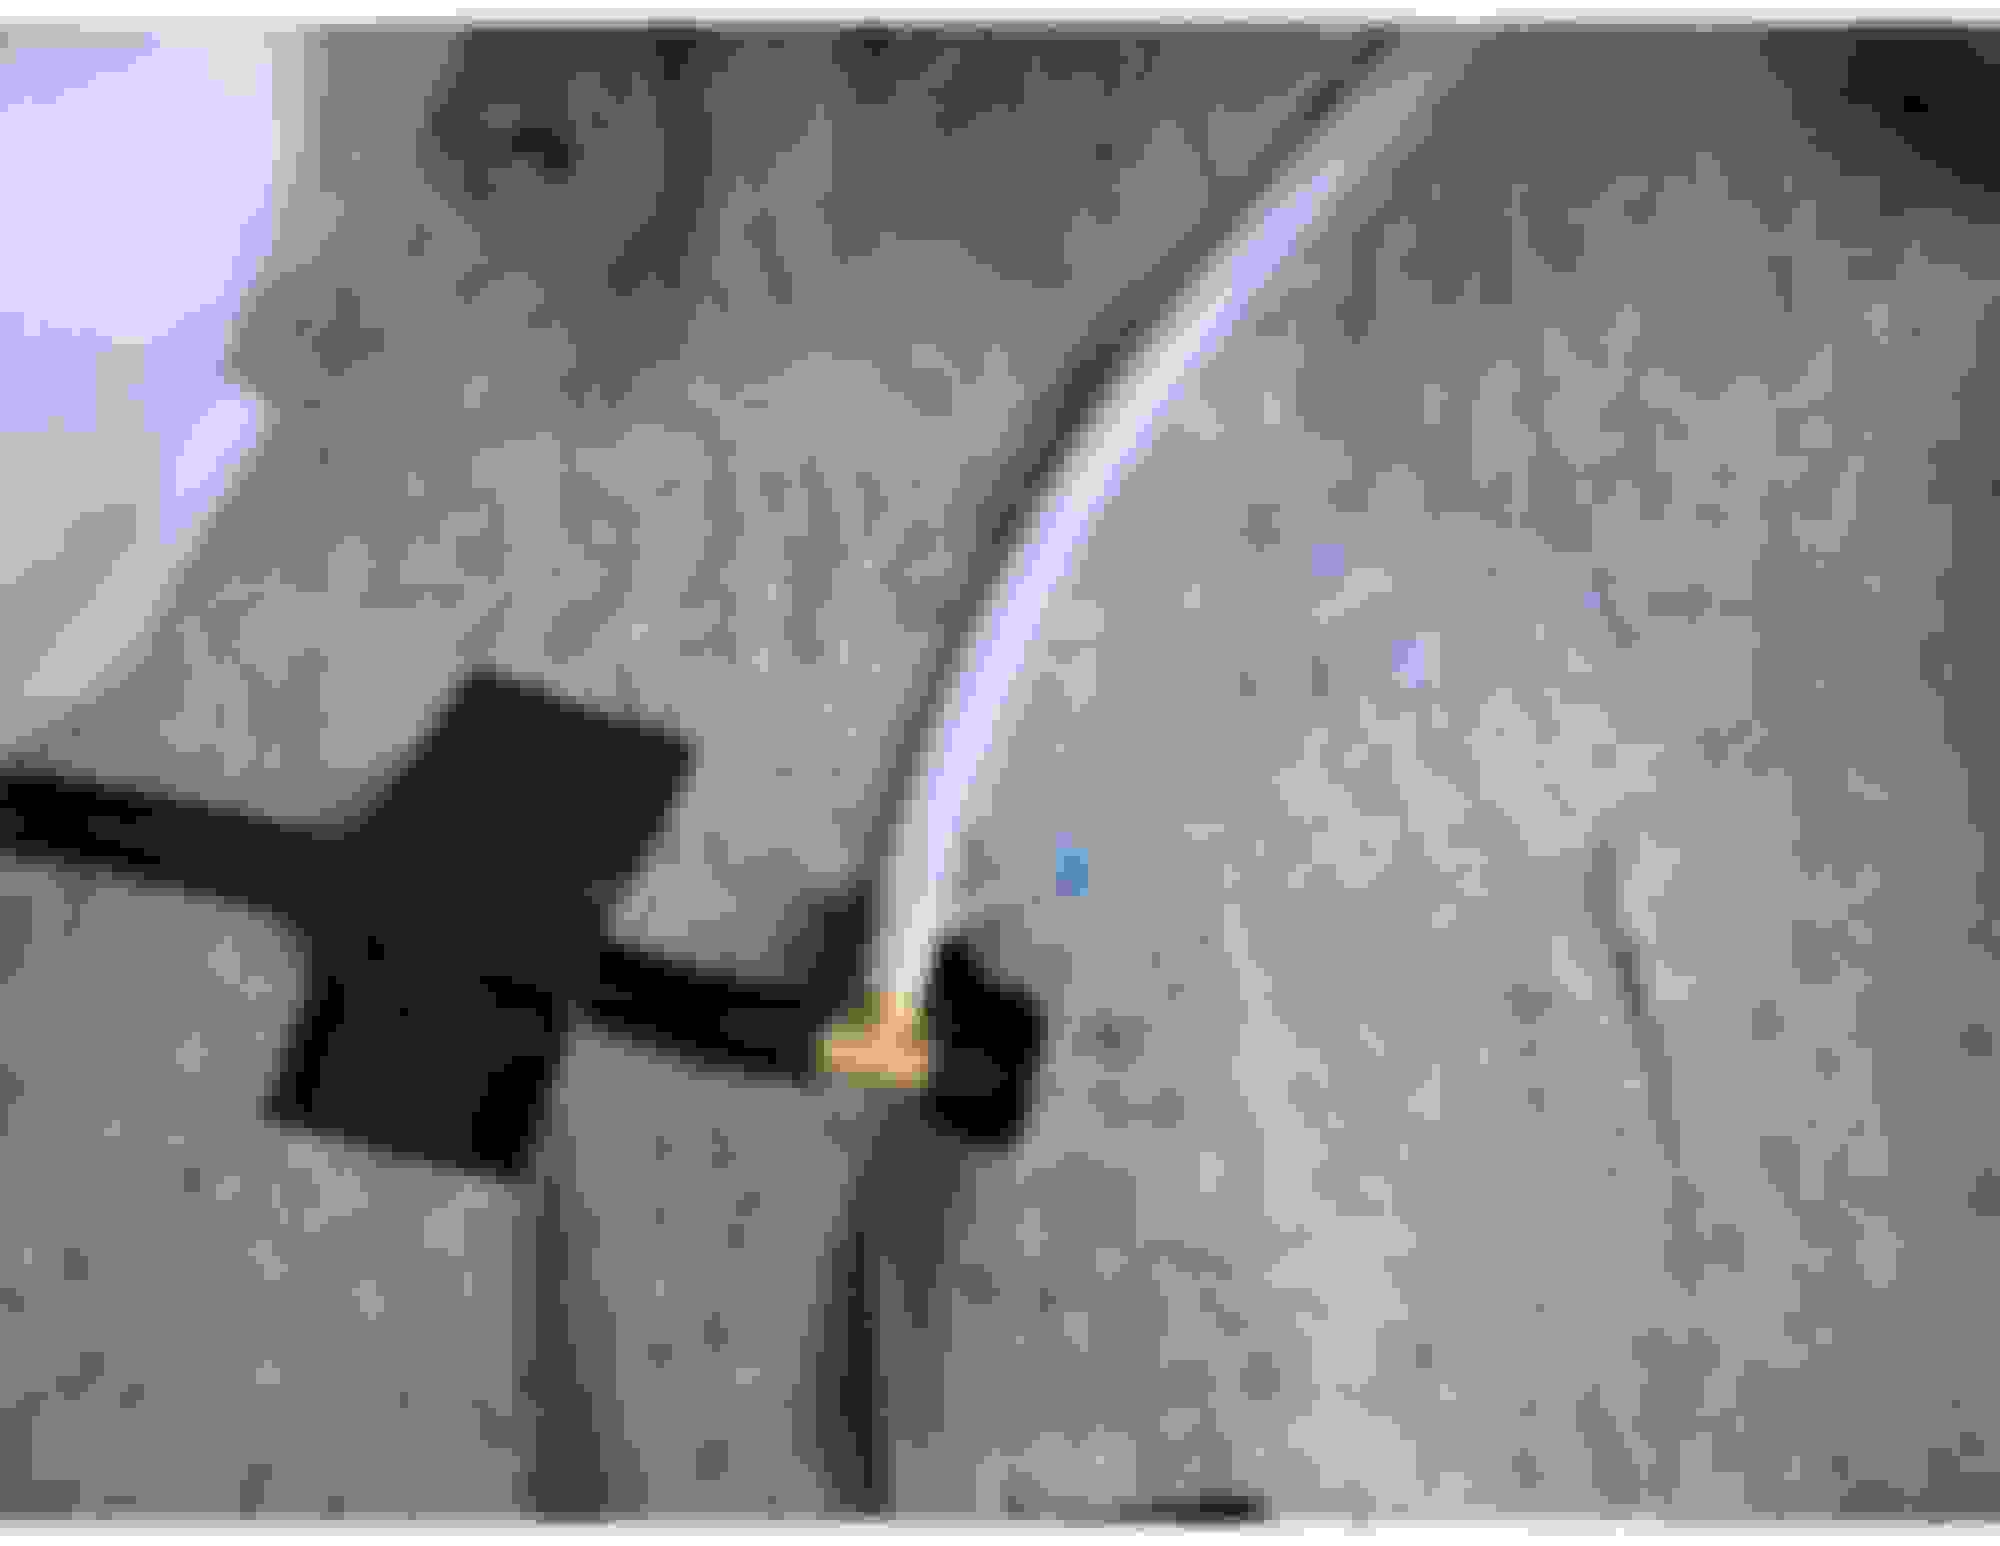
Once I got one side off. I lined up the back bolt holes as best as I could, and you can see that the front ball joints are longer on the coupe compare with the sedan. Coupe is on top
Concerns I had:
Will the coupe�s UCA affect caster?
Will the coupe�s UCA clear the Sedan body?
Can toe still be adjusted back to specs?
I bought an amazon DIY gauge to get my �before� and �after�. Joke all you want. But this is just to help me get a before measurement and an after measurement. The difference between the two is the key information I�m going after.
With the DIY gauge:
�Before� measurement with Sedan UCA is -2.75 degrees (left picture)
�After� measurement with Coupe UCA is -0.75 degrees (right picture)
Both driver and passenger measured the same.
So -2.75 minus -0.75 -> gives us a total of 2 positive camber gained.
Great. But now I have to answer the concerns listed above. Took the car to get an alignment, and I�m glad to say that caster is in spec, toe can still be adjusted back to spec, and camber is in spec. And I have driven the car through speed bumps, did U-turns, etc. The coupe�s UCAs clear the sedan body.
The Shop�s alignment rack measures my front camber at -0.4 and -0.3 (via picture). So if we used the +2 camber value that I calculated at home, we can say that I initially had -2.4 and -2.3 camber to begin with.
In conclusion, you can use the G37 coupe/370z upper control arms on a Sedan, in order to gain around 2 degrees positive. Plus or minus some for margin-of-error.
Considering that Infiniti�s front camber Spec�s have a window of -1.1 to +0.4 degrees. That is a pretty large window. So If the coupe UCAs can get you back into that window. Maybe this could save you some money.
Hopes this helps. This has been on my mind for the past 3 years. And I�m happy to have prepared this for the community.
I wonder how would I tell a set apart. I currently have a set but all i see is this:
Here''s what I've done over the last several weeks for my 98,000 mile 2009 6MT sedan. Installed a back up camera in the rear spoiler, wired it into the reverse lights, and connected it to the factory screen, installed an RJM clutch pedal, cleaned the throttle bodies, and changed the spark plugs.
The RJM clutch pedal is awesome! I highly recommend it. I haven't tinkered with the settings yet. I installed it even with the brake pedal and used the default setting.
I discovered a splash of oil on one of by coil plug boots and some oil on one of my spark plugs, so valve cover gaskets are in my future. I found a great video on replacing the valve cover gaskets on a G37:
It looks like more than I want to bite off, so I will probably take it to a shop. Any thoughts on how urgent of a repair this is, and is there other work I should have done at the same time?
I also found a clock at a junk yard to replace by broken clock. They go for around $60 on ebay. I got mine at an LKQ pick a part junk yard for $10 with a 90-day warranty. If you need one, that's the way to go.
Sea Stories
Last edited by Sea Stories; 03-13-2023 at 10:02 AM.
Reason: correction
I'ts a pain in the butt for sure, you'll need some weird adaptors to reach the one bolt by your brake fluid area. Took me like 3-4 hours to do mine, mainly just getting everything out of the way takes a while. Good time to put in new plugs.
Filed under "Things you've always wanted to do but just never got around to it."
Bought one of those Chemical Guys wash buckets, with a lid and dirt trap. It showed up today, and it sure is sturdy! Much more so than I expected.
So yes, I've been washing cars by hand without benefit of a dirt trap in my bucket. Old school stupid, I suppose. But in my defense, I always washed cars top-down.
Replaced the PCV valves, cleaned the MAF sensors, changed the cabin air filter (much harder than it should be!), and refoamed the factory air intake system.
Sea Stories This stuff melts the old foam and adhesive off. I had 1� wide foam and trimmed 1/4� off with a scissors. I used the 1/4� strip on the piece to which the air box attaches next to the radiator.
This weekend, I rerouted both front sunroof drains. I tapped into the AC condensation hose in the passenger side and drilled a hole in the floor for a new exit on the driver's side. What a relief to get this done before I had a problem! My car has 97k miles, mostly in SoCal, and there was no sign that water was ever in the cabin.
I was close to buying and installing the revised OEM drain exits but then realized that this method is more effective, less expensive (under $25 all in), and easier.
Was a little busy this weekend, did and oil change and...
Before the rain starts back up I glued my leaking Passenger Side Grommet with some powerful stuff. Garage and car smelled like solvents the next day hah
I went to the junkyard to see how I could remove the grommet on my car with out destroying it ( PHOTO 1 , PHOTO 2) ,but decided to leave it alone and use a syringe with a angled blunt needle from the outside.
Also Grabbed some Exhaust dampers when I was at the Junkyard. Looks like at least with free revving they cancel out some frequency on decel.
I also Installed a NOS Light (JK) Im still having weird AC issues so this way I can see when the compressor is on or off.
AC is cold but once im at a light sitting and decide to move forward AC goes warm for a few sec, troubleshooting continues...
Last edited by thescreensavers; 03-28-2023 at 05:48 AM.
AC is cold but once im at a light sitting and decide to move forward AC goes warm for a few sec, troubleshooting continues...
Did you check your fans? Years ago, my A/C would be fine until I stopped at a red light then it would get warm. Once I was moving again all would be back to normal. My issue was that both fans were dying/ barely turning thus not providing enough air flow across the condenser when the car was not moving.
Was a little busy this weekend, did and oil change and...
Before the rain starts back up I glued my leaking Passenger Side Grommet with some powerful stuff. Garage and car smelled like solvents the next day hah
I went to the junkyard to see how I could remove the grommet on my car with out destroying it ( PHOTO 1 , PHOTO 2) ,but decided to leave it alone and use a syringe with a angled blunt needle from the outside.
Also Grabbed some Exhaust dampers when I was at the Junkyard. Looks like at least with free revving they cancel out some frequency on decel.
I also Installed a NOS Light (JK) Im still having weird AC issues so this way I can see when the compressor is on or off.
AC is cold but once im at a light sitting and decide to move forward AC goes warm for a few sec, troubleshooting continues...
Great video of the dampers in action. Confirm the statement that the exhaust once modified could benefit from a few of these.
As far as the compressor goes, you could have too much freon in the system. They take 55kg or 1.21lbs, I have a SLOOOOW evaporator leak that has cause me to recharge my system countless of times.
Almost never I can get it correctly by hand. EX: A small can = 1lbs so it would take 1 + 1/4 of the other can and you'd need to make sure no air enters the system as you switch from cans or you'll introduce air into the system. I tried the 1 can then added the second can slowly while paying attention to the thermometer. At first I would add until below 40F but found that the AC would freeze over and stop the compressor until thaw.
I have gotten 35F before which is insane but it should never be. The compressor has a switching valve that allows the compressor to pump more/less freon this valve is controlled by the sunlight sensor in the dash.
The dash brings two light receiving sensors. One to turn on the AUTO headlights and the other to control how much freon the compressor sees based off sunlight. So if your light sensors in the dash are messed up or covered they could interfere with cooling. Many times they fade and introduce less sunlight causing the compressor to see less freon.
When I first started messing with my exhaust, I replace the cats with RHFC from Fast Intentions, while keeping the factory cat back. There was a noticeable resonance immediately afterwards. In trying to find the source, my mechanic actually *removed* two of these dampers, and the problem was diminished.
So while adding a damper worked for the OP, it's not a silver bullet for all configurations.
Did you check your fans? Years ago, my A/C would be fine until I stopped at a red light then it would get warm. Once I was moving again all would be back to normal. My issue was that both fans were dying/ barely turning thus not providing enough air flow across the condenser when the car was not moving.
Actually the AC is cold all the time until I actually start moving initially which is odd, ive been thinking of it being related to the magnetic clutch but wanted to rule out other things. I have done an IPDM test and confirmed fan operation, so its not that
Originally Posted by BULL
Great video of the dampers in action. Confirm the statement that the exhaust once modified could benefit from a few of these.
As far as the compressor goes, you could have too much freon in the system. They take 55kg or 1.21lbs, I have a SLOOOOW evaporator leak that has cause me to recharge my system countless of times.
Almost never I can get it correctly by hand. EX: A small can = 1lbs so it would take 1 + 1/4 of the other can and you'd need to make sure no air enters the system as you switch from cans or you'll introduce air into the system. I tried the 1 can then added the second can slowly while paying attention to the thermometer. At first I would add until below 40F but found that the AC would freeze over and stop the compressor until thaw.
I have gotten 35F before which is insane but it should never be. The compressor has a switching valve that allows the compressor to pump more/less freon this valve is controlled by the sunlight sensor in the dash.
The dash brings two light receiving sensors. One to turn on the AUTO headlights and the other to control how much freon the compressor sees based off sunlight. So if your light sensors in the dash are messed up or covered they could interfere with cooling. Many times they fade and introduce less sunlight causing the compressor to see less freon.
Our AC System is very complicated compared to my XJ I had no idea variable compression compressors exist so using pressure gauges is a waste of time! HAC-64 lists out what controls the A/C Compressor function which is what I am diagnosing for now as it feels and smells as if the compressor just shuts off. Previous owner had the free-on redone by weight shortly before I purchased the car but now its taking a bit too long to cool initially so I actually think its a bit low which means there is likely a leak. Maybe my issue is related to being low on free-on I could go rent a vac pump and try refilling it I suppose.
It Could be the car sets the ECV to 0% during those transients if the compressor stays on? ... yea lots to check on a complex system hah.
Originally Posted by Rochester
When I first started messing with my exhaust, I replace the cats with RHFC from Fast Intentions, while keeping the factory cat back. There was a noticeable resonance immediately afterwards. In trying to find the source, my mechanic actually *removed* two of these dampers, and the problem was diminished.
So while adding a damper worked for the OP, it's not a silver bullet for all configurations.
I added these dampers because why not I have not noticed any negative affects with them, There are also a lot of heat shields under the car that can rattle which drives me nuts.
Actually the AC is cold all the time until I actually start moving initially which is odd, ive been thinking of it being related to the magnetic clutch but wanted to rule out other things. I have done an IPDM test and confirmed fan operation, so its not that
Our AC System is very complicated compared to my XJ I had no idea variable compression compressors exist so using pressure gauges is a waste of time! HAC-64 lists out what controls the A/C Compressor function which is what I am diagnosing for now as it feels and smells as if the compressor just shuts off. Previous owner had the free-on redone by weight shortly before I purchased the car but now its taking a bit too long to cool initially so I actually think its a bit low which means there is likely a leak. Maybe my issue is related to being low on free-on I could go rent a vac pump and try refilling it I suppose.
It Could be the car sets the ECV to 0% during those transients if the compressor stays on? ... yea lots to check on a complex system hah.
I added these dampers because why not I have not noticed any negative affects with them, There are also a lot of heat shields under the car that can rattle which drives me nuts.
A compressor not turning off has nothing to do with the compressor itself. It's the Amp meter detecting that desired temp has not been met and keeps the compressor on. Using a thermometer in the center vents will likely range between 40-50F. Shut off is around 35F. So since full freeze over has not happened neither has target temp means that compressor will stay on.
Usually because of lack of Freon, it shoots up the high side and the High PSI switch detects too much pressure on the high side and it turns off the compressor.
My best advice is to have the system recovered by the machine and insert between 1.18 - 1.21lbs and test again. Keep the thermometer in the car for a month to familiarize yourself with the temps.
The system can be very intricate however the software makes it all behave similarly to basic ones.
It's when the common attempts fail that you should look into the latter.

 03-11-2023, 04:21 PM


") But in my defense, I always washed cars top-down.
But in my defense, I always washed cars top-down.