When you click on links to various merchants on this site and make a purchase, this can result in this site earning a commission. Affiliate programs and affiliations include, but are not limited to, the eBay Partner Network.
Lots of youtube videos on this topic by guys more knowledgeable than me. Here's my own 2 cents for whatever it may be worth:
To clean the throttle body, I used mainly the 91% rubbing alcohol I had on hand since my harsher carb cleaner didn't seem to be more effective. The cheapo toothbrush route didn't seem to work that great for me on the butteryfly as the butterfly face's gunk was rather stubborn, but a bit of scotch-brite&foam pad action in addition to shop blue paper towel did the trick. I used a folded up paper bag piece to hold open the butterfly while I cleaned the other side. I also reached into the plenum to wipe that out as well.
I do like removing the throttle bodies from the upper intake manifold / plenum since that greatly aids access during cleaning. And wiping the accessible inside area of the plenum felt nice (even though not particularly needful to my knowledge since our engines are port injected). Just be sure to torque to spec when reinstalling (75 in-lbs., see pic below. Full Factory Service Manual (FSM) located here). And don't disconnect the coolant lines (#15, #16 in the below pic). If you don't have the metric hex bit, a set of 6 or so 3/8 socket metric hex bits is less than $8 at Harbor Freight. And their in-lbs torque wrench is ~$12 with coupon right now.* Be sure to have a 3/8 socket to 1/4 socket adapter too if you go this route. You may need a short socket extension as well e.g. a u-joint should be long enough for this job.
See the youtube videos:
After cleaning the throttle body: G37 & 370Z After Throttle Body Cleaning: Motorvate�s DIY Garage Ep.27.
Motorvate's DIY Garage Quick Tip #1: Engine Cover Warning
And torque the cover bolts to spec -- iirc it's 49 in-lbs which is hardly anything.
Tip: After cleaning the throttle body, there will be a gap between the edge of the butterfly and the throttle body. I recommend pressing on the butteryfly to close that gap. It will pop back to being slightly cracked open, but doing so will help break any crud you couldn't get to near the hinge, so when the computer does the "Throttle valve close position learning", there won't be any chance of the residual crud significantly hindering the servo. (I'm not sure if this is really needful. I don't know how powerful or anemic the servo is for the buttery valve.)
I don't have MAF cleaner on hand, and they quite readily removable, so I decided to clean those at some nebulous future date.
* After buying the in-lbs torque wrench, set it to some random value e.g. 100 in-lbs and then test it e.g. on a lug nut to ensure it clicks as it should. The last thing you want is to find out the hard way when tightening a low torque value bolt is that your new torque wrench isn't clicking over.
Hope this helps. This is perhaps quite excessively elaborative, but I wasn't sure just how much elaboration you needed.
Well I have removed these manifold so many times and in reality maintenance can be easier than what some portray it to be.
Any time you disconnect your TB you will have to do an IDLE RELEARN and these can be a hit or miss I've had 50% success with pedal dances ect my best recommendation is to leave them plugged in.
So how do you clean them? After you remove the 4 allen bolts, leave the TB connected and put the car in the KOEOFF position (KEY ON ENGINE OFF) place the gear position to D or manuals in gear
Find a way to keep the accelerator pedal pressed with the engine off and the accelerator pedal will hold the butterfly open for however long you need.
Some carburetor cleaner and a microfiber you can clean up to 90% of the throttle, small wire brush can take care of the additional 10% left.
Once satisfied with the result bolt the throttle back.
As for tightening bolts to plastic part you never want to exert the same force recommended, being that these specs do not account bolt stretch and plastic flex causing many individuals to damage the threaded/pressed part that hold the throttle.
It can be tightened by hand simply, if in doubt add 90 degrees of turn to the bolt.
A great aspect of cleaning the throttles while they're connected is that you can determine if any improvements happened from this cleaning as the ECU will run the same idle table it had when it was dirty. The idle will be a bit higher but not by much and this bit of difference the computer will handle on its own just with a bit of driving
Also tried to tackle cleaning my stone seats (accumulated quite a bit of post-gym grime). Had success with warm water and dish soap, but trying to figure out a method that requires less muscle. Any tips?
Great photos. Love your car, man.
Do some research on something called Leatherique. It comes as two products... (Step 1) Rejuvenator, and (Step 2) Cleaner. You apply the rejuvenator generously, and leave it on the leather, preferably in the hot sun. It works best when it bakes in. Then clean all the leather with the cleaner. Things should look good as new. No more spider web cracks, just pristine leather. It's kind of expensive, messy and time consuming, but it works.
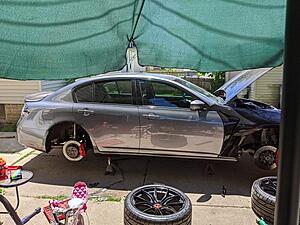
Yesterdays project was a trans pan drop, clean, refill. First project on the new lift! It makes working under the car sooo easy!
The hardest part is loading / unloading the car. I really didn't anticipate how low my car really is. Had to build ramps under the ramps, even still it bottomed out on that bracket for the cats.
Sweet set-up you got there... I'm seriously jealous!
How are you liking the Atlas lift? And what model did you end up going with? I'm getting close to pulling the trigger on the Bendpak HD-7P.
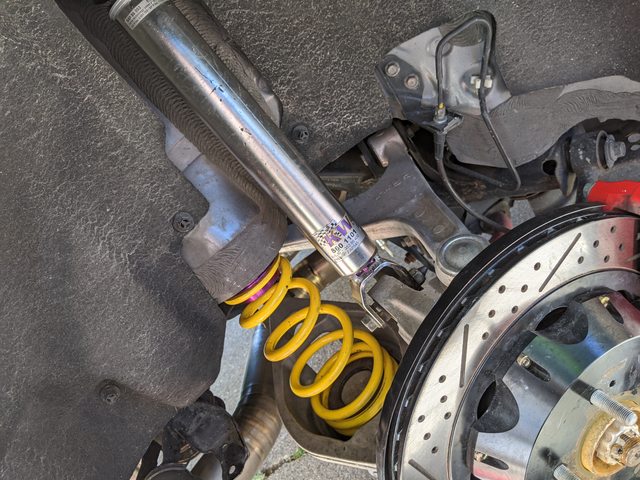
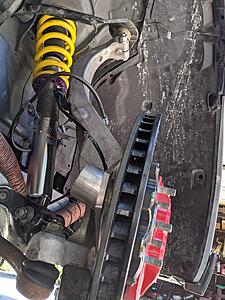
Nice updates, Supra! Are those brake cooling ducts that I spy attached to your front spindle/brakes, or is that just an optical illusion in the photo?
Those are brake ducts .
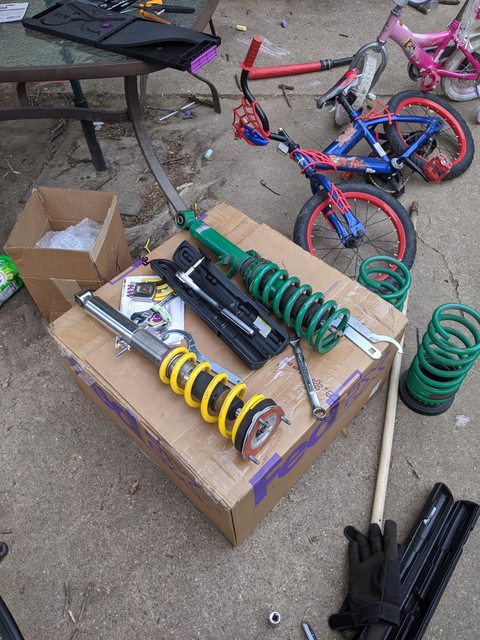
I'll have to write a long term review of these KW V3's vs Tien Street Basis vs Stance XR1 since I have more experience than most soon. My initial install and height settings for the KW is a bit disappointing. Rear as at full high and it's pretty low.
Sweet set-up you got there... I'm seriously jealous!
How are you liking the Atlas lift? And what model did you end up going with? I'm getting close to pulling the trigger on the Bendpak HD-7P.
It's the narrower 8000lb Atlas lift - went with the narrower one for more space on the sides. It's great, super easy to use and works really well. The only downside like I said is the ramps, I need some longer / less steep ones for my car to get on easily. I haven't tried to get the S2000 on it yet but I'm guessing I'll have to do the same thing with the wood under the ramps. Haven't checked yet to see if i can just buy longer ones.
Round 2 of trying a color change on my seats. I'm absolutely amazed at how this turned out, it looks brand new! the headrest is NOT dyed, so use that as a comparison for the color match.

 06-11-2020, 03:15 PM


 .
. 


