When you click on links to various merchants on this site and make a purchase, this can result in this site earning a commission. Affiliate programs and affiliations include, but are not limited to, the eBay Partner Network.
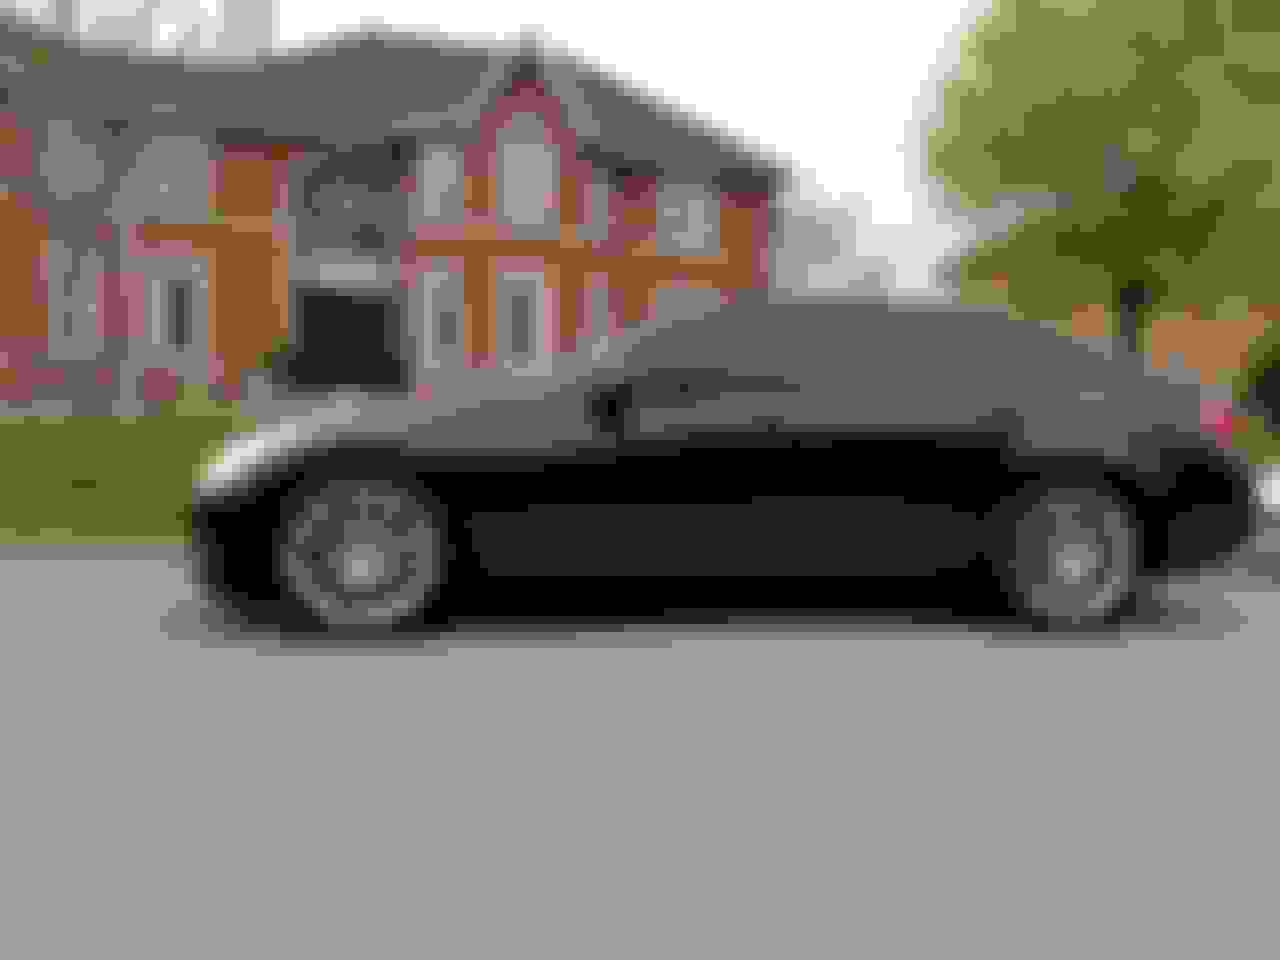
Put on the the oem front spoiler for the G (non-sport). Took me 4.5 hours. All the drilled holes lined up! So I deserve a gold star for that! Lol
Before
After. Head on and crappy/dark pic it�s kind hard to see the difference. Subtle difference from the stock, but I think it gives the front a bit more aggressiveness. The area under the fogs is more pronounced and the sharper edge lip is attractive to me.
Overall I�m pleased with the look tho not a dramatic change from stock.
Also put my under engine Z-speed shroud back on. Been laying in garage for too long.
I was in the middle of removing jack stands when I took the pic. I wasn�t using the jack as a jack stand as that would be stupid dangerous.
Thats really interesting ...do you think it can be used to program a set of TPMSs? ..instead of doing the paperclip and drive around thing?....that would be convenient for ppl who switch to Winters wheels every year
I don't see why not, however I can't really test it. I'm pretty sure my car has a different TPMS system than the newer Gs. On my winter wheels the TPMS light stays off, and now with this app I know my summer wheels work as well with the exception of that one sensor. I didn't do any reset at all when I swapped them and it just started reading automatically.
The app has an option to reset the BCM, so i'm sure if you do that it will do a relearn. I tried it out and it did clear the light for a while.
I have an OG V36 too so hopefully it'll work for mine....I just changed wheels and need to program the new sensors so maybe this will save some time.
since I haven't posted my own update in while on my thread...heres a collective spring update of work done since mid April:
1. Refinished some used wheels and put new Pilot 4S rubber on going 255/40 square...handling is so much more neutral than the 245/285 stagger I was running...could also be the much lighter wheels..also thicker sidewall is soo nice
2. got a proper alignment set up for daily driving and a quick adjustment for a track day tweak
3. Installed bell diff brace--oh man so good
4. new serpentine belt agian..I did thsi last spring and put a cheap continetial one one...was was so stretched...it was also about 1/.3 the thickness of the Gates belts I usually use..
5. Oil change/airfilter clean
6. new rotors and pads/ brake fluid flush
7. Annual respray of my calipers and changed the decals this year from "Akebono" to "Infiniti"
8. changed a sticking caliper (no time to rebuild it)
8.washed the car!
Looks good black on black on black with black calipers. Your car is black. Really black, LOL.
Surprised you haven't snuffed out the silver keyholes with a blank plate. That's a thing, if you didn't know.
Wheels look brand new. You take good care of them.
Very interesting slot pattern on those rotors.
Liking the Diff Brace, eh?
If I had to make any constructive comment (I don't but I will), it's how overly bright your headlight lenses are. The contrast with the rest of the car is a bit much.
Yeah that diff brace is really something else...this was basically my annual maintenance binge but if I have time this year I'm more and more curious about the subframe collars that have been sittng in the garage since last year...
I forgot about those keyhole covers I remember seeing them for the old g35 coupe.. something to consider
The rotor slots seem a bit gimmicky to me but they are at the price point I want to be at unless I go 2 piece for now... I ran Centric Premium blanks last year and surprisingly that wore down so fast compared to the Centric stoptech slotted/drilled I ran for a few years before that...Used to think it was all cosmetic but I'm starting to think slotted ones keep the pad deposits down and hopefully keep things a tiny bit cooler ..these were the cheapest ones I Could find with slots and an ecoating..somwhere around $45 USD per rotor...I think they are cheaper in part because the pattern means that make them non-directional vs traditional slots (along with non directional vanes) so they are cheaper to make
I've said it before and I'll say it a million times....the diff brace is so good, such an easy add on and such a big gain
I've gone back and forth on darkening the lights so many times as I have some internal crazing on the lenses so they probably need to be taken apart or replaced altogether (I don't think they'll look good with an internal refinish with the current lens condition) but I'm not actually a fan of the completely murdered out look and I think if I do do anything to the lights I might make the inner part more of a subtle smoked or black chrome colour, similar to the difference between the sport and non sport G37s cause I don't like the way they look when they're all black...
A little bit of brightness keeps it more balanced with the taillights bright red and the chrome rear spoiler (which i may also make black chrome)...we'll see though...I may do nothing...at the end of the day I'm not inclined to spend a lot of money on cosmetics at this point (the car's 13 years old and hitting 300k kms) ..almost all my cosmetic mods are "budget mods" and the price of new headlights is about the price of 2 piece rotors sooo..
I think I left a few things off that list too...I changed the HID bulbs (one of which promptly burned out so I changed back to one of the originals until new replacements arrived) and I did the rear struts...there was probably a few more things I'm forgetting...spring maintenance binge for sure....
Been fighting with thy drivers side axle for a few days unfortunately. Got half off and now I'm just trying to pry the axle out from the transmission. Any ideas or tips?
Take it off and give it to a body shop. Match it to the body... that's a good option, too.
lol we'll see..
Originally Posted by iCrap
Is the diff brace really that good? Maybe i'll need to order one. It fits the awd I'm sure, right?
I'd say so I've never done a mod that took so little time and effort and made such a noticeable difference...
Mines AWD but theres no issue about it being RWD or AWD for fitment...the only consideration is whether you have an aftermarket Diff cover (finned) or an oem one as Bell makes a different version for the finned one ...one thing though Bell says the finned one fits all finned covers but really it fits the Z1 finned cover...I have the Nismo one and had to grind two fins down a bit to make it fit (I posted pics on another thread somewhere)..it was aluminum so it really only took a few minutes
I'd be interested is seeing pics of what fins you needed to grind down on your Nismo cover for the Bell brace to fit, Hashim. I have a fully polished Nismo diff cover and have been considering adding the Bell brace, but I'll probably skip it if I need to do significant grinding to the fins on the diff cover that might ruin my nice polish.
I'd be interested is seeing pics of what fins you needed to grind down on your Nismo cover for the Bell brace to fit, Hashim. I have a fully polished Nismo diff cover and have been considering adding the Bell brace, but I'll probably skip it if I need to do significant grinding to the fins on the diff cover that might ruin my nice polish.
Here are the pics (sorry theres cutting oil and aluminum slag all over in them and I hadn't washed the car in a couple months)...its either grind down the steel brace (hard) or grind the aluminum fins (easy) ...I used a Dremel 115 bit (Same one people used to use to grind their subframes for toebolts when the subframes were aluminum)...the cut is only about a centimeter high and a centimeter deep on each of the last two fins...If you are a bit more careful than me (not hard) and clear the slag as you go.. you probably will just have to repolish the leading edge of the parts of the fins you cut its really a tiny section so it shouldn't take too long
Looks like I need to get my DIY pants back on... Fuel level sensor blew. Not sure which side. Every time I turn the car on, it tells me a different fuel level. Showing 3/4 full when it's really 1/4... Kind of hope its the driver side so I don't have to spend as much money on the sensor thing with the little pump that's on the passenger side. There's always something... The annoying part is that when it shows it as almost full while it's actually almost empty, it only lets me put in a tiny bit of gas... SO ANNOYING!
Looks like I need to get my DIY pants back on... Fuel level sensor blew. Not sure which side. Every time I turn the car on, it tells me a different fuel level. Showing 3/4 full when it's really 1/4... Kind of hope its the driver side so I don't have to spend as much money on the sensor thing with the little pump that's on the passenger side. There's always something... The annoying part is that when it shows it as almost full while it's actually almost empty, it only lets me put in a tiny bit of gas... SO ANNOYING!
That sucks, mine just started doing almost the same thing about two weeks ago apparently its a common problem (that I never heard about before)...have you tried cleaning the resistors on the senders?... this guy posted a couple of great videos on fixing the problem:
It seems like a quick fix, I'm hoping to have a few minutes to try it this weekend...I was looking at pricing out the Senders/pump....its seems silly but its almost the same price to get the sender as a whole pump/sender for the passenger side and the drivers side sender is a similar price as well.
 05-29-2019, 09:08 PM


")

