When you click on links to various merchants on this site and make a purchase, this can result in this site earning a commission. Affiliate programs and affiliations include, but are not limited to, the eBay Partner Network.
Dropped about 1.25" in height from shift lever overall, but with the added weight it still shifts smoothly, and forces me to reach down rather than around to shift, as I was taught in track school. IE, hand goes on top of lever so you follow the gate pattern, rather than gripping like a pistol grip which encourages diagonal pressure.
Also, it is all leather so not a branding iron like the OEM one in the South Carolina sun.
I get bit hard about every 3 weeks to do a modification. Brake change coming up and I'm looking forward to trying new pads..I did manage to make it a year though before the exhaust mods happened.
Really interested in seeing bottle development...Mandatory build thread if you go that route btw.
I get bit hard about every 3 weeks to do a modification. Brake change coming up and I'm looking forward to trying new pads..I did manage to make it a year though before the exhaust mods happened.
Really interested in seeing bottle development...Mandatory build thread if you go that route btw.
Just the DIY aspect and actually having my GFs dad as an experienced mechanic chilling and giving me pointers is cool. He is really interested in seeing where I go with this as he builds classics but still likes to see how far tech has come.
And I got you on the build thread im only gonna be going for a 50 shot if I do it, still contemplating.
Well didn't do it yet but over-nighted something that will come with gains and noise. installing tomorrow.
Welp I got my hopes up they messed up my shipping and gave me normal 1 day meaning 1 business day not overnight weekend shipping so not getting it till monday
Second synthetic change simce purchasing last August @67k. Went 5,500 miles on the this one and didn�t lose any oil. Previous car (Accord V6) had known issues for oil consumption and it used a quart every 7k; wife�s MINI uses more than that (turbo) and I was glad to see nearly 5 quarts come out.
Gorilla tape around my sun roof. The frackin' drains are plugged again and both footwells are soaked. Haven't used my car for several days and with the high temps here on the Third Coast, my car stinks of mildew and I had to wipe mold from the perforations in the seat. Damn Infiniti all to hell for their crap drain design. Now I get to dry the carpet. Again.
Ok, this is going to be a big post lol. Unfortunately, my camera is still broken... so the photo quality is beyond potato. Still, I wanted to document the past 5 days. Garage finally finished at the cottage, got to work right away.
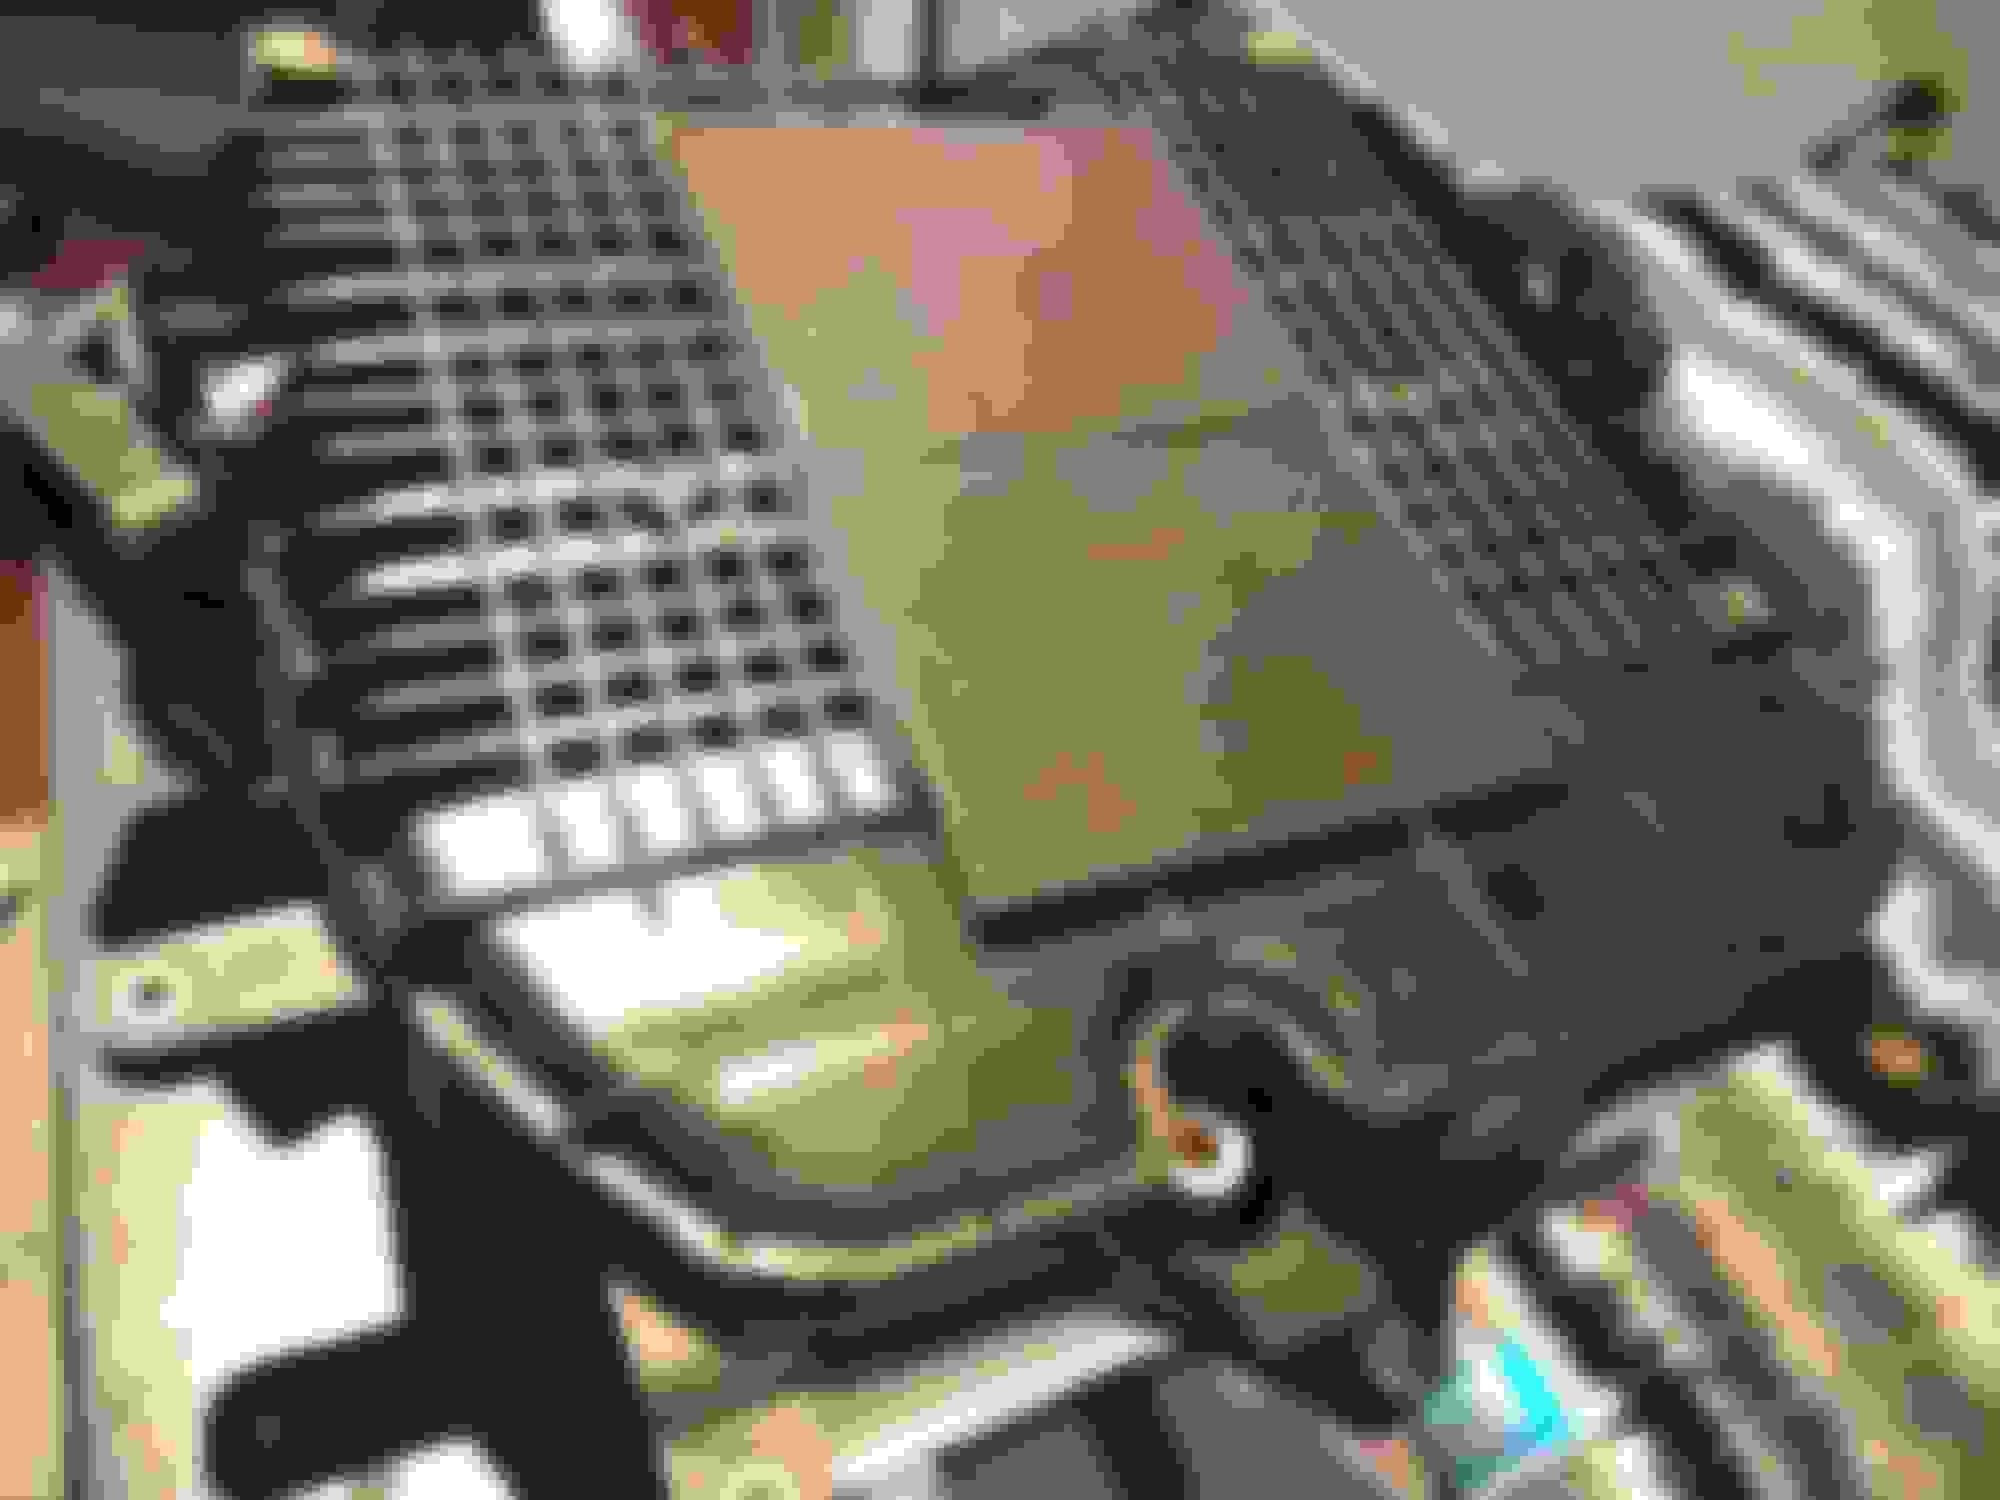
I made a cut-out in the engine cover. It will make sense once the Motordyne M370 goes in. I wrapped the aluminum plate with the same CF I used on the sides of the battery/brake fluid compartments.
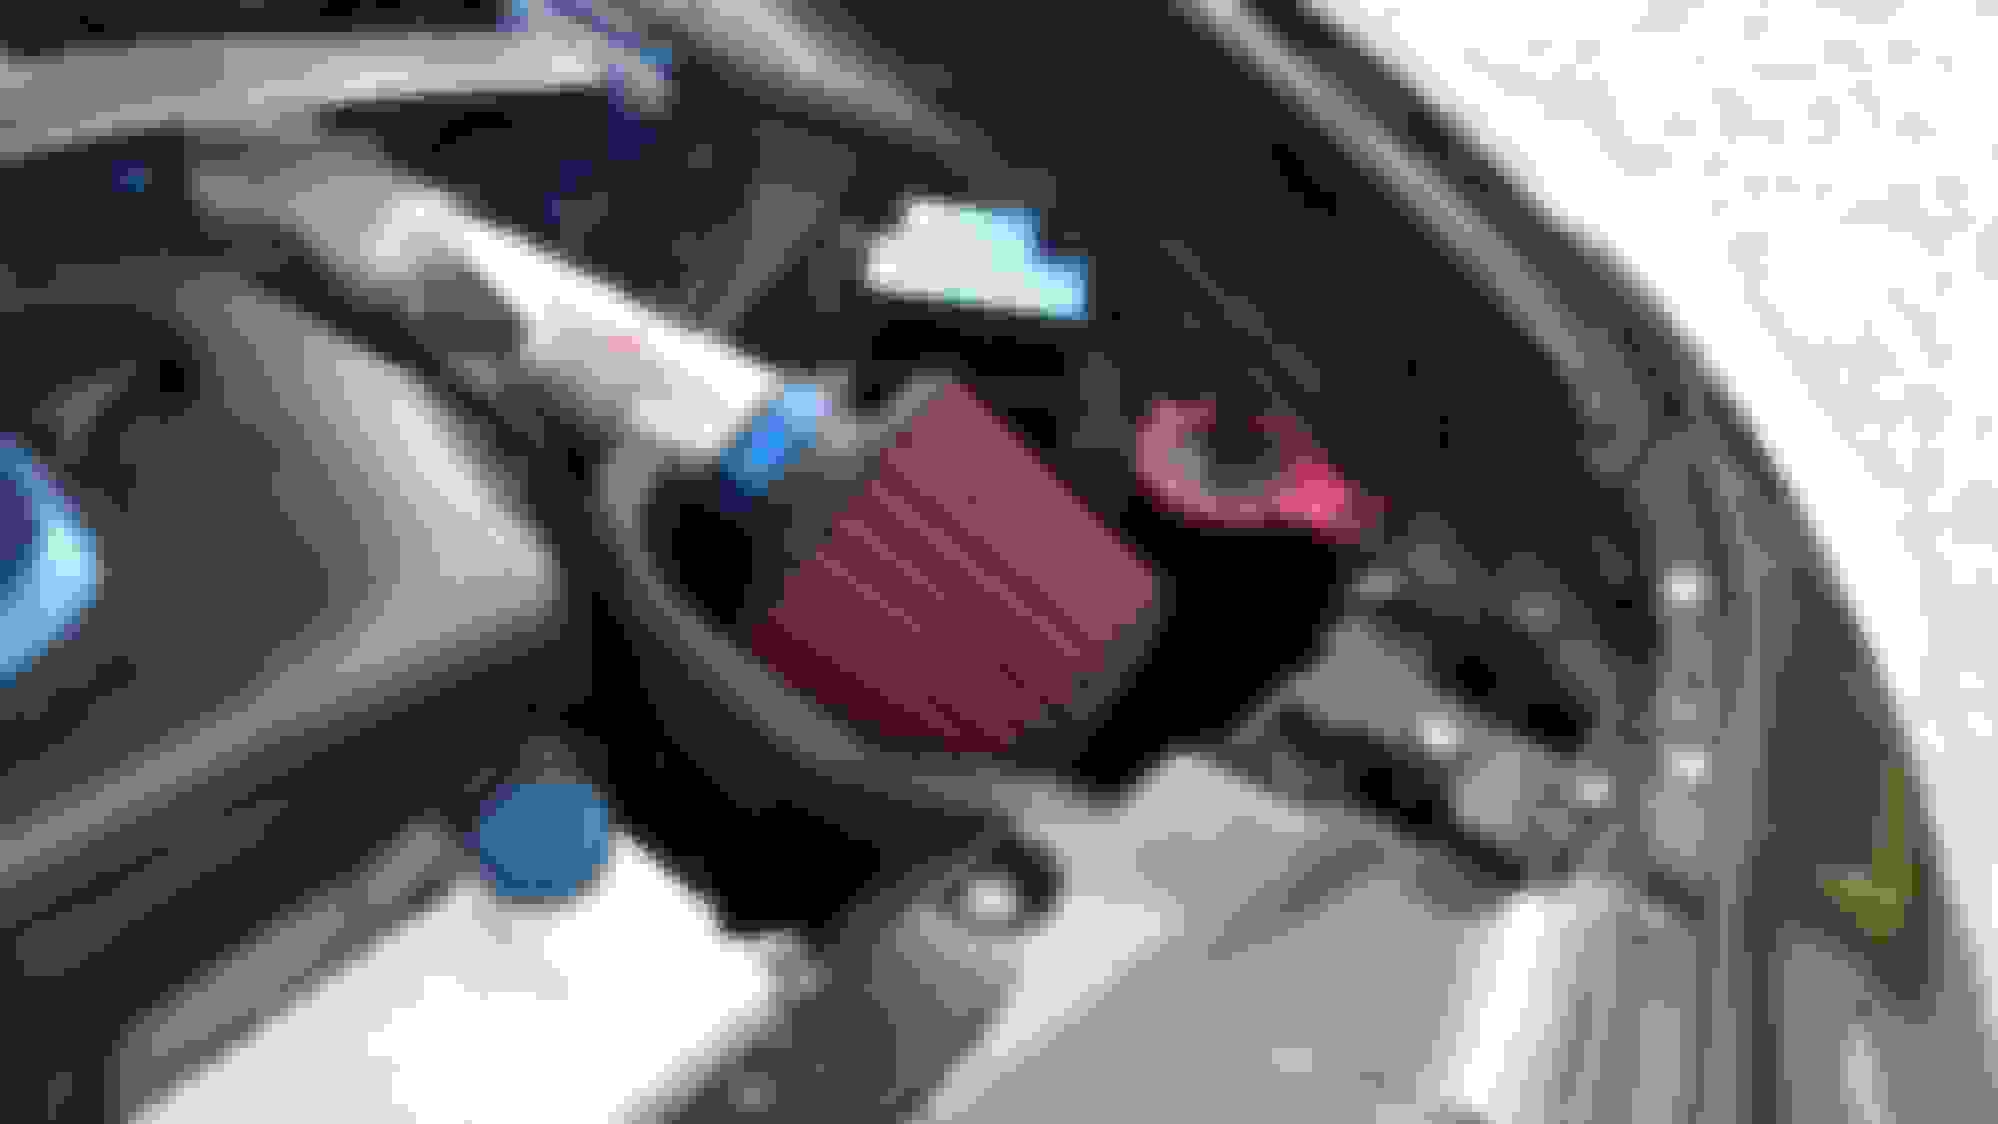
I moved the buzzer alarm to make room for the oil catch can. Im waiting for an elbow AN fitting before I can hook it up. The M370 makes running a single can very simple. Still waiting for a few hose clamps and fittings before it can all go in. The ring holding the can is going to be blue soon to match the rest of the bay.
My bumper was in absolutely terrible shape, so I decided to do a full repaint. Using 2k clear coat this time. Its going to be rock hard. Filled all the rock chips with a plastic filler, sanded from 80 grit to 120 > 320 > 400 > 600 > 800. Put on glazing putty (the pink stuff). The pic is when I just started sanding it down. Oh! I filled the licence plate holes too.
First adhesion promoter, primer, and then, more sanding with 800 grit. Did 4 coats of black paint with 600 grit wet sanding after each coat since I'm doing it all with spray cans.
Paint baked in the heatwave sun for a day, and then the clear went on. Unfortunately, crazy orange peel that I cant touch for a week while it all cures. 3 cans of SprayMax 2k Clearcoat with a flex agent sprayed first so it doesn't crack with the plastic moving. Next weekend, I'm going in with 2 days of wet sanding and polishing with my new TORQ polisher. For now, this is where it sits.
Part 2. Again, sorry for the potato quality photos. I am still waiting to hear back from these repair jerks at ASUS...
While the bumper was off, I decided to add some air inlets to channel more air to the "hot air intakes". Totally stole this idea from Robbie from Japan Auction Parts.
First, I made cardboard templates, using tape to add material.
Transferred them to some nice 1/16 thick stainless. Cut out with a grinder and bent in a makeshift brake. Touched up with a Dremel to round off all the edges and make sure there is enough room to clear all the hard lines on the driver's side.
I didnt take the very final pictures, but I dremeled them some more to make sure the flow of air was smooth.

 07-06-2018, 11:07 AM