
What did you do to your Sedan today?
 03-14-2017, 08:23 PM
#2326
Pyroclastic Flow

iTrader: (12)
^^^
What are you trying to say? Did you finally go gloss black instead of bronze on those late-model sport-coupe rims? Good. It suits the car so much better with the roof, front grille, window trim and tint.
Unless that's not what I'm seeing, in which case... um, nevermind.
Or are you complaining that we're going to get 12" of snow tomorrow?
Good luck in the snow!!
Sean
 03-15-2017, 09:01 AM
#2327

They fit tightly enough that I've been running clampless for a clean look, but those aluminum clamps look nice enough I may add them anyway.
03-15-2017, 09:09 AM
#2328
Administrator

iTrader: (9)
Any idea what the chances are that my Z1 post-MAF tubes are around the same thickness as that HPS coupler? I can't seem to find any specs on size for those. (or any other similar products)
They fit tightly enough that I've been running clampless for a clean look, but those aluminum clamps look nice enough I may add them anyway.
They fit tightly enough that I've been running clampless for a clean look, but those aluminum clamps look nice enough I may add them anyway.
I wouldn't run "clampless", regardless of fitment.
 That doesn't seem right at all.
As for these P2M clamps... they're really inexpensive. You've got nothing to lose except $7 each, time and effort.
The following users liked this post:
woofersus (03-15-2017)
03-15-2017, 10:29 AM
#2330
Administrator
iTrader: (9)
Want a tip? Use a strip of indoor/outdoor mounting tape to adhere the unit to the car so it isn't loose behind the trunk liner. You'll see what I'm talking about when you get into it.
03-15-2017, 10:31 AM
#2331
Registered Member
 03-15-2017, 10:39 AM
#2332
Registered Member

 03-15-2017, 11:11 AM
#2333
Premier Member

The following users liked this post:
2GoRNot2G (03-15-2017)
03-15-2017, 12:19 PM
#2334
There's no way for me to know that. I suspect the Z1 tubes are a thicker material than typical couplers, simply because of the more substantial nature of their application.
I wouldn't run "clampless", regardless of fitment. That doesn't seem right at all.
As for these P2M clamps... they're really inexpensive. You've got nothing to lose except $7 each, time and effort.
I wouldn't run "clampless", regardless of fitment.
That doesn't seem right at all.As for these P2M clamps... they're really inexpensive. You've got nothing to lose except $7 each, time and effort.
I guess it's possible that leaving off the clamps is still bad, but they really are quite snug, and without the accordion segments there's certainly no way for the tube to move around or come off. Despite the simple mechanics and easy access of the job, it turned out to be a fair PITA to get them on the car with the need to significantly deform the tubes and then wiggle them back and forth onto the throttle bodies.


 03-16-2017, 06:57 PM
#2336
Registered Member

 03-16-2017, 11:18 PM
#2337
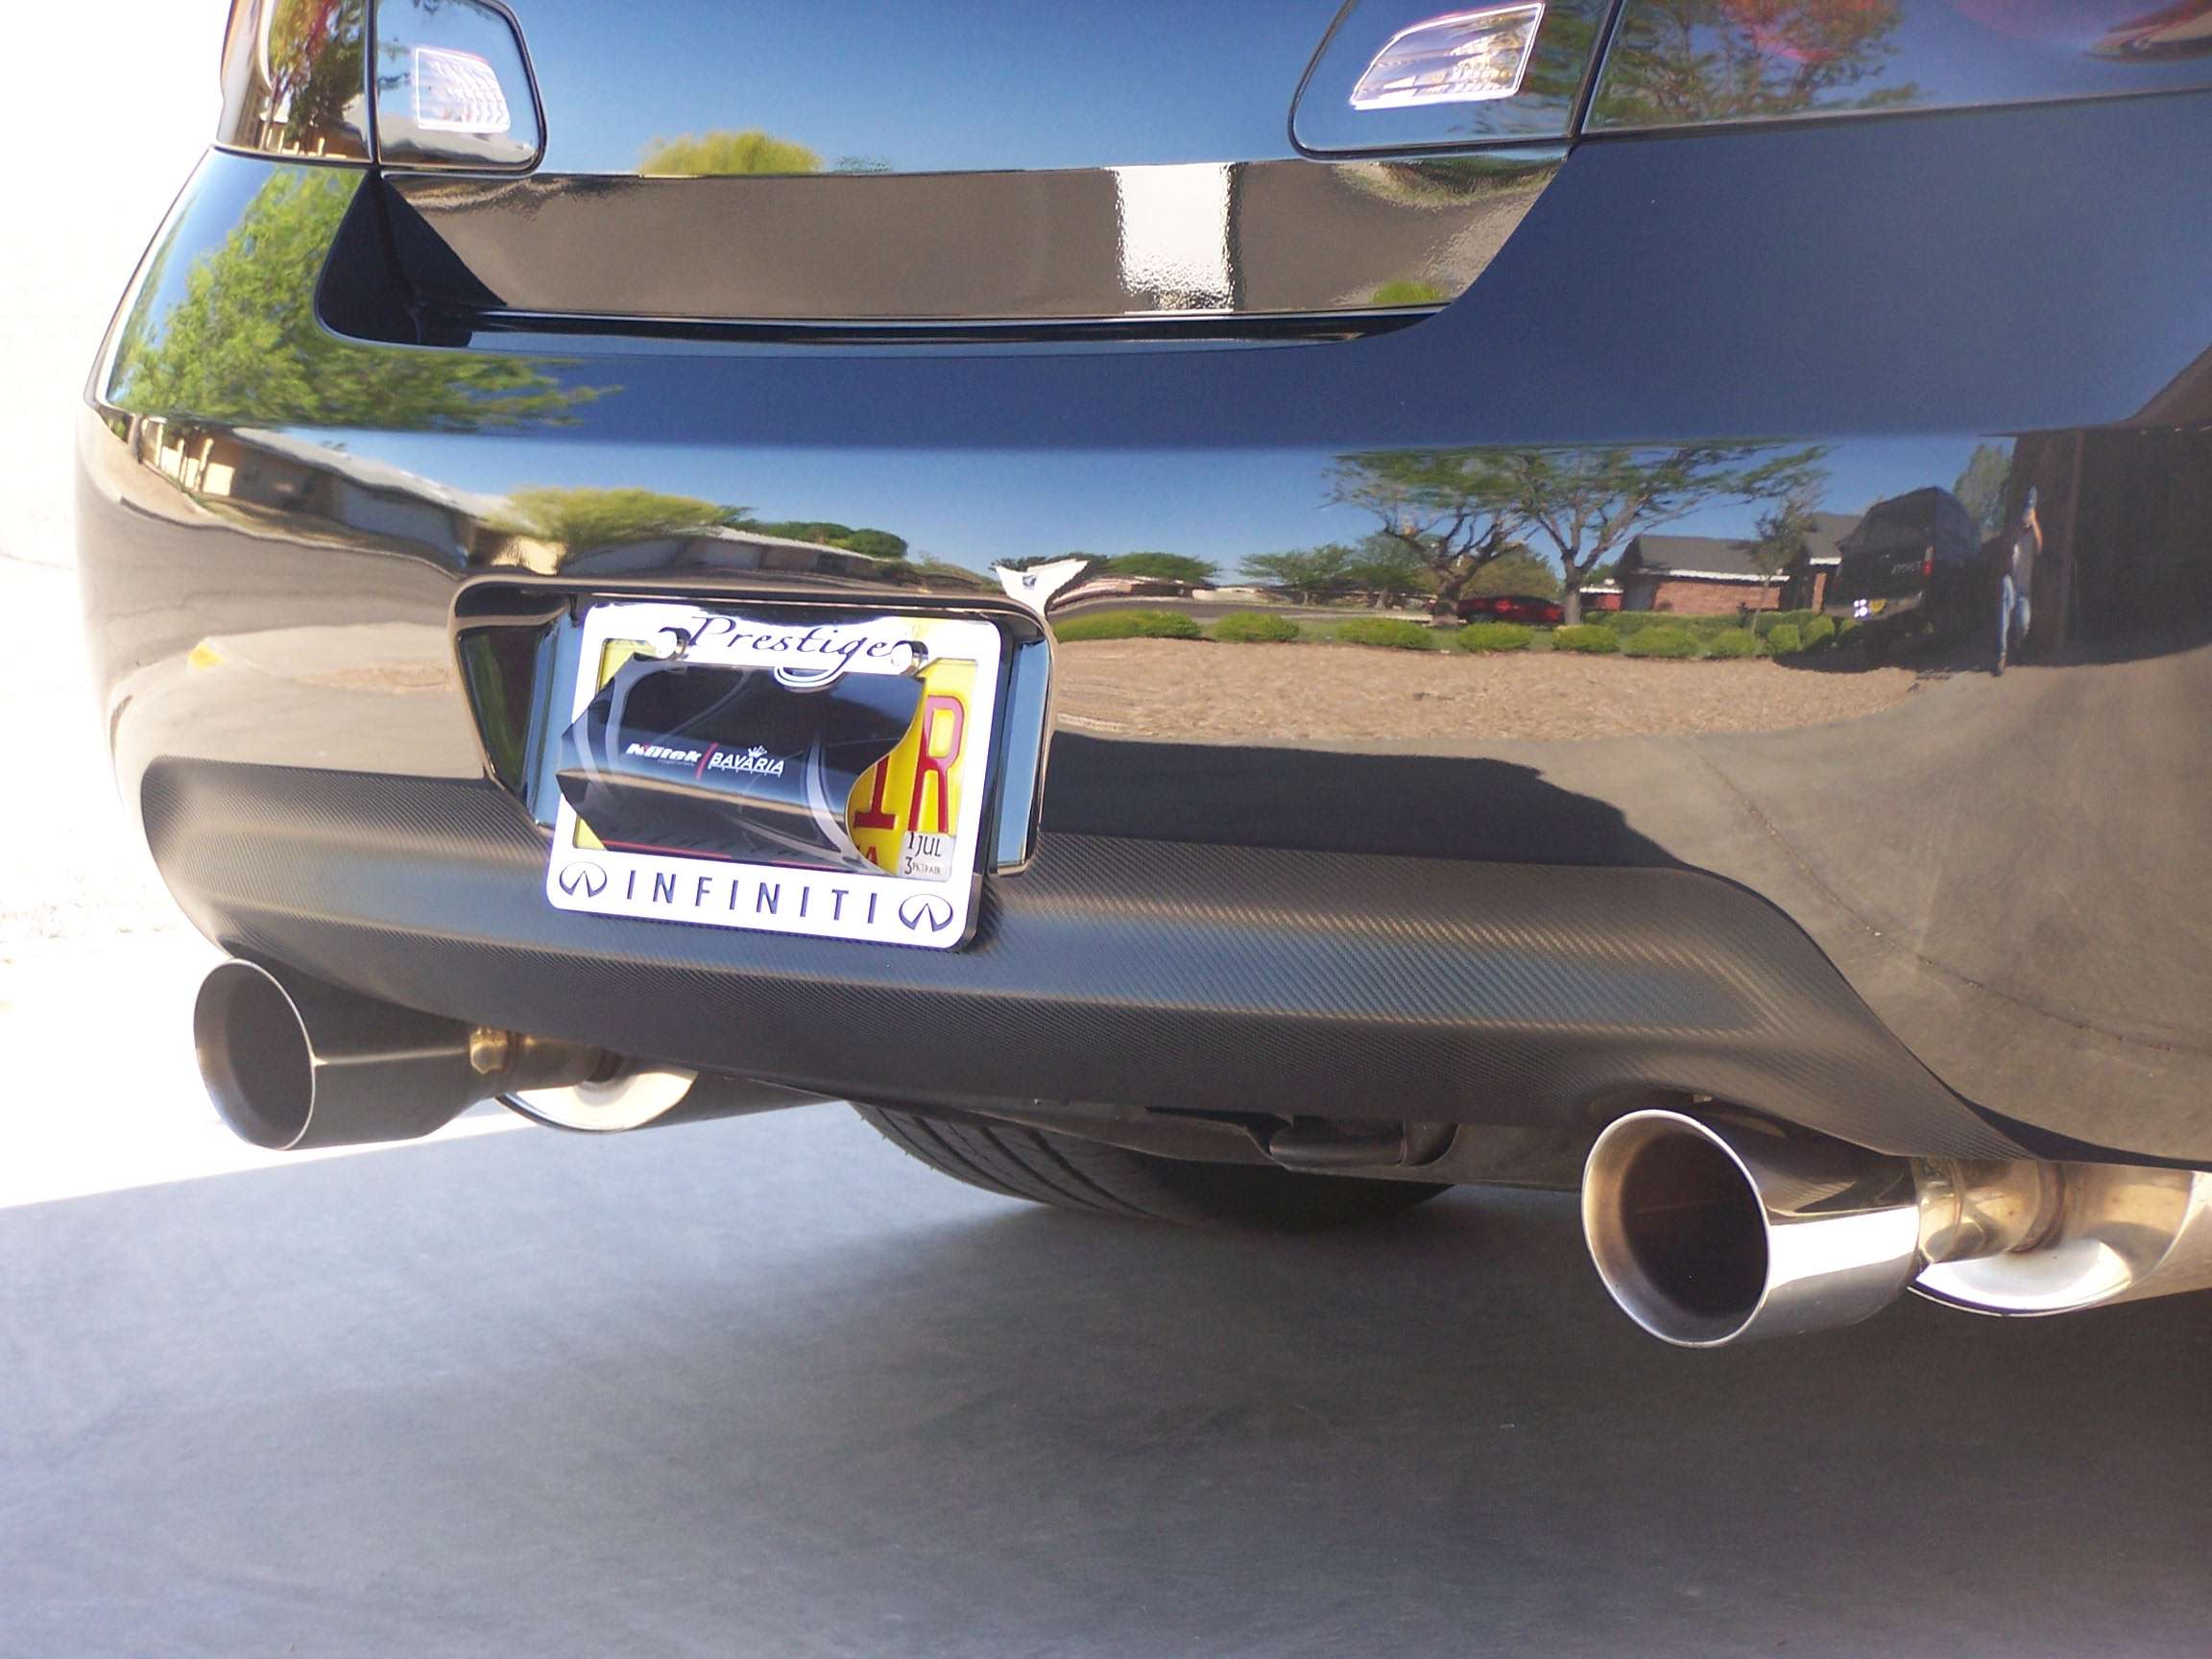
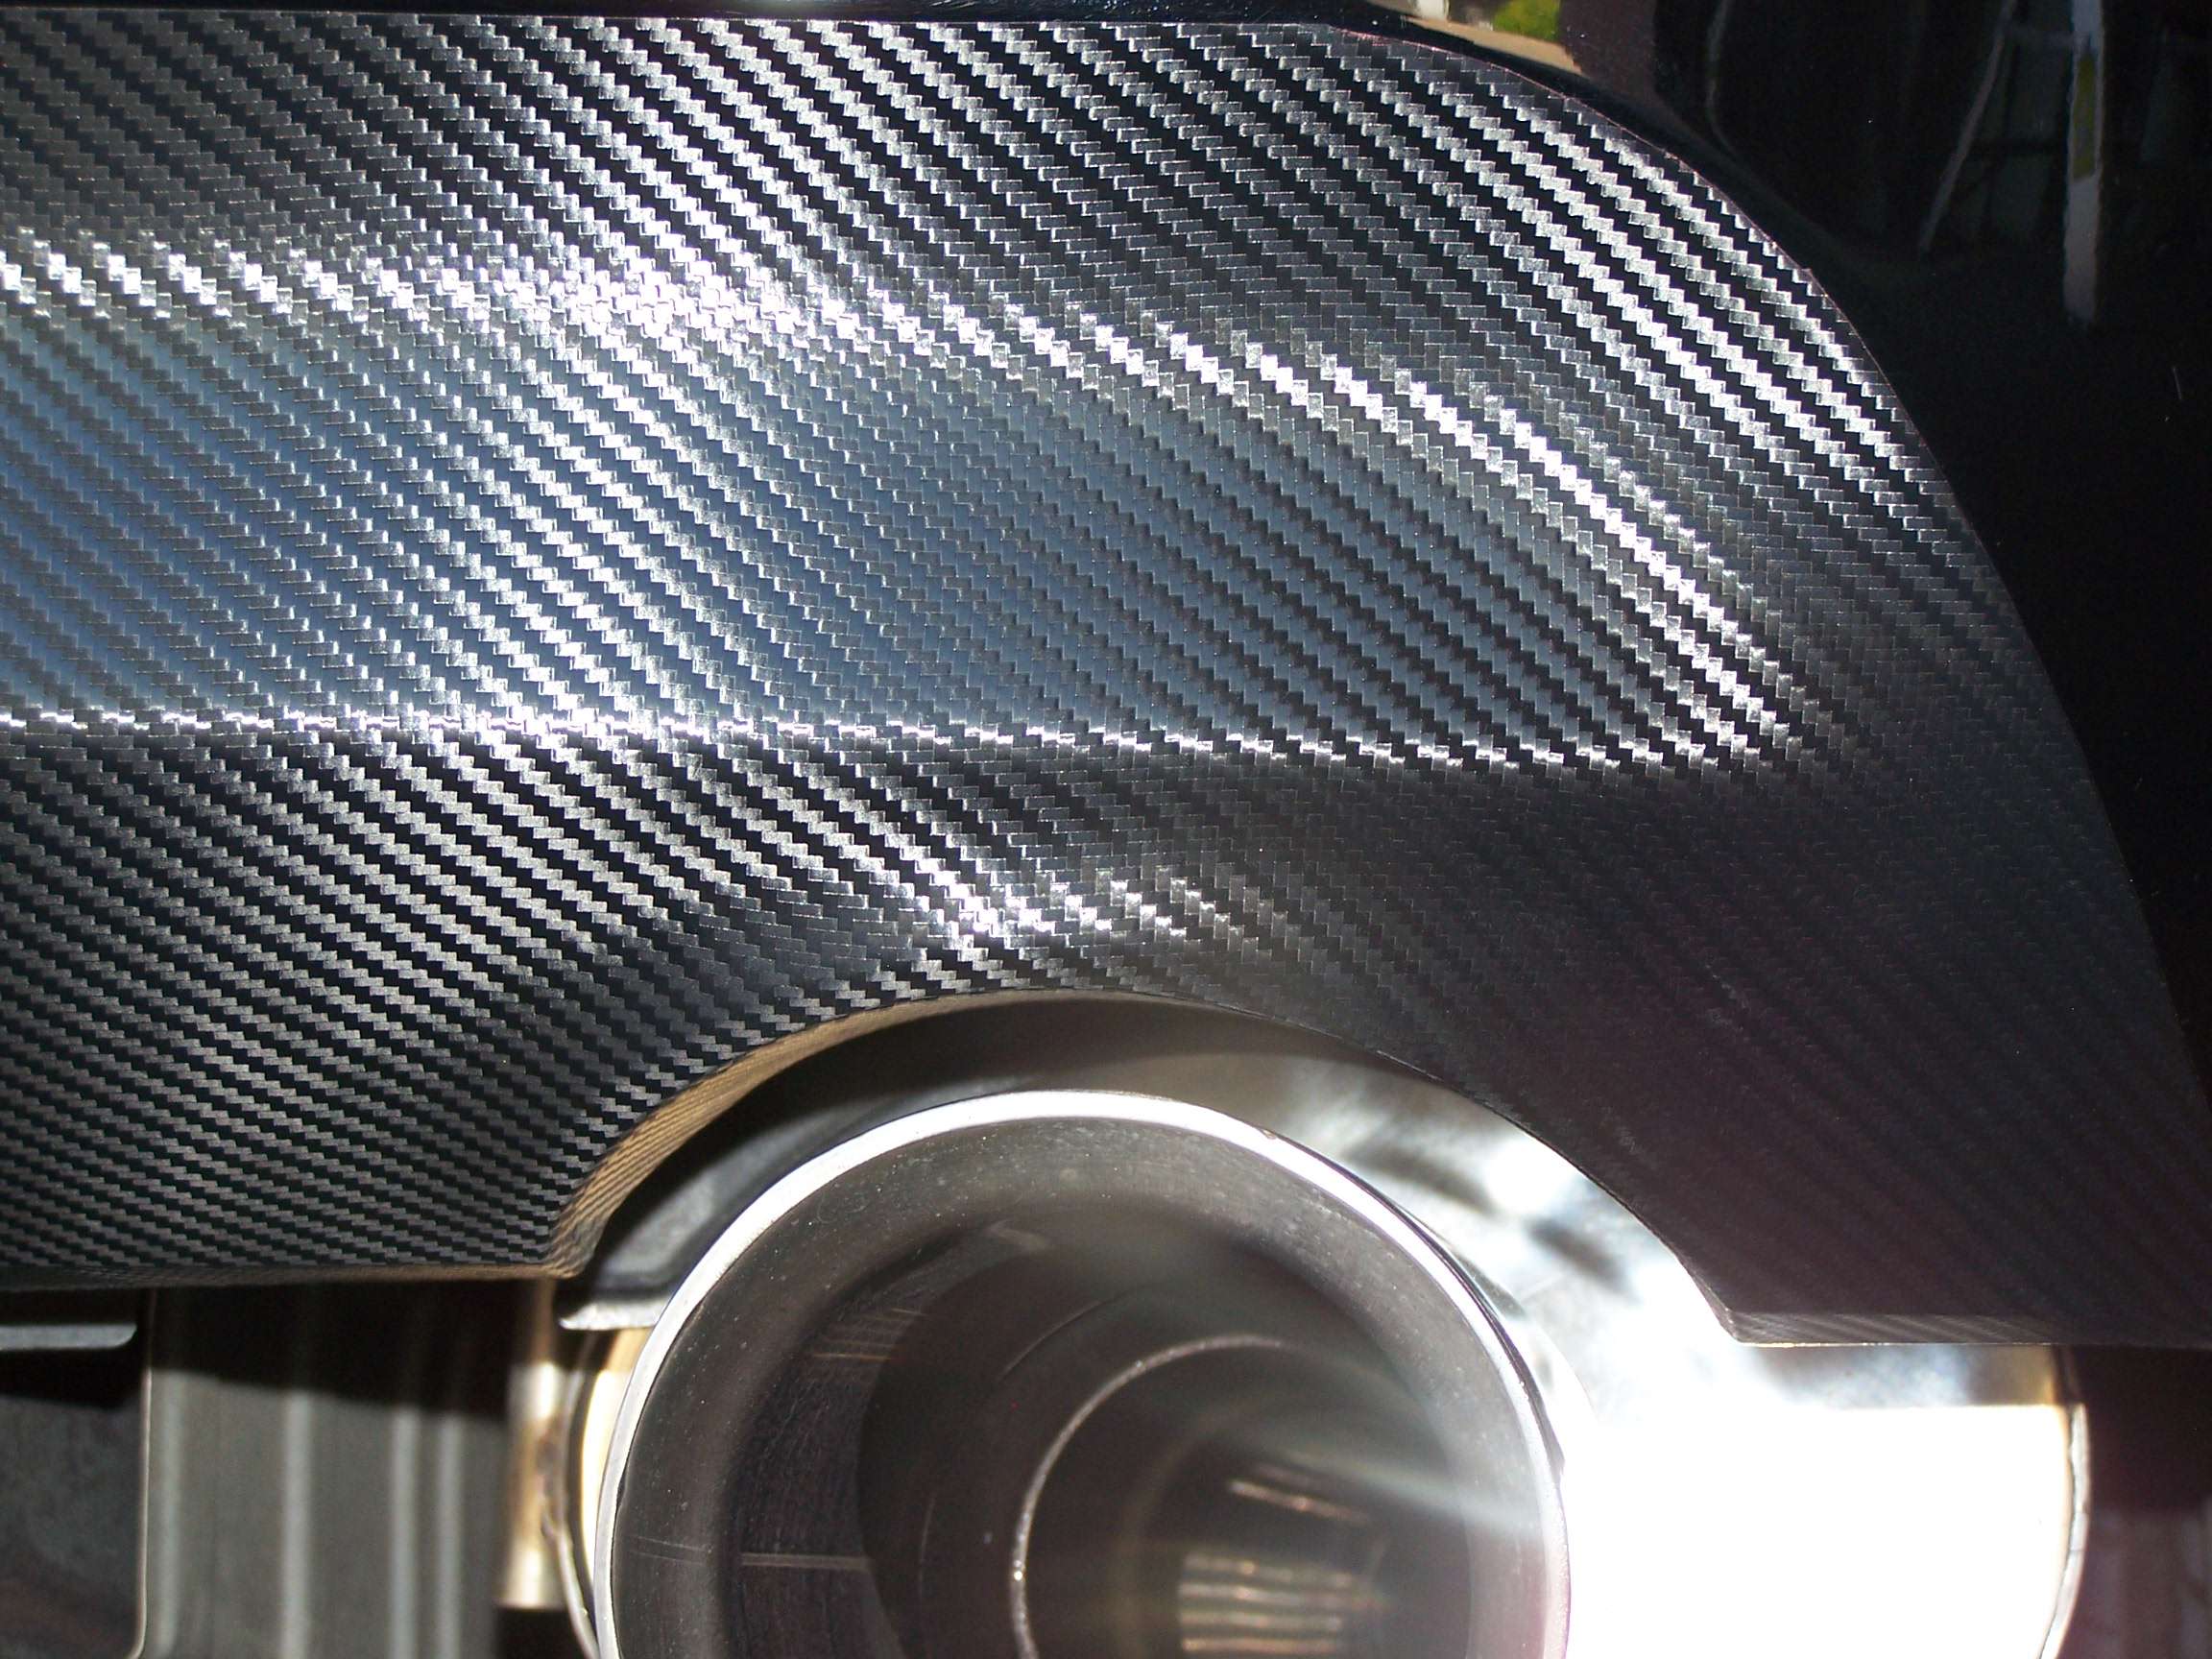
As far as the valance area. I did mine in Carbon wrap, and what I did was~
use a piece of celophane plastic wrap (just laid down, not stretched at all) on half the valance (be sure to measure an accurate halfway point), I then used a sharpie and made dots every inch or so to outline the outside perimeter including about 3" under the bumper. You then lay this onto your vinyl and do that half, flip the half over onto the rest of the vinyl to get cut an identical opposing half, You might want to cut just a hair over what you "sharpied" then you can do a final exact cut, better to have a bit more than not enough prior to final fit.
You will need to drop your muffler cans to get up into the exhaust cutouts. Here's a couple pics of mine for reference, been on for four years and still looks as day one~

The following users liked this post:
Saltman (03-17-2017)
 03-16-2017, 11:34 PM
#2339
Looks like you did a great job, really completes the overall look
As far as the valance area. I did mine in Carbon wrap, and what I did was~
use a piece of celophane plastic wrap (just laid down, not stretched at all) on half the valance (be sure to measure an accurate halfway point), I then used a sharpie and made dots every inch or so to outline the outside perimeter including about 3" under the bumper. You then lay this onto your vinyl and do that half, flip the half over onto the rest of the vinyl to get cut an identical opposing half, You might want to cut just a hair over what you "sharpied" then you can do a final exact cut, better to have a bit more than not enough prior to final fit.
You will need to drop your muffler cans to get up into the exhaust cutouts. Here's a couple pics of mine for reference, been on for four years and still looks as day one~

