Plastidip Lower Rear Bumper?
 08-27-2014, 10:26 PM
#31
Registered Member

Sorry fellas, just going way too overboard with the stuff for my tastes, although just the bottom section of the rear bumper looks pretty good, would give it a shot but likely won't offer enough contrast on black


 08-28-2014, 01:01 PM
#34

I have tried and plastidip the lower front bumper and this is how it turned out lol
so first it turn out good but decided to cover the whole lower bumper and voila, not good pictures but will take some tomorrow during the day and post them, and we plastidip the maxima's trim.
so first it turn out good but decided to cover the whole lower bumper and voila, not good pictures but will take some tomorrow during the day and post them, and we plastidip the maxima's trim.
The following users liked this post:
flipmode007 (08-28-2014)
The following users liked this post:
Blue_Batmobile (09-15-2014)
08-28-2014, 04:05 PM
#36

I have tried and plastidip the lower front bumper and this is how it turned out lol
so first it turn out good but decided to cover the whole lower bumper and voila, not good pictures but will take some tomorrow during the day and post them, and we plastidip the maxima's trim.
so first it turn out good but decided to cover the whole lower bumper and voila, not good pictures but will take some tomorrow during the day and post them, and we plastidip the maxima's trim.
Looks like the car is going in reverse, not to be too critical as it is your car but its sort of like a rear diffuser on your front bumper. Out of place.
The following users liked this post:
flipmode007 (08-28-2014)
08-28-2014, 06:56 PM
#37
Registered Member
I would give it a shot (matte black) to see how it looks, just not a fan of Bluebatmobiles pre-cut vinyl as its 2-piece and pretty much requires professional install
08-28-2014, 11:08 PM
#38
Premier Member


Last edited by flipmode007; 08-29-2014 at 11:22 AM.
 . Email me to order
  .
.


 09-15-2014, 05:15 PM
#41
Administrator

iTrader: (9)
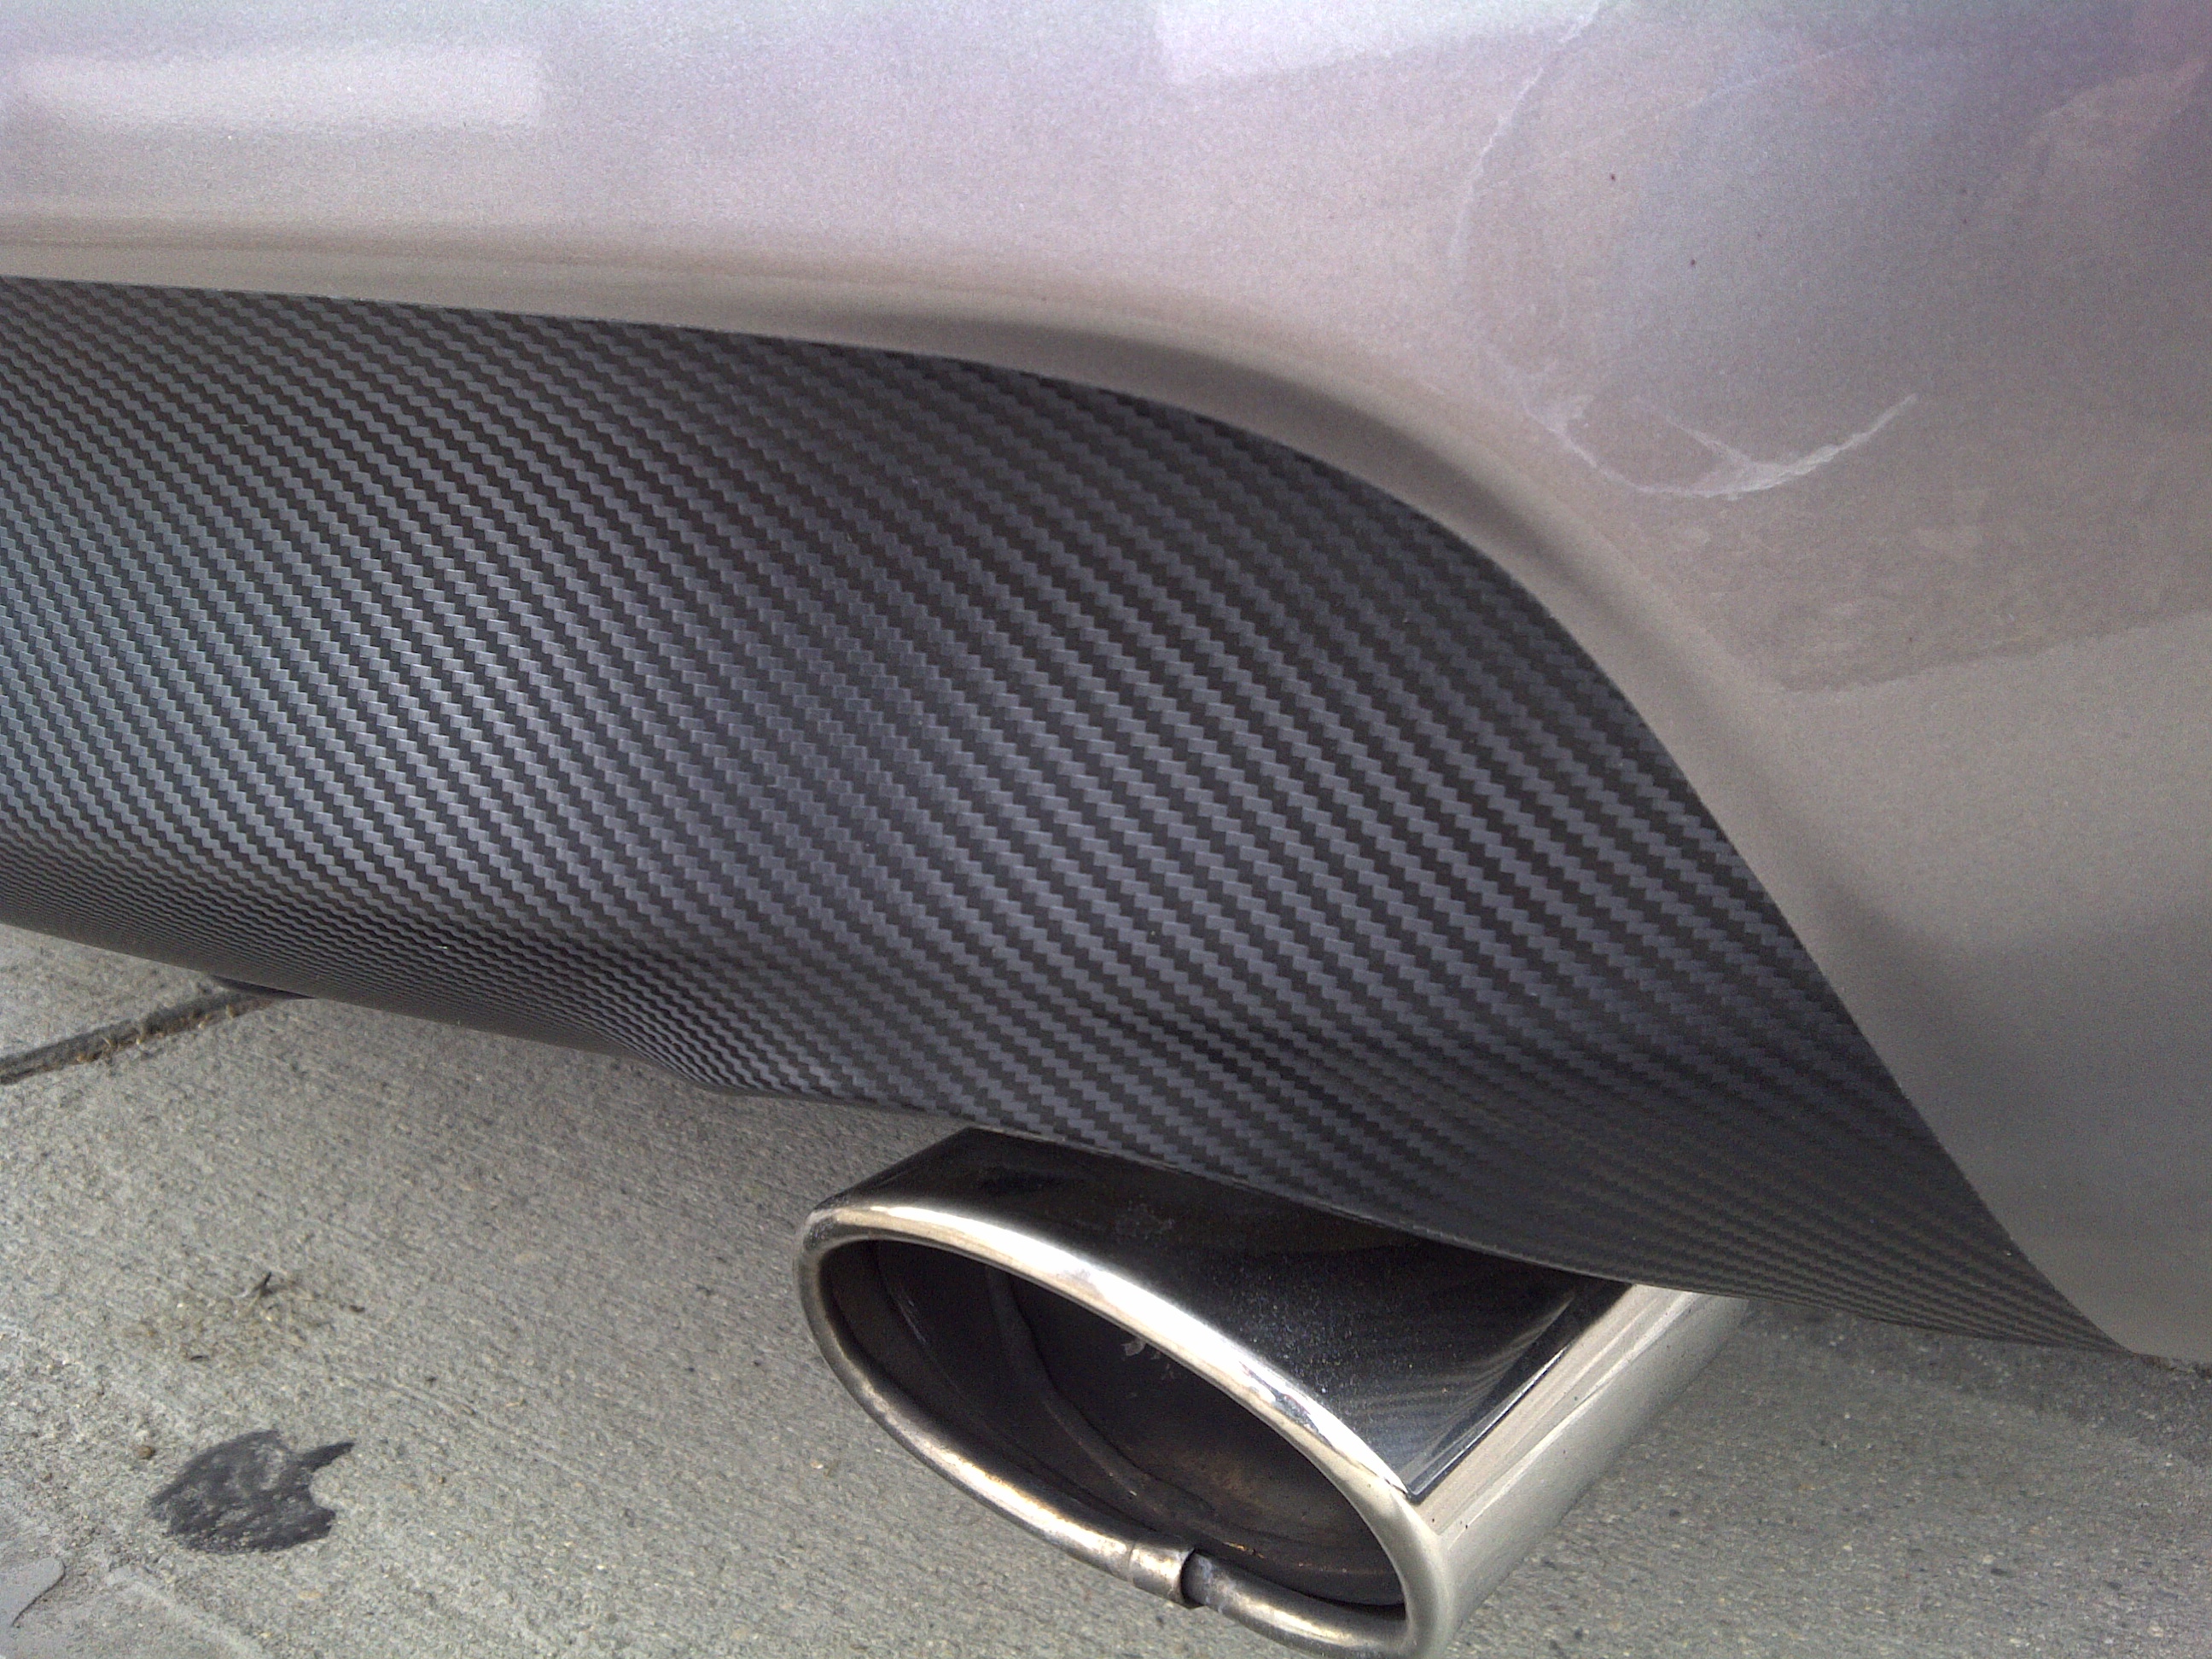
BlueBat, is that a two-piece? And do you have any pics that show the vinyl under and around the lip of the exhaust tip cut-out?
That looks like an improvement over my local vinyl shop job from a couple of years ago. It's feeling like time to peel it off and do it up better.
That looks like an improvement over my local vinyl shop job from a couple of years ago. It's feeling like time to peel it off and do it up better.
09-15-2014, 11:28 PM
#42
Premier Member
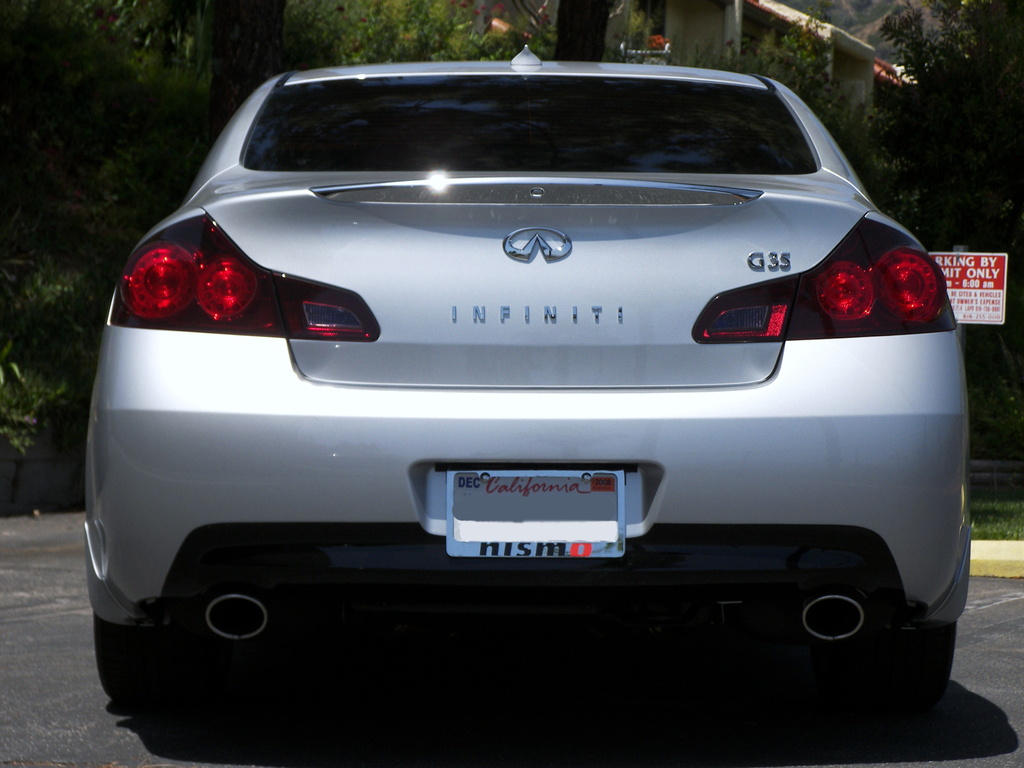
BlueBat, wanted to know is that the flat black and do you have some that cover the license plate part too i have the 2009 bumper.
09-16-2014, 12:24 AM
#43
What I did was use celophane wrap and just used half the valance area and traced the outline w/ a sharpie on the celophane. I made sure to mark exactly where the halfway point was so I could make sure I traced it onto the vinyl backing w/out any stretch. Once i determined the celophane was laying true, I just proceeded to lift it slowly and trace under the celophane markings so it matched up when I put the celophane back on top. Once I got one side perfect I cut the half of the valance out, made sure it was the proper fit, then flipped the side over and used it to trace the other side, I then cut the other side and whallah, the entire valance was perfect side to side and ready to install.
I then loosened the exhaust enough that I could drop the tips down about an inch so I could work the vinyl under the recessed exhaust cutouts. Only took about 20 minutes to install but about an hour to trace & cut the template/vinyl.
Hope that makes sense