G37/G35 sedan trunk spoiler for $55 on Ebay


 01-11-2014, 11:58 AM
#78
Super Moderator

That is alot of sugar for a dime, but with the proliferation of 3D printers and quality double sides tape, it's not impossible to crank these things out at a much lower cost than the OEM units ($50 still seems nuts, that's 3/4s of a tank of gas in CA). I think the camera cut-out is always going to be an issue with the low cost version. Recall that for the first gen there were nice color matched aftermarket spoilers for sub $150, but that model didn't have the cut-out to consider. Fingers are crossed.
01-11-2014, 02:20 PM
#79
That is alot of sugar for a dime, but with the proliferation of 3D printers and quality double sides tape, it's not impossible to crank these things out at a much lower cost than the OEM units ($50 still seems nuts, that's 3/4s of a tank of gas in CA). I think the camera cut-out is always going to be an issue with the low cost version. Recall that for the first gen there were nice color matched aftermarket spoilers for sub $150, but that model didn't have the cut-out to consider. Fingers are crossed.
01-11-2014, 05:14 PM
#80
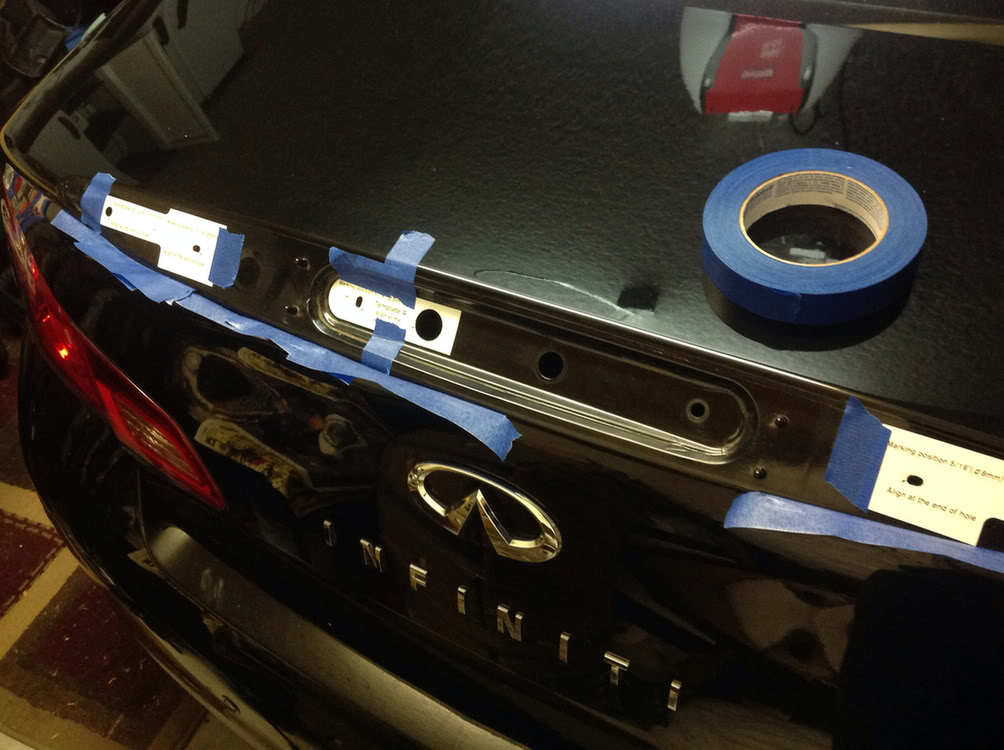
So here is where I started. I put the template on and used a sharp wood screw and hammer to mark the drill points.
Next I drilled the holes and disassembled the bracket with the camera and button, reinstalling them in the included new bracket. Mine was wrapped up within the spoiler.
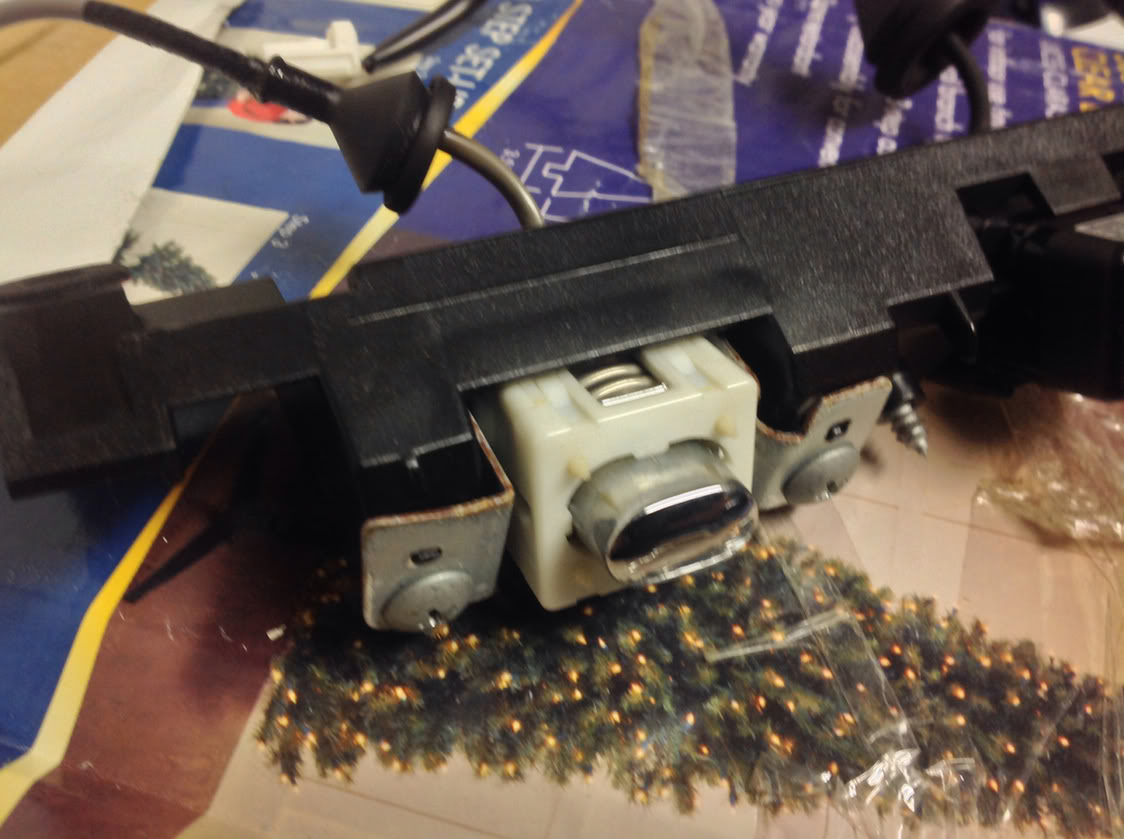
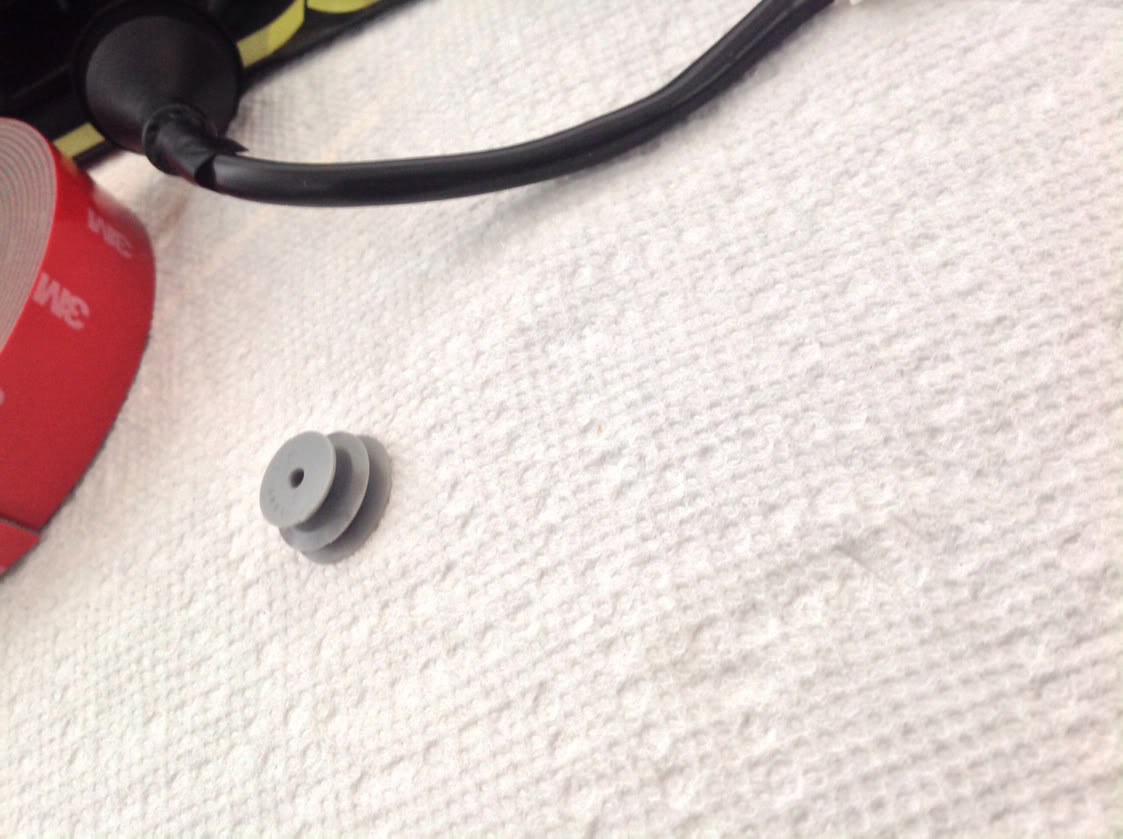
Here is the reinstalled camera and button. I added a washer to the button to make the button poke out a tad more like the chrome piece. I also had to bend the corners of the metal bracket for the button to keep it from impinging on the spoiler once screwed down.
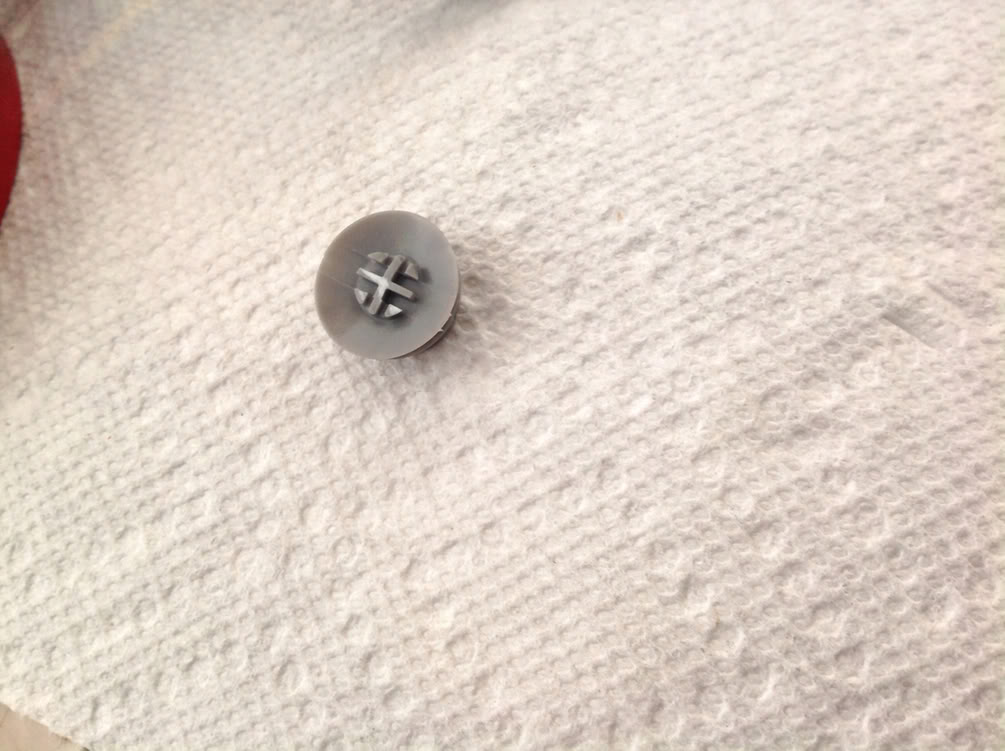
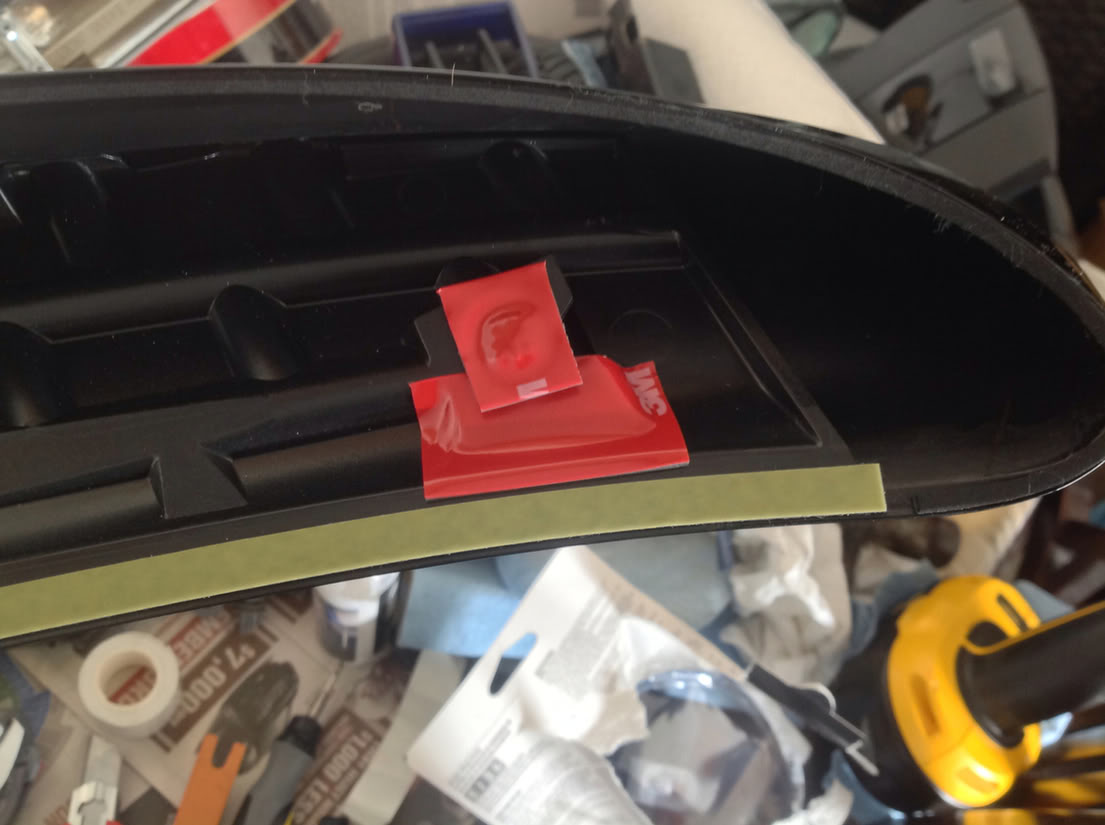
I've seen the drilling part of this and while I could have done it, 3M trim tape super sticky works as good. There were a few 1 inch places where the spoiler didn't have 2-sided tape, so I cut and placed tape there to seal the edges. Then instead of drilling I cut the clips and used 3M tape to stick it to the trunk.
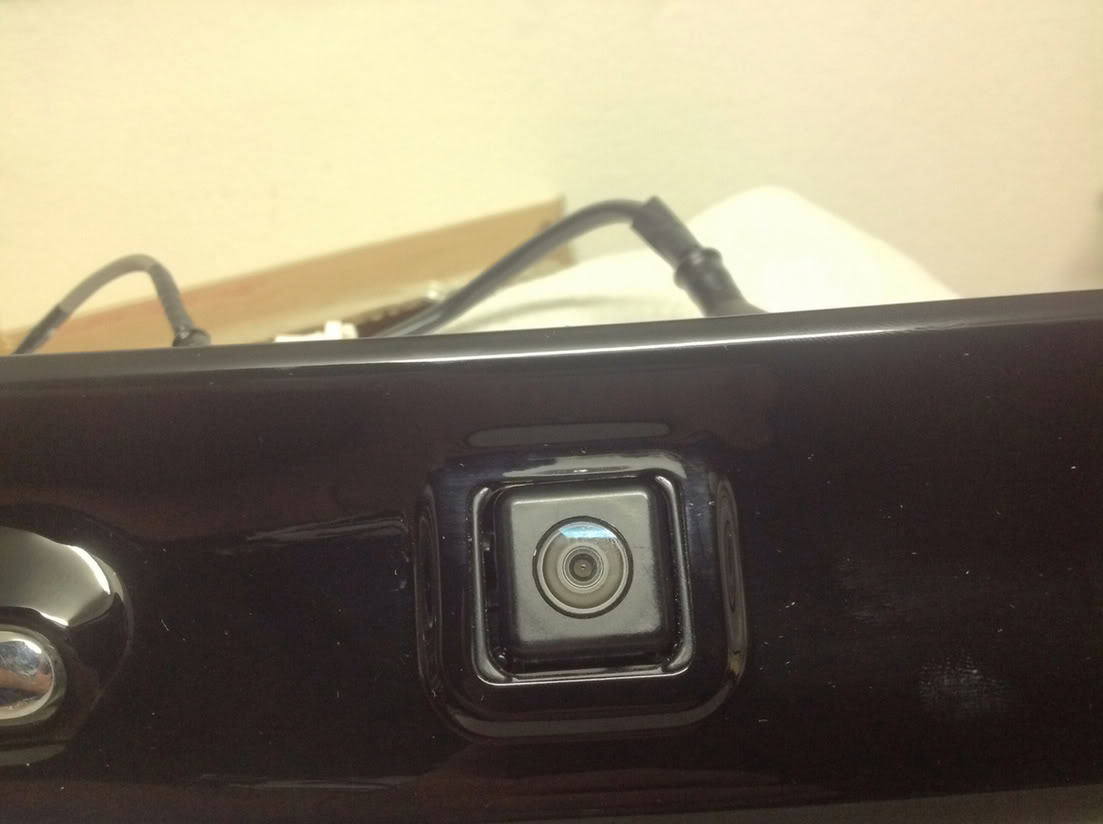
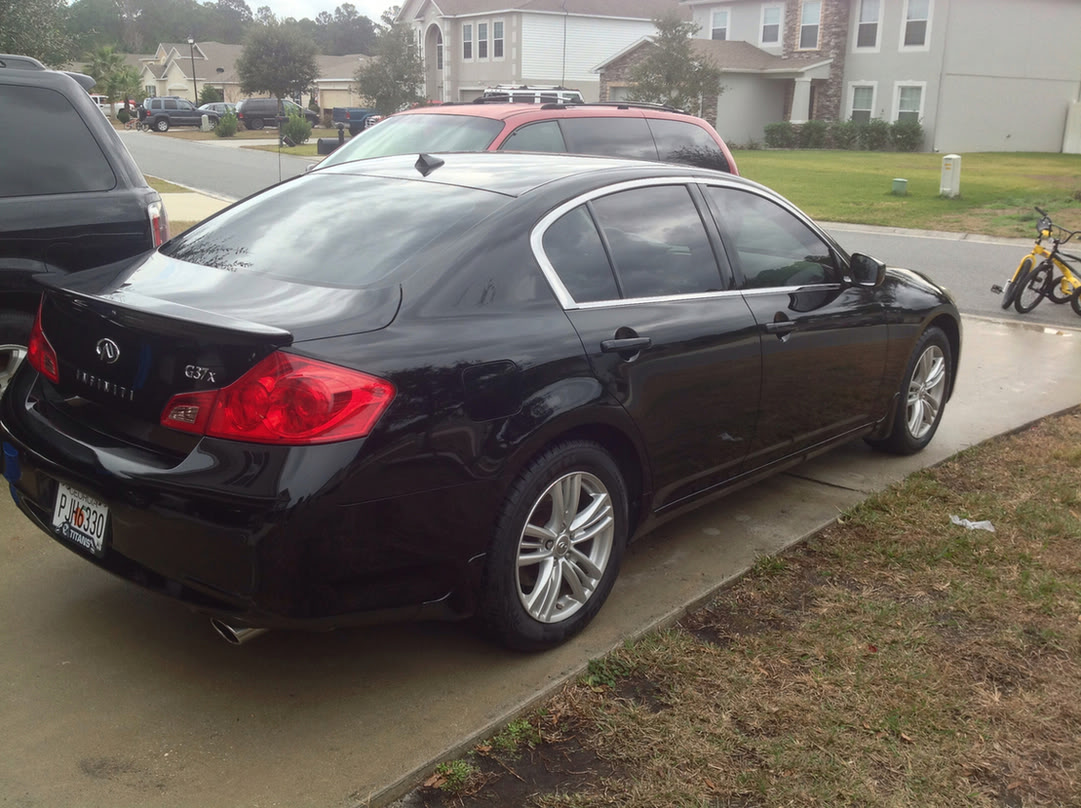
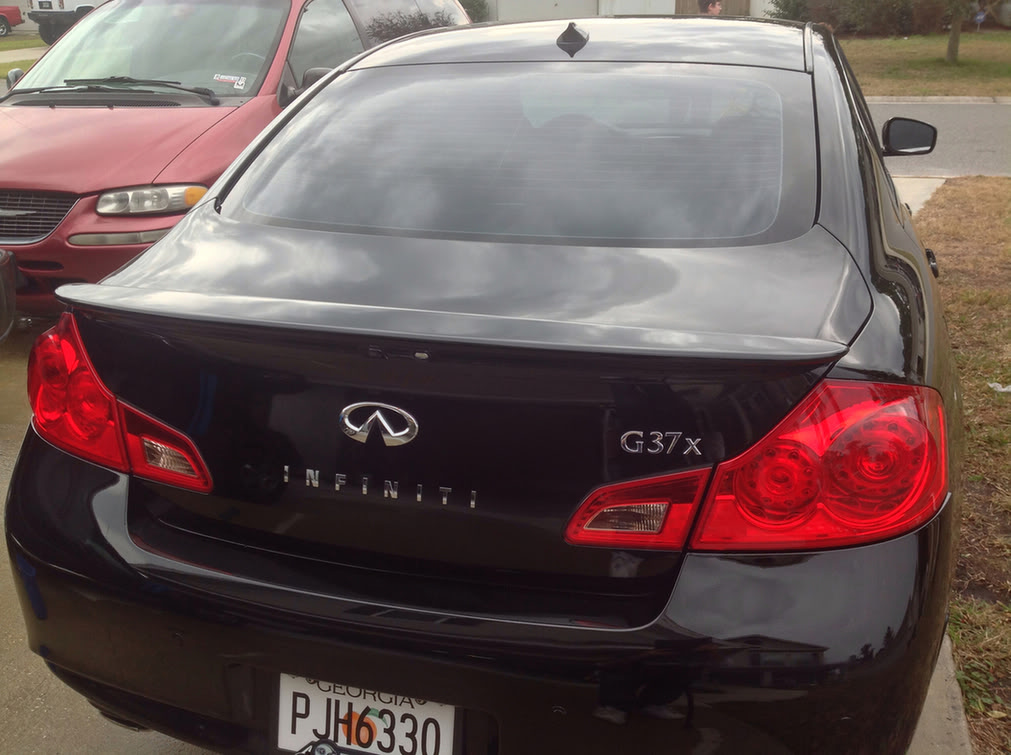
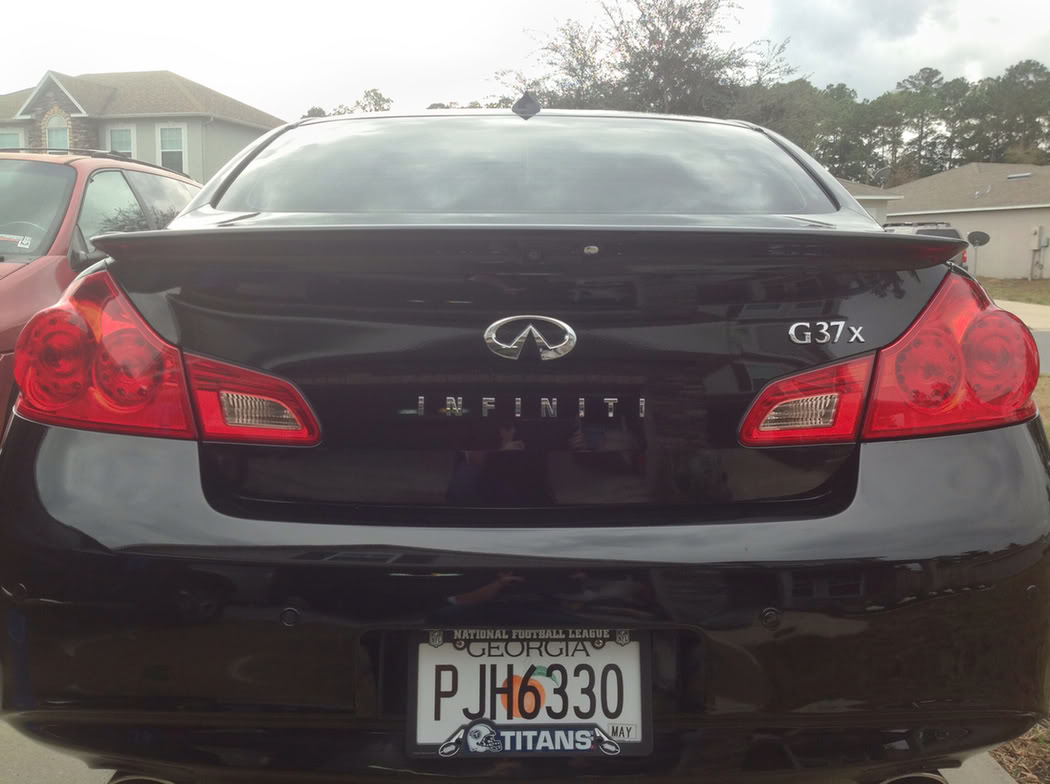
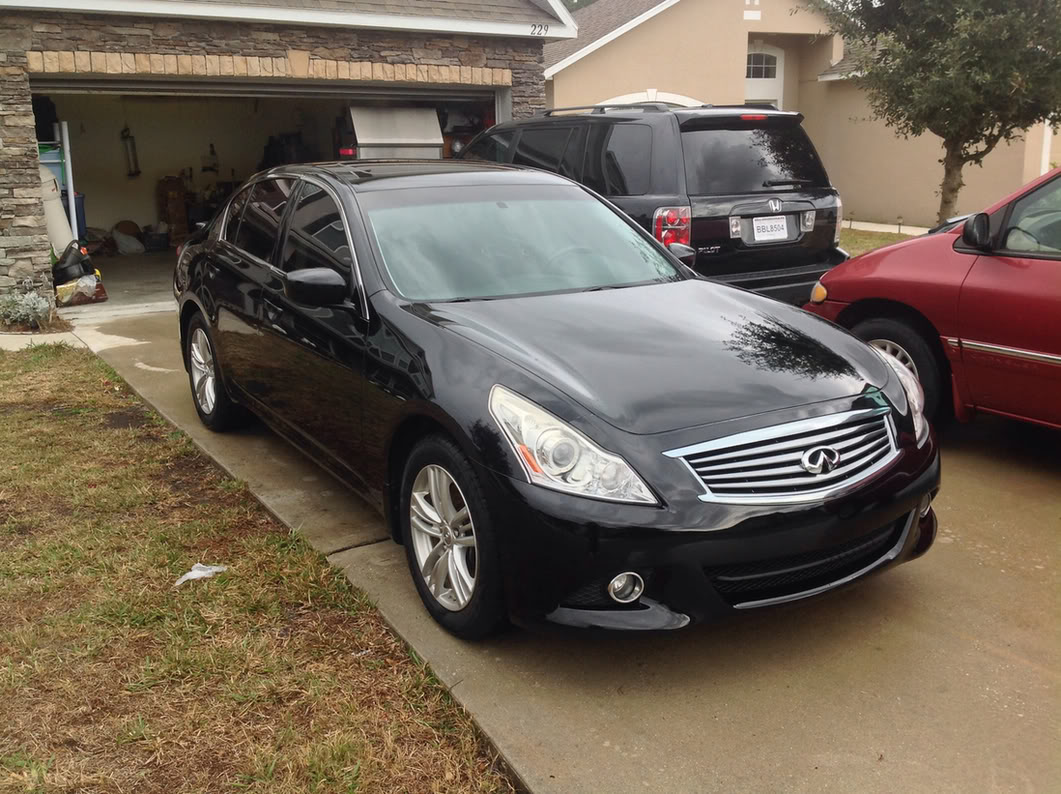
And the finished product!
Next I drilled the holes and disassembled the bracket with the camera and button, reinstalling them in the included new bracket. Mine was wrapped up within the spoiler.
Here is the reinstalled camera and button. I added a washer to the button to make the button poke out a tad more like the chrome piece. I also had to bend the corners of the metal bracket for the button to keep it from impinging on the spoiler once screwed down.
I've seen the drilling part of this and while I could have done it, 3M trim tape super sticky works as good. There were a few 1 inch places where the spoiler didn't have 2-sided tape, so I cut and placed tape there to seal the edges. Then instead of drilling I cut the clips and used 3M tape to stick it to the trunk.
And the finished product!
01-11-2014, 10:29 PM
#83

thats just my 0.02
01-12-2014, 03:47 AM
#84
Registered Member

@Deelow, Where did you order your spoiler from? Directly from the dealership? or online?
Do you know which online store is Canadian friendly? My dealership is unable to source the spoiler from the distributers here in Canada
Do you know which online store is Canadian friendly? My dealership is unable to source the spoiler from the distributers here in Canada
01-12-2014, 10:05 AM
#86
 01-12-2014, 01:58 PM
#87
Registered Member