When you click on links to various merchants on this site and make a purchase, this can result in this site earning a commission. Affiliate programs and affiliations include, but are not limited to, the eBay Partner Network.
Someone needs to find a way to hide the cheesy blue "glow" on our gauges. Man, it kills me how bad that looks every time I hop in the car. Everything else would be perfect, without that silly halo. What was Infiniti trying to do? Make it look like a raised center area?
Someone needs to find a way to hide the cheesy blue "glow" on our gauges. Man, it kills me how bad that looks every time I hop in the car. Everything else would be perfect, without that silly halo. What was Infiniti trying to do? Make it look like a raised center area?
And to me that is one of the best and classiest parts of the entire interior. I probably like it as much or more than you seem to hate it. It's always interesting to me how 2 people that love the same car can differ so much on one thing.
I would guess that you could remove the LEDs if they are blue, or if there is a blue film to create the color you could remove the blue film and it would come through as white or whatever color the LEDs are.
And to me that is one of the best and classiest parts of the entire interior. I probably like it as much or more than you seem to hate it. It's always interesting to me how 2 people that love the same car can differ so much on one thing.
This! ^^^ I also have the accent lighting which is blue. I love the look of it.
I think my mistake was not starting a new how to post. I figured it was on par with what people were asking to change the red --> white led backlight on the center screen. I could always start it up if people find it useful.
It could be changed to any colour really
Red = amber = yellow would maintain the same brightness as the original red @ 2.4v
White = blue = violet = pink = green would all be a bit dimmer due to the voltage drop. @ 3.2v v.typ
Upside is that the lower voltage improves the led life on the white leds.
And to me that is one of the best and classiest parts of the entire interior. I probably like it as much or more than you seem to hate it. It's always interesting to me how 2 people that love the same car can differ so much on one thing.
I would guess that you could remove the LEDs if they are blue, or if there is a blue film to create the color you could remove the blue film and it would come through as white or whatever color the LEDs are.
It's a film that causes the blue accent, the backlight leds are all white on our clusters, later models just got rid of the red needles and red leds that power the needles.
That is why the original post author swapped the black ring faces to get the blue glow effect which I agree looks awesome. Im not sure why they got rid of it. I like the white screen mod though, surprised not a lot of people have done it yet.
Originally Posted by RhiNoKiLL
wow cool stuff.....you guys should try to figure out how to do the needle sweep upon start up :P
Its not a hard process, i dont want to use my own gauges for the test but basically all the need is a one way diode and a quick burst with a small timer to give the games a jump. Gauges simply read out a voltage so 4000 rpm = say 3.5v or something. To get the gauge to fire up to full, that voltage needs to be calculated and measured with a constant load.
Im gonna look for a donor cluster unless someone has a junker they wanna mail me in michigan and I can certainly find what the readings are. You could make all the gauges jump or just specific ones. The diodes would be needed to prevent any spikes from going back into the cluster and frying any of the inputs.
The spike will look as follows
no input = 0v = needles at 0
car starts = generally 8v spike = needs jump to max position
timer turns off spike, normal operation of needles at starting voltage of whatever the cluster is sending to each specific needle for gas, heat, rpm, speedo.
Its not that complicated of a concept and the cluster seems to have enough room for the added timer needed and 4 diodes.
I know this is sorta off topic, but how did you guys take the cluster out? The trim around mine is flared up I'm guessing from exposure to the sun and warped a bit. I bought a new piece and don't want to mess everything up while taking it out.
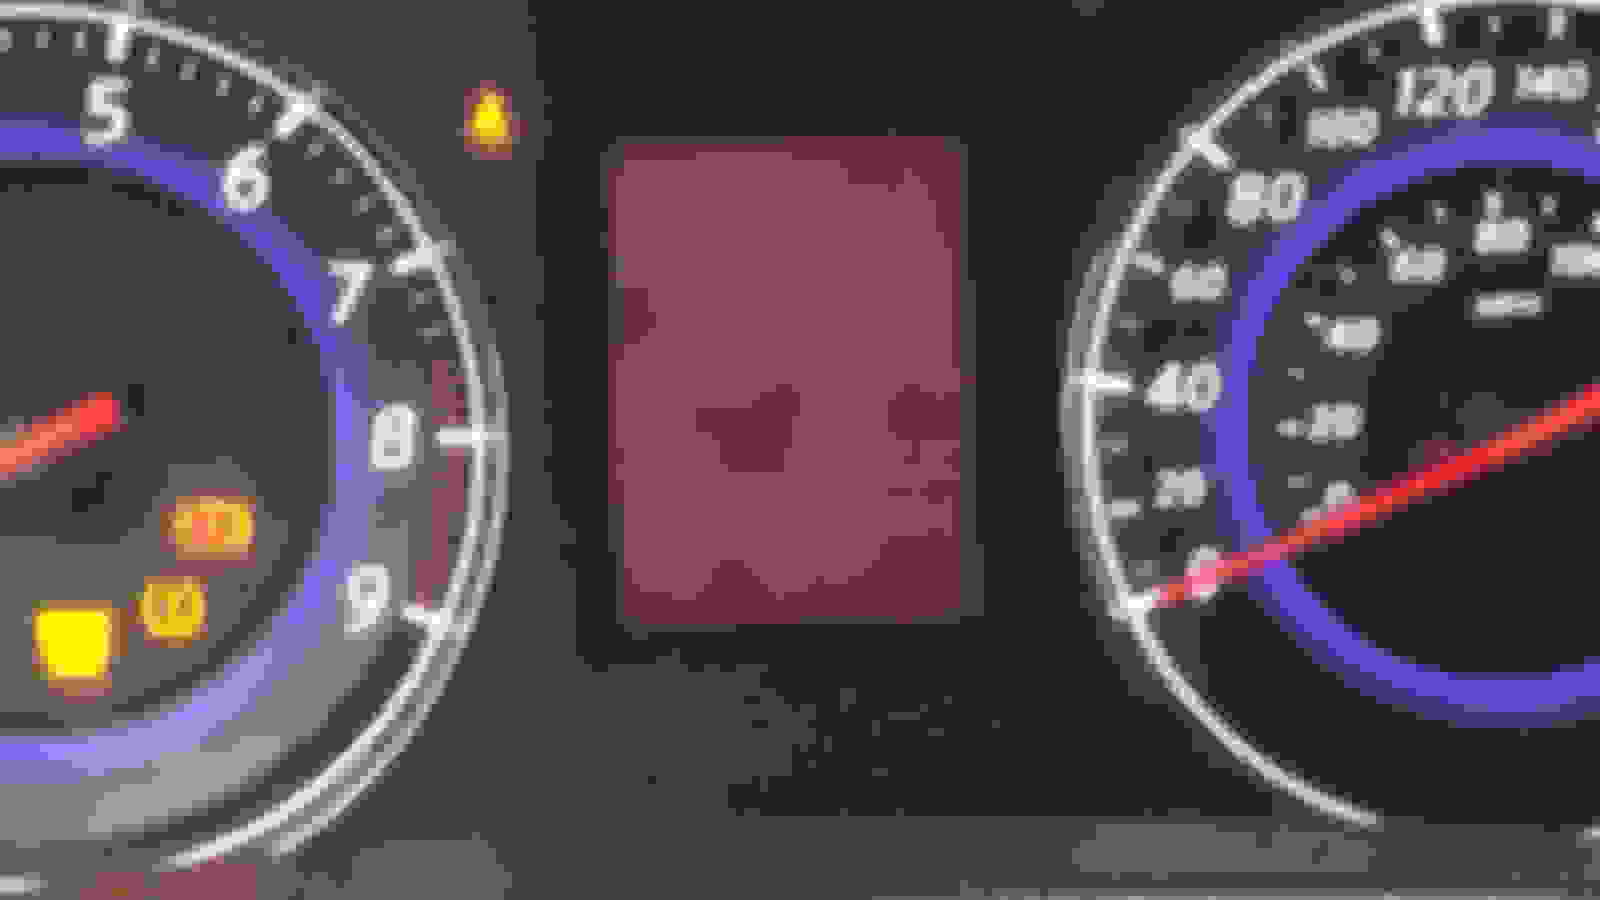
I changed my battery recently and put it back in storage. It was fine before I put it away for just a month and this happens today. I literally locked the car, unplug the battery, and leave it for a month.
My dad and I are pretty good with electronics stuff but there's just too many projects.
Is this an easy fix? Is it just a loose cable somewhere?
im about to take my Center display out as well. Dan Holt on YouTube has a great series of videos.
Originally Posted by story
Hello experts
I changed my battery recently and put it back in storage. It was fine before I put it away for just a month and this happens today. I literally locked the car, unplug the battery, and leave it for a month.
My dad and I are pretty good with electronics stuff but there's just too many projects.
Is this an easy fix? Is it just a loose cable somewhere?
Hi, I know old post but how does the rear black cover come off to access the odometer display. All my leds burnt out all at once. Might try putting in a led strip light.
Originally Posted by LGmobile
hi guys, came across this post a few weeks ago and started ordering parts for my led backlight change on my ex35 with the red screen.
Our ex35 clusters come out in 2 simple steps so i got it out in no time at all.
I took lots of pics but I will post a few to show people how its done, not a lot of pics of our clusters taken apart.
Warning: Please be careful, it is your car, I have messed around with this stuff before and I was extremely patient with the disassembly. As good news, to replace the backlight, you DO NOT have to remove the needles or recalibrate anything. The screen comes off on its own.
Step 1: remove cluster from vehicle -- Original red cluster backlight Attachment 156545
Step 4: remove the 4 screws at the back of the board (screen will become loose now).
Step 5: Disconnect the white ribbon cable
Step 6: Remove screen from cluster, set cluster aside in a safe place.
Step 7: Disconnect rear ribbon cables from the rear green pcb. Attachment 156547
Step 8: Remove the green pcb board to uncover the leds from the backlight. Attachment 156548
Original backlight specs
Red smd KA-4040 angle view leds. These are relatively impossible to find, so i used 3528 SMD white leds and soldered them on their side.
You will need the following spec sheets to identify which corner is the anode and cathode of each led you are replacing. The board conveniently has cathode markings with a white dot
Step 9: Start removing the original leds (remove ALL leds first since it is easier and more space for you to work) Attachment 156552
Step 10: Solder on the new leds paying attention to cathode markings as indicated by the blue sharpie Attachment 156553
Step 11: You will notice the pcb has another 6 led slots for more leds, i didnt have time to test if these worked or not so i soldered leds into them anyways. Finished product with white leds posted below. Attachment 156554
Step 12: Reverse order of disassembly, clean cluster and screen before putting it all together. Attachment 156555
Step 13: Enjoy your new white display
Taken in garage during the day, i will post nighttime pics this evening. Attachment 156556
Brighter setting, extremely even lighting, notice the white background on the gas warning, one setting under max brightness Attachment 156560
Overall notes
- the new backlight was easy to install with 3528 leds
- it does seem a bit dimmer than the red, this may be because the new leds run typically around 3.2v and the red ones were made for 2.4v. A step above this would be to track the resistors that are responsible for the step down conversion or wiring the backlight directly to a power source. Mine has full functionality as it stands and I find it a nice touch to the interior lighting. It is definitely visible during the day at medium brightness which is what I kept it at anyways.
- light white/blue tinge to it, but much better on the eyes than the red backlight
I bought 100 leds to do this project not knowing how the array was organized, some have 20-30 leds directly behind the screen instead of the tv like setup in the infiniti clusters.
If anyone wants to have this mod done, you can always contact me and arrange to have this mailed out. I am into a lot of led mods from hidplanet.com under the name linuxglobal.
Parts needed for mod
- 6/12 white 3528 smd leds
- variable W soldering iron + solder etc
- flathead, phillips screwedriver
- patience
Next project: Navi screen led backlight for us folks in colder climate where the ccfl has a nice start up delay Attachment 156561
Homemade 33 series led array (one top, one bottom what will be cut later) - 7" lcd tube for sizing 165mm long Attachment 156562
Custom start buttons are also no biggie, Im waiting on custom coloured leds for the LOCK-ACC-ON lights
Sorry if this has already been answered but I�m planning on swapping the older faces and red needles to my 2010 just wondering how the red needles look with the oem white leds or if they need to be swapped with red leds, thanks


 03-07-2013, 05:56 PM