When you click on links to various merchants on this site and make a purchase, this can result in this site earning a commission. Affiliate programs and affiliations include, but are not limited to, the eBay Partner Network.
WOW after really looking at it, come to find out there's two of the locking clips that keeps the valve in place (You kinda hear a snap when turning it to release it). The upper one is the one that requires you to turn it left to release(It can't turn right) and then there's one below that also seemingly has the same function, except it must be turned right to release it. It comes out much much easier since there nothing in the way! So my previous reply, it wasn't really the O ring, it was really the clearance that wasn't there to fully release the valve, but I moved its position the other way allowing me to actually place it inside and turn it fully locking in place. Was sceptical it wouldn't work like that but the Code is gone now, running great.
I know this is a dead thread.. but I am stuck now. So to remove I run into the suspension components when you twist it. So what needs to be done to get this sucker out and in??
I know this is a dead thread.. but I am stuck now. So to remove I run into the suspension components when you twist it. So what needs to be done to get this sucker out and in??
did you figure it out? I am struggling to get it in without removing the evap canister
I broke a couple of tabs taking the old one out (think they actually fell into the canister) on my coupe and and I'm pretty sure I broke at least 1 tab on the new one putting it in. It's kinda jury-rigged in there (can somewhat easily twist/move it) but it hasn't pulled out and the wiring harness also keeps it in place. The permanent CEL code (P0456) I had for a minor evap leak went away on its own after a standard driving pattern, just in time for state inspection, and has not come back for over 5k miles, and it has been securely in place despite my crappy job.
My 2008 G37s coupe, I was unable to remove the canister. I broke my old one removing it, and also likely left a piece of the old one inside the evap canister .
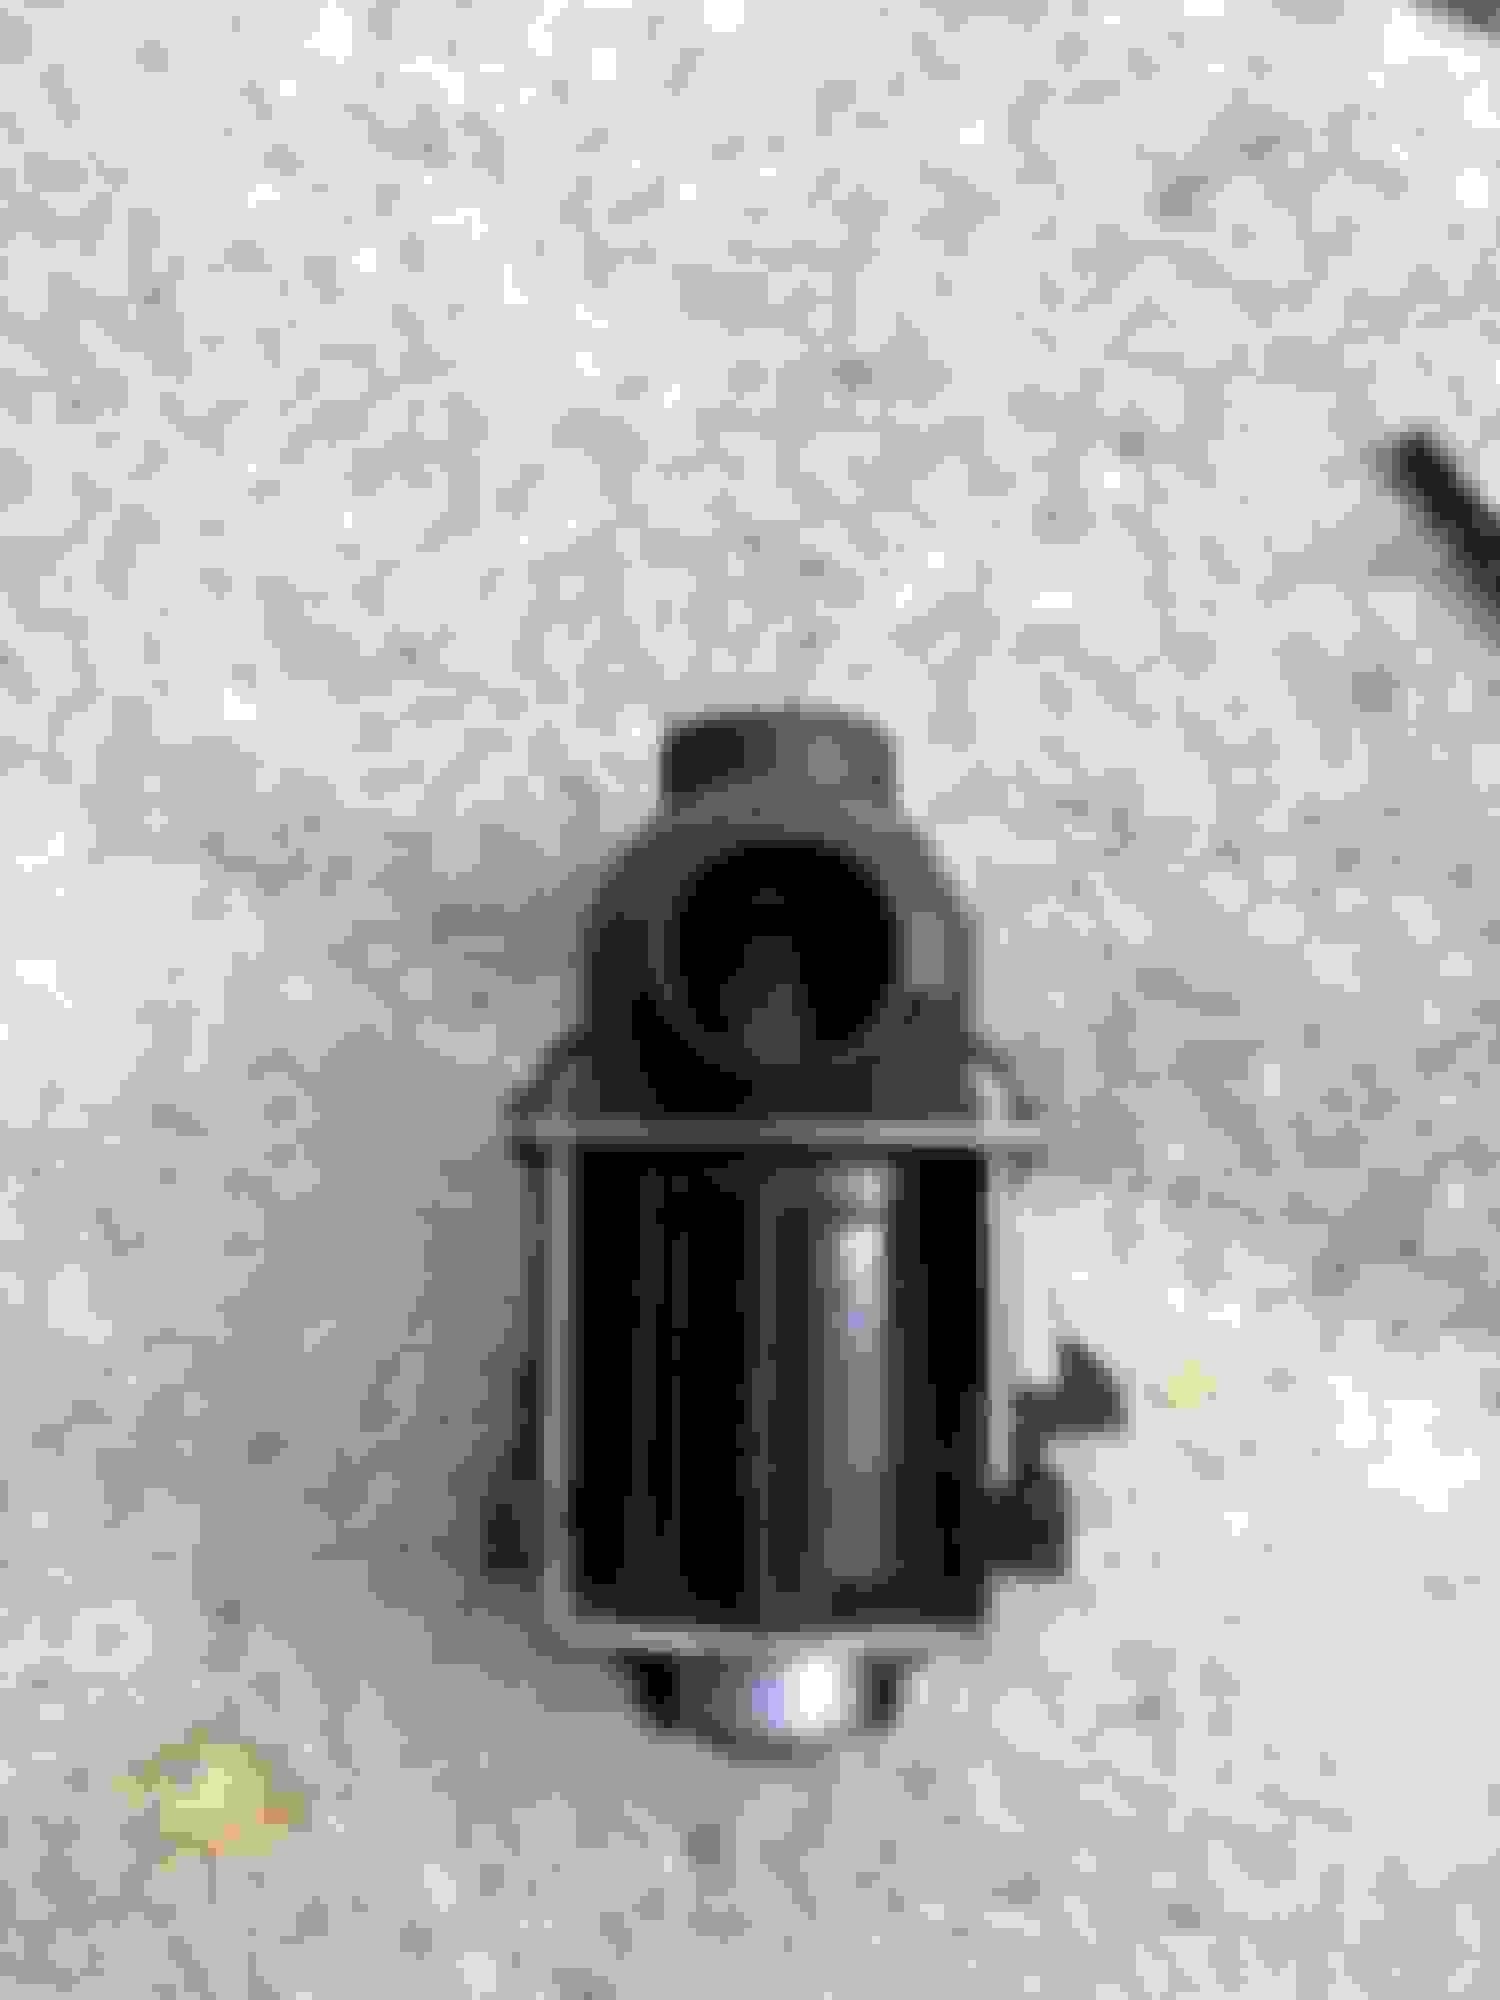
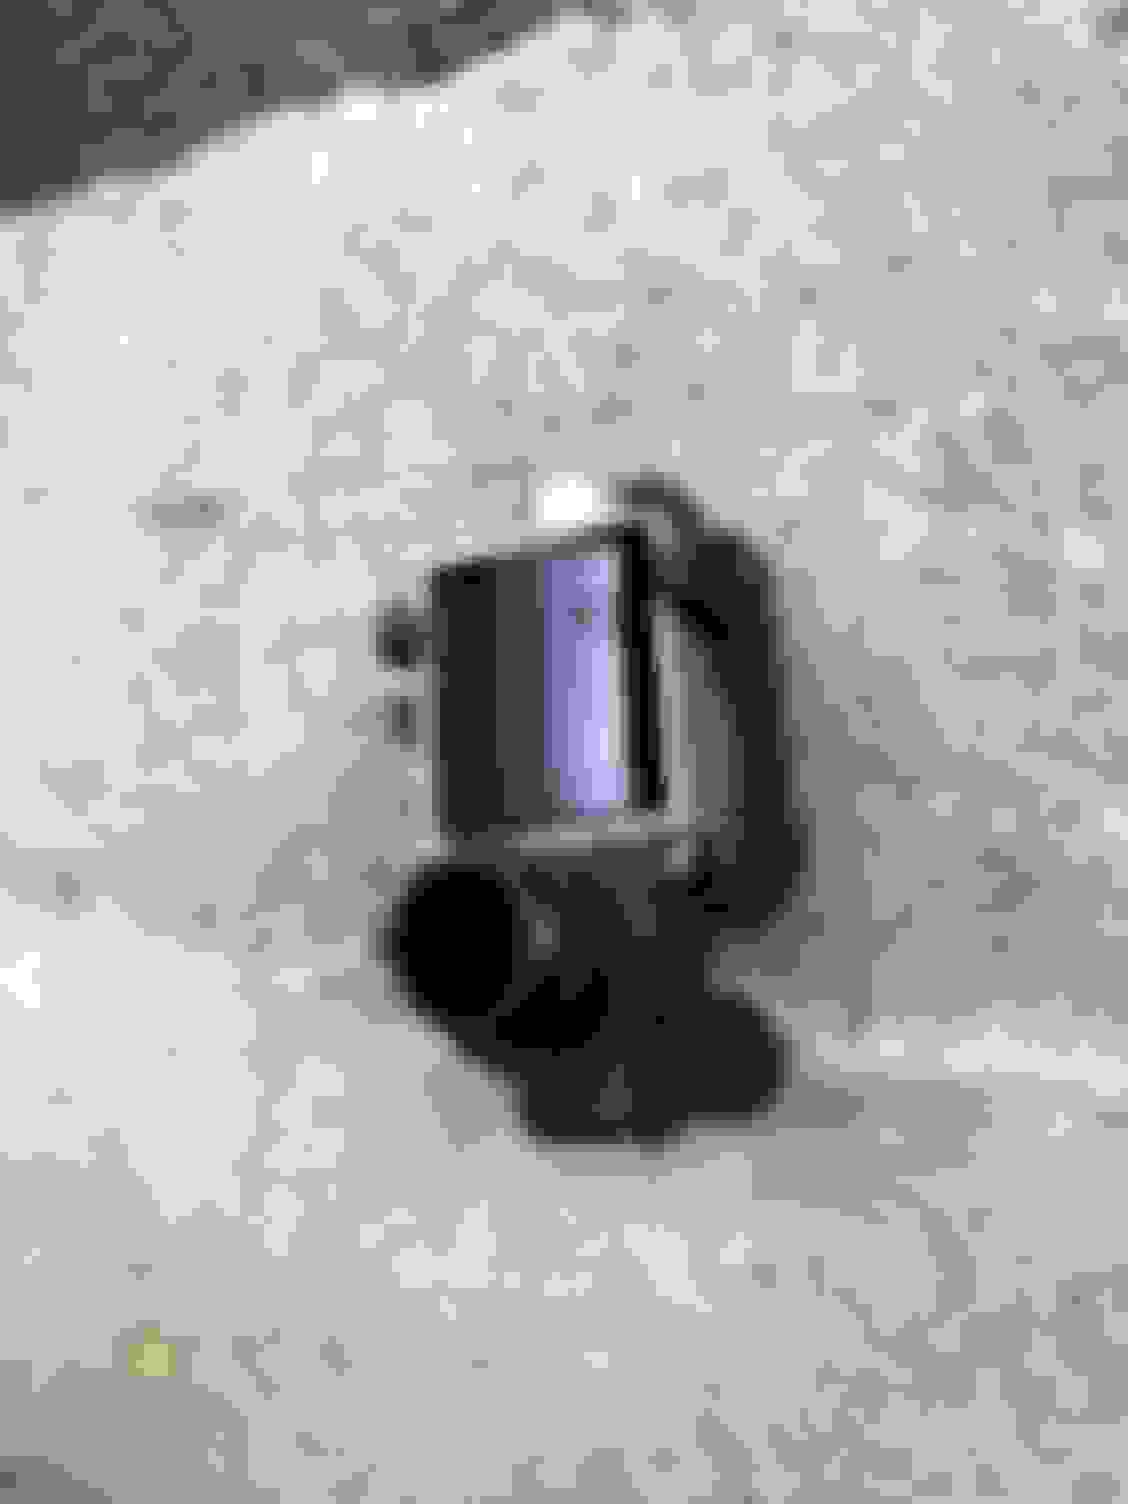
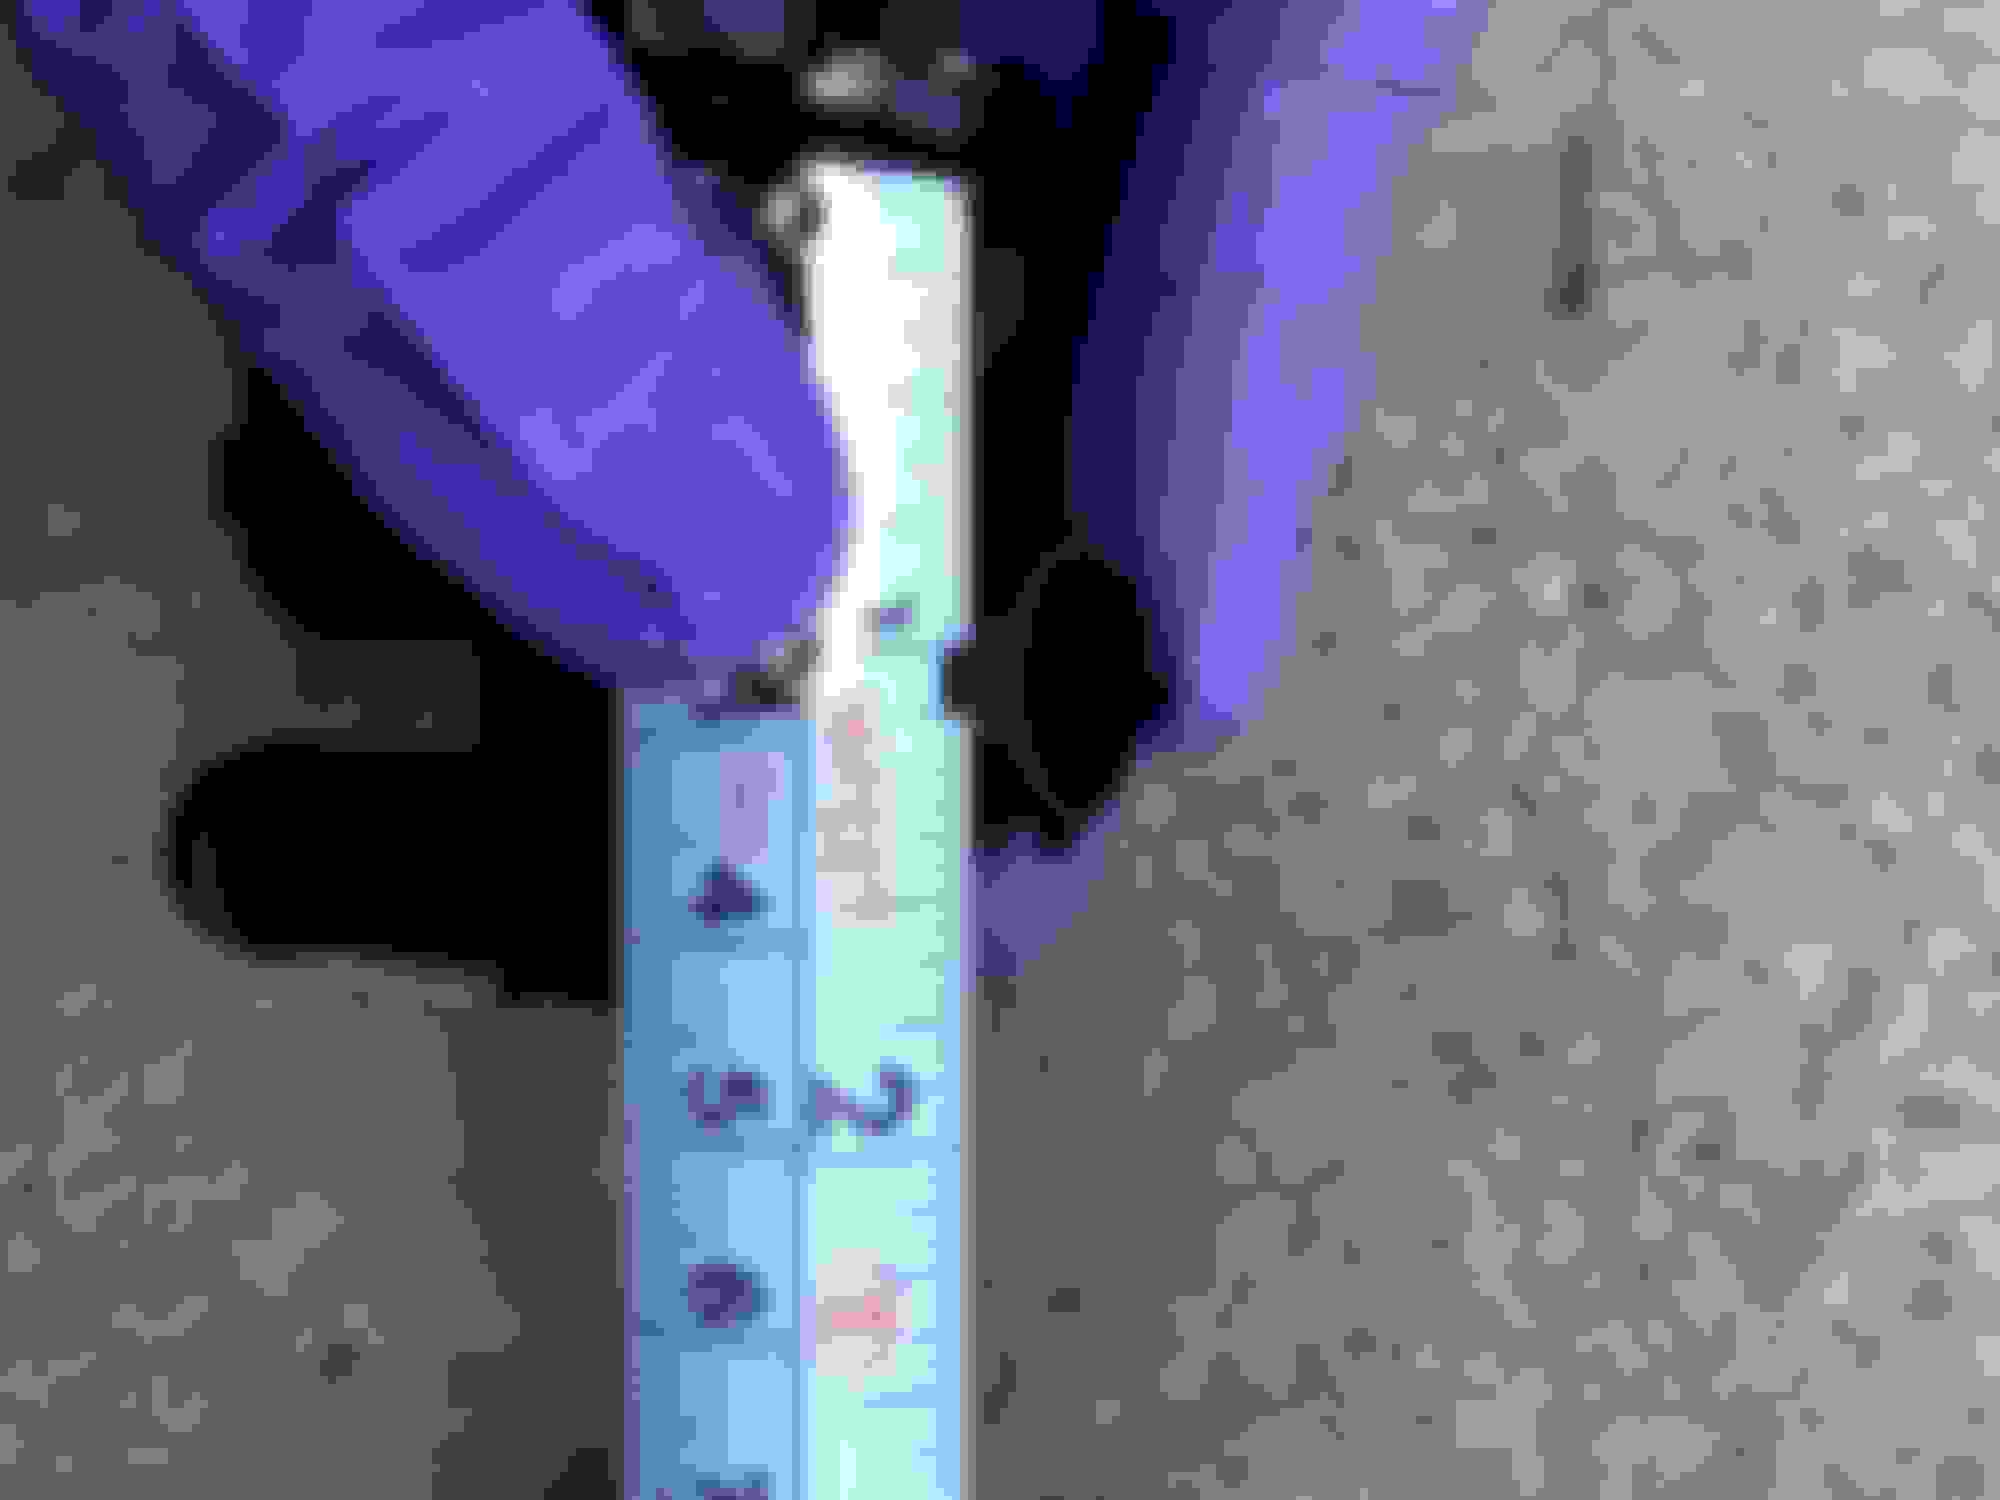
I had trouble getting the new one in. Credit to user slovell1 who suggested filing down the tabs to get it to get it to insert at ~30 degrees counter clockwise. (rather than ~120 degrees) and thus you don't have to rotate it through the subframe. I filed down the two large tabs on each side and test fit a bunch without the oring in place (easier to insret and remove). Once the tab was 1/8" wide it inserted at ~30 degrees. Fingers crossed this resolves the issue.
Slovell1 suggested a touch of silicone to help seal and keep things in lace. I chose to not to do this, but it would be the next thing I try.
original unmodified part After riling down the large tabs Width of tab after filing.

 05-23-2020 | 07:24 PM

 Was sceptical it wouldn't work like that but the Code is gone now, running great.

 .
.