DIY: Interior LED Ambient Light Strip
#1
Registered User
Thread Starter
Interior LED Ambient Light Strip
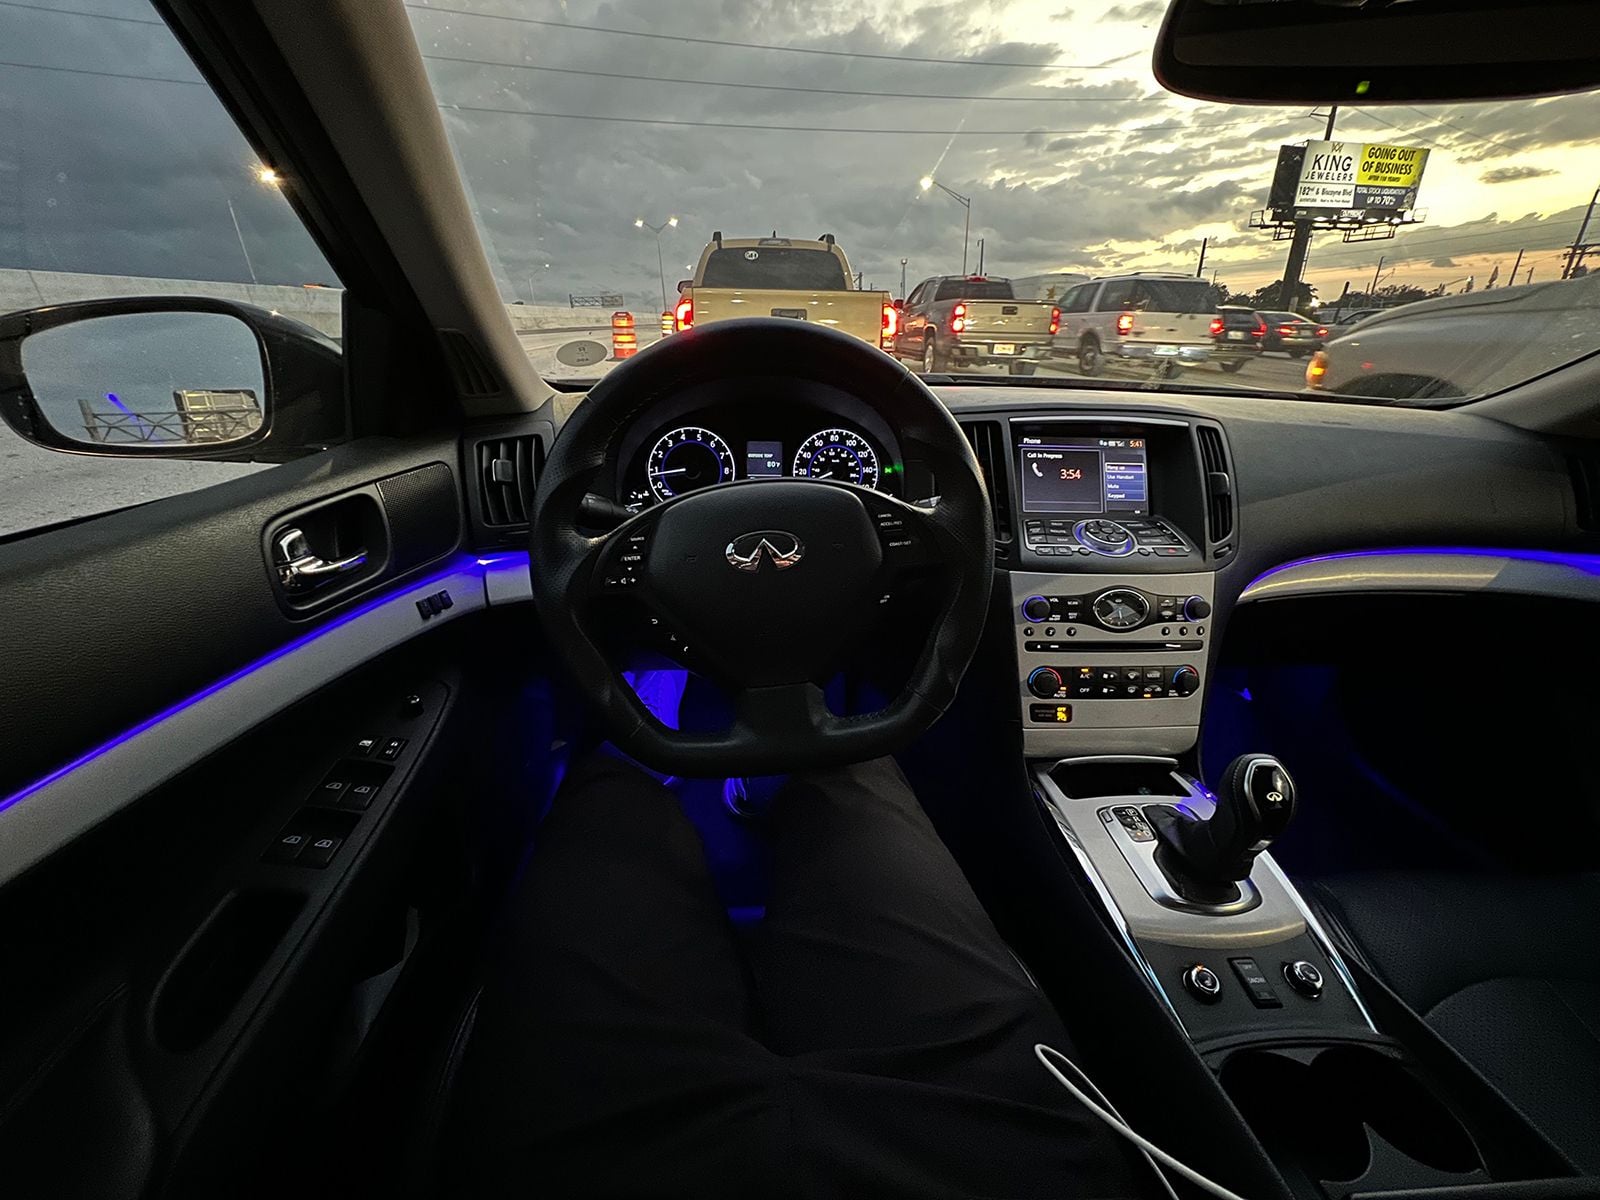
I started down the rabbit hole of OEM+ interior modifications on my G37 sedan including:
- LED ambient lighting
- Interior, trunk, and license plate white LED lighting
- GTR map light covers
- Vinyl wrap interior trim
- Replace driver door leather arm rest
- Sound deadening foam outer shell of doors
- Dynamat inner shell of doors and rear deck shelf
- Disassemble center console, add sound deadening to remove rattles
- Q50 shift **** and boot
- Aftermarket steering wheel
Overview of DIY Write Up:
- Product used
- Auto on/off Functionality
- Fade on/off
- LED Install
PRODUCT:
I bought both the LED ambient light strips and footwell lighting from Optic Auto Lighting. I have had the setup for around 9 months and very happy with the product so far, lights are even, app is intuitive.
https://opticlighting.co/products/interior-ambeint-lighting
https://opticlighting.co/products/footwell-lighting-bundle
I used 2 ambient LED strips kits and 1 footwell kit in my install. The ambient LED strip kit allows a maximum of 5 light sources and I needed 6 light sources. The light sources are: LF door, RF door, LR door, RR door, dash left, dash right.
AUTO ON/OFF WIRING (FUSE TAP):
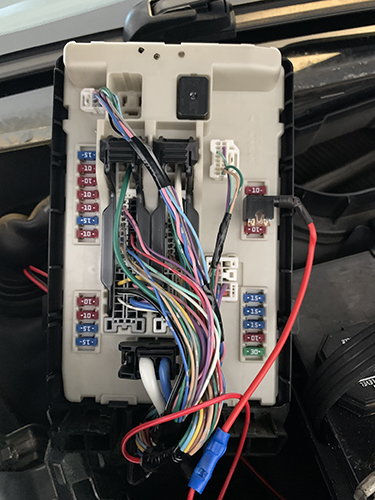
There are a couple of ways to achieve an auto on/off functionality, the preferred way is to tap into a fuse which activates with the headlights, there are several but I chose to use the #53 TAIL/ILLUMI fuse. Located on the passenger side in the engine bay fuse box #1, second down on the right side of fuse panel. Here is the full fuse diagram for G37s.
G37s use the ATM LP syle fuses and you will need to get a fuse tap, .
If you are unsure of how to tap a fuse this is a good video.
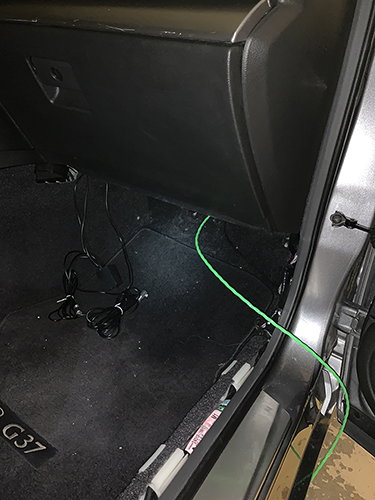
The easiest way to run the wire through the firewall is to cut a small slit in the grommet and use electrical fish tape to route the wire through, it will come out under the glove compartment.


FADE ON/OFF:
An optional complication to add is a fade on/off for the lighting. This gives a more OEM feel as the lights will slowly fade on and off as the cabin lights, versus the harsh on/off of most aftermarket lights. Details matter.
I wired this Oznium dimmer in series before the LEDs to achieve this effect. It also allows you to control the speed on the fade on/off (fade speed between 1.5 sec to 19.5 sec). I received the idea and starting info from this TacomaWorld forum post.
Here is a video demonstrating the fade in/odd Oznium dimmer.
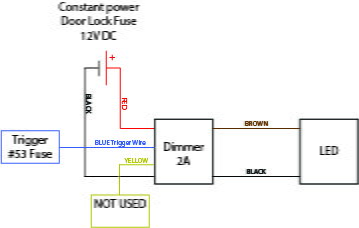
The dimmer requires a constant power source connected directly to the battery and a trigger (Fuse #53 mentioned above) then wires directly to the LEDs. Note, the dimmer will continuously draw from the battery even when off, however the standby current is only 25 mA so as long as the car is a daily and isn't sitting for weeks without being driven this won't be an issue.
Here is a wire diagram and a photo of the dimmer installed. Note, for my install I used a total of 3 LED kits (1 footwell kit, and 2 ambient light kits) this is why you see three LED power cables spliced into the dimmer +/- wires.

Picture of trigger wire to fuse box and power wire to battery ran through firewall before tucking wires.

LED INSTALL:
I won't detail the footwell lighting install or the removal process of the door cards, trim, or dash pieces as there are many posts videos showing this existing.
Door Install
You will need to remove the door cards and trim pieces to install the LED light strips. While the door card was off I cut the light strip to size and ran along the top of door trim, I tucked through to the back side of the trim so all wires are hidden. Make sure to leave an extra ~6in of the inner tub so there is slack behind the door trim making it easier to connect to the LED light source and re-install the door card.
You will see that the light strip is fairly translucent and barely noticeable while turned off.
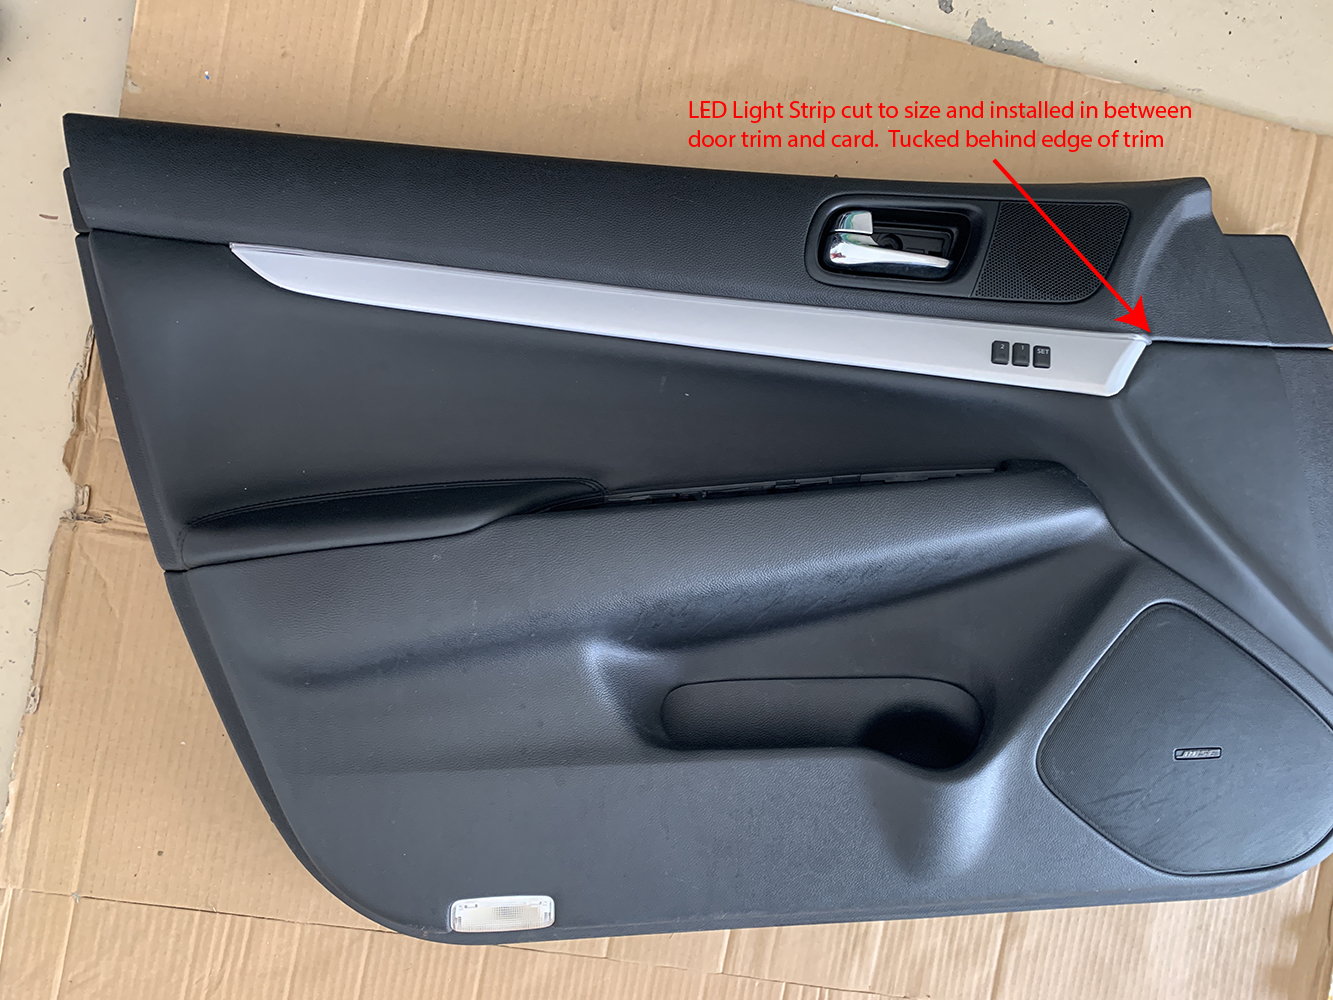
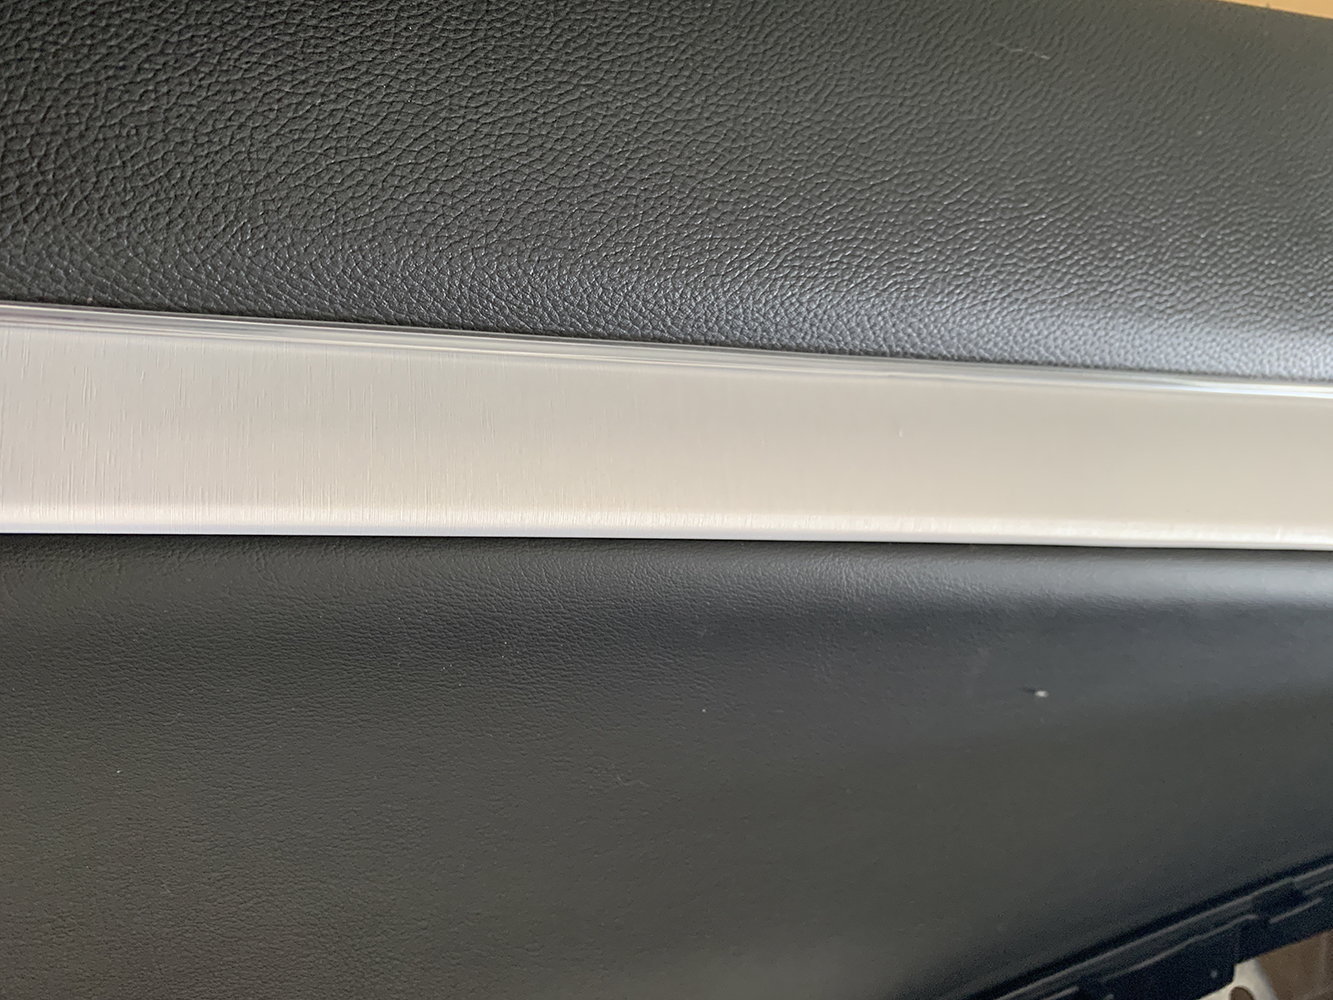
The best way to run the wire from the cabin to the door is through the molex. It does require drilling through the unused ports of the molex male/female side connectors. Here is a video detailing the process (same for both G35 and G37). In order to run the wire through the molex in the door.
The process is essentially:
- Remove molex grommet from the housing
- Disconnect the molex connector
- Locate unused ports and drill through both the male and female connectors
- Feed the wire through the connectors into the outer shell of the door
- Reconnect the molex connectors and grommet. It is a fairly tight space far back in the driver footwell
- Secure the wire to the harness, cut a slit through the grommet to the inner shell of the door and run wire through
- Splice LED light source back to the wire
- Install LED light strip in door card
- Connect inner tube of light strip to the LED light source and re-install door card


Dash Install
The dominant light strip is above the glove box, however I also did the ~5in small trim piece to the left of the steering wheel. It is a small detail, but it would bother me if I didn't do it.
I tucked all of the LED power boxes, dimmer, and excess wire above the passenger dash footwell trim so it is hidden.
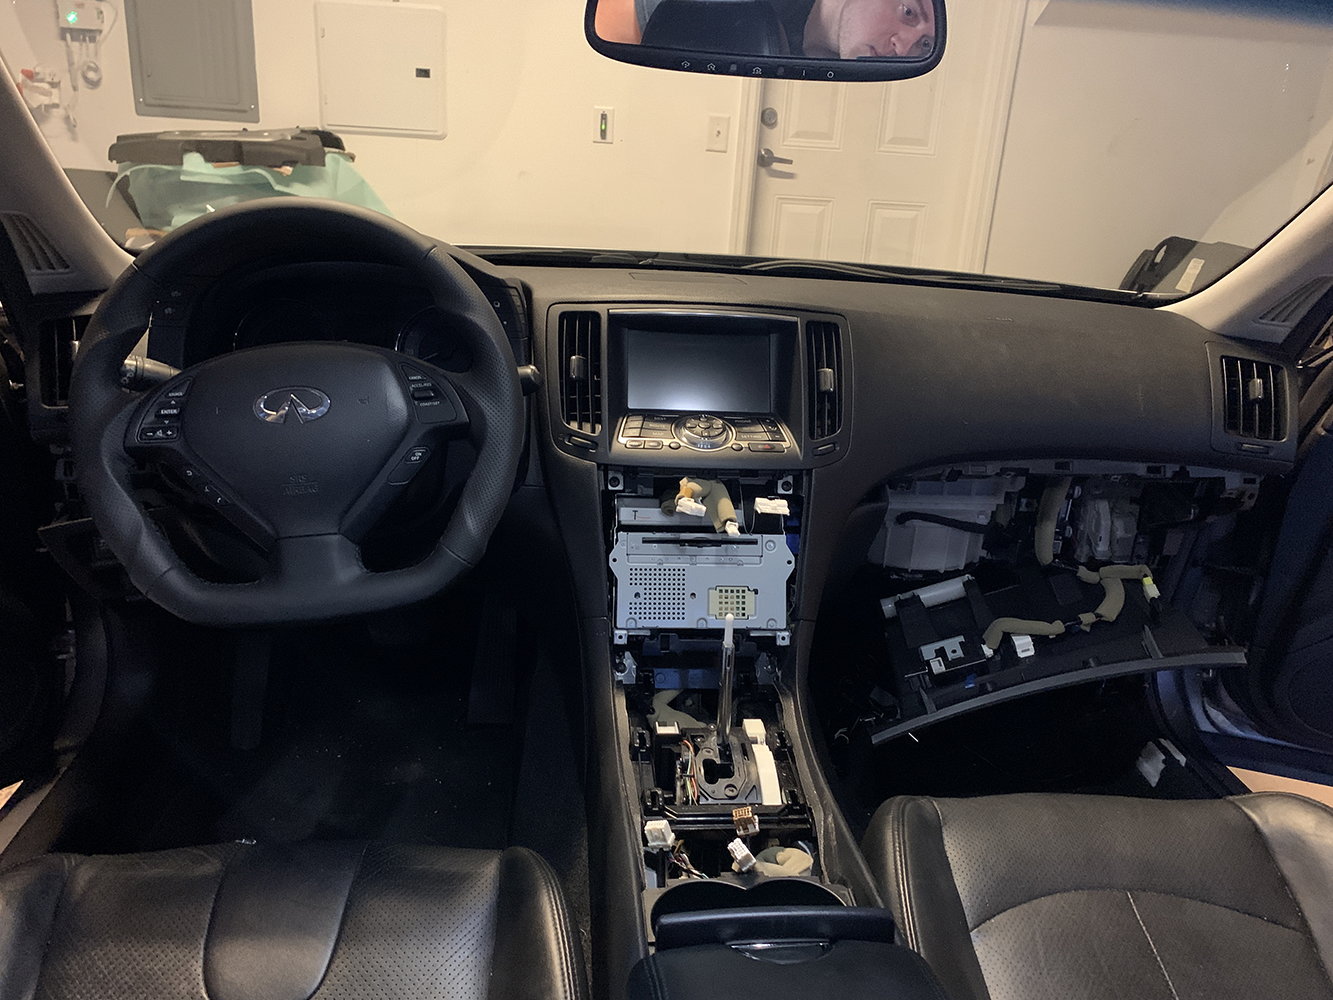

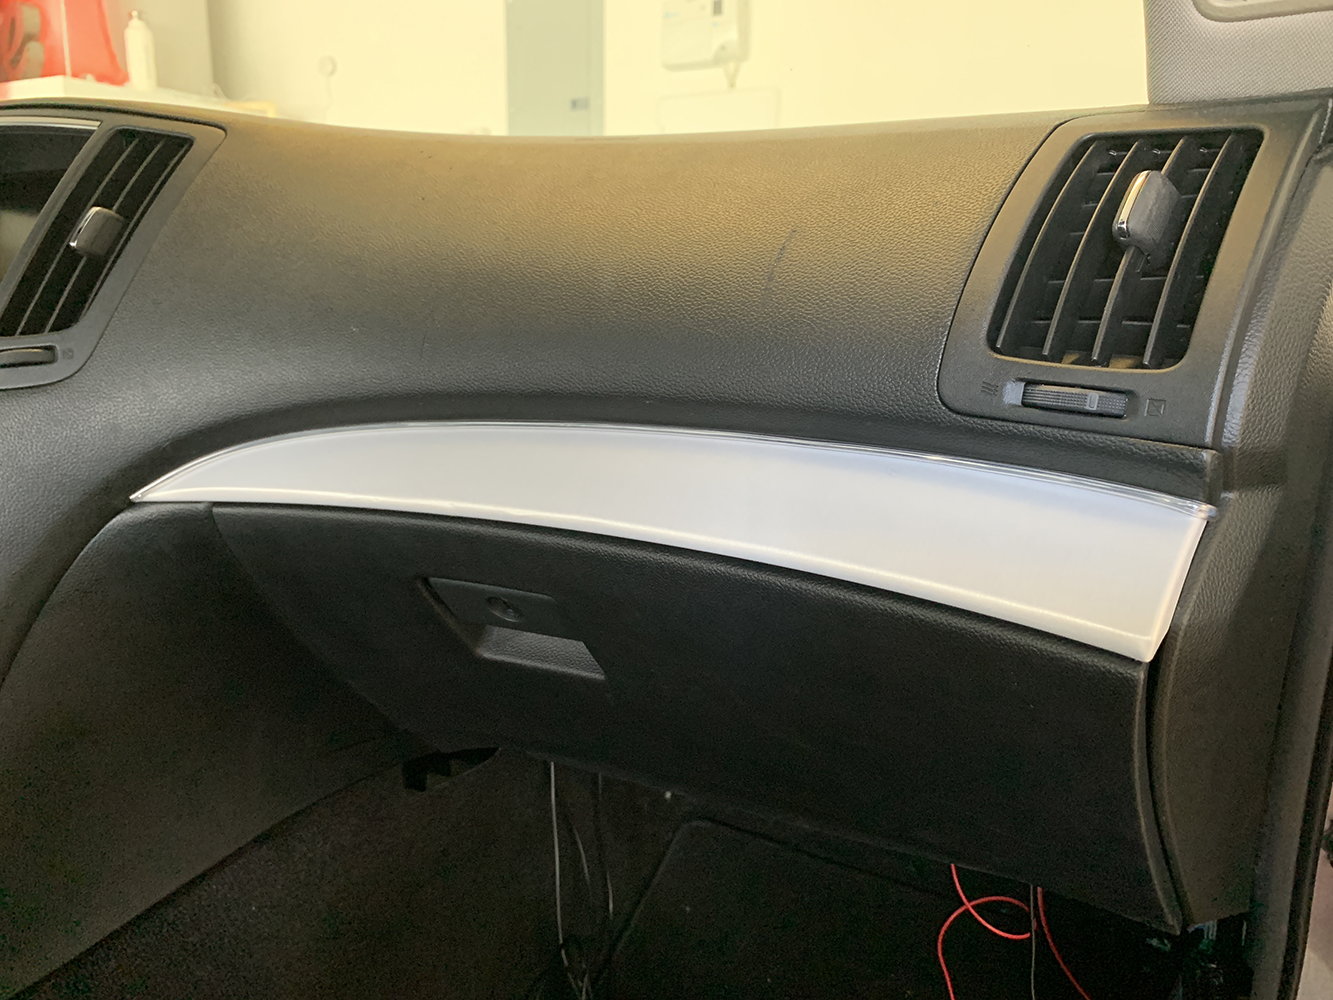
You will notice in the images below that there are bright spots around the bends and on the end of the strips. I plan to test ideas to reduce this such as sharpie or black tape on the inner tube to block the light on the bright spots. Open to suggestions or ideas!
FINISHED RESULT:
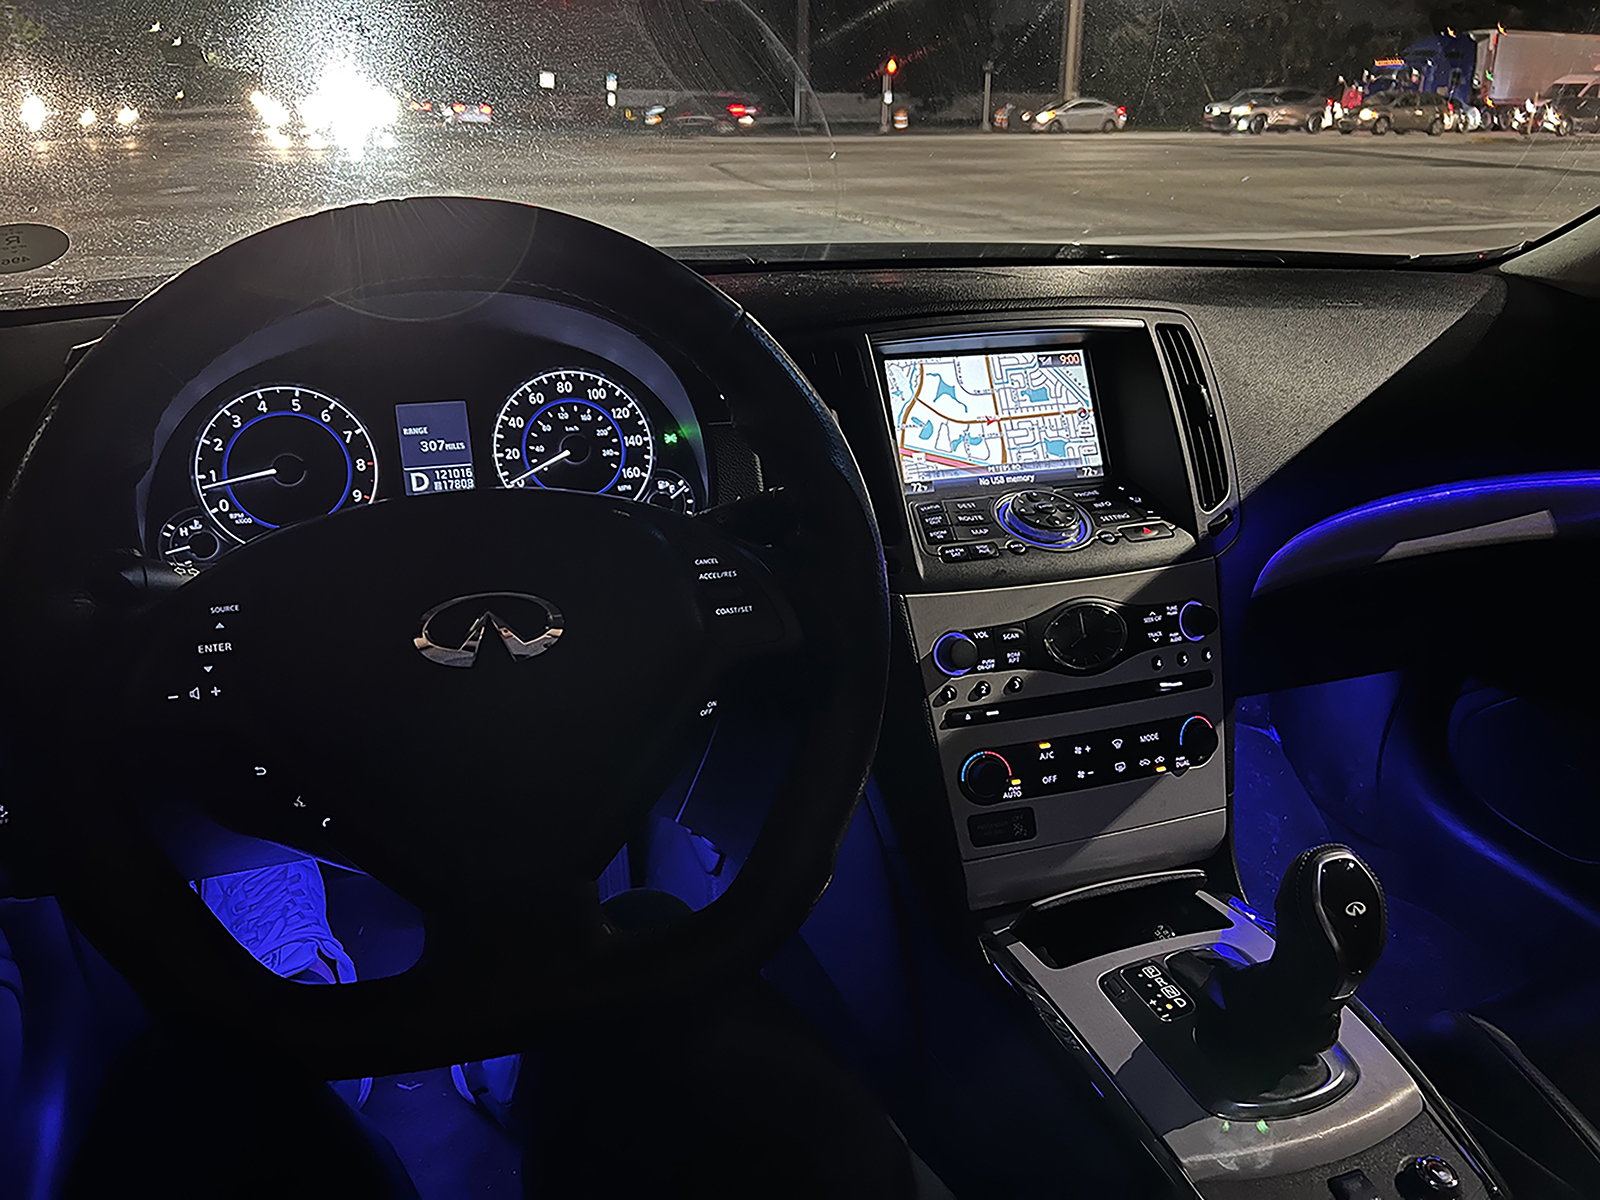
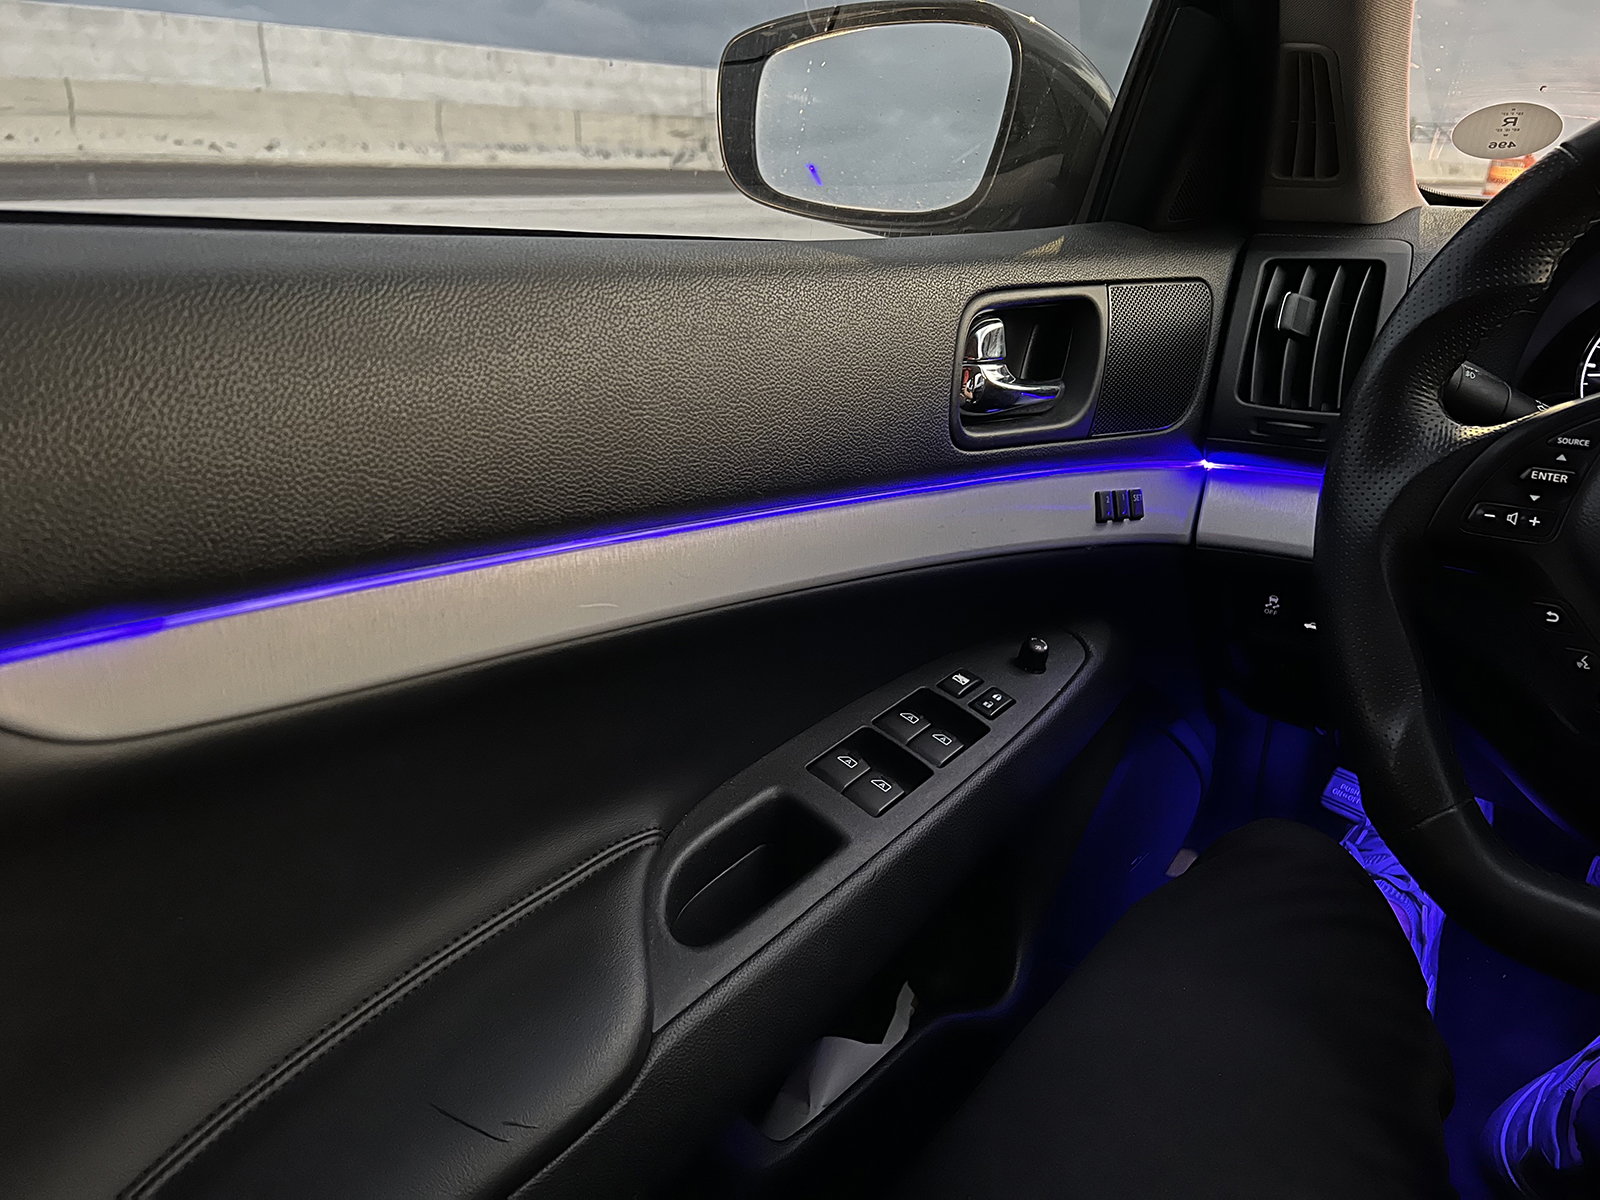
(I still need to finish my passenger door)

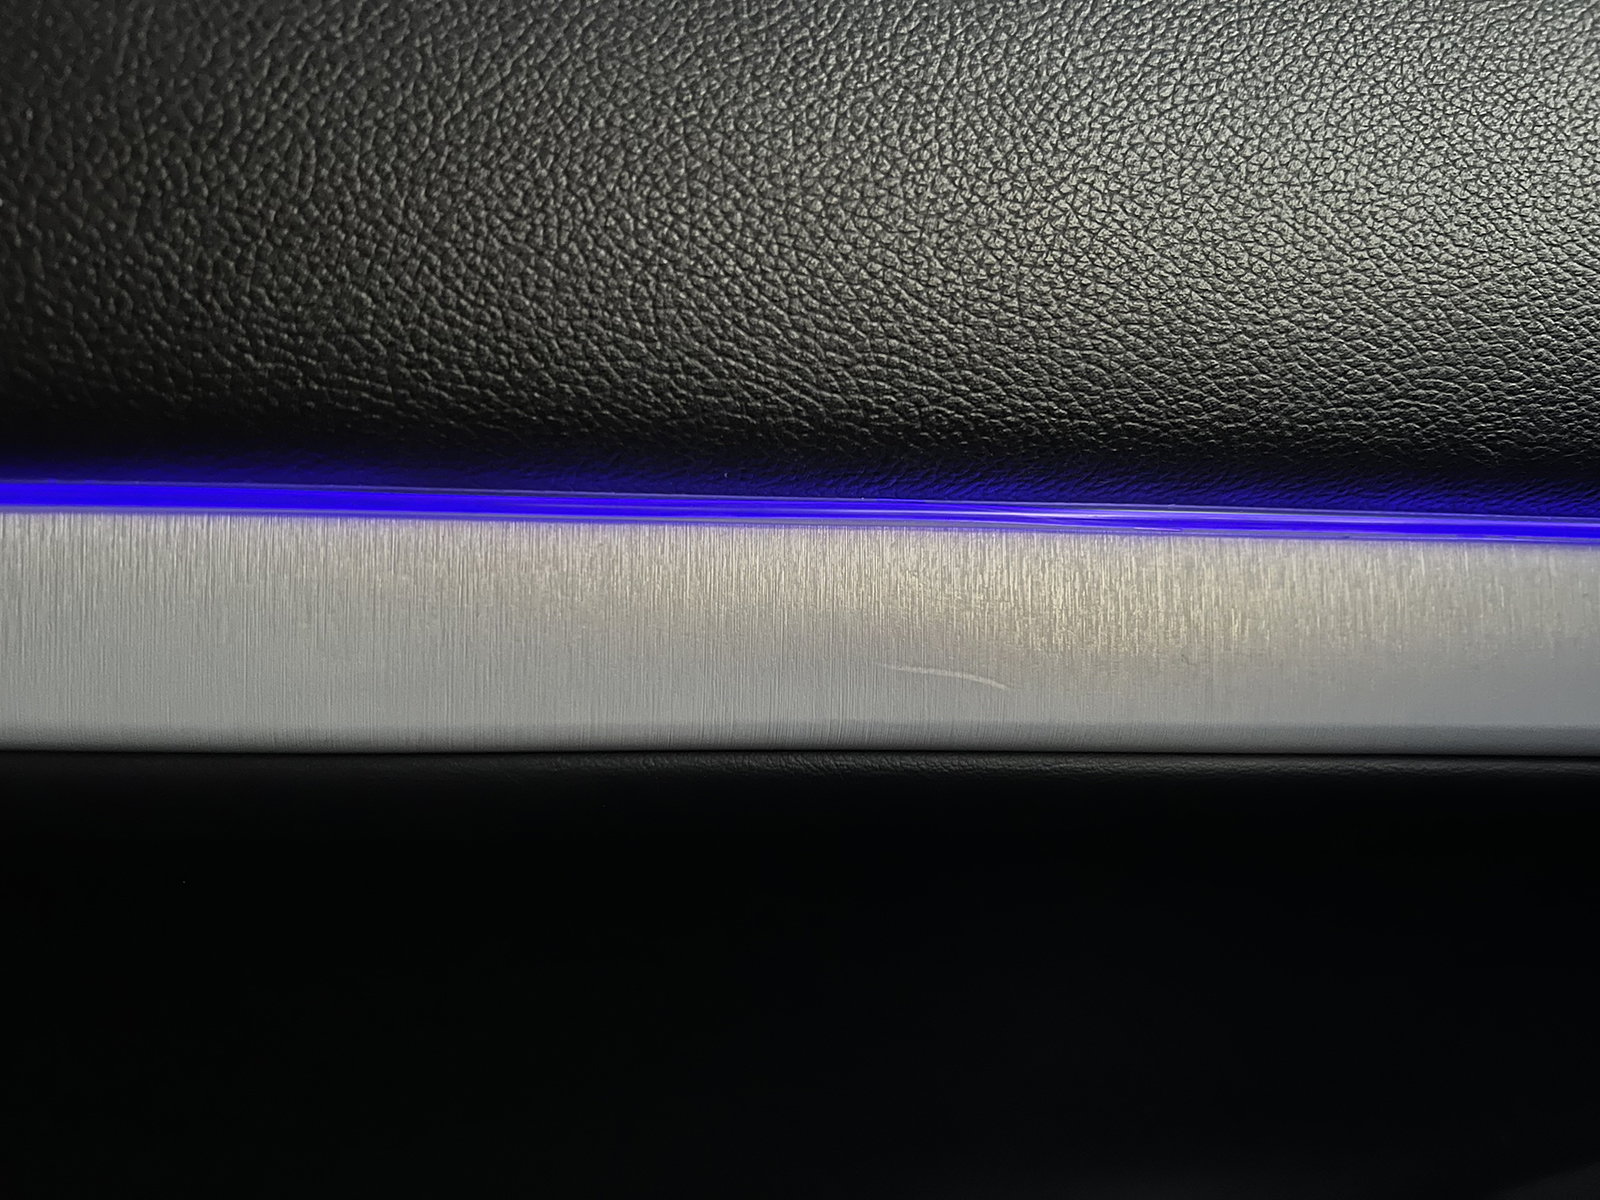
Hope you all enjoyed the write up and it was informative! Happy answer additional questions.
Last edited by DerrickH_G37x; 12-06-2022 at 10:44 PM. Reason: Typos
The following 2 users liked this post by DerrickH_G37x:
takemorepills (12-06-2022),
The Pope (12-07-2022)
Thread
Thread Starter
Forum
Replies
Last Post


