DIY: Poor mans "Hyper" LED DRL's Sport version v1
 03-12-2015, 10:26 AM
#1
Registered User
Thread Starter

I was admiring the Hyper LED's that Infiniti sells for around $600 and decided that it was entirely too much money to spend on some simple LED's. So here is my first attempt at fabricating anything of my own out of metal. This project will be continually updated to completion but I figured I would post what I have so far.
Materials:
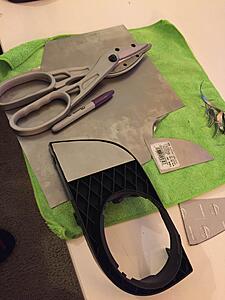
-I started with a 12x12" piece of Steel Sheet Metal (Found in Lowes or HD)
-Purchased some Aviation Snips from Harbor Freight. Link
-LED Eagle Eye lights from Amazon. I made sure the ones I got were 3watts each. These have a threaded extension on them and a nut to attach them easily to anything you want to mount them to. They are also waterproof!
Tools Required:
-Dremel or Drill with sanding, metal cutting wheel, and a step drill bit.
-Something to cut the metal - like the aviation snips above.
-Hammer and rubber mallet - used to flatten out the metal.
I started off making a carboard mock-up of the shape of the Fog grill insert. I decided I wanted the plates aligned along the outside. Once I was happy with that I traced it on the metal with a Sharpie and after several careful cuts and pinched fingers I ended up with plates that sit just inside the grill inserts.
After I was happy with the mockups I got to drilling (this was the hardest part) I used a step-bit I purchased from Harbor Freight. Link I used the smallest one and drilled all the way down to about the 3rd to the last step of the bit.
Caution: these bits and the metal get VERY hot and will burn your hands and other stuff around it. I actually drilled these on top of a stack of soft cardboard which almost caught fire.
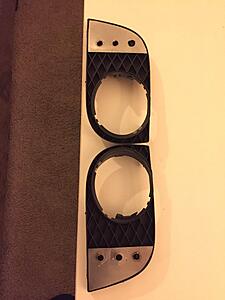
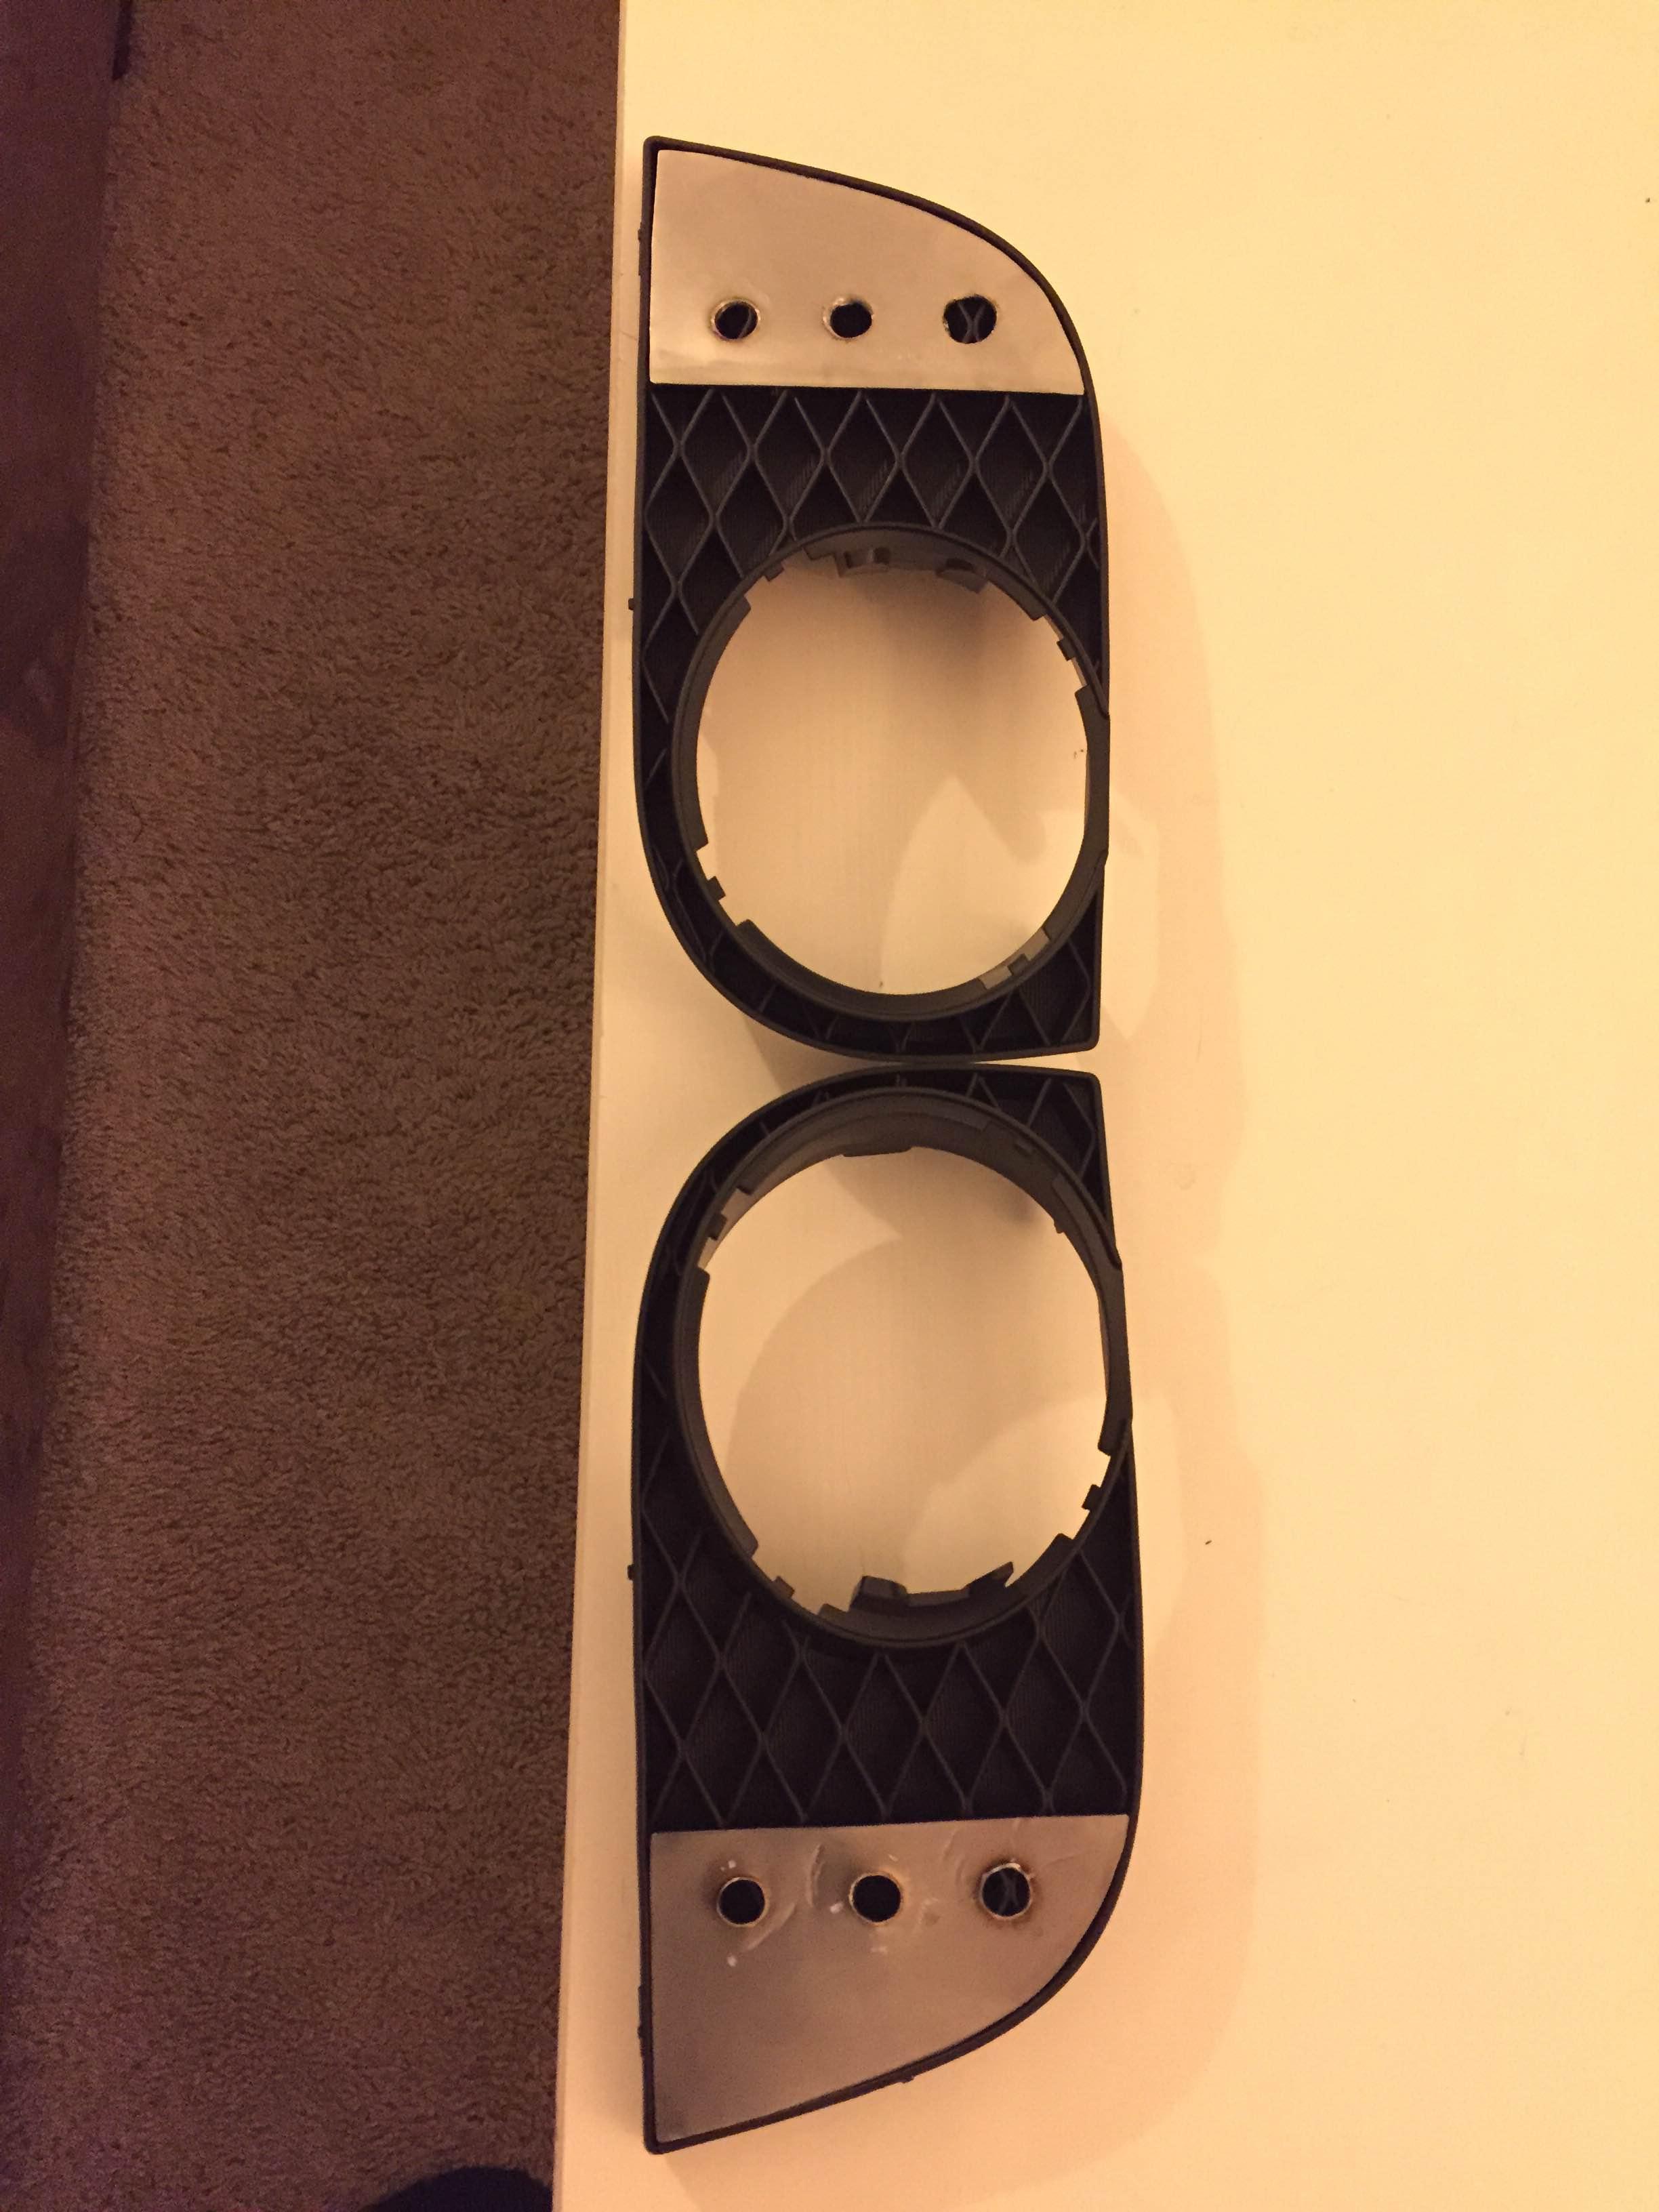
Another note - you'll see the metal bends inwards from all the pressure and drilling just around the hole - you'll have to find a clean-hard-flat surface like concrete or a metal block to hammer the plate back into shape after all the drilling is done. I used normal hammer to flatten where the hole was made and then used a larger rubber mallet to flatten out the whole panel as a whole. Here is what they looked like after.

See how the metal is black/brown around the edges of the holes? Yea.. it got that hot.
I also took the liberty of rubbing a dremel to clean up all the sharp edges around the outside of the panel and the inside of the holes.
-----------------------------------------------------------------------------------
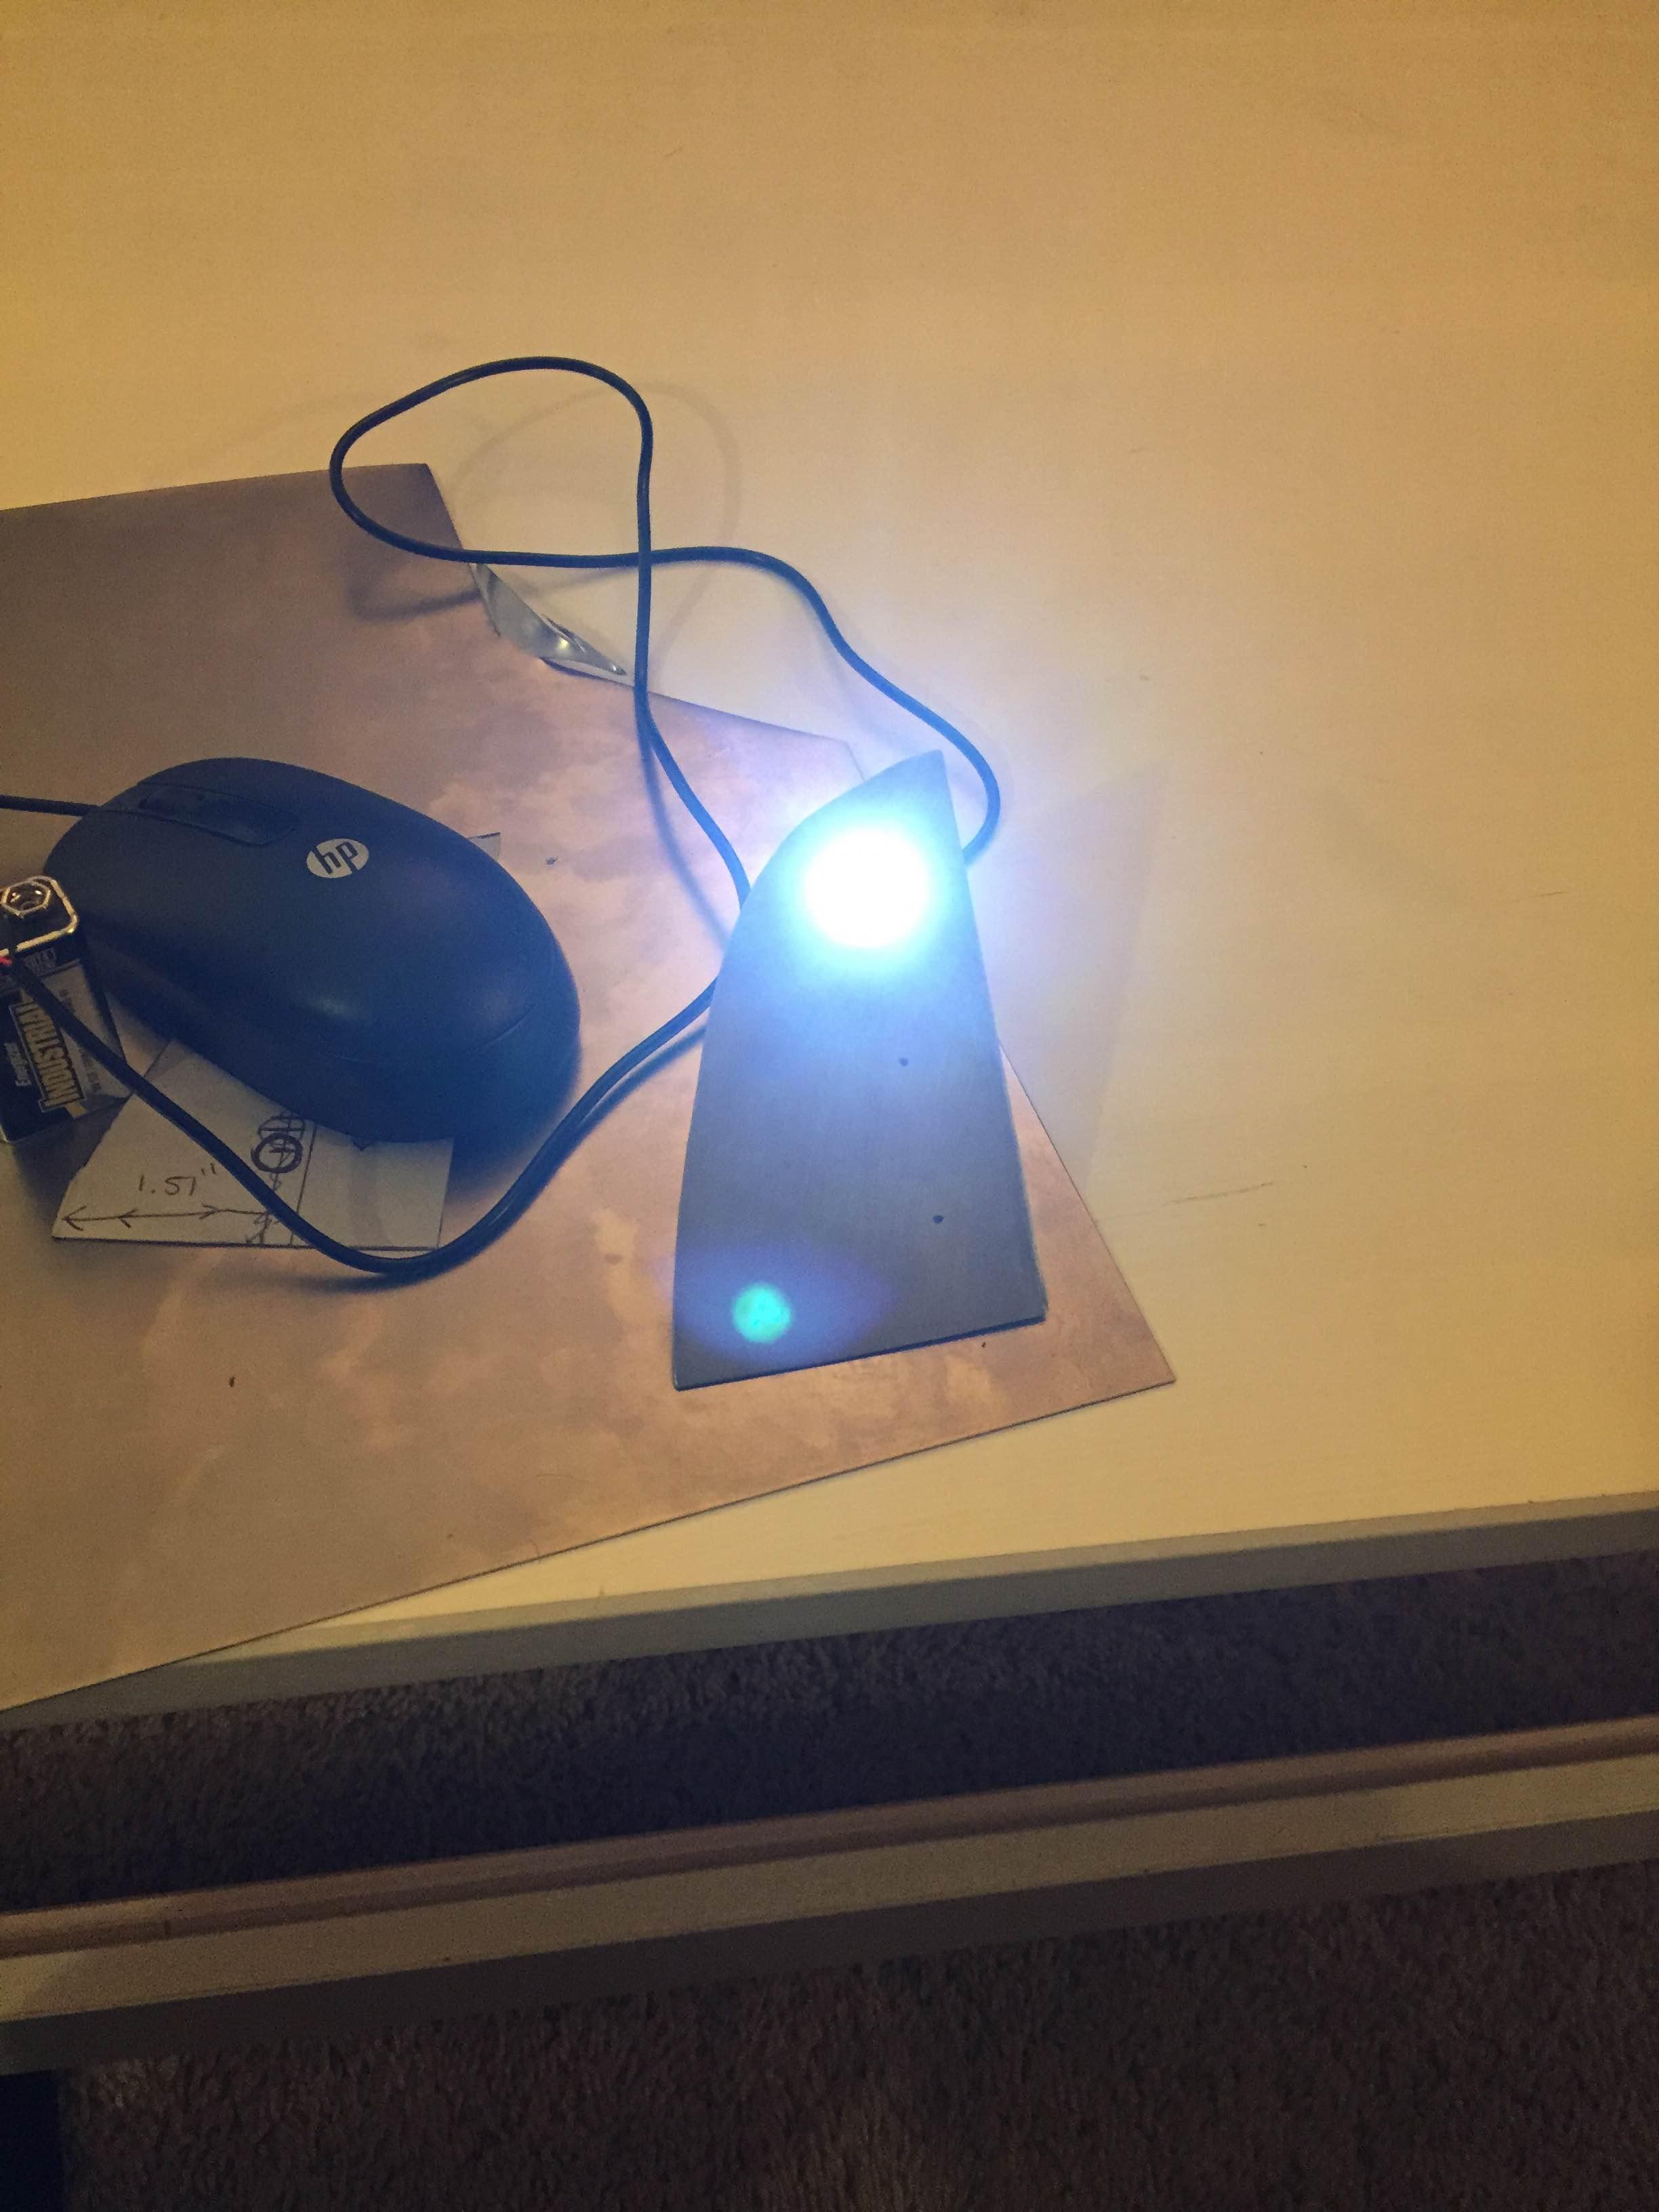
Time to test fit LED's and make sure they all fit. Here is a test fit of one after drilling one of the holes. (notice the sharpie markings of where I planned to drill my holes)
Making sure my plates sit nice on the Fog Inserts with all their holes now done.
The next step I placed the plate over the fog and used my dremel sanding tool to essentially burn/melt a hole in the fog insert exactly where the plate hole lines up. I held the plate in place where it's final position would be and just inserted the dremel through the hole into the grill insert - applied light pressure because I did not want to bend my fog insert tabs on the backside.
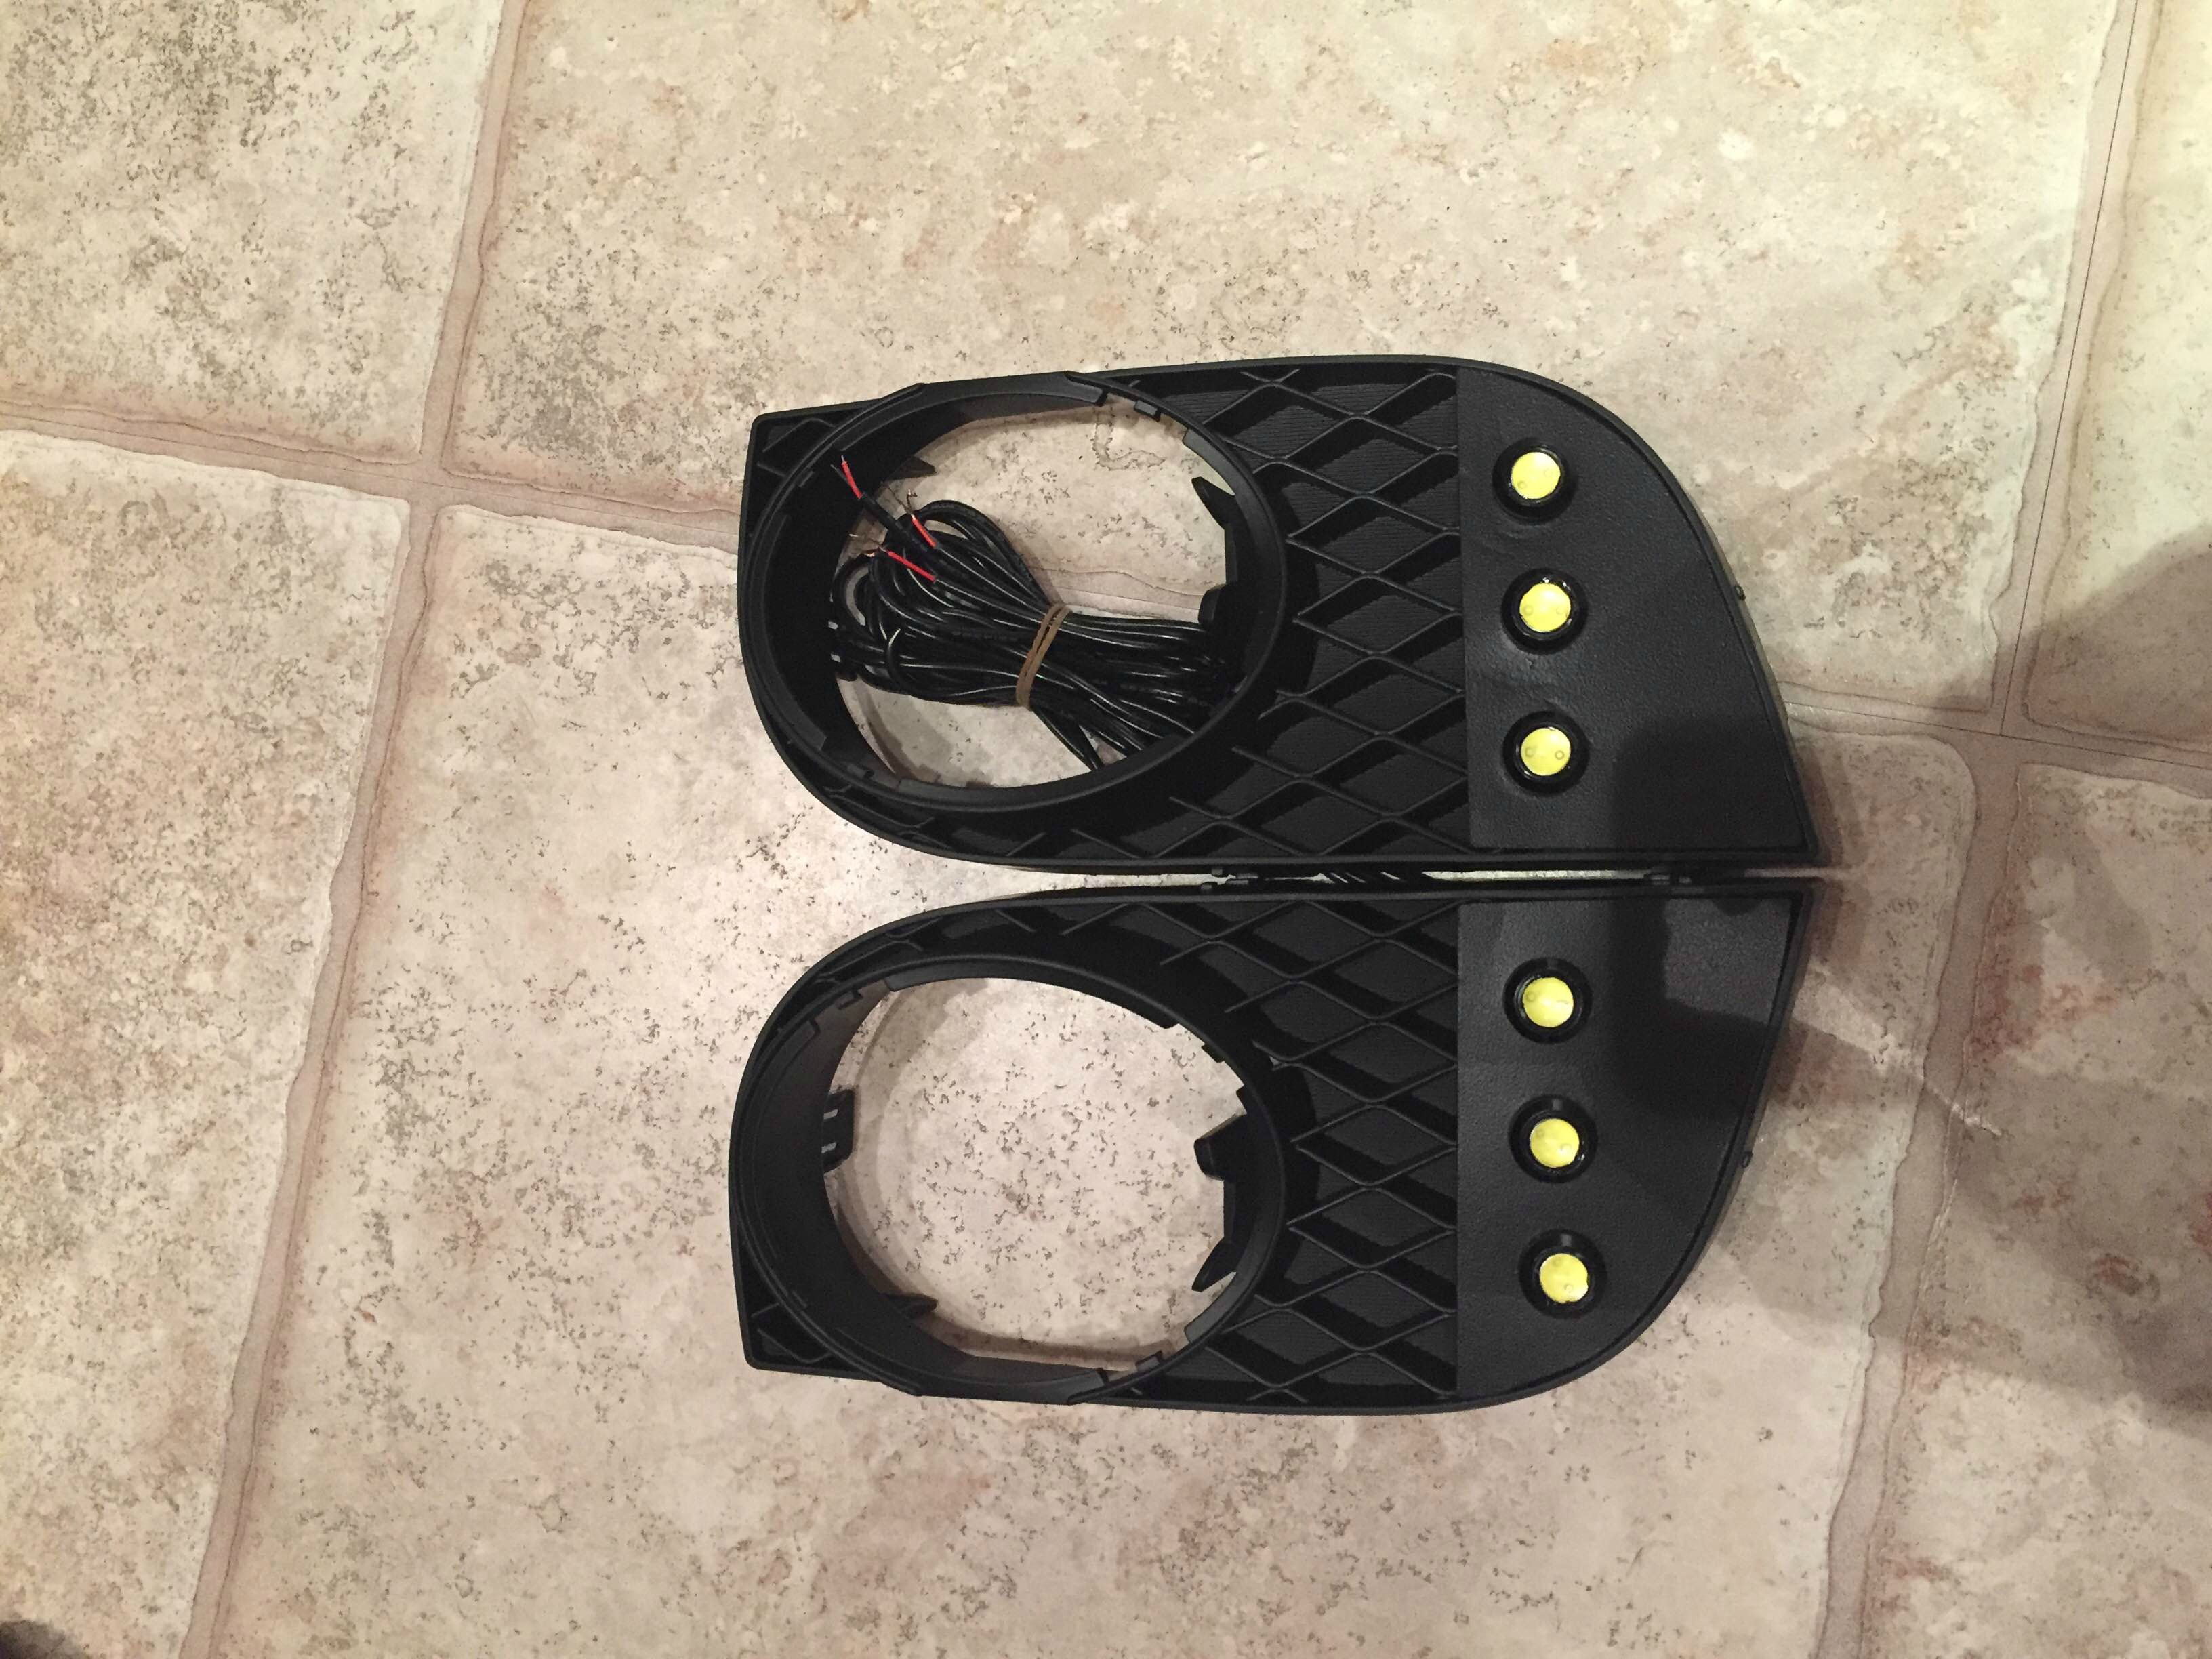
Once you are able to get all the hole done you should be able to push you wires through all 3 holes on each plate and the thread of the LED Eagle Eye should stick out the back of the fog insert. You can then use the nut to tighten them down and secure them.
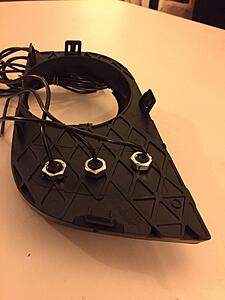
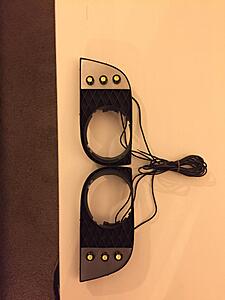
Here is my set - somewhat complete. Still needs paint. I plan to paint them black first (for rust purposes) then I am doing to put a smooth coat of Plastidip over them to make them blend a bit better with the fog area as the plastic is not a deep black like the paint.
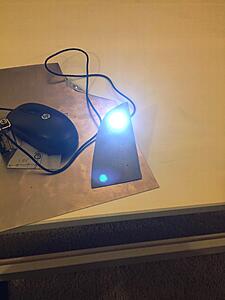
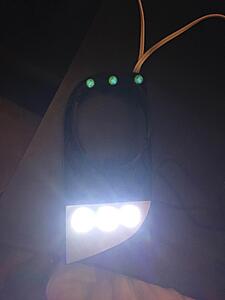
Testing 1...2...3... - Used a 9V battery to test here.
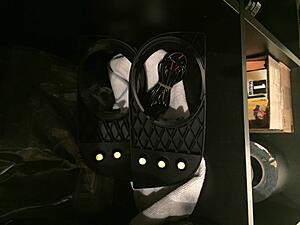
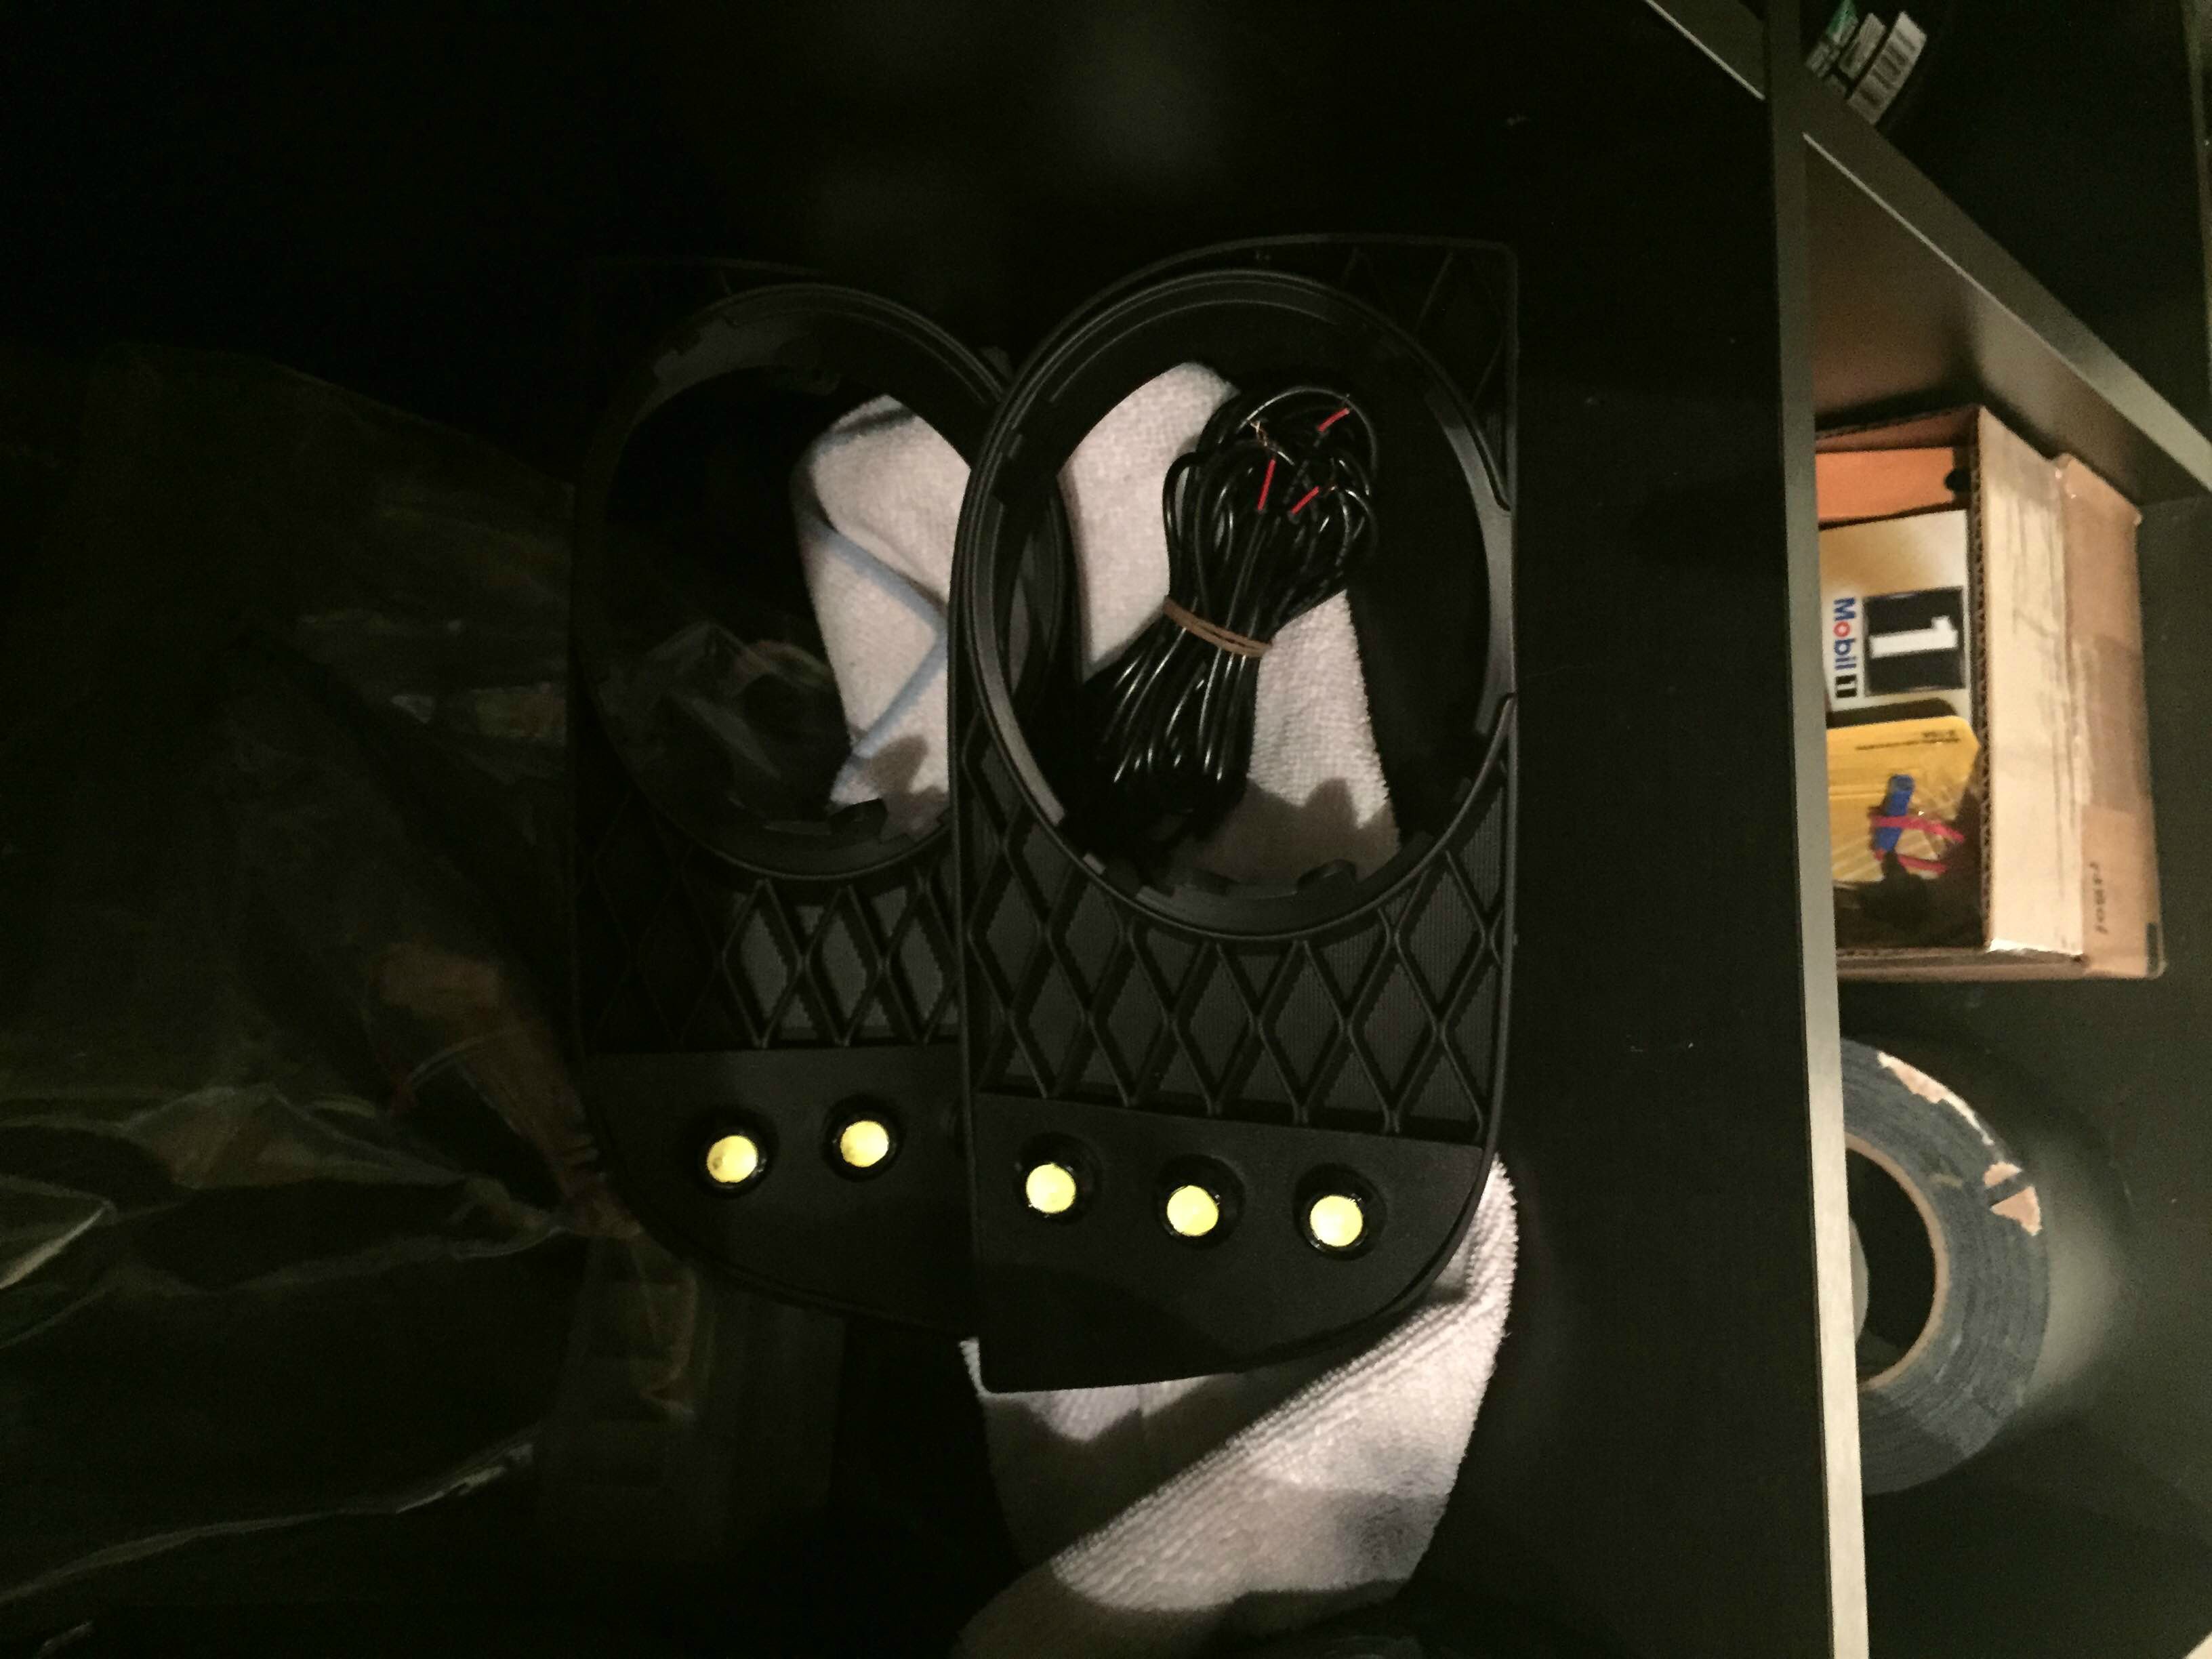
Finally painted them Black - then dipped them black because I felt the rubberized look of the dip meshes better with the grill color than a deep black. Final shots, I may make another pair and get a more exact template or I'll try a template that fits the full Mesh area to make it one solid plate so no mesh crosshatching is seen on the fog grill insert.

Here is a video. Tested with a 12V DC Source.
Materials:
-I started with a 12x12" piece of Steel Sheet Metal (Found in Lowes or HD)
-Purchased some Aviation Snips from Harbor Freight. Link
-LED Eagle Eye lights from Amazon. I made sure the ones I got were 3watts each. These have a threaded extension on them and a nut to attach them easily to anything you want to mount them to. They are also waterproof!
Tools Required:
-Dremel or Drill with sanding, metal cutting wheel, and a step drill bit.
-Something to cut the metal - like the aviation snips above.
-Hammer and rubber mallet - used to flatten out the metal.
I started off making a carboard mock-up of the shape of the Fog grill insert. I decided I wanted the plates aligned along the outside. Once I was happy with that I traced it on the metal with a Sharpie and after several careful cuts and pinched fingers I ended up with plates that sit just inside the grill inserts.

After I was happy with the mockups I got to drilling (this was the hardest part) I used a step-bit I purchased from Harbor Freight. Link I used the smallest one and drilled all the way down to about the 3rd to the last step of the bit.
Caution: these bits and the metal get VERY hot and will burn your hands and other stuff around it. I actually drilled these on top of a stack of soft cardboard which almost caught fire.
Another note - you'll see the metal bends inwards from all the pressure and drilling just around the hole - you'll have to find a clean-hard-flat surface like concrete or a metal block to hammer the plate back into shape after all the drilling is done. I used normal hammer to flatten where the hole was made and then used a larger rubber mallet to flatten out the whole panel as a whole. Here is what they looked like after.
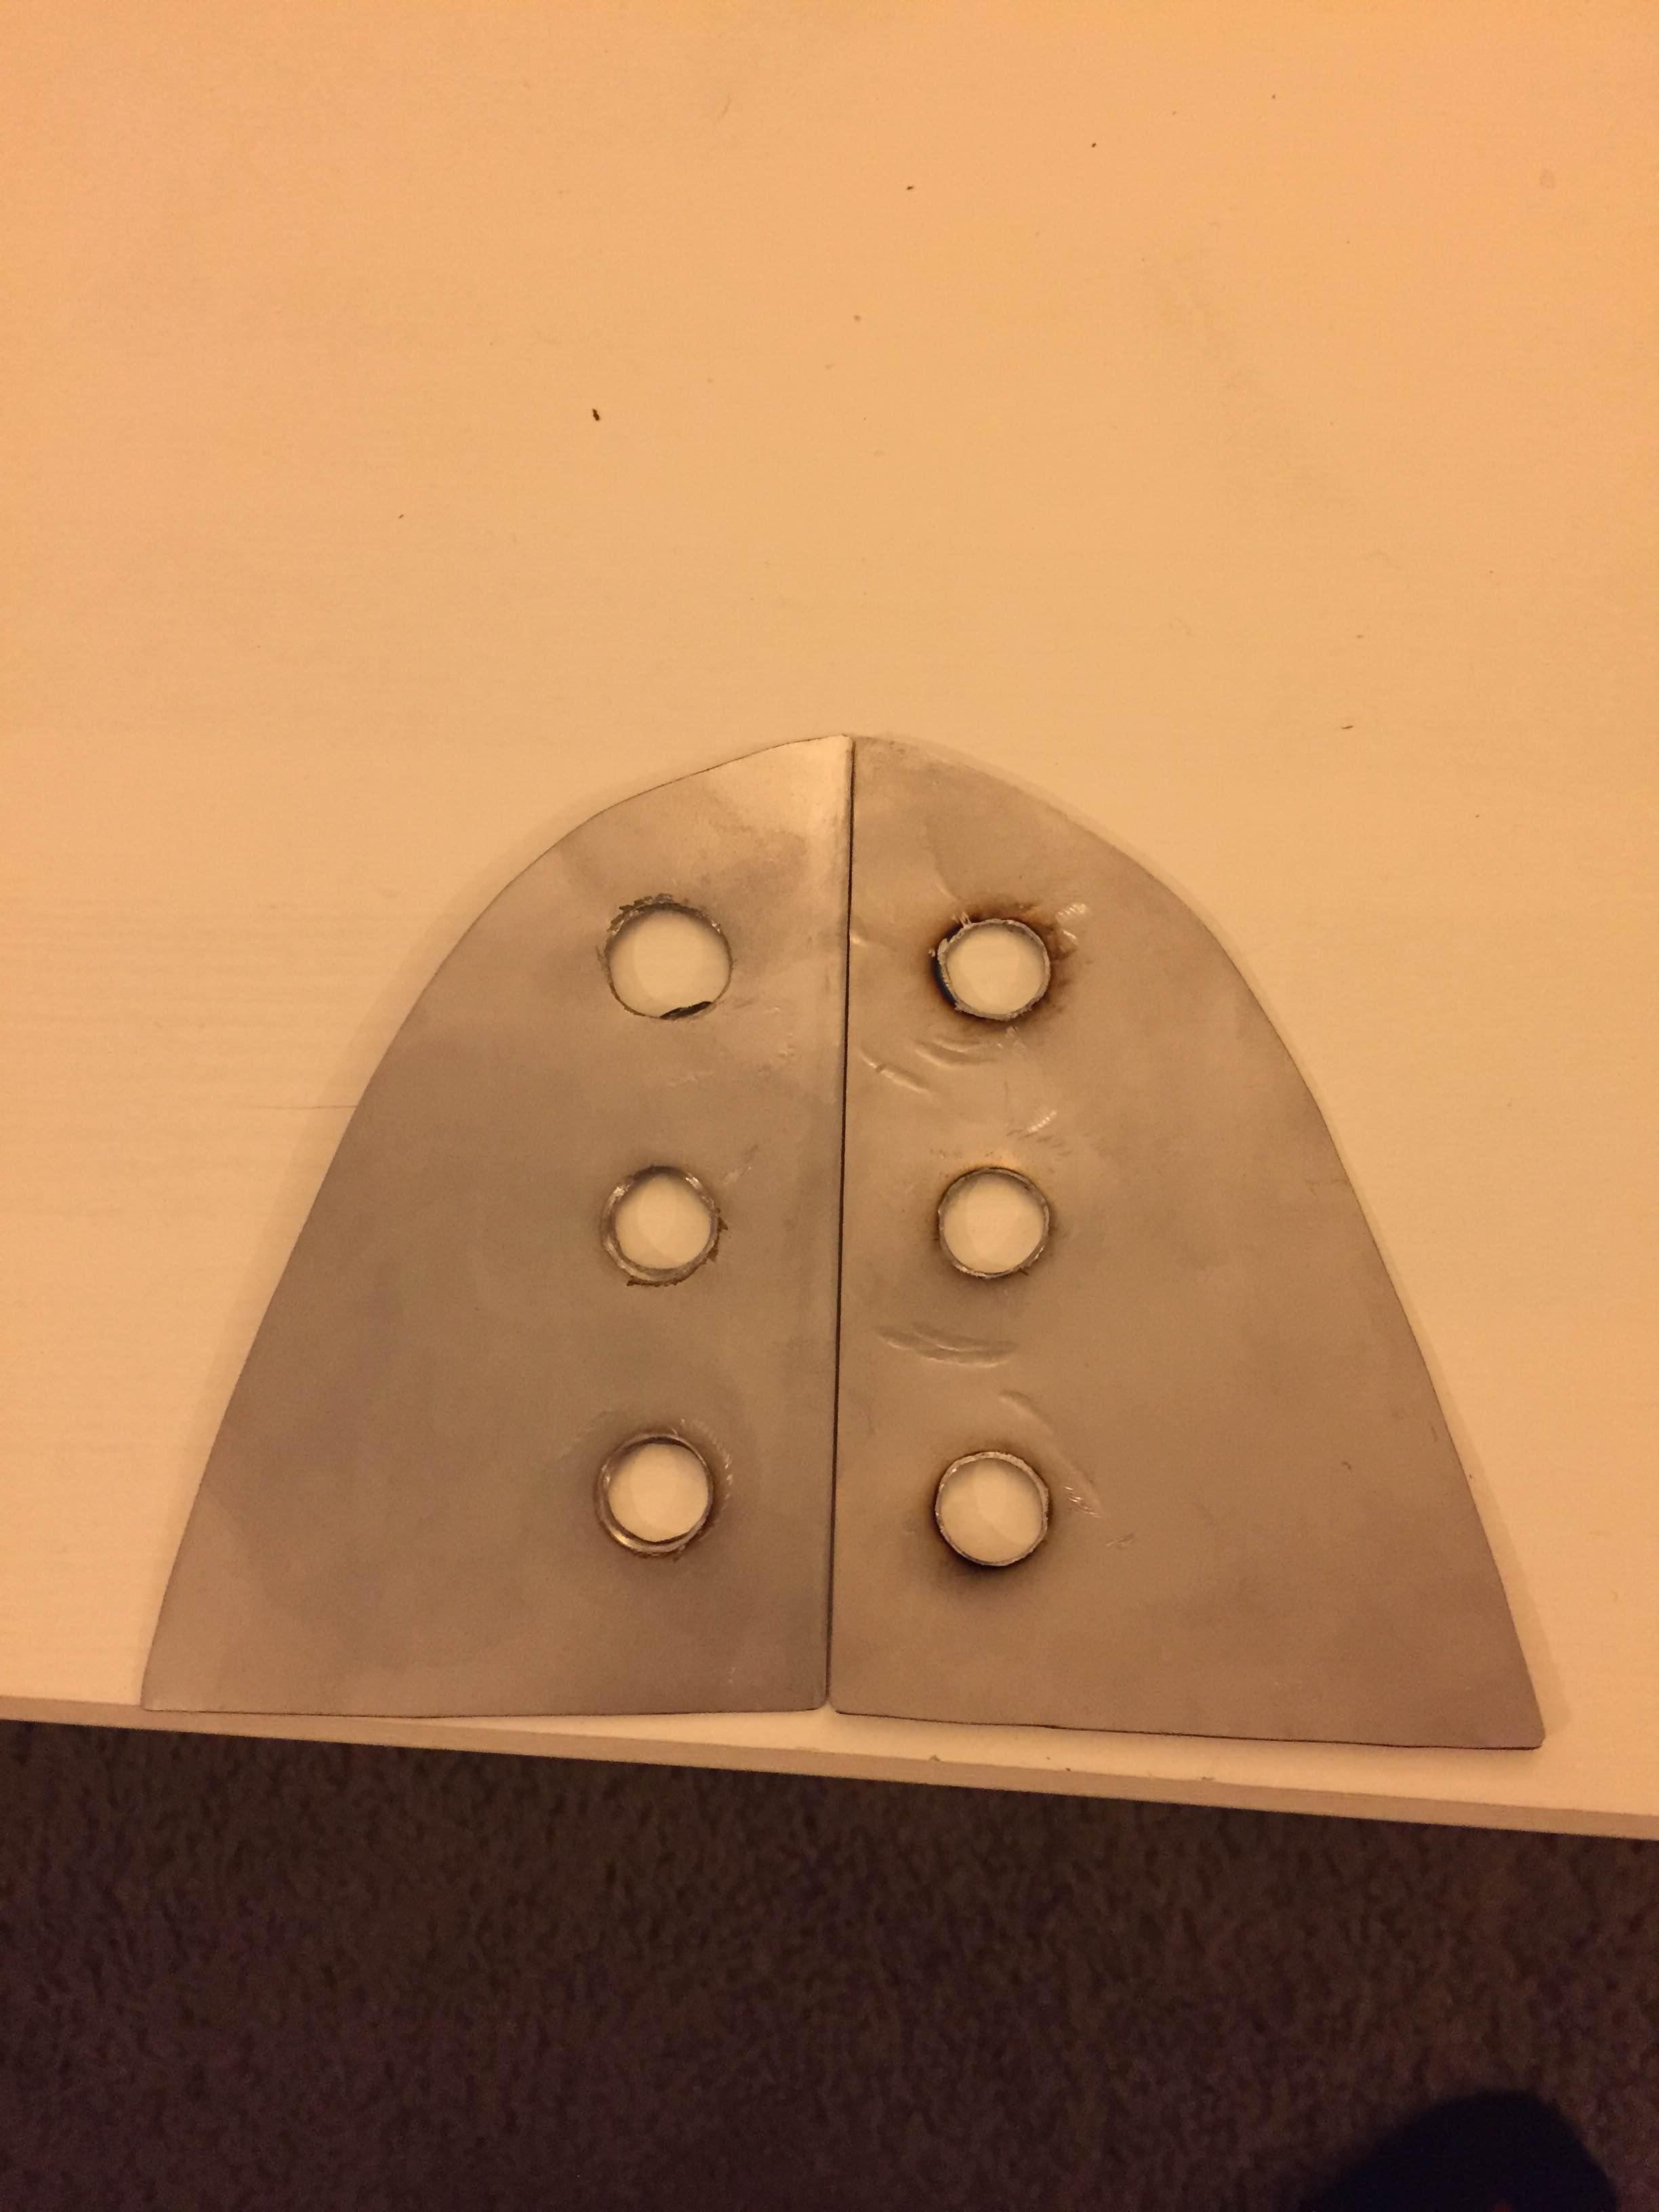
See how the metal is black/brown around the edges of the holes? Yea.. it got that hot.
I also took the liberty of rubbing a dremel to clean up all the sharp edges around the outside of the panel and the inside of the holes.
-----------------------------------------------------------------------------------
Time to test fit LED's and make sure they all fit. Here is a test fit of one after drilling one of the holes. (notice the sharpie markings of where I planned to drill my holes)
Making sure my plates sit nice on the Fog Inserts with all their holes now done.
The next step I placed the plate over the fog and used my dremel sanding tool to essentially burn/melt a hole in the fog insert exactly where the plate hole lines up. I held the plate in place where it's final position would be and just inserted the dremel through the hole into the grill insert - applied light pressure because I did not want to bend my fog insert tabs on the backside.
Once you are able to get all the hole done you should be able to push you wires through all 3 holes on each plate and the thread of the LED Eagle Eye should stick out the back of the fog insert. You can then use the nut to tighten them down and secure them.

Here is my set - somewhat complete. Still needs paint. I plan to paint them black first (for rust purposes) then I am doing to put a smooth coat of Plastidip over them to make them blend a bit better with the fog area as the plastic is not a deep black like the paint.

Testing 1...2...3... - Used a 9V battery to test here.

Finally painted them Black - then dipped them black because I felt the rubberized look of the dip meshes better with the grill color than a deep black. Final shots, I may make another pair and get a more exact template or I'll try a template that fits the full Mesh area to make it one solid plate so no mesh crosshatching is seen on the fog grill insert.
Here is a video. Tested with a 12V DC Source.
Last edited by djdiskino; 03-16-2015 at 11:00 AM.
 03-12-2015, 11:14 AM
#2
Registered Member

Very good write up!! I'm curious as to why you didn't want to use the template where you wanted to holes, drilled into the plastics and just mounted the LEDs directly onto the plastics without the metal piece?
The following users liked this post:
djdiskino (03-12-2015)
03-12-2015, 11:16 AM
#3
Registered User
Thread Starter
@pledes23 good question. I initially thought of doing that but if you look close at the fog/grill insert it's got that cross print texture on it that is very uneven. I couldn't find a way to get a straight line that I liked that didn't look like I was just slapping some LED's randomly on the insert. This metal piece gives me a nice smooth surface to mount to and gives it a more finished look.
03-12-2015, 06:11 PM
#4
Registered Member
I agree with your point completely. I guess it's more me being **** because the entire fog housings texture will be mismatched. Overall you did a great job and I will probably consider doing something similar when summer approaches. Do you know if those LEDs you purchased are offered in 6000K?
@pledes23 good question. I initially thought of doing that but if you look close at the fog/grill insert it's got that cross print texture on it that is very uneven. I couldn't find a way to get a straight line that I liked that didn't look like I was just slapping some LED's randomly on the insert. This metal piece gives me a nice smooth surface to mount to and gives it a more finished look.
 03-12-2015, 07:13 PM
#6
Registered User
Thread Starter
No worries. I thought about it a lot on ways to blend it in with the texture even going as far as making my own rubber molds but this just seemed to work. I think once they are black and have that kind of rough plastidip texture they will look like they fit better. So hard to paint in the winter here.
6000k they definitely have eagle eye leds on eBay somewhere. I specifically wanted these in 4300k to match my custom headlights I'm working on which have 4300k led evil eyes
6000k they definitely have eagle eye leds on eBay somewhere. I specifically wanted these in 4300k to match my custom headlights I'm working on which have 4300k led evil eyes
Trending Topics
03-13-2015, 03:37 PM
#8
Registered Member

Thanks for the idea. I just ordered a 10x set from ebay. When I get them I'm gonna take out the inserts and see what options I have fir the mounting. Since I have the '09, those panels have nothing in them, so I have lots of leeway to mount how I want.
03-13-2015, 05:02 PM
#9
Registered User
Thread Starter
@Flakman those '09 panels are much easier to work with and don't have all the corners and edges that these have. Your's should be an easy little project. The housings I believe are supposed to keep the LED's cool because at 3watts they will need a heatsink to draw the heat away or they will burn up.
 03-23-2015, 12:59 PM
#11
Registered User
Thread Starter
Ahh - the panels attached to the bumper are possibly the worst idea - makes everything so much harder to work on. My solution will still work but you'd have to get some really good measurements and do a lot of test fitting. The DRL's will hold the panel in place like mine you'll just have to be very careful drilling through the bumper panel.

Thread
Thread Starter
Forum
Replies
Last Post
sydnrusty
Body Interior Exterior Lighting
7
11-21-2015 10:42 PM