DIY: Bumper Plugs
 05-08-2011, 08:08 PM
#1

Bumper Plugs
I got my information from G35driver, but thought I would bring it over here too.
I found my bumper plugs in the hardware drawers at Lowe's. They were in the drawer labeled "Hard to Find - Nylon Hole Plugs."
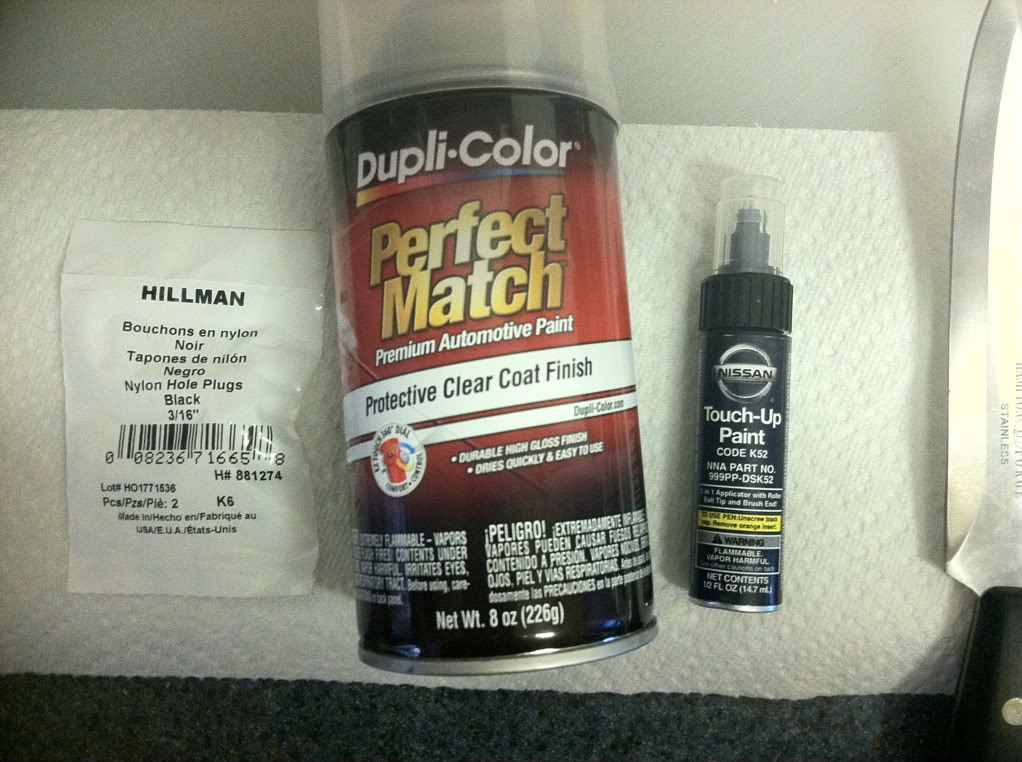
All you need is some touch up paint for your color car (Dealer), some nylon hole plugs (Lowe's), some clear coat, sandpaper, (Anywhere), and a knife or razor.
I used 3/16 hole plugs, but if your bumper holes are bigger, use a bigger size. (You may choose to use a drill or a Dremel and go one size bigger, with the plugs, than the drill bit you used. This will allow you to skip the guessing part.) You want the plugs to be too big too start out, but only barely. Use a sharp knife or razor to bore out the hole just enough to fit the plug.
Sand the tips of the plug so that it is smooth and will hold the paint better. Use rubbing alcohol to clean off the residue. Let it dry for about a minute. Now you can lay your first coat on the plugs. Use as many coats as necessary and let each coat dry for at least 30 minutes. Finally you can spray a couple of coats of clear to finish.
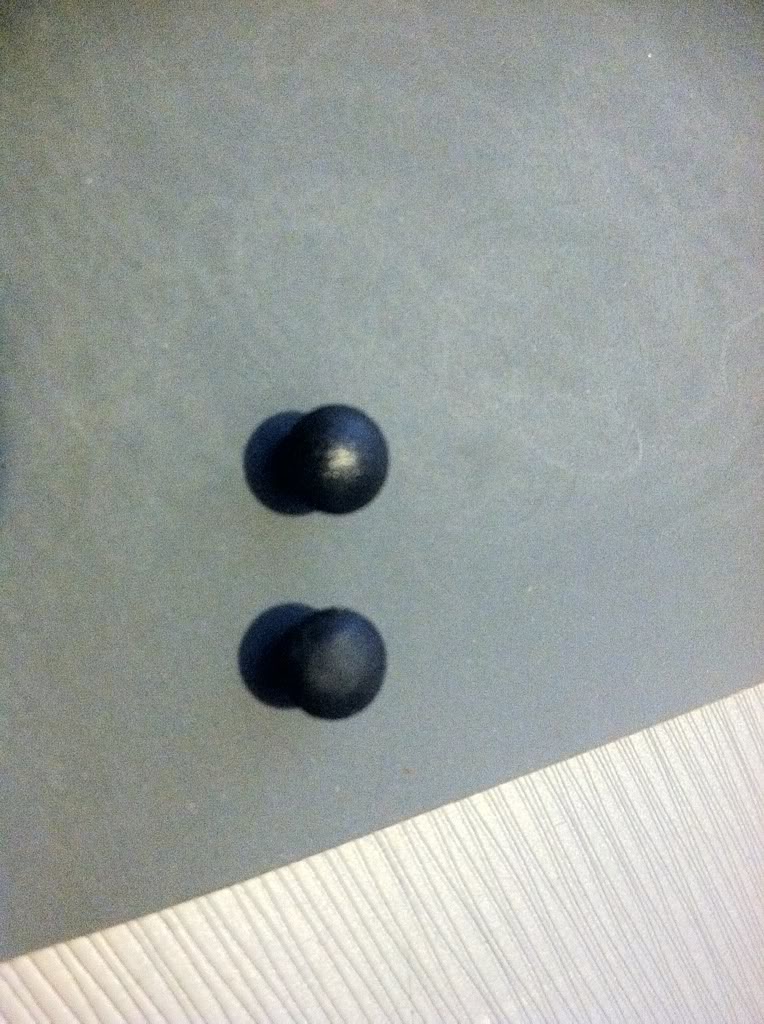
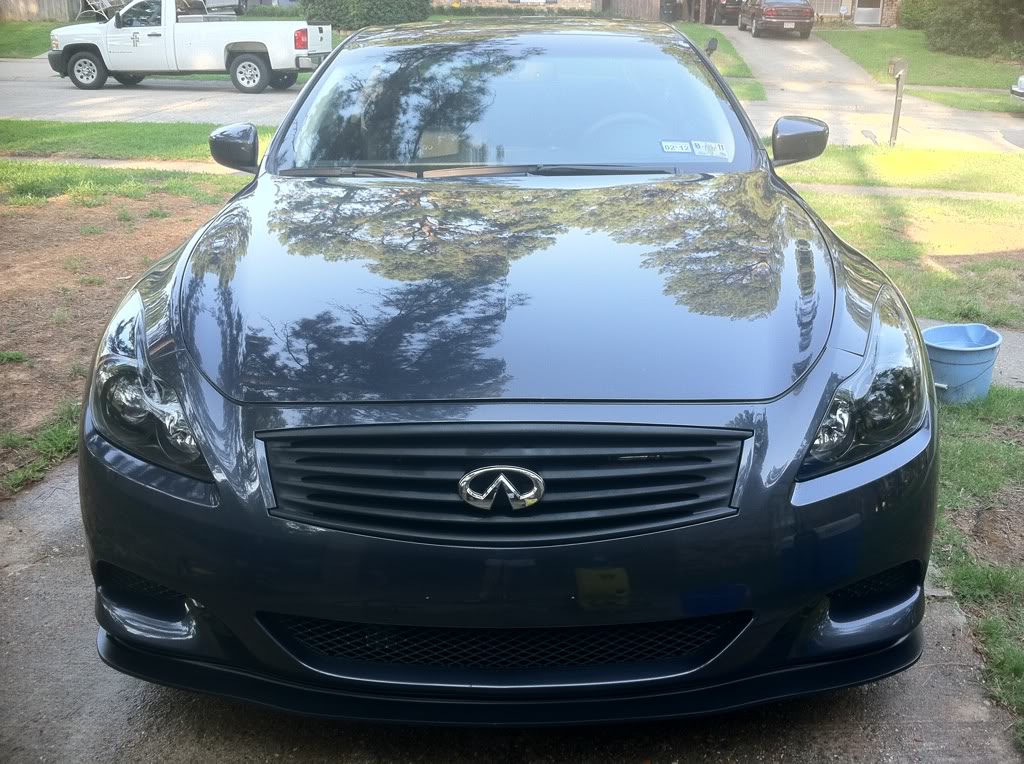
Now you can push your plugs into the holes. You want a tight fit, so the plug will not fall out.
Edit: Added some extra input from fellow members.
I found my bumper plugs in the hardware drawers at Lowe's. They were in the drawer labeled "Hard to Find - Nylon Hole Plugs."
All you need is some touch up paint for your color car (Dealer), some nylon hole plugs (Lowe's), some clear coat, sandpaper, (Anywhere), and a knife or razor.
I used 3/16 hole plugs, but if your bumper holes are bigger, use a bigger size. (You may choose to use a drill or a Dremel and go one size bigger, with the plugs, than the drill bit you used. This will allow you to skip the guessing part.) You want the plugs to be too big too start out, but only barely. Use a sharp knife or razor to bore out the hole just enough to fit the plug.
Sand the tips of the plug so that it is smooth and will hold the paint better. Use rubbing alcohol to clean off the residue. Let it dry for about a minute. Now you can lay your first coat on the plugs. Use as many coats as necessary and let each coat dry for at least 30 minutes. Finally you can spray a couple of coats of clear to finish.
Now you can push your plugs into the holes. You want a tight fit, so the plug will not fall out.
Edit: Added some extra input from fellow members.
Last edited by breftayka; 05-09-2011 at 09:08 AM.

 05-08-2011, 08:49 PM
#4
Sure. But if you drill them out to a specific size, you don't need to cut anything, guess, buy several sizes, or eyeball and they'll fit perfectly the first time without any doubt. But if guessing works for you that's cool too. It's only a suggestion for those who want to do it easier and get it right the first time.
Thanks for posting the info.
Thanks for posting the info.
05-08-2011, 09:47 PM
#5
Yeah I know what you are saying, but I wasn't sure if could chip the paint. The plugs were $1 a pair. I didn't have to open the packs to check either. The other diy said to use 7/16 but I could tell they were much more than I needed. I really didn't cut anything. I put the knife in the hole abs made one turn which made it just right.
I know many people have used a drill and had good results too. Thanks for your input!
I know many people have used a drill and had good results too. Thanks for your input!


Trending Topics
 06-18-2011, 07:45 PM
#9
Registered Member

FYI, if you run without a front plate in California, when you go to an airport be sure to attach one temporarily as Homeland Security scans incoming vehicles and you will get a ticket. This is really bad at LAX.
I always tell the dealer if the bumper has holes I will not buy the car.
I always tell the dealer if the bumper has holes I will not buy the car.


Thread
Thread Starter
Forum
Replies
Last Post