
Doggy Smoked taillights
 02-20-2011, 10:17 PM
#1

Doggy Smoked taillights
Hey guys, I just did a set of taillights for a friend of mine yesterday and wanted to share with you the steps, I dont know if its a diy cause I forgot to trace every step of the process. But here is my latest project. Btw sorry for the bad iphone pics, Not sure why they came out so bad but please dont hate  Next time I have to purchase an srl camera. Enjoy!!
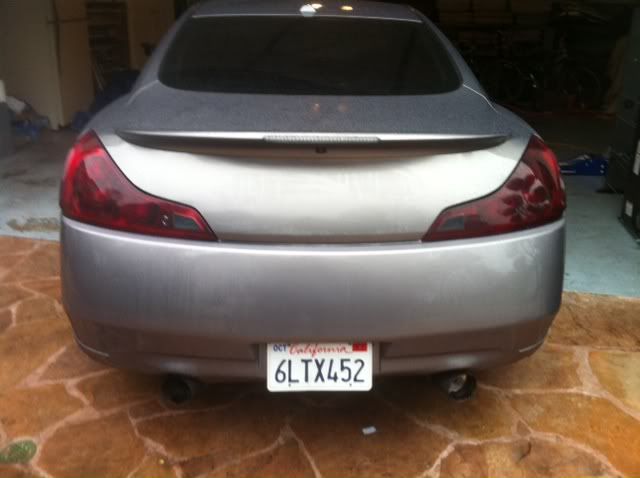
Here is a picture of the car before the paint
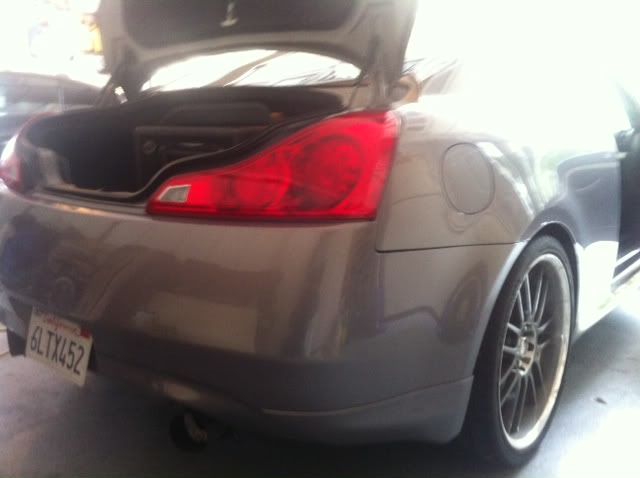
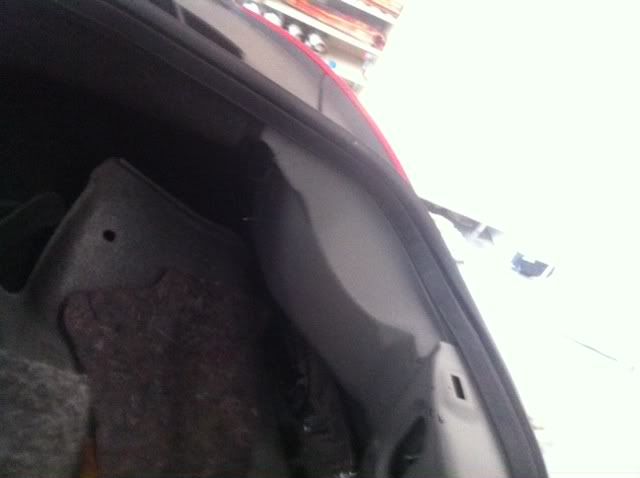
Next I removed the black thing inbetween the tail lights, Not sure what its called but it pulls right off. Then pull the trunk liner back and remove the 3 screws and the light clip holding the tail lights.
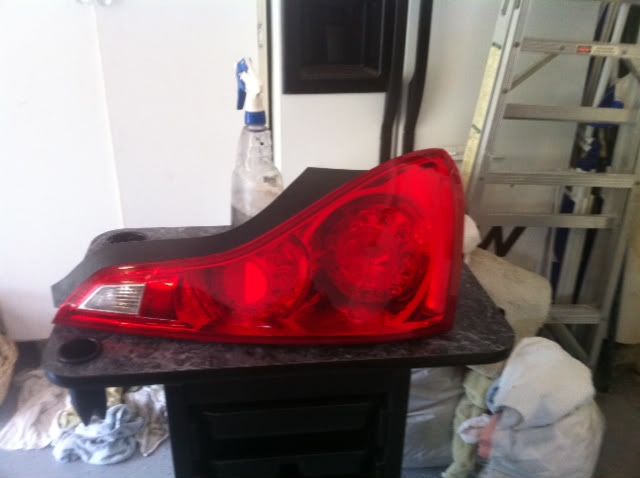
The light is now removed and put on my painting table
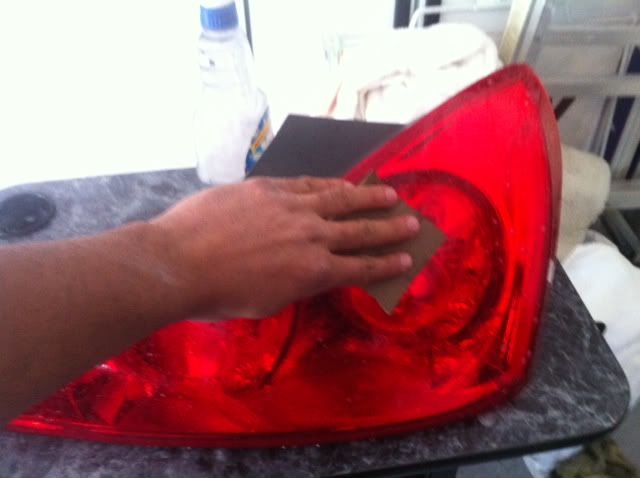
I wetsanded the light with a fine sandpaper.
I ran one pass of black paint over the light for the darkness I Was trying to achieve, then it has to sit for 10 minutes to become dry enough to handle

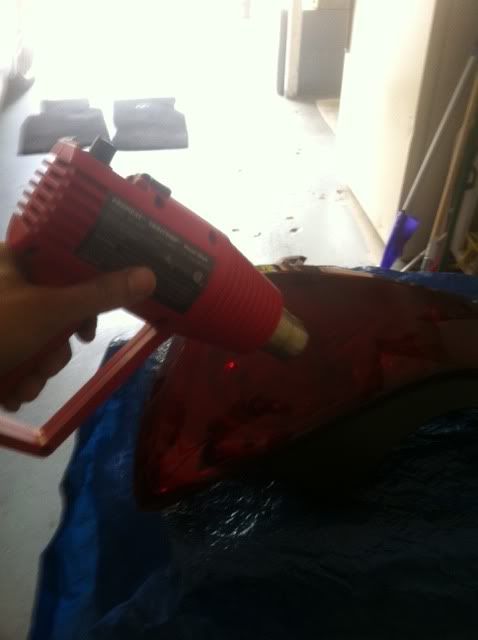
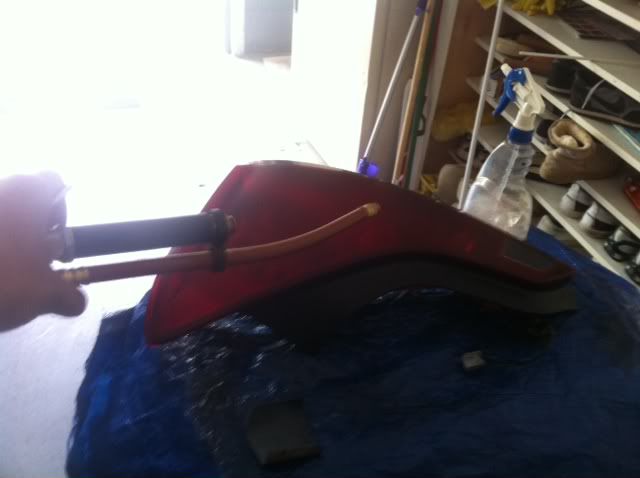
Next I like to use a heat gun
Next step is wetsanding the light again with the same process.

Next I dry the light and use a blow gun to remove and lint left on the lens.
Next I ran a pass of clear coat and the light regained its shine back. I let it sit for another 10 minutes and heat it up with the heat gun to dry properly.
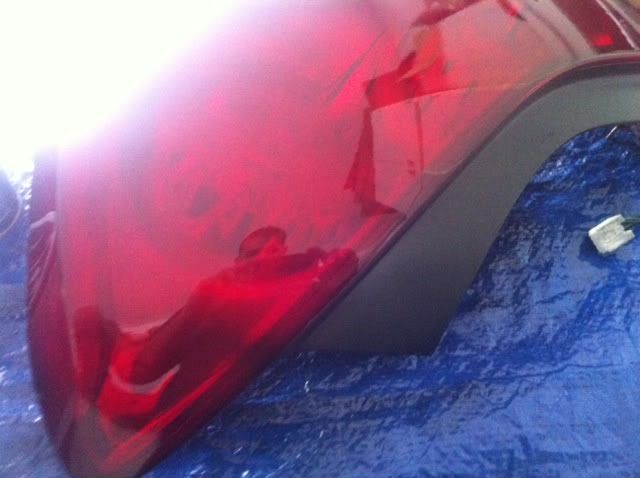
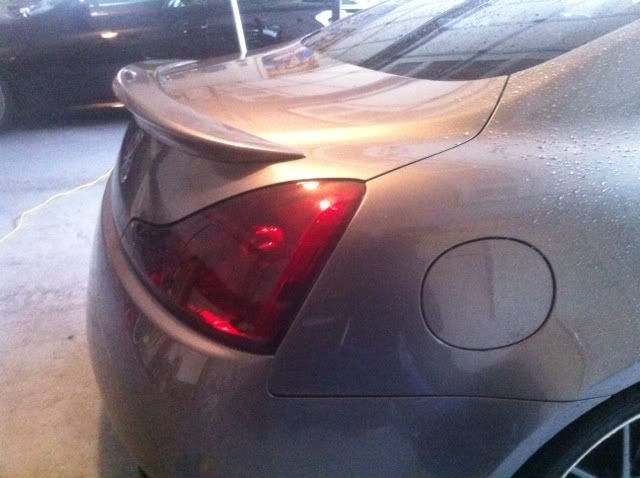
I ran 4 coats of clear with the same wetsand and dry process inbetween and here is the finished product
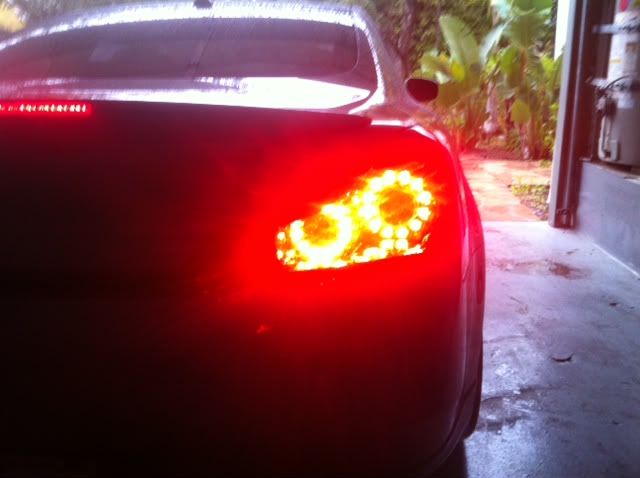
Here is a picture showing the light shine through, when the brakes are applied it looks stock, but during the day they are a smoked/dark red look to it.
Then I buff with a compound then a wax and its glossy and smooth as glass
I also debadged the trunk with a credit card and my heat gun, plus a glue remover and a wax.
Next time I have to purchase an srl camera. Enjoy!! Here is a picture of the car before the paint
Next I removed the black thing inbetween the tail lights, Not sure what its called but it pulls right off. Then pull the trunk liner back and remove the 3 screws and the light clip holding the tail lights.
The light is now removed and put on my painting table
I wetsanded the light with a fine sandpaper.
I ran one pass of black paint over the light for the darkness I Was trying to achieve, then it has to sit for 10 minutes to become dry enough to handle
Next I like to use a heat gun
Next step is wetsanding the light again with the same process.
Next I dry the light and use a blow gun to remove and lint left on the lens.
Next I ran a pass of clear coat and the light regained its shine back. I let it sit for another 10 minutes and heat it up with the heat gun to dry properly.
I ran 4 coats of clear with the same wetsand and dry process inbetween and here is the finished product
Here is a picture showing the light shine through, when the brakes are applied it looks stock, but during the day they are a smoked/dark red look to it.
Then I buff with a compound then a wax and its glossy and smooth as glass
I also debadged the trunk with a credit card and my heat gun, plus a glue remover and a wax.
Last edited by Doggy; 02-20-2011 at 11:01 PM.


 02-21-2011, 02:26 AM
#4
Administrator

Looking good!
Trending Topics


 04-01-2011, 07:37 PM
#12
Registered User

Join Date: Jun 2010
Location: The Woodlands
Posts: 28
Likes: 0
Received 0 Likes
on
0 Posts
Doggy, did you sand down past the two molding ports from when they made the plastic? There are two small indentations on the tails and I am just curious if you sanded those smooth or if you left them be? Also, did you use VHT niteshade or what tint spray?
The color is just perfect and looking to do the same on my G. I have a MS3 that I have done before but they are dark black from about 5 coats of dark and 3 clear.
The color is just perfect and looking to do the same on my G. I have a MS3 that I have done before but they are dark black from about 5 coats of dark and 3 clear.

