DIY: Changing rear differential gear oil
#1
Changing rear differential gear oil
Always take all appropriate safety precautions when performing any maintenance or service on your car. Set the parking brake, chock the wheels, and always use supports besides the jack when working underneath the car. Wear eye protections and gloves when appropriate.
Preparation: I drove the car around for about 10 minutes to get the rear differential warm. Then I let it cool for about 15 minutes. While it was cooling, I assembled the necessary tools for the job: jack, jack stands, differential gear oil, 10mm hex wrench, shop towels, hand pump, work light, mechanic's creeper, oil drain pan. CAUTION: Be careful when working under the hot car as you can get burned by touching hot surfaces or if you have hot fluids splash onto you. The differential was pretty warm, the exhaust is HOT!
1. Jack up the car. I placed jack stands under the differential to fully support the car safely while I was under it.
2. First loosen (don't remove it yet) the fill plug before draining the oil, in case there is a problem removing it you haven't already drained the differential and can still drive the car. Place the drain pan underneath the drain plug. Now remove the differential drain plug. The drain plug shown is on the rear of the differential housing at the bottom. Let all the fluid drain from the differential. I set the car down off the jack stands to let the fluid fully drain. A lot more come out when I lowered it.
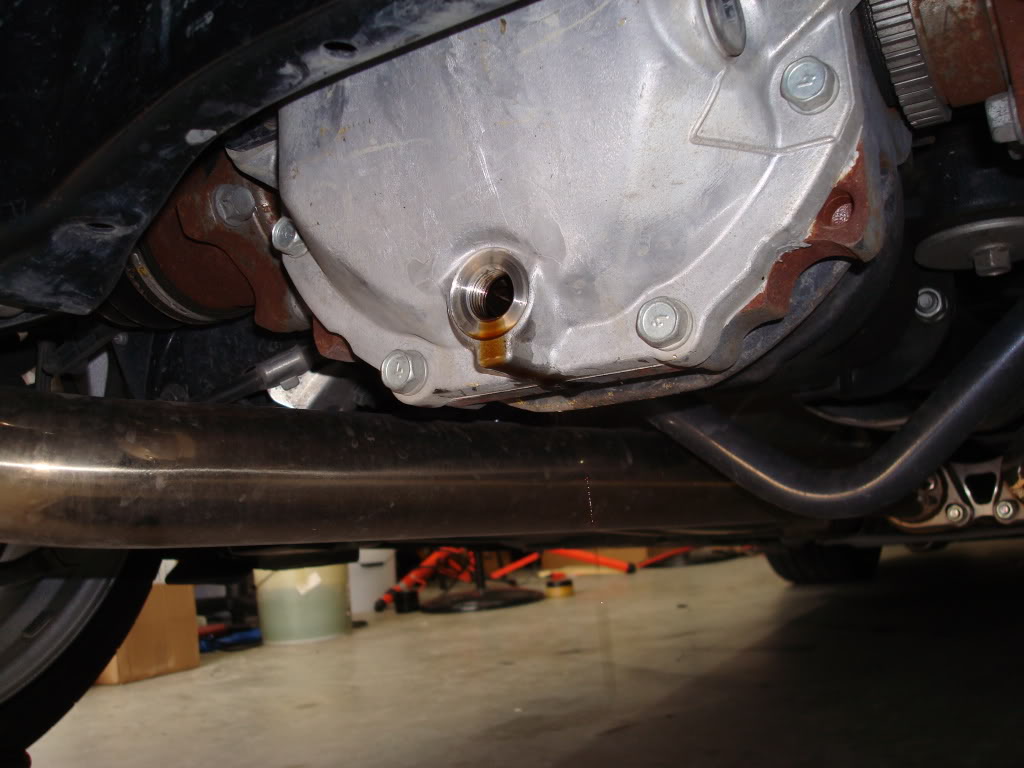
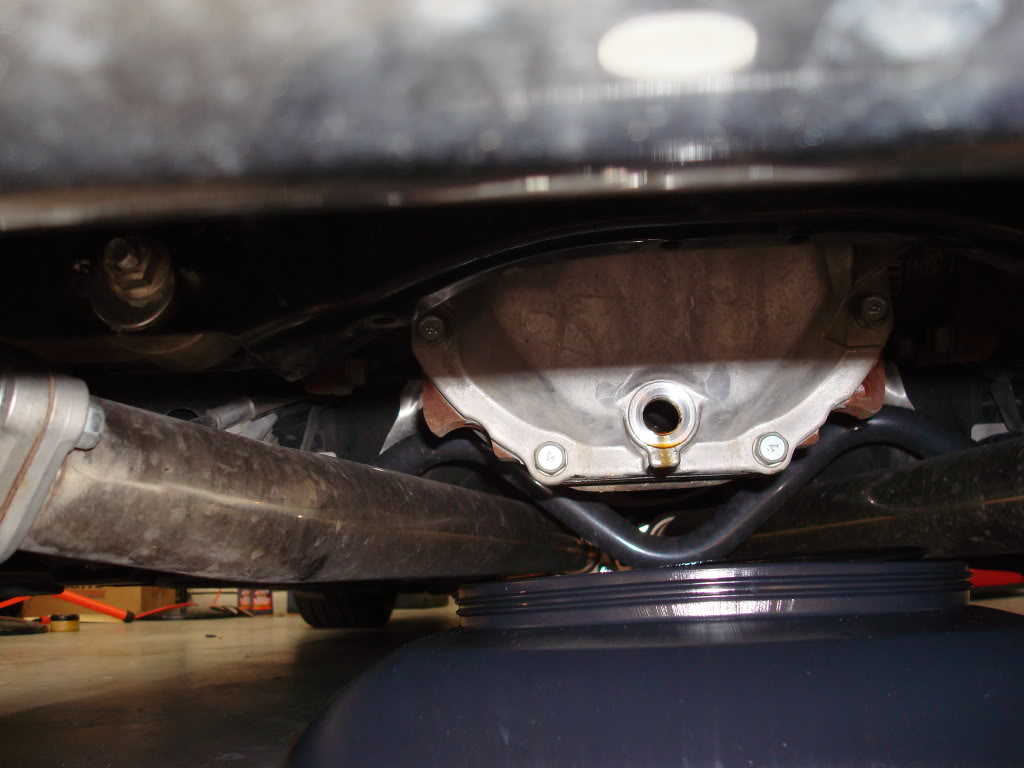
3. Clean and replace the differential drain plug. Per the FSM, the washer is to be replaced each time you service the differential (Nissan PN 11026-4N200). I did not have the right washers. After inspecting the washers I'd removed, it is not a crush washer and doesn't look like it needs to be replaced. I reused the same ones. Infiniti says to replace it each time, but I've seen a lot of DIYers and even dealerships that do not. I'll see if my rear diff leaks. There is a LOT of gunk on the drain plug. There are plenty of metal shavings. This is normal on a first oil change. It has a magnet unlike the fill plug.
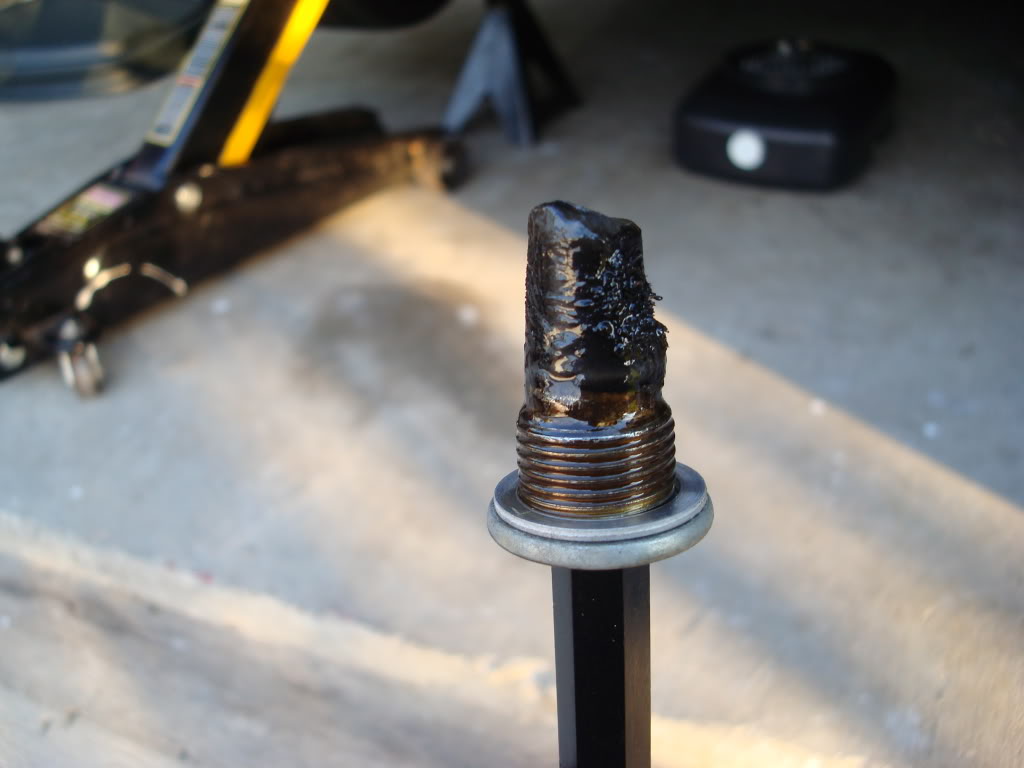
Gunk stick to the magnet on the drain plug.
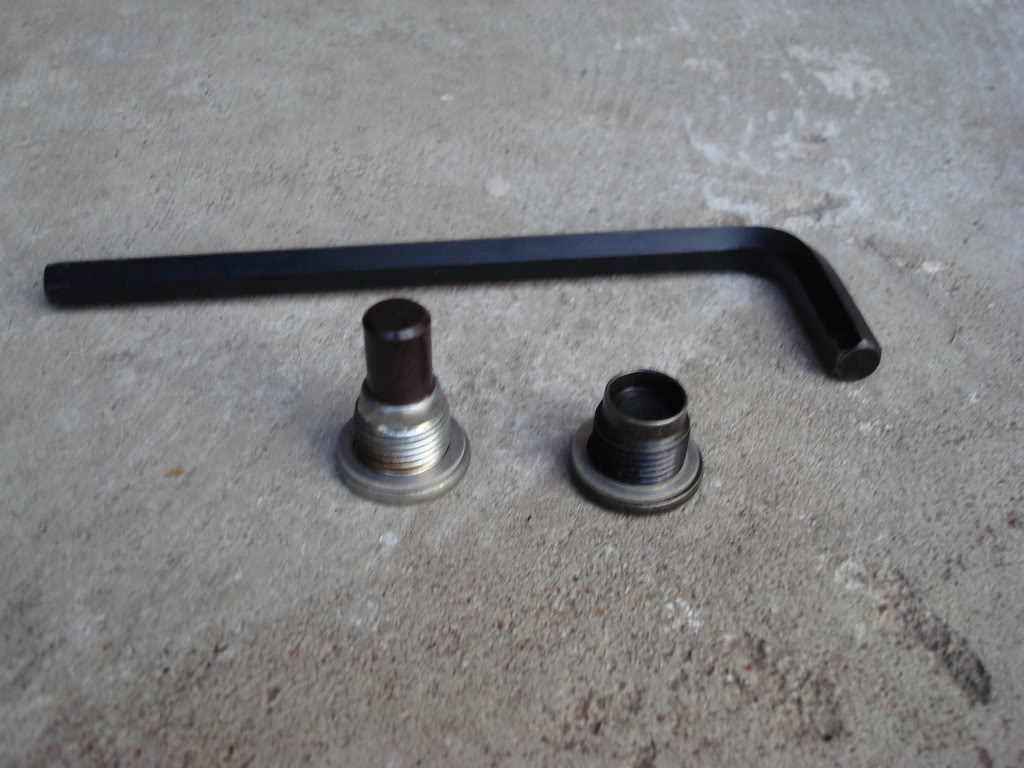
Cleaned drain plug (left) and fill plug (right). Be sure to put them back in the correct locations.
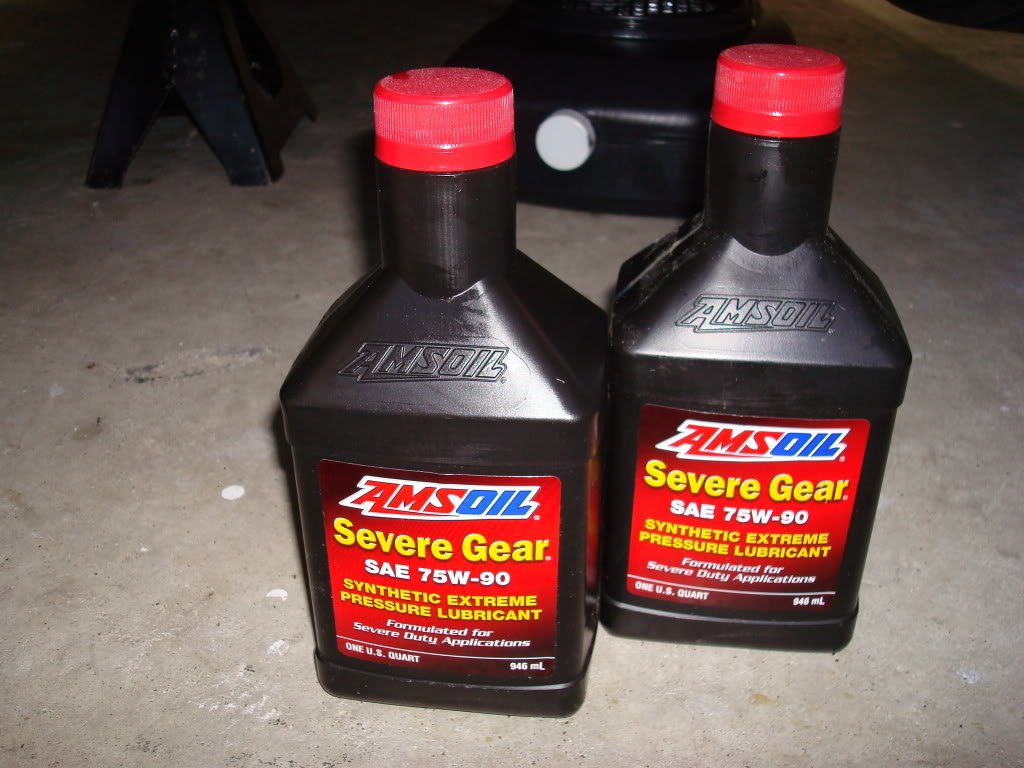
4. Remove fill plug (on the passenger side) and refill differential with oil. The FSM states to use "Genuine NISSAN Differential Oil Hypoid Super GL-5 80W-90 or API GL-5, Viscosity SAE 80W-90" I chose Amsoil Severe Gear 75W90 Synthetic Extreme Pressure Lubricant. The fill capacity is 1.5 qts or 1.40 liters. The FSM states to refill and check the level by sticking your finger in the hole to feel the level of fluid. This is asinine. It's not easily possible unless you have a really tiny, long finger. Once you get close to the fill amount (1.5 qts), pump slowly. When the fluid starts to leak from the hole, it's full. Be sure to measure when the car is level. After it was full I lowered the car and let the excess drain out of the fill hole until it stopped. This drained about 3 or 4 oz or so from the amount it held with the rear end jacked up.
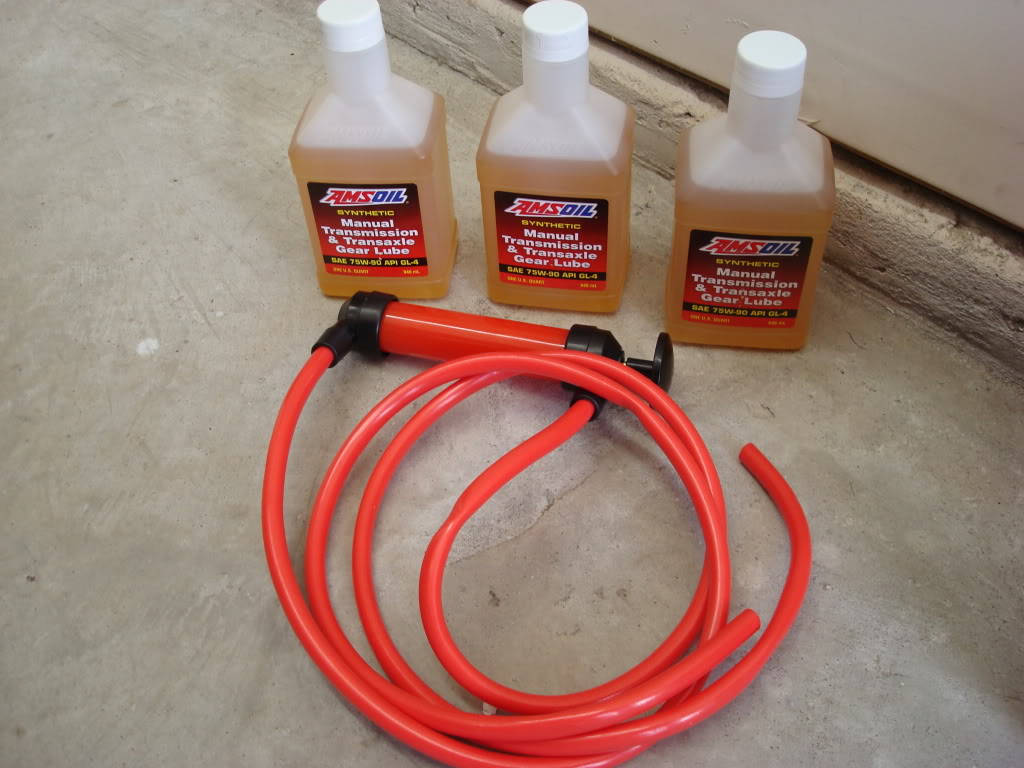
I used this hand pump purchased from O'Reilly Auto Parts for $11.99 to pump the oil in (shown here with manual transmission oil I used for changing that out.)
5. Replace fill plug. Tighten fill and drain plugs to 26 ft/lbs. Be sure to clean off any drips or spills on your exterior differential case with degreaser so you can tell if you are leaking when you check later.
6. Remove used oil (dispose of properly), tools, and set your car down off of the jack stands. Take it for a test drive. After your car has sat overnight, check the underneath for leaks around the drain and fill plugs. You are done!
Preparation: I drove the car around for about 10 minutes to get the rear differential warm. Then I let it cool for about 15 minutes. While it was cooling, I assembled the necessary tools for the job: jack, jack stands, differential gear oil, 10mm hex wrench, shop towels, hand pump, work light, mechanic's creeper, oil drain pan. CAUTION: Be careful when working under the hot car as you can get burned by touching hot surfaces or if you have hot fluids splash onto you. The differential was pretty warm, the exhaust is HOT!
1. Jack up the car. I placed jack stands under the differential to fully support the car safely while I was under it.
2. First loosen (don't remove it yet) the fill plug before draining the oil, in case there is a problem removing it you haven't already drained the differential and can still drive the car. Place the drain pan underneath the drain plug. Now remove the differential drain plug. The drain plug shown is on the rear of the differential housing at the bottom. Let all the fluid drain from the differential. I set the car down off the jack stands to let the fluid fully drain. A lot more come out when I lowered it.


3. Clean and replace the differential drain plug. Per the FSM, the washer is to be replaced each time you service the differential (Nissan PN 11026-4N200). I did not have the right washers. After inspecting the washers I'd removed, it is not a crush washer and doesn't look like it needs to be replaced. I reused the same ones. Infiniti says to replace it each time, but I've seen a lot of DIYers and even dealerships that do not. I'll see if my rear diff leaks. There is a LOT of gunk on the drain plug. There are plenty of metal shavings. This is normal on a first oil change. It has a magnet unlike the fill plug.

Gunk stick to the magnet on the drain plug.

Cleaned drain plug (left) and fill plug (right). Be sure to put them back in the correct locations.
4. Remove fill plug (on the passenger side) and refill differential with oil. The FSM states to use "Genuine NISSAN Differential Oil Hypoid Super GL-5 80W-90 or API GL-5, Viscosity SAE 80W-90" I chose Amsoil Severe Gear 75W90 Synthetic Extreme Pressure Lubricant. The fill capacity is 1.5 qts or 1.40 liters. The FSM states to refill and check the level by sticking your finger in the hole to feel the level of fluid. This is asinine. It's not easily possible unless you have a really tiny, long finger. Once you get close to the fill amount (1.5 qts), pump slowly. When the fluid starts to leak from the hole, it's full. Be sure to measure when the car is level. After it was full I lowered the car and let the excess drain out of the fill hole until it stopped. This drained about 3 or 4 oz or so from the amount it held with the rear end jacked up.


I used this hand pump purchased from O'Reilly Auto Parts for $11.99 to pump the oil in (shown here with manual transmission oil I used for changing that out.)
5. Replace fill plug. Tighten fill and drain plugs to 26 ft/lbs. Be sure to clean off any drips or spills on your exterior differential case with degreaser so you can tell if you are leaking when you check later.
6. Remove used oil (dispose of properly), tools, and set your car down off of the jack stands. Take it for a test drive. After your car has sat overnight, check the underneath for leaks around the drain and fill plugs. You are done!

Last edited by Black Betty; 03-17-2010 at 06:04 PM.
The following 10 users liked this post by Black Betty:
blnewt (02-11-2015),
GDave (02-17-2015),
hooey_b (12-02-2015),
krazzyborri (01-11-2018),
Maximus12105 (06-03-2016),
and 5 others liked this post.
#3
Thanks. This is much easier than most people think it is. It's about as easy as changing engine oil, maybe easier. The only difference is you have to pump the new oil in instead of just pouring it into a filler opening. And you don't have to do it nearly as often.
#5
#7
I'm almost at 45K and since I used synthetics, I probably won't change either again for another 100K.
Trending Topics
#8
#9

I've heard good results from people that use a large capacity syringe with a hose on the end as well.
#12
has anyone tried this fluid from motul it says its for Nissan Nismo differential.
http://www.performanceoilstore.com/p...sp?prod=318121
http://www.performanceoilstore.com/p...sp?prod=318121
#13
has anyone tried this fluid from motul it says its for Nissan Nismo differential.
http://www.performanceoilstore.com/p...sp?prod=318121
http://www.performanceoilstore.com/p...sp?prod=318121
#15
why use their tran fluid when they make a better diff fluid. doesnt really make much sense. if your going to spend the extra to use motul all the more reason to use the correctly intended fluid. I also find their PA runs lsd's much smoother then the standard gear oil.


