Detailed 2008 G37 Coupe: Few pics inside
#1
Detailed 2008 G37 Coupe: Few pics inside
Hey guys,
I always see posts by people showing their work and I thought I'd do the same.
So I decided to use my first half of Sunday (took about 4.5 hours) before the Lakers game started to wash my car. We had some major snow come through and now we're supposed to have nice 60 degree weather for a week or so. I only was able to do the outside with the limited time I had. Will do the rest next week!
Here are the products I used:
Gilmour Foamaster II Foam Gun
Grit Guard Grit Guard Insert
DI Accessories Sheepskin Wash Mitt
Chemical Guys Citrus Wash
DI Accessories Gentle Fine Grade Clay
Menzerna PO85RD Polish
Menzerna Power Finish PO203S
Blackfire Wet Diamond with Polycharger
Porter Cable 7424XP
Lake Country Orange Light Cutting Pad
Lake Country Blue Fine Finishing Pad
Lake Country Snappy Clean Pad Cleaner
DI Microfiber Waffle Weave Drying Towel
DI Microfiber The Great White
P21S Gel Wheel Cleaner
Chemical Guys Grime Reaper A.P.C.
DI Microfiber The Great White
DI Accessories E-Z Detail Brush
Dodo Juice Born Slippy Clay Lube
Washing
First, I used some Grime Reaper on the front bumper and side mirrors to work on the bug guts. I also used P21S gel wheel cleaner for the wheels and exhaust. Afterward, I used the foam gun to get a layer of soap all over the car. After a nice rinse, I used the 3 bucket method (wash, rinse, and wheels) with grit guards. I used the detail brush to get the wheels and exhausts cleaned. With the wash mitt, I got the citrus wash soap all over the car and then rinsed it all off.
Clay
I used fine grade clay with the dodo juice clay lube all around the car.
Afterward, I gave the car a quick wash with the Citrus wash once more.
I used the sheeting method to rinse the soap off. Then I used a leaf blower to get rid of all the water in all the little crevices.
Polish
Used Power Finish with an orange pad. Then I used the PO85RD with the blue pad. Afterward, I sprayed a mix 50:50 of rubbing alcohol and water all around the car and gave it a quick wash once more. I used the sheeting method to rinse the soap off. Again, I used a leaf blower to get rid of all the water in all the little crevices.
Sealant
With a blue pad, I used Blackfire Wet Diamond sealant all around the car and used the great white towel to wipe it off.
Here are some pics:
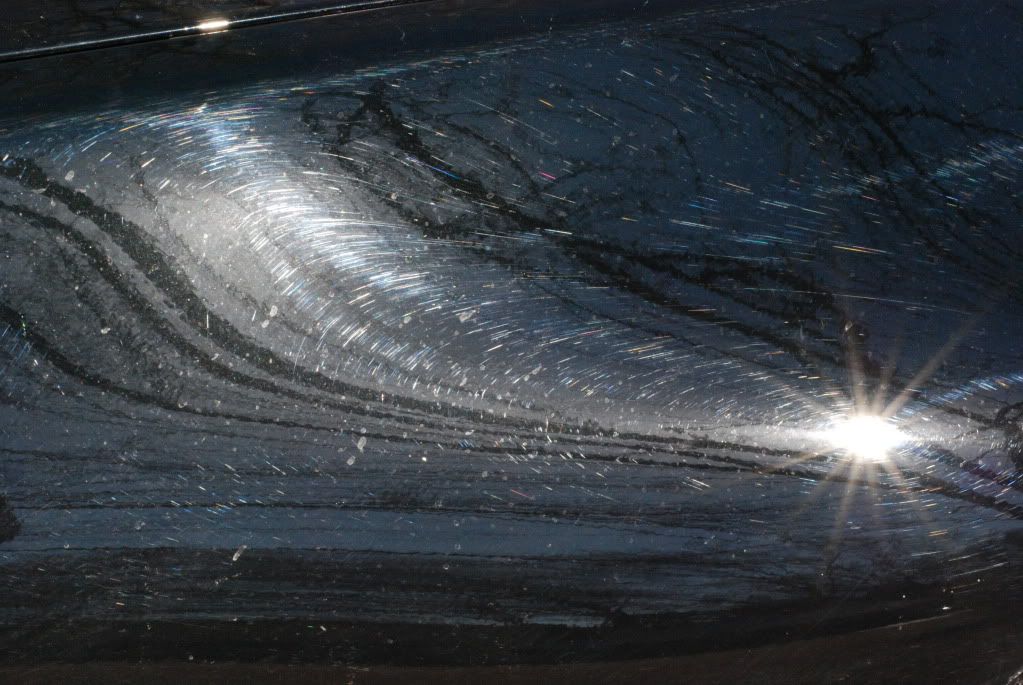
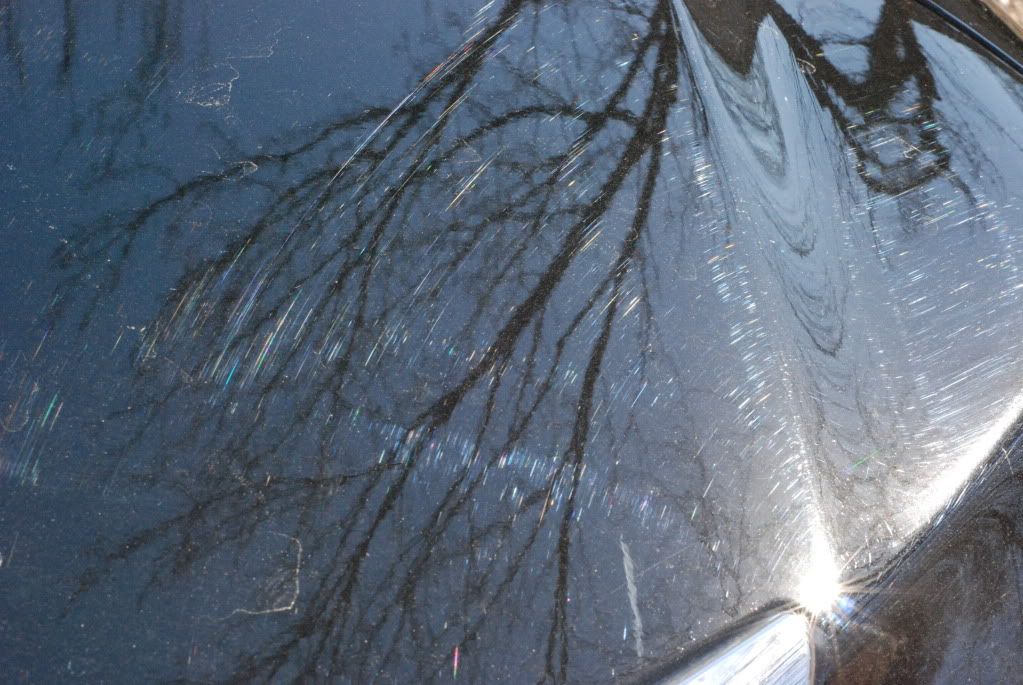
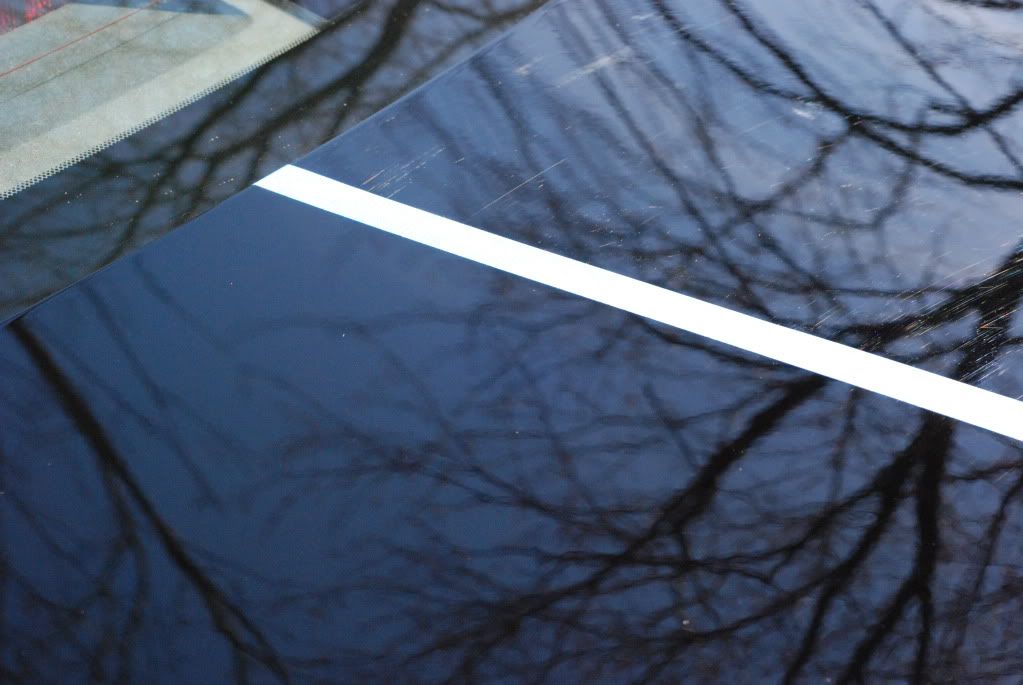
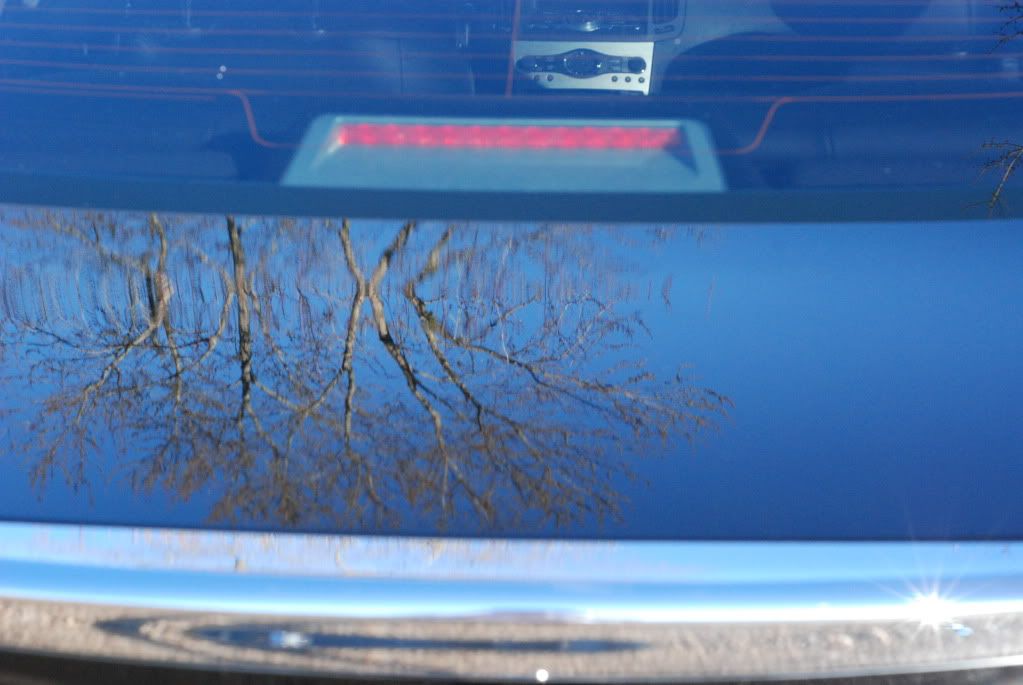
First two are before pics of areas with scratches
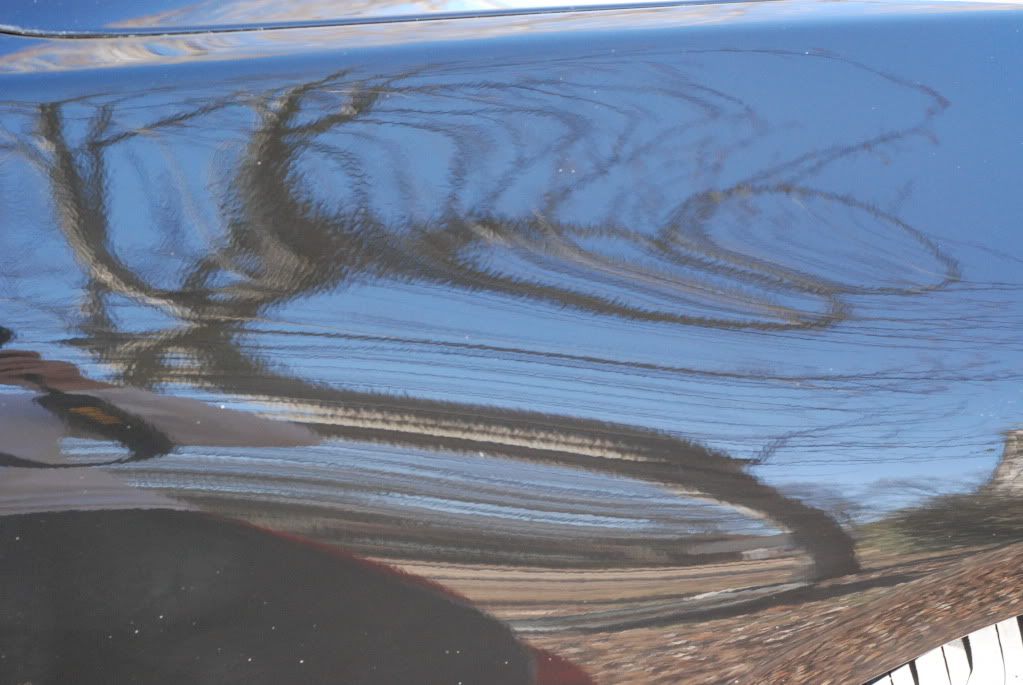
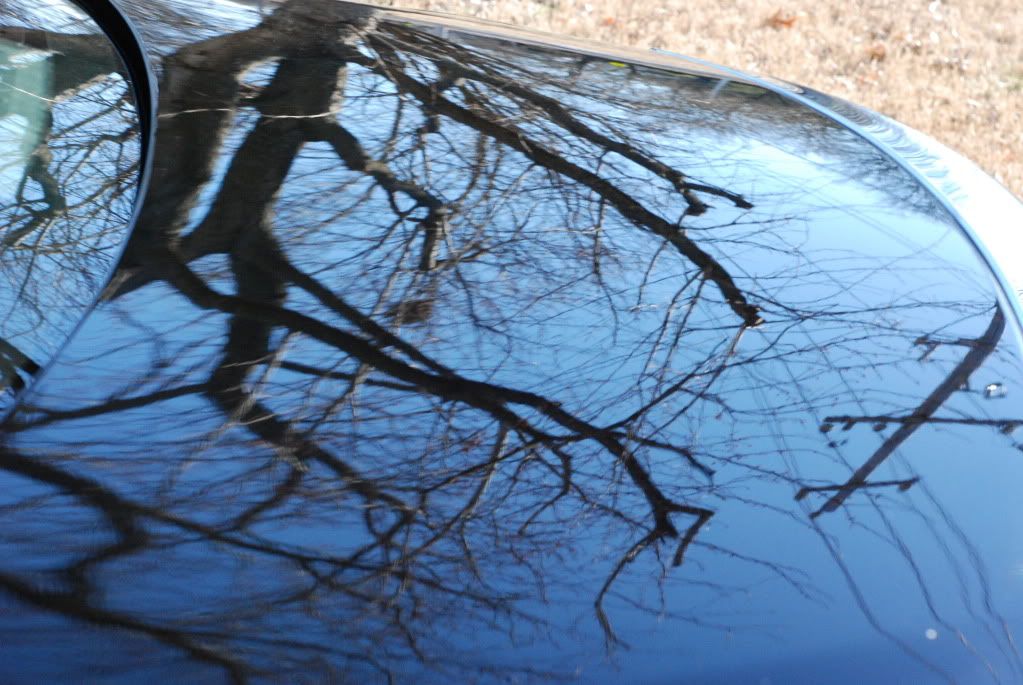
Next two are after pics of the same areas
Here is one shot where I tried to show the difference between the polished and non-polished area
Here is two more pics of after shots that I really liked
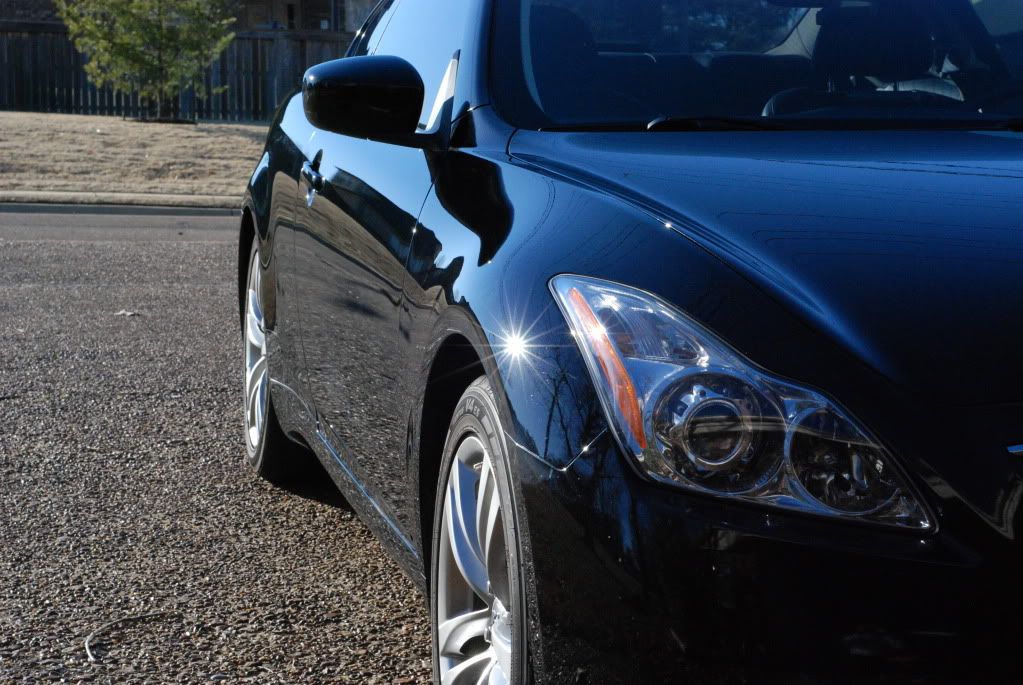
It was a pain to get it all done, but man it was worth the work! Love how shiny and brand new it looks! Only downside is I have a lot of rock chips on my front bumper and I can't do anything unless I get it repainted.
Either way, hope you guys liked!
I always see posts by people showing their work and I thought I'd do the same.
So I decided to use my first half of Sunday (took about 4.5 hours) before the Lakers game started to wash my car. We had some major snow come through and now we're supposed to have nice 60 degree weather for a week or so. I only was able to do the outside with the limited time I had. Will do the rest next week!
Here are the products I used:
Gilmour Foamaster II Foam Gun
Grit Guard Grit Guard Insert
DI Accessories Sheepskin Wash Mitt
Chemical Guys Citrus Wash
DI Accessories Gentle Fine Grade Clay
Menzerna PO85RD Polish
Menzerna Power Finish PO203S
Blackfire Wet Diamond with Polycharger
Porter Cable 7424XP
Lake Country Orange Light Cutting Pad
Lake Country Blue Fine Finishing Pad
Lake Country Snappy Clean Pad Cleaner
DI Microfiber Waffle Weave Drying Towel
DI Microfiber The Great White
P21S Gel Wheel Cleaner
Chemical Guys Grime Reaper A.P.C.
DI Microfiber The Great White
DI Accessories E-Z Detail Brush
Dodo Juice Born Slippy Clay Lube
Washing
First, I used some Grime Reaper on the front bumper and side mirrors to work on the bug guts. I also used P21S gel wheel cleaner for the wheels and exhaust. Afterward, I used the foam gun to get a layer of soap all over the car. After a nice rinse, I used the 3 bucket method (wash, rinse, and wheels) with grit guards. I used the detail brush to get the wheels and exhausts cleaned. With the wash mitt, I got the citrus wash soap all over the car and then rinsed it all off.
Clay
I used fine grade clay with the dodo juice clay lube all around the car.
Afterward, I gave the car a quick wash with the Citrus wash once more.
I used the sheeting method to rinse the soap off. Then I used a leaf blower to get rid of all the water in all the little crevices.
Polish
Used Power Finish with an orange pad. Then I used the PO85RD with the blue pad. Afterward, I sprayed a mix 50:50 of rubbing alcohol and water all around the car and gave it a quick wash once more. I used the sheeting method to rinse the soap off. Again, I used a leaf blower to get rid of all the water in all the little crevices.
Sealant
With a blue pad, I used Blackfire Wet Diamond sealant all around the car and used the great white towel to wipe it off.
Here are some pics:
First two are before pics of areas with scratches


Next two are after pics of the same areas


Here is one shot where I tried to show the difference between the polished and non-polished area

Here is two more pics of after shots that I really liked


It was a pain to get it all done, but man it was worth the work! Love how shiny and brand new it looks! Only downside is I have a lot of rock chips on my front bumper and I can't do anything unless I get it repainted.
Either way, hope you guys liked!
Last edited by ohsogood; 02-14-2011 at 04:11 PM.
#3
This was my first real detail that I took pictures and everything. I've fooled around a bit last year testing out products and learning how to wash a car properly. I regret not taking more pics but I was more concerned with doing a good job than taking pictures. Next car I do (Nissan Maxima) will have many more pics!
Thanks for the compliment!
Thanks for the compliment!
#7
And patience is so key! I was at a point of wanting to call it quits on my 2nd run with the power finish and the blue pad.
Takes a toll on your back!
Trending Topics
#8
Most definitely! This was the 2nd time I used the PC and the correct technique is so critical. I guess I wasn't pressing down hard enough during the polishing step so it didn't remove many of the scratches. By doing it correctly this time around, I noticed a HUGE change in how well it works!
And patience is so key! I was at a point of wanting to call it quits on my 2nd run with the power finish and the blue pad.
Takes a toll on your back!
And patience is so key! I was at a point of wanting to call it quits on my 2nd run with the power finish and the blue pad.
Takes a toll on your back!
Try the power finish with a green/white pad and follow it up with the PO85RD with a black. Should be much less work on your back and you will get pretty good results.
#9
Hmmm..... The PO203S power finish is a light cutting polish and the PO85RD is a finishing polish. Ive been using both for over a year and use a green/white pad with the PO203S and a black pad with the PO85RD.
If you indeed used the PO85RD with orange pad first and then the Power Finish with the blue pad, I suggest you try the other way around next time. The reason your first step didnt remove many of the scratches was that you were using the finishing polish first. You can press down as hard as you can all day long and that polish wont remove scratches.
Try the power finish with a green/white pad and follow it up with the PO85RD with a black. Should be much less work on your back and you will get pretty good results.
#13
did you honestly use ALL of those products? I'm looking into what i need to do to detail my G. I also have a BO G..and the job you did looks absolutely amazing bro. cheers!
#14
Haha yeah, when i detail my OB G, I use probably 15 different products or more (on a full detail). Detailed Image has made lots of money off me lol
#15
And like the guy above me said, I spent tons at DI as well..


