
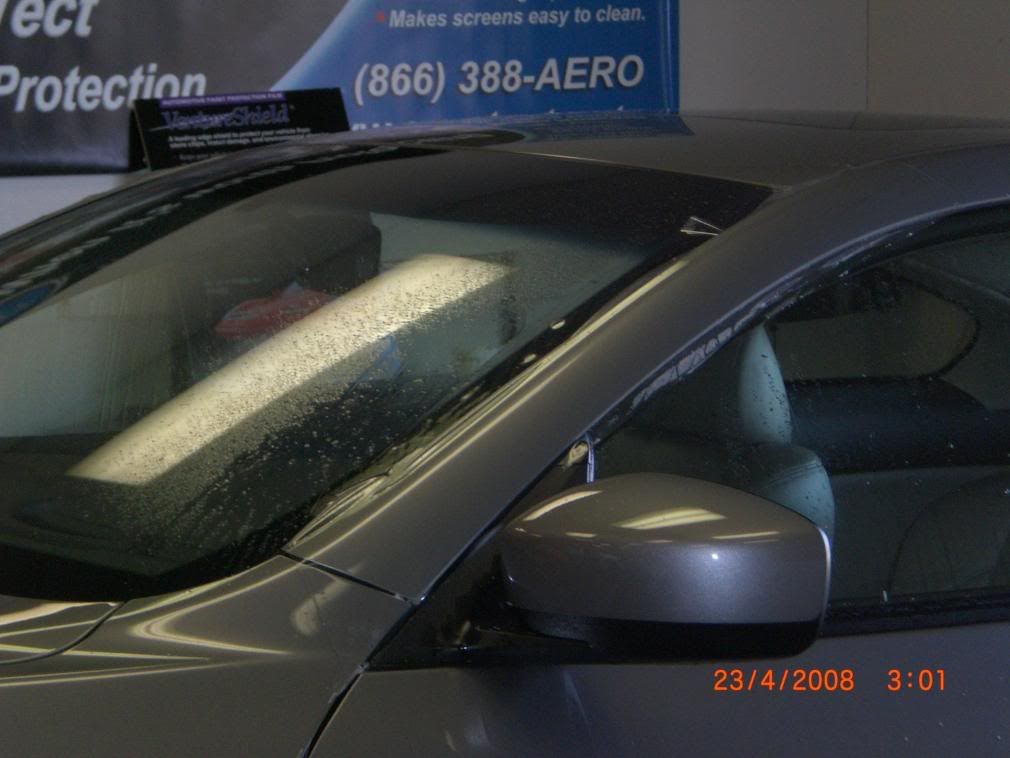
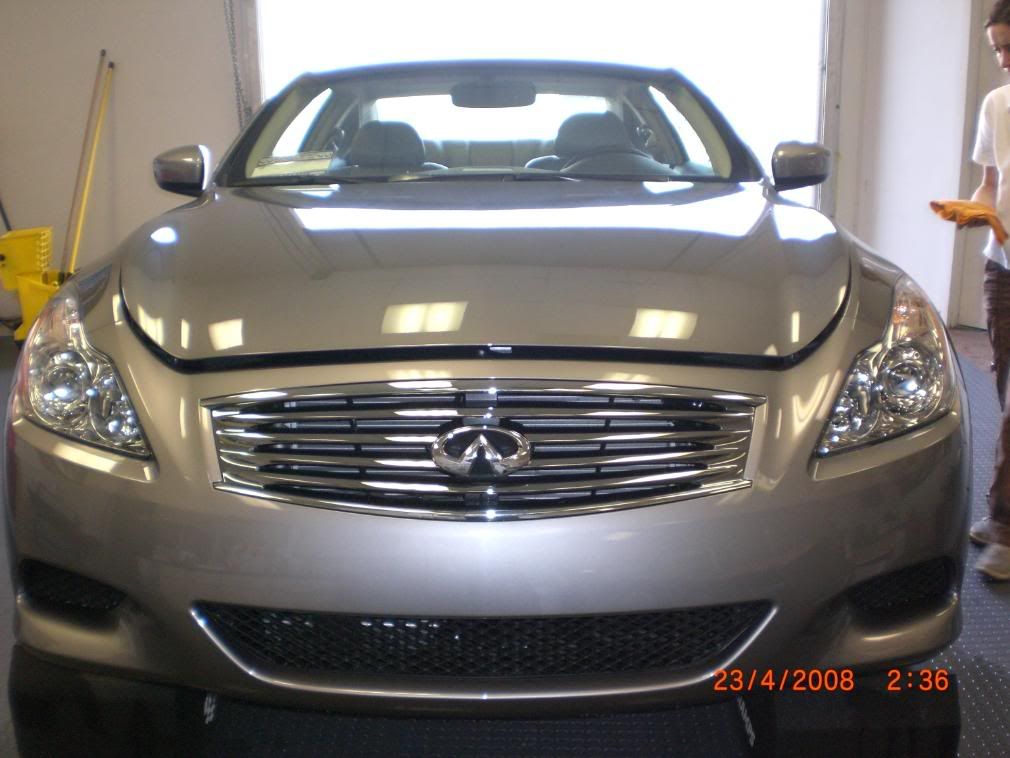
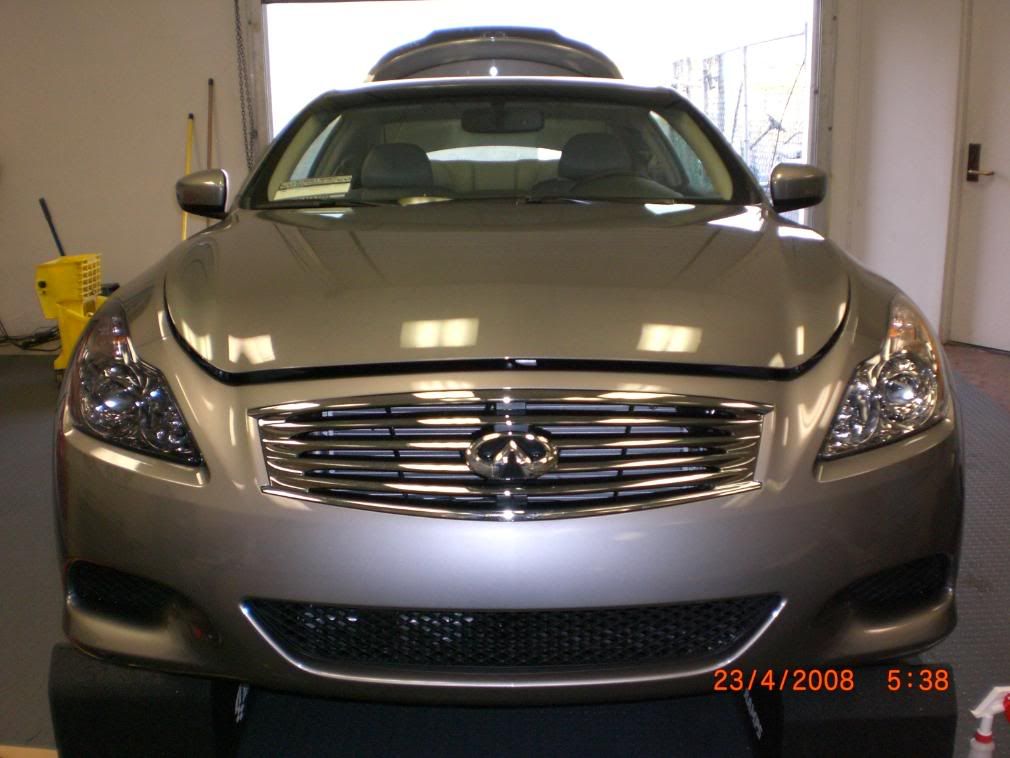
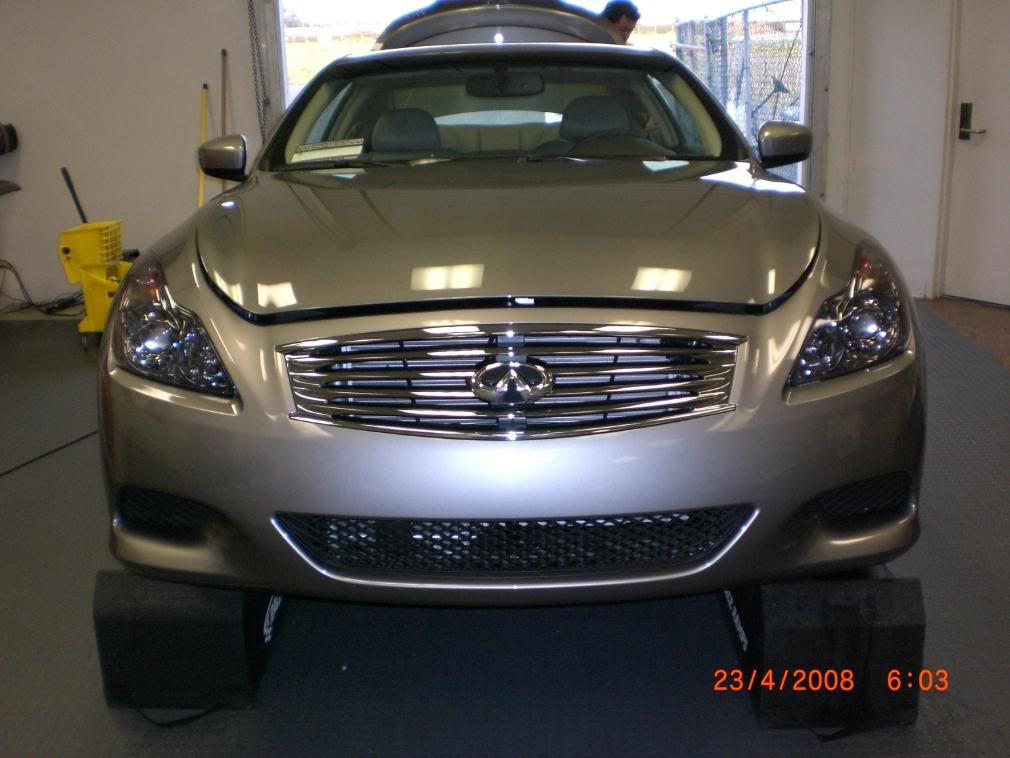
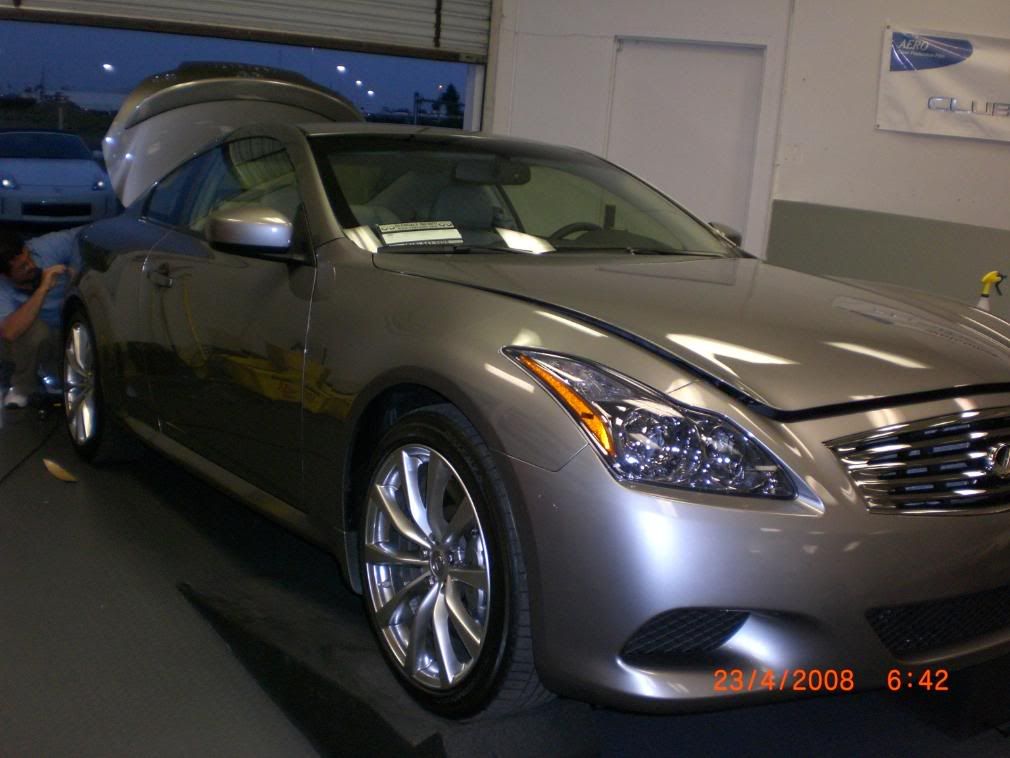
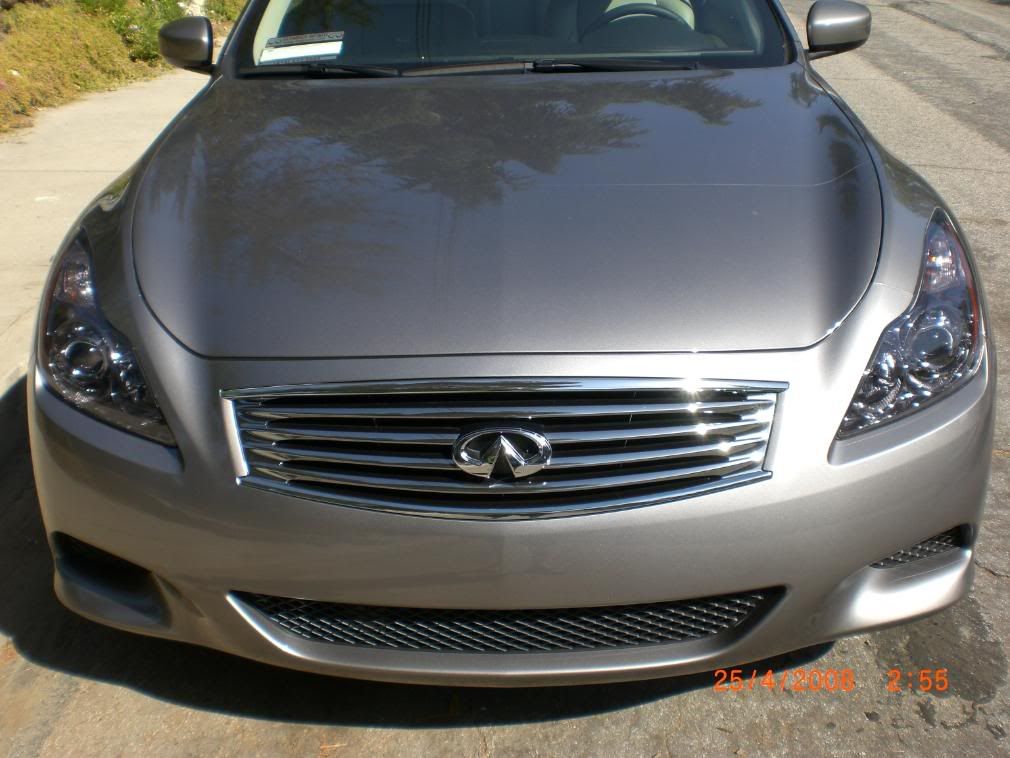
Clear Bra Installed (PICS)


 05-04-2008, 02:07 AM
#2
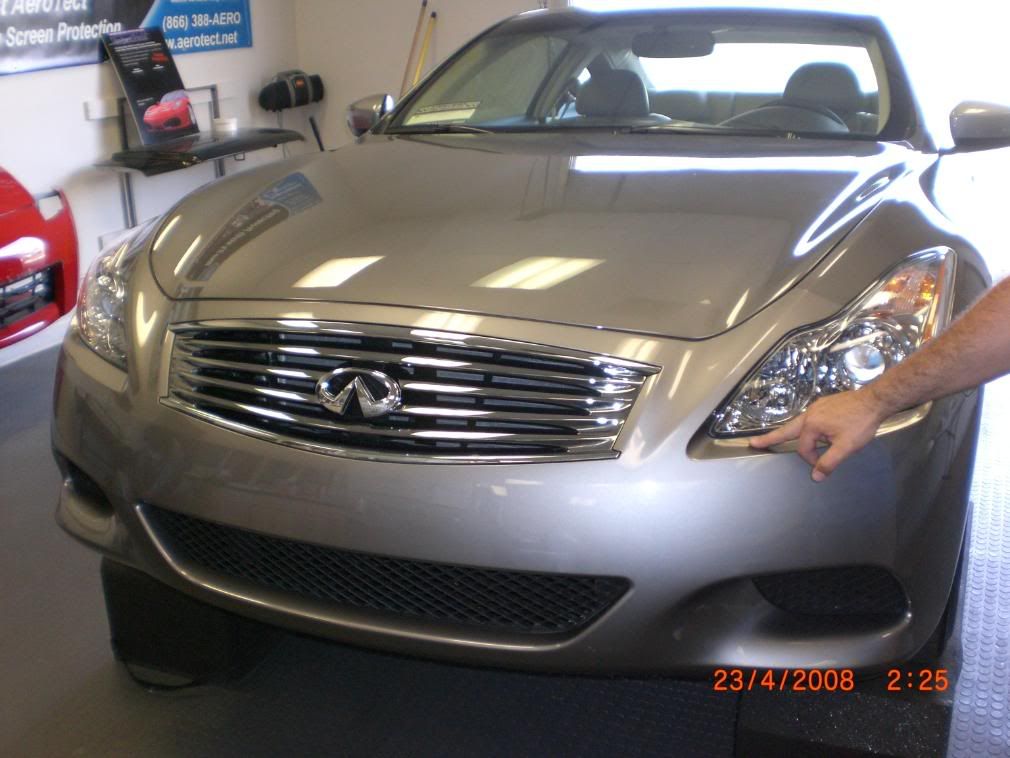
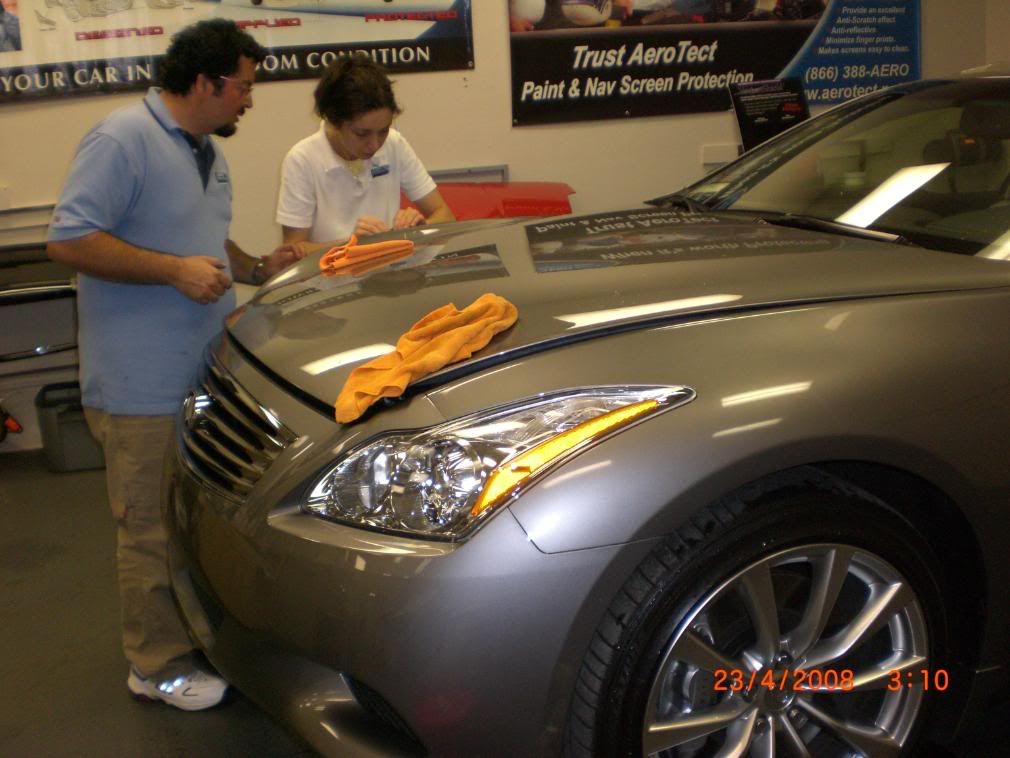
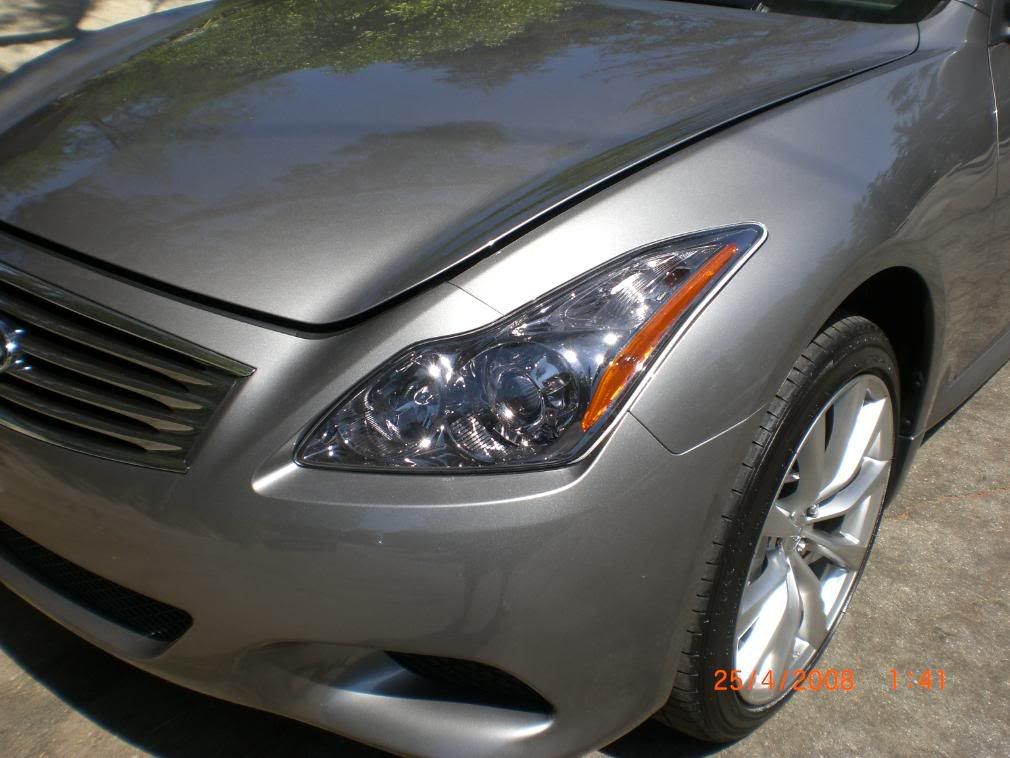
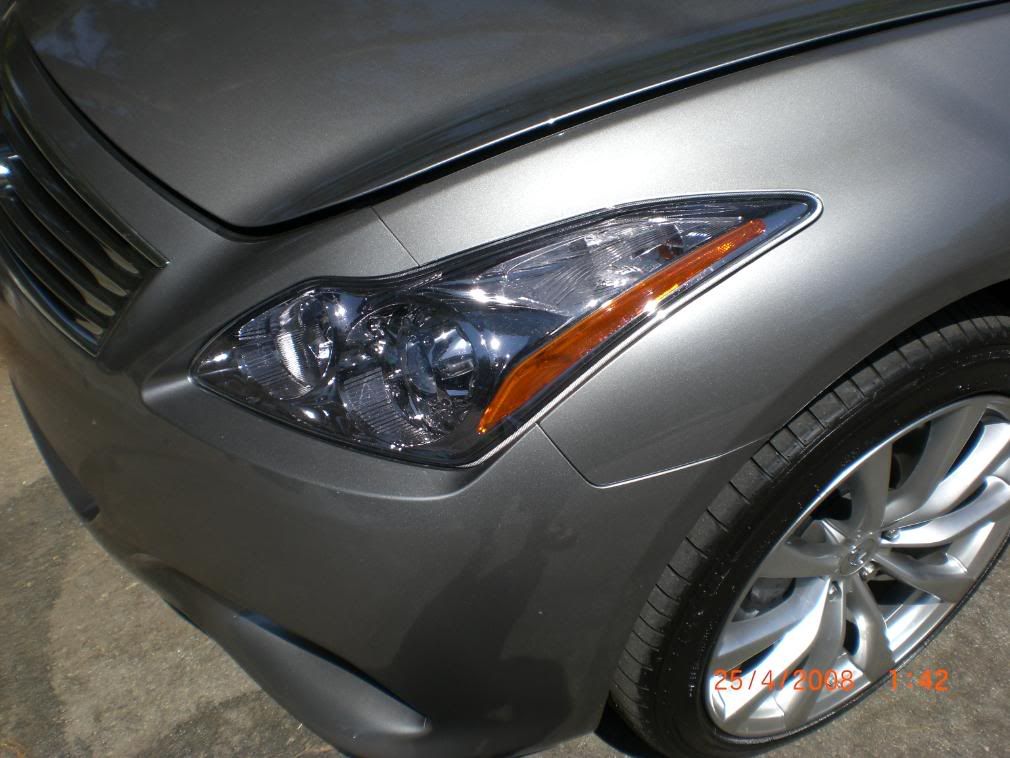
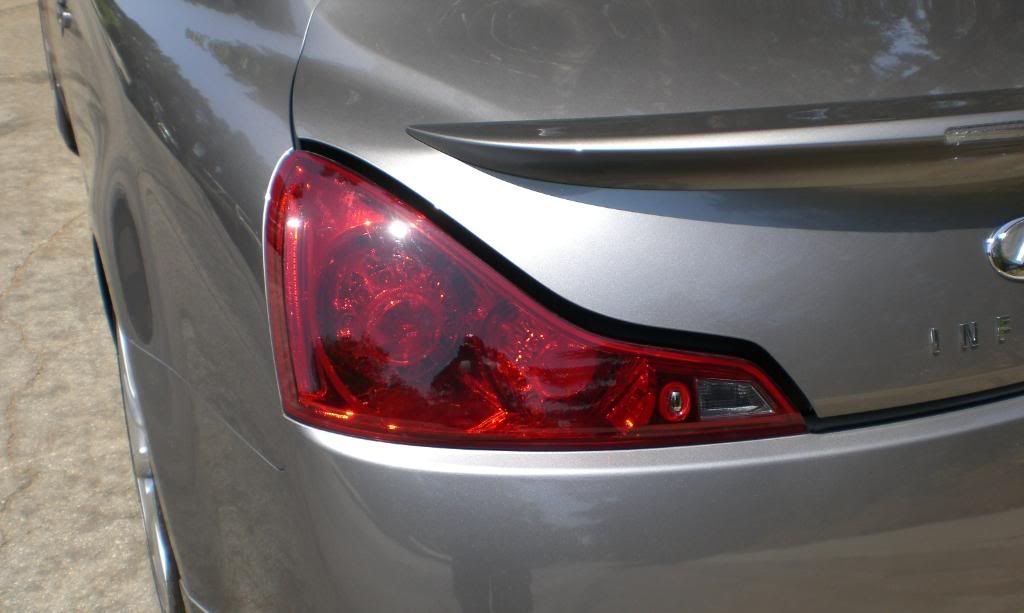
More pics - headlight comparison, and finished product. BTW, I had to have the headlight tint removed because the heat from my foglights was causing the film to ripple and wrinkle on the part where the foglight was shining through .
.
Stock headlights
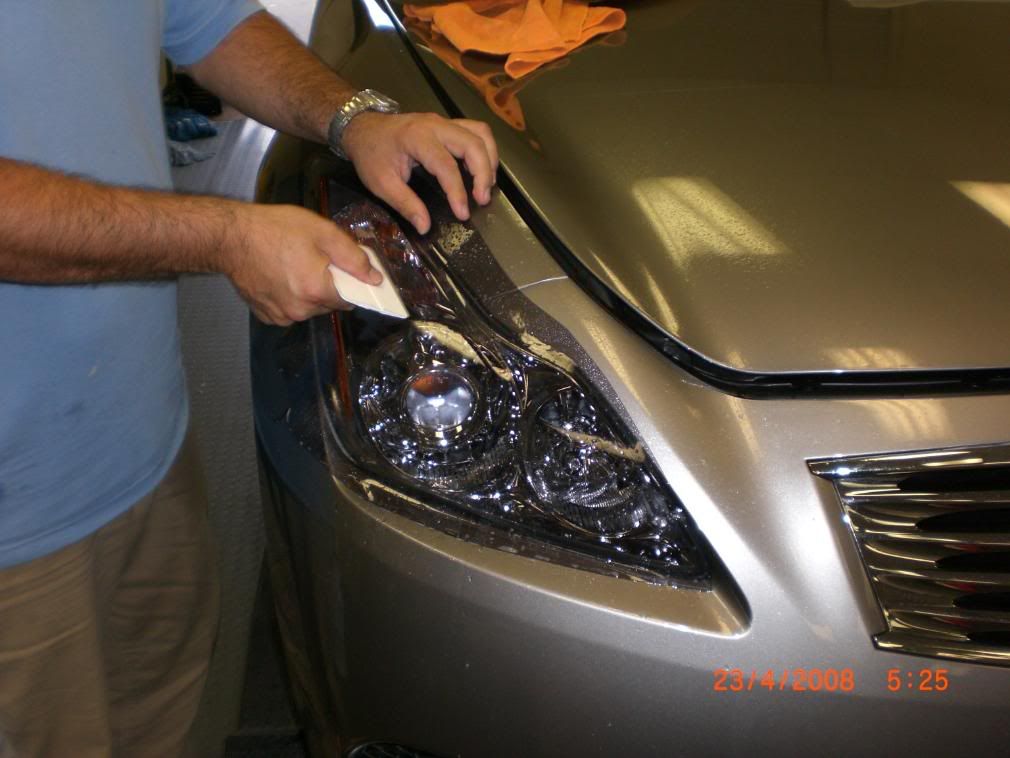
One light done
Both done
.Stock headlights
One light done
Both done
 05-05-2008, 04:33 PM
#4
Registered User

Join Date: Nov 2007
Location: Houston, TX
Posts: 57
Likes: 0
Received 0 Likes
on
0 Posts
Wow! Looks great! I heard so many horror stories about the clear bra that it scared me from getting it. Now I regret....Wish I went for that when I first got my car
Good for you!
Good for you!

 05-06-2008, 11:15 PM
#7
I'm a little dissapointed with the install...the installer didn't wrap my edges and there is lots of exposed areas in the front. This is due to the computer pattern he used, but the installer was a great guy. I did find a little hair trapped under the film, and the tailight film has some bubbling, but that is because his film provider decided to change their adhesive to a crappier one. I'm going to talk to him as soon as he get's some better film and I hope he will change it because the tails look like crap up close. The bubbling and subpar quality of the film was the reason I had to take them off my headlights, they started rippling on the part where the foglights shine through due to the heat. (I have the PIAA fogs) He replaced the defective tint film with the clear bra material over the headlights, and it has held up better. That's really too bad because I loved the color, much better than the brownish hue of Bat's overlays. Despite this, Im still debating installing Bat's GTR style over the headlights anyways cuz the pattern is sick.
Motor: So far I've washed my car only twice since the install, and it is still shiny. However, I maintain the film by using Plexus spray.
Motor: So far I've washed my car only twice since the install, and it is still shiny. However, I maintain the film by using Plexus spray.
Last edited by wrathletik1; 05-06-2008 at 11:17 PM.
Trending Topics
 05-08-2008, 02:32 AM
#10
Well, originally I had them put on a film that was "tint" in color and it looked really nice. That's what you see in the pics. Now I have the clear bra material on them because the "tint" film couldn't withstand the heat from the foglights. I'm pretty sure it was Lamin-X film that they used. I read on other sites where people had issues with Lamin-X and foglight applications. I went to my clear bra installer a week after they were installed to show him some wack bubbling and imperfections and he noticed rippling in the area where the foglight was shining through. I decided to take them off and save myself some headache later on. The same film is on my tails and there is some ugly imperfections noticeable up close. I don't think it will go away with sun and time, I want to replace it asap!!

 05-10-2008, 10:55 AM
#14
Registered User

Join Date: Mar 2008
Location: So Cal
Posts: 137
Likes: 0
Received 0 Likes
on
0 Posts
[QUOTE=wrathletik1;2326998]I got protection for the hood, bumper, fender, A-pillars, and decided to give my headlights and taillights the treatment, as well.
Wrath,
A couple of questions. What brand clear bra did you install?
Was it 3M?
Who did the install you or a professional (not saying you are not a professional, but you know what I mean)? If the pro did it...do you think you could have done it?
Do you or the installater trim the template after installation - it looked like a lot of excess material and trimming was necessary?
Thanks and welcome to the world of protection - I recently ordered one for my G37.
Semper Fi
05-11-2008, 07:19 AM
#15
[QUOTE=Former USMC;2331620]
The installer told me it was VentureSHield but I'm not so sure. They're all pretty comparable anyways(3M, VS, Xpel) and do what they are intended to do, so I wouldn't worry about brand as long as it is a major name. If you got 3M it should be good. Older 3M formula was prone to yellowing and orange peel effect, but they changed their manufacturing process, so as long as you got the newer version, you shouldn't have to worry.
I hade my stuff done by a pro with 11 years experience. I think I could have done it myself, honestly, now that I've watched him do it. However, it was very time consuming, and I'm glad he did it instead of me. His installation area was clean, and dust free, and he had all the right tools, so IMO it was worth the money to have him do it.
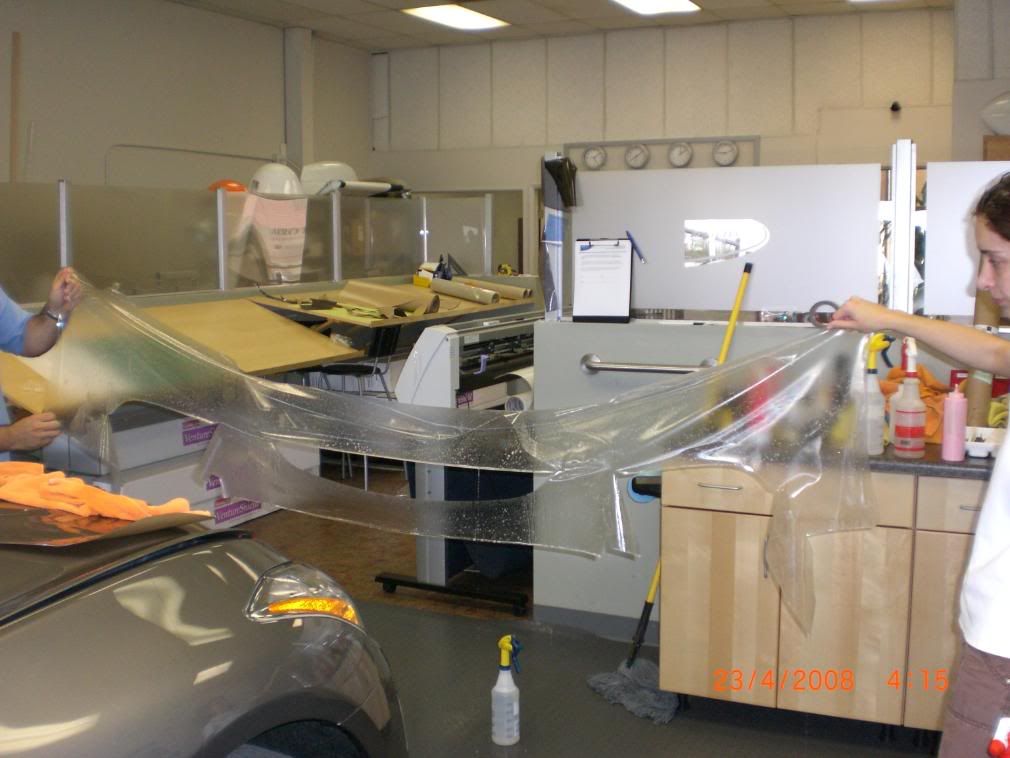
Yes he had to trim and he did trim a lot. Although most of it was a computer cut pattern, it is never a perfect fit, and there will always be some trimming involved. When you trim, remember to score the material, never cut all the way through, and rip off the excess. It's similar to cutting glass.
While laying on the film, use a lot, and I mean A LOT, of solution. Spray the car, really saturate the surface, and do the same to the film, both sides (sticky underside to move the film where you want it, and the top, so the squeegee will slide freely, therefore avoiding scratching the film). You should have two solutions. One is a 70% distilled/filtered water with 30% isopropyl alcohol. This is to clean prep the surface for the film. The other solution is a mixture of very little soap (dawn should be okay) and clean water. This allows you to position the film, and lets the squeegee slide.
When you are satisfied with the placement, go ahead and squeegee all the moisture from underneath the film. Don't be afraid to lift the film and re align the film if you've made a mistake, some debris is trapped underneath, or are unhappy with the placement, as long as the film is still wet and hasn't set in yet. The hood should be cake, everything else with curves WILL be a biatch.
That's all I can remember for now from my research and the people I've talked to. Anybody feel free to correct me if I have been misinformed.
Good luck and let us know how it turns out.
I got protection for the hood, bumper, fender, A-pillars, and decided to give my headlights and taillights the treatment, as well.
Wrath,
A couple of questions. What brand clear bra did you install?
Was it 3M?
Who did the install you or a professional (not saying you are not a professional, but you know what I mean)? If the pro did it...do you think you could have done it?
Do you or the installater trim the template after installation - it looked like a lot of excess material and trimming was necessary?
Thanks and welcome to the world of protection - I recently ordered one for my G37.
Semper Fi
I hade my stuff done by a pro with 11 years experience. I think I could have done it myself, honestly, now that I've watched him do it. However, it was very time consuming, and I'm glad he did it instead of me. His installation area was clean, and dust free, and he had all the right tools, so IMO it was worth the money to have him do it.
Yes he had to trim and he did trim a lot. Although most of it was a computer cut pattern, it is never a perfect fit, and there will always be some trimming involved. When you trim, remember to score the material, never cut all the way through, and rip off the excess. It's similar to cutting glass.
While laying on the film, use a lot, and I mean A LOT, of solution. Spray the car, really saturate the surface, and do the same to the film, both sides (sticky underside to move the film where you want it, and the top, so the squeegee will slide freely, therefore avoiding scratching the film). You should have two solutions. One is a 70% distilled/filtered water with 30% isopropyl alcohol. This is to clean prep the surface for the film. The other solution is a mixture of very little soap (dawn should be okay) and clean water. This allows you to position the film, and lets the squeegee slide.
When you are satisfied with the placement, go ahead and squeegee all the moisture from underneath the film. Don't be afraid to lift the film and re align the film if you've made a mistake, some debris is trapped underneath, or are unhappy with the placement, as long as the film is still wet and hasn't set in yet. The hood should be cake, everything else with curves WILL be a biatch.
That's all I can remember for now from my research and the people I've talked to. Anybody feel free to correct me if I have been misinformed.
Good luck and let us know how it turns out.