
Ask a Professional Detailer... Brought to you by Detailed Image
 04-07-2008, 09:37 AM
#451

George
 04-07-2008, 11:16 AM
#452
Registered User

Join Date: Nov 2007
Location: Twin Cities
Posts: 229
Likes: 0
Received 0 Likes
on
0 Posts
George,
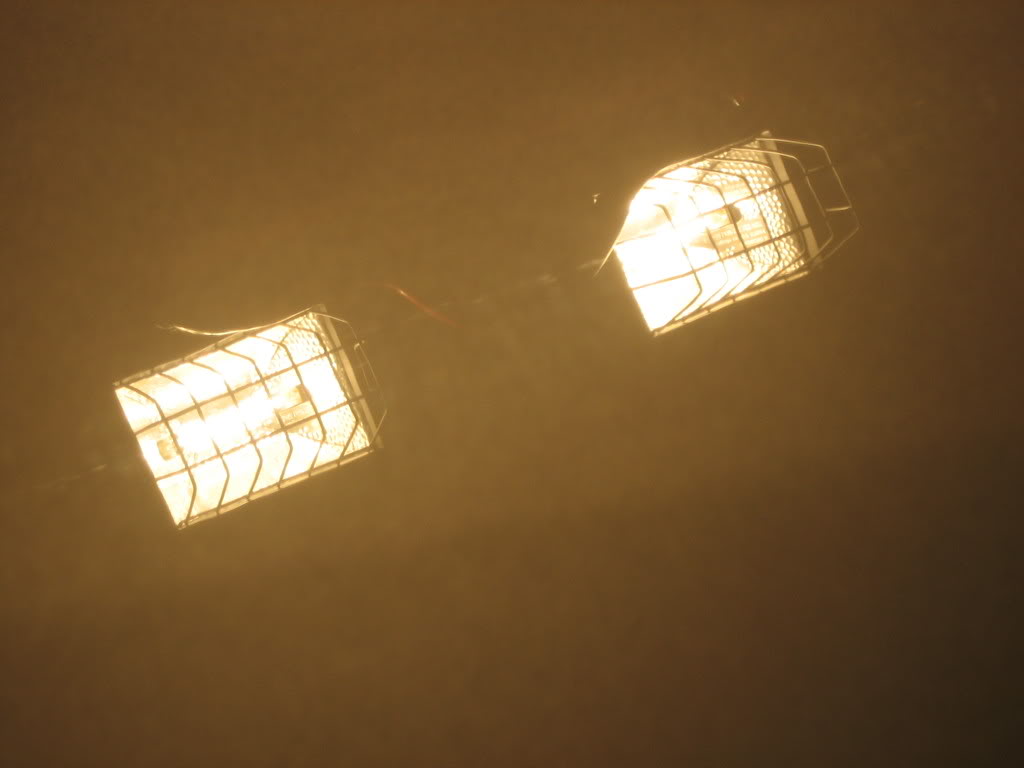
I recently got some Halogen work lights and the swirls from the dealership look terrible. I don't have much experience with swirls, so I don't know how severe they really are. They are nothing like a lot of the pics I've seen on autopia, but to me they look bad. You can't see them unless you have direct sunlight, or halogen. I'll have to take a pic to show you before I actually polish the car. Just in case I ordered some IP and an orange pad for my PC. I have the 106FF and a white pad as well. I am going to start with the 106FF and see what results I get.
I've read that you can use some sort of alcohol mix and that will help clean up your work area to see if you are getting actual results. What is the best way to do this? Thanks again.....I haven't even begun and you've started an addiction!!
04-07-2008, 11:30 AM
#453
Keep us posted on how things turn out, hopefully the PO106FF puts a dent in the imperfections.
George
04-08-2008, 08:04 PM
#454
Registered User

Join Date: Jan 2008
Location: Houston, TX
Posts: 301
Likes: 0
Received 0 Likes
on
0 Posts
George,
I just purchased your detailing essentials package and am looking to do my first full detail (clay bar, polish, seal, and wax). My main concern is the clear bra on my car. Do I treat it like any other part of the car, or are there certain steps that need to be skipped (polish & seal)?
While I'm at it, I just want to give everyone at DI a big . The information you've shared has been invlauable. And the service has been excellent (placed order on Saturday night and it shipped first thing Monday morning). Now I just hope I make it back home before it shows up
I just purchased your detailing essentials package and am looking to do my first full detail (clay bar, polish, seal, and wax). My main concern is the clear bra on my car. Do I treat it like any other part of the car, or are there certain steps that need to be skipped (polish & seal)?
While I'm at it, I just want to give everyone at DI a big
. The information you've shared has been invlauable. And the service has been excellent (placed order on Saturday night and it shipped first thing Monday morning). Now I just hope I make it back home before it shows up
04-09-2008, 02:19 PM
#455
George,
I just purchased your detailing essentials package and am looking to do my first full detail (clay bar, polish, seal, and wax). My main concern is the clear bra on my car. Do I treat it like any other part of the car, or are there certain steps that need to be skipped (polish & seal)?
While I'm at it, I just want to give everyone at DI a big. The information you've shared has been invlauable. And the service has been excellent (placed order on Saturday night and it shipped first thing Monday morning). Now I just hope I make it back home before it shows up
I just purchased your detailing essentials package and am looking to do my first full detail (clay bar, polish, seal, and wax). My main concern is the clear bra on my car. Do I treat it like any other part of the car, or are there certain steps that need to be skipped (polish & seal)?
While I'm at it, I just want to give everyone at DI a big
. The information you've shared has been invlauable. And the service has been excellent (placed order on Saturday night and it shipped first thing Monday morning). Now I just hope I make it back home before it shows upFor the clear bra, I usually like to tape around the edges of it when you're detailing the painted areas so you don't have any excess product residue outlining the clear bra afterwards. 3M Blue Painters tape works well, and I'd also recommend taping off emblems, trim (especially around the windows) and anything else you don't want to make sure the polish or buffer hits.
After you've completed all the steps on your paint, remove the tape that overlaps the clear bra and treat it with some of the 303 Aerospace Protectant that comes in your All the Detailing Essentials Package. This will help protect the clear bra from UV fading and you won't have to worry about excess product left behind from a sealant or wax.
Keep us posted with how you make out after your first detail and thanks again for the support and praise. Enjoy!
Regards,
George
04-09-2008, 03:34 PM
#456

Couple quick questions:
1) How do you assure that your soap doesn't dry while washing your car with a mitt? What is the proper procedure you recommend to wash/sheet rinse/then dry the car?
2) When using the buffer and a standard polish, what is the most efficient method of doing the car? Should you just do a 20x20 area, then leave the polish on and do another 20x20 area until you have a full hood/fender/etc done, then wipe it off? Do you have to use the buffer to remove the excess or do you use a waffle weave to remove the polish?
Thanks
04-09-2008, 04:25 PM
#457
Registered User
Join Date: Nov 2007
Location: Twin Cities
Posts: 229
Likes: 0
Received 0 Likes
on
0 Posts
George,
Just got my Waffle Weave drying towel from you guys and WOW am I impressed. It is light years better then the one I had got from a local auto place. I quickly have added the old one to house hold duty and it will not touch my car. The difference in softness and all around quality is amazingly. Keep up the good work, love your products! I see you guys now have Chem Guys on the site as well.....nice!
Just got my Waffle Weave drying towel from you guys and WOW am I impressed. It is light years better then the one I had got from a local auto place. I quickly have added the old one to house hold duty and it will not touch my car. The difference in softness and all around quality is amazingly. Keep up the good work, love your products! I see you guys now have Chem Guys on the site as well.....nice!
04-10-2008, 09:28 AM
#458
Couple quick questions:
1) How do you assure that your soap doesn't dry while washing your car with a mitt? What is the proper procedure you recommend to wash/sheet rinse/then dry the car?
The best thing you can do is wash your car in smaller sections. I usually will only go 1 or 2 panels before I rinse out my wash mitt (using a 2 bucket wash system) and rinse the suds off and the rest of the car, keeping it from drying. It's a little more work during the washing process, but it's less work in the long run if you have to spend time re-washing, claying or polishing to remove dried on soap. My washing and drying process goes something like this:
2) When using the buffer and a standard polish, what is the most efficient method of doing the car? Should you just do a 20x20 area, then leave the polish on and do another 20x20 area until you have a full hood/fender/etc done, then wipe it off? Do you have to use the buffer to remove the excess or do you use a waffle weave to remove the polish?
First thing I recommend is starting in smaller sections until you start to achieve the results you are looking for. I recommend starting in 12" x 12" areas, then expanding to larger areas once you feel comfortable working the polish. Overlap the area so that you go over the entire 12" x 12" section at least 4 times with the buffer. I usually work up and down, left and right, up and down and left and right again, all while overlapping each pass by 50%. When polishing, there is no reason to let the product sit on the car. Simply wipe off excess polish with a quality microfiber towel and move onto the next section. Work slow, you want to move the buffer, roughly at 1 inch per second, while applying moderate pressure to the head of the buffer. It's a slow process, but this is where the best results come from.
Thanks
1) How do you assure that your soap doesn't dry while washing your car with a mitt? What is the proper procedure you recommend to wash/sheet rinse/then dry the car?
The best thing you can do is wash your car in smaller sections. I usually will only go 1 or 2 panels before I rinse out my wash mitt (using a 2 bucket wash system) and rinse the suds off and the rest of the car, keeping it from drying. It's a little more work during the washing process, but it's less work in the long run if you have to spend time re-washing, claying or polishing to remove dried on soap. My washing and drying process goes something like this:
- Setup 2 buckets, 1 with clean water and 1 with water and suds
- Wet the area (couple of panels) that you plan on working on
- Dunk you wash mitt into the bucket of suds
- Gently glide the wash mitt over the panel or two you plan on cleaning
- Put the wash mitt into the rinse bucket
- Hose off remaining suds on the car and wet the next area
- Swipe my wash mitt across the Grit Guard Insert in the rinse bucket
- Re-dunk it into the suds
- Repeat until entire car has been washed
- Remove spray nozzle from hose and sheet dry the vehicle
- Use a blower (I use my Metro Vac 'n Blo) to blow out seems, mirrors, lug nuts, emblems, etc.
- Blot dry remaining water with a Waffle Weave Drying Towel
- Follow up with a quick detailer a plush microfiber towel to remove any remaining water droplets.
2) When using the buffer and a standard polish, what is the most efficient method of doing the car? Should you just do a 20x20 area, then leave the polish on and do another 20x20 area until you have a full hood/fender/etc done, then wipe it off? Do you have to use the buffer to remove the excess or do you use a waffle weave to remove the polish?
First thing I recommend is starting in smaller sections until you start to achieve the results you are looking for. I recommend starting in 12" x 12" areas, then expanding to larger areas once you feel comfortable working the polish. Overlap the area so that you go over the entire 12" x 12" section at least 4 times with the buffer. I usually work up and down, left and right, up and down and left and right again, all while overlapping each pass by 50%. When polishing, there is no reason to let the product sit on the car. Simply wipe off excess polish with a quality microfiber towel and move onto the next section. Work slow, you want to move the buffer, roughly at 1 inch per second, while applying moderate pressure to the head of the buffer. It's a slow process, but this is where the best results come from.
Thanks
George,
Just got my Waffle Weave drying towel from you guys and WOW am I impressed. It is light years better then the one I had got from a local auto place. I quickly have added the old one to house hold duty and it will not touch my car. The difference in softness and all around quality is amazingly. Keep up the good work, love your products! I see you guys now have Chem Guys on the site as well.....nice!
Just got my Waffle Weave drying towel from you guys and WOW am I impressed. It is light years better then the one I had got from a local auto place. I quickly have added the old one to house hold duty and it will not touch my car. The difference in softness and all around quality is amazingly. Keep up the good work, love your products! I see you guys now have Chem Guys on the site as well.....nice!
Thanks for the positive feedback!
George
04-10-2008, 09:38 AM
#459
Great thanks again for the info. I've noticed I have some dirt spots caked into lower splash guards of my car right behind the doors. I tried to remove them with washing but it looks like I'll have to buff, that or I guess get some sort of product that can sink into those caked on spots and help me remove them.
04-10-2008, 12:28 PM
#460
Registered User
Join Date: Nov 2007
Location: Twin Cities
Posts: 229
Likes: 0
Received 0 Likes
on
0 Posts
Greg, if they are water spots, maybe this could help.
http://www.detailedimage.com/Chemica...-Remover-P194/
http://www.detailedimage.com/Chemica...-Remover-P194/
04-11-2008, 09:09 AM
#461
Great thanks again for the info. I've noticed I have some dirt spots caked into lower splash guards of my car right behind the doors. I tried to remove them with washing but it looks like I'll have to buff, that or I guess get some sort of product that can sink into those caked on spots and help me remove them.
Between those two, you shouldn't have any more surface contamination.
Hope that helps.
George
04-11-2008, 10:06 AM
#462
Registered User
Join Date: Nov 2007
Location: Twin Cities
Posts: 229
Likes: 0
Received 0 Likes
on
0 Posts
George, can you explain "jeweling" to me. I have been reading some things about it on autopia. People were talking about using 106 after their regular polishing with a black or blue pad, and how amazing it makes the finish. You have any insight on this.
Oh, and a lot of people talk about using 4" pads with the PC because the 6.5" pads take too long. I figure you guys sell the 6.5" for a reason. Just wanted to see your opinion on pad size.
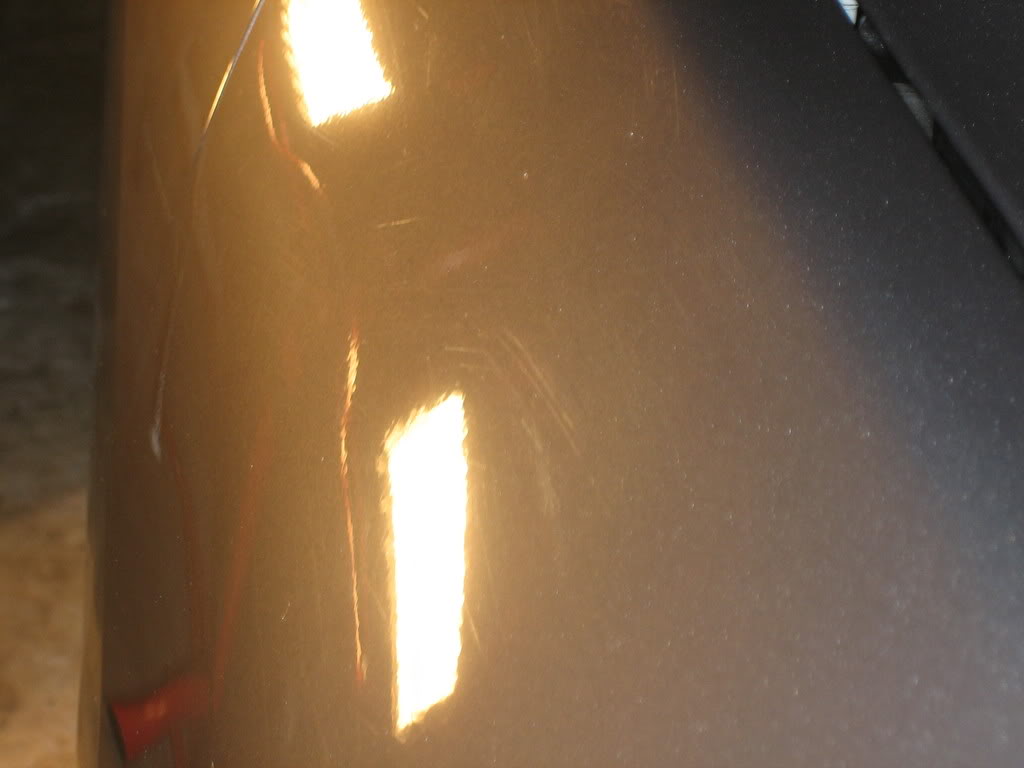
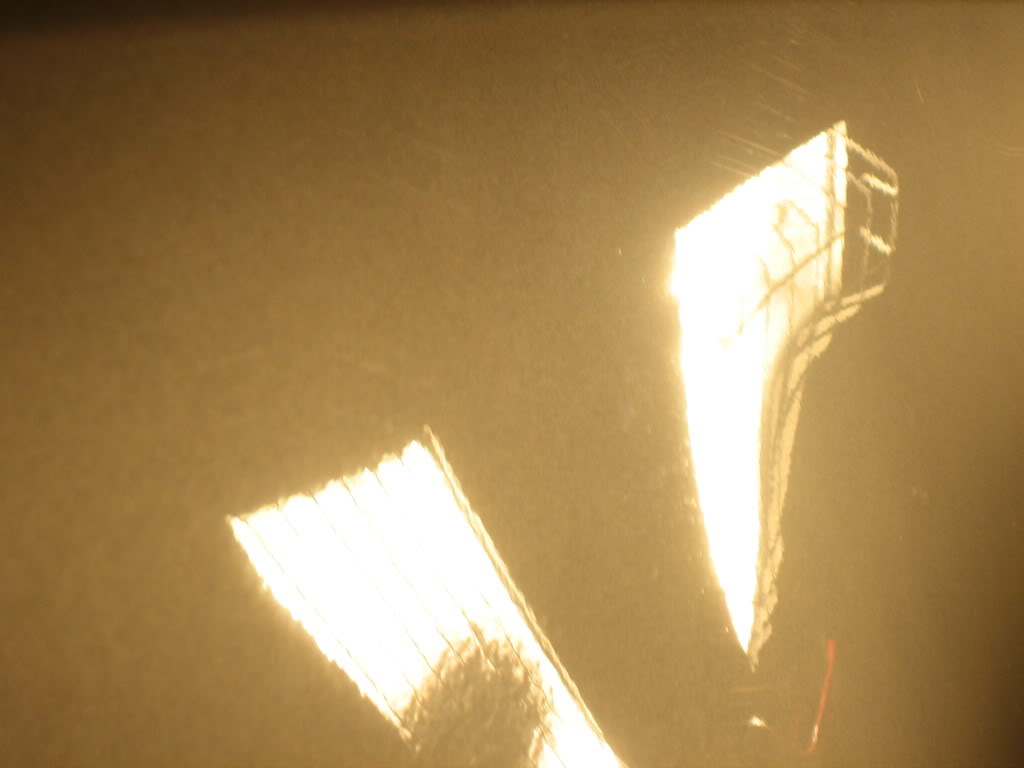
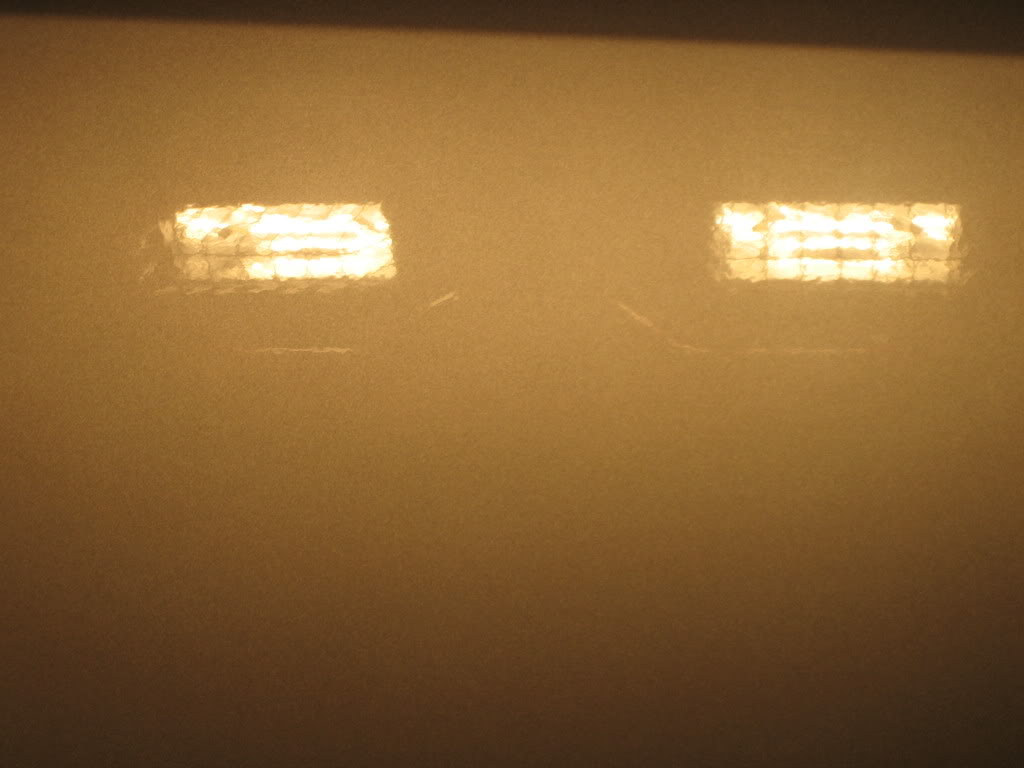
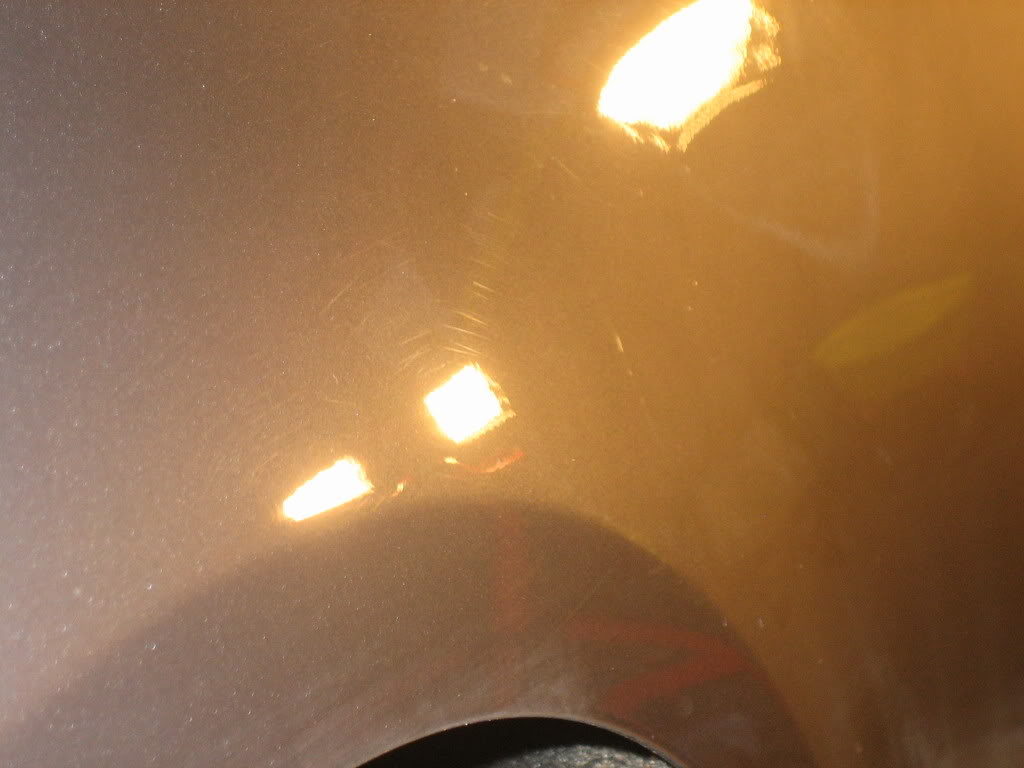
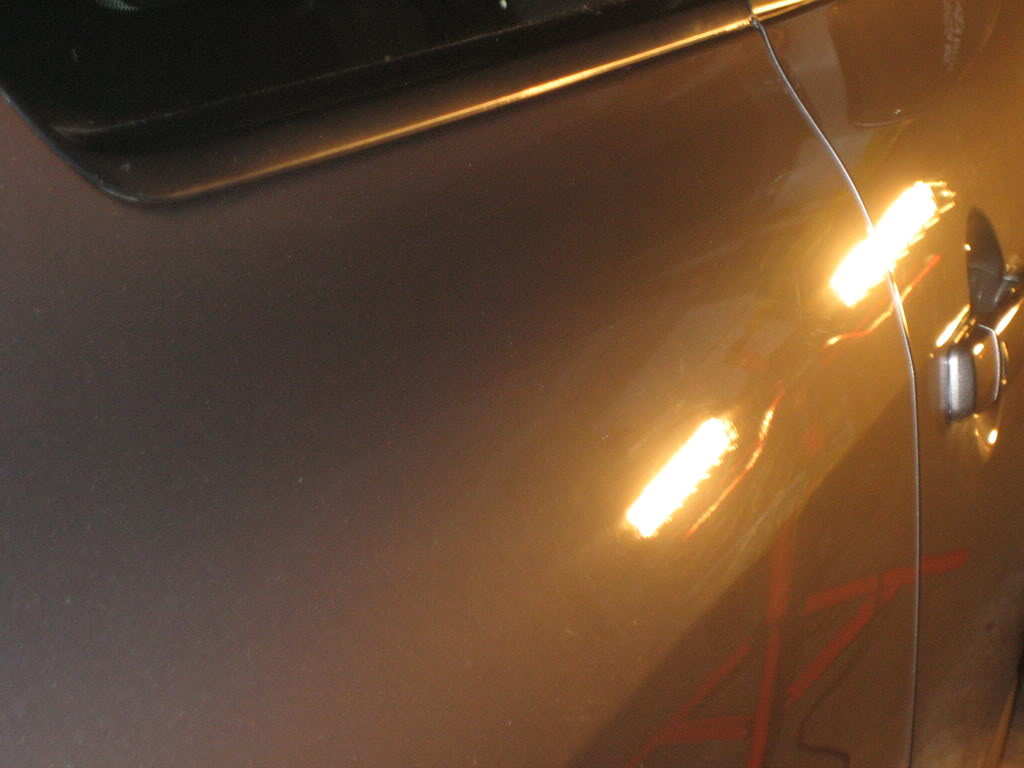
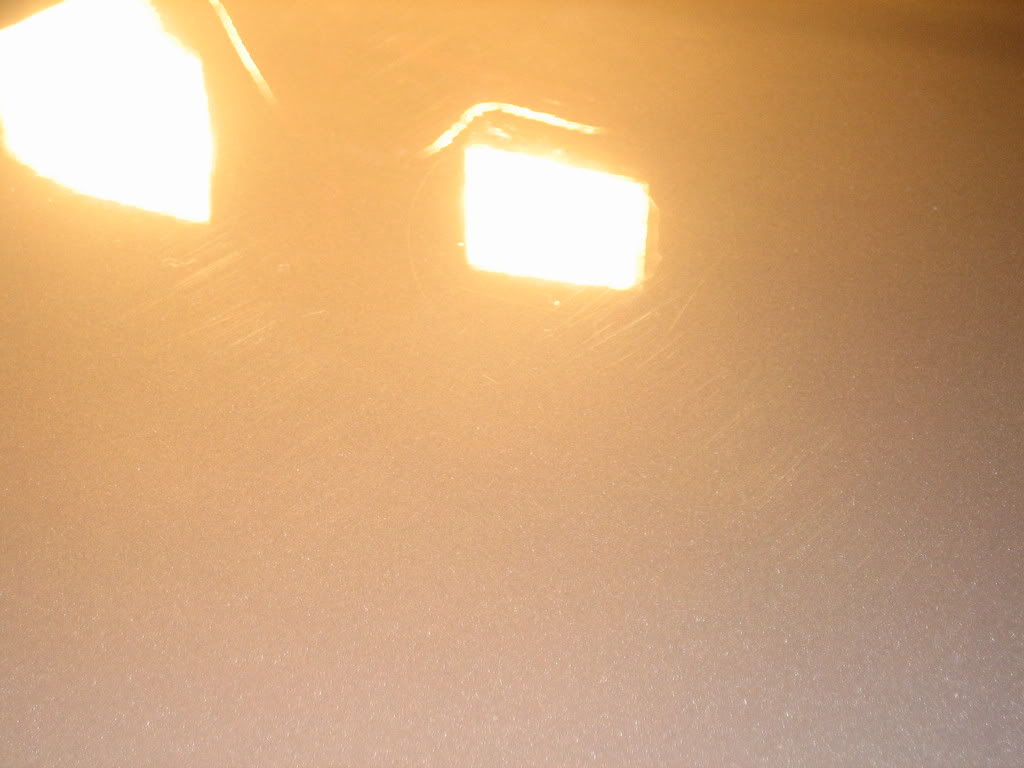
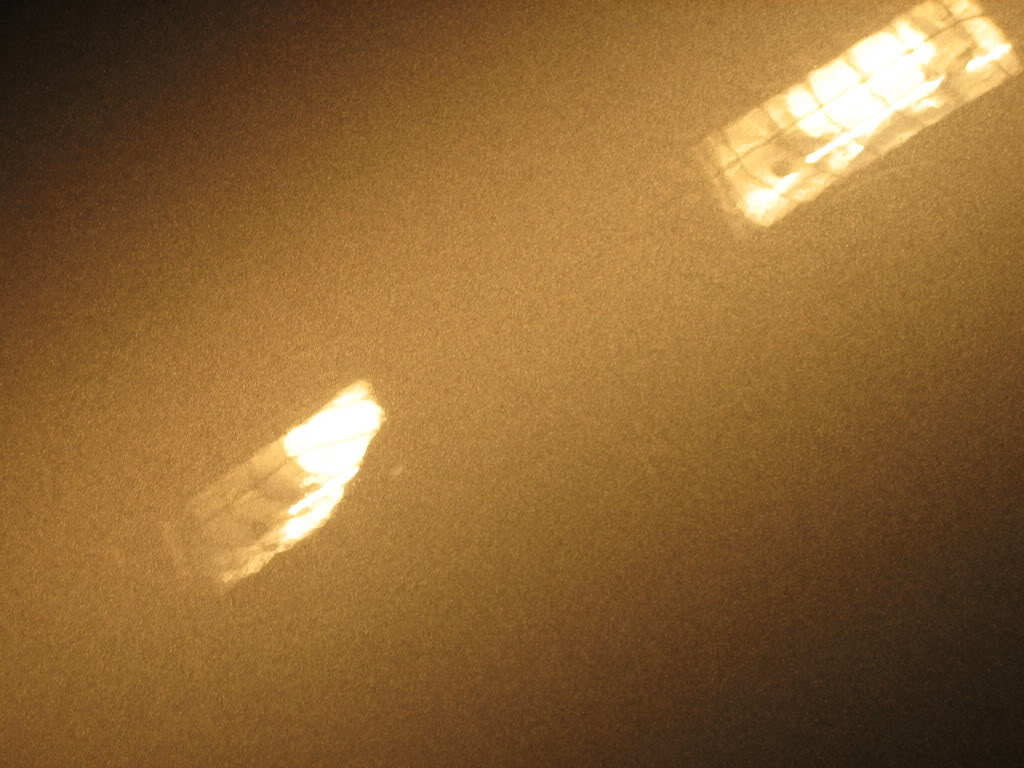
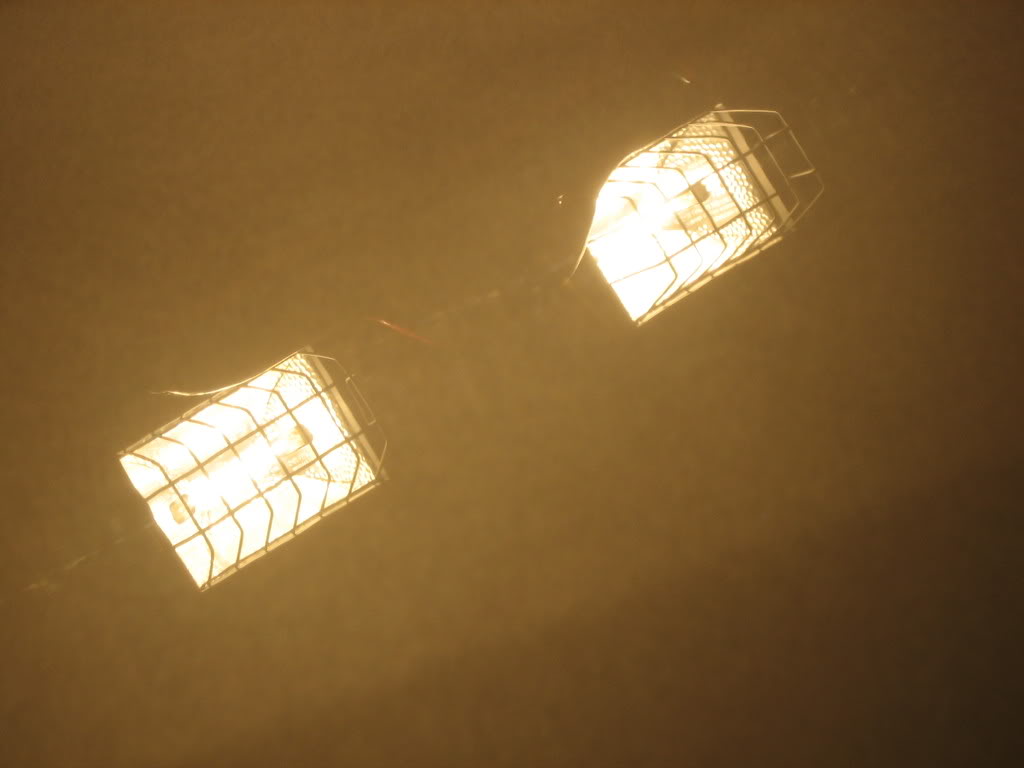
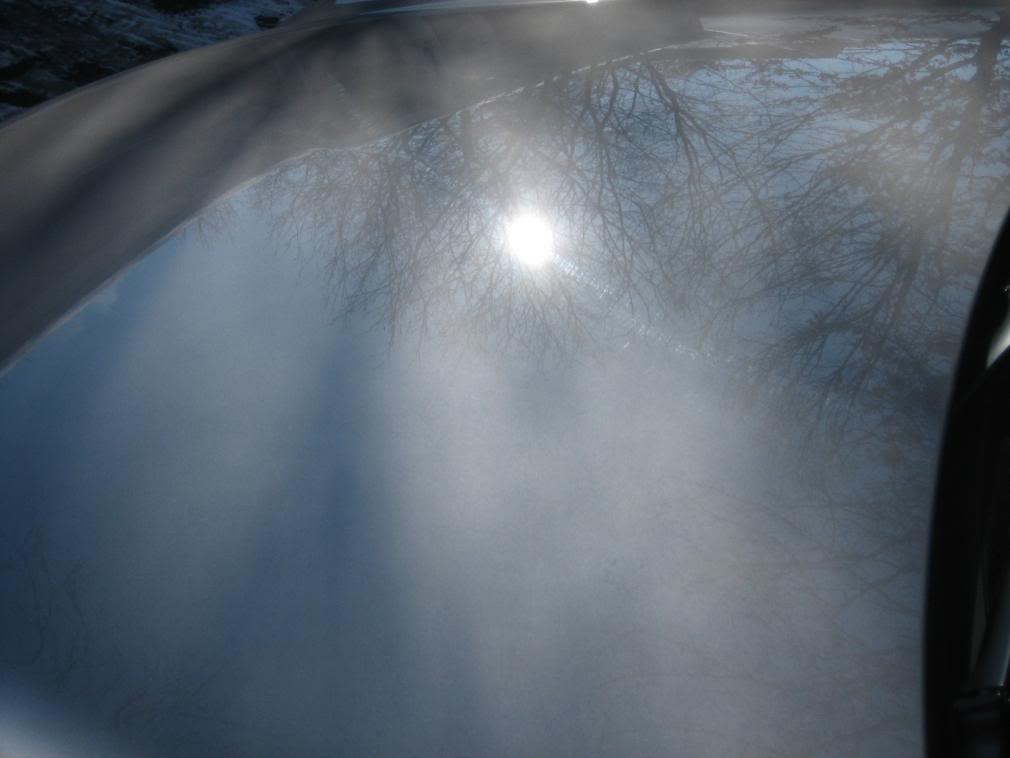
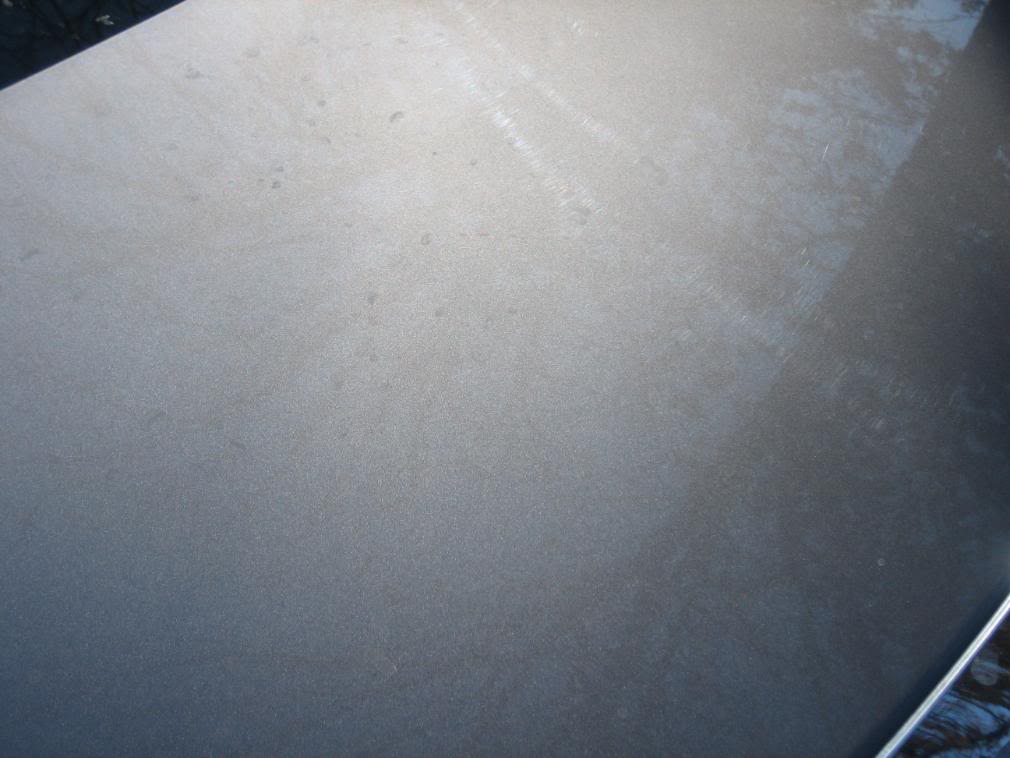
I am also going to add some pics I took tonight of the swirls from the dealer. For some reason, if I look straight on with the halogens behind me, I can't see any swirls, but If I look at an angle, I can see them. Let me know what you think. I have both 106FF and a white pad, as well as the an orange pad with IP. Do you think the 106FF will do it? Im going to start with that.


Oh, and a lot of people talk about using 4" pads with the PC because the 6.5" pads take too long. I figure you guys sell the 6.5" for a reason. Just wanted to see your opinion on pad size.
I am also going to add some pics I took tonight of the swirls from the dealer. For some reason, if I look straight on with the halogens behind me, I can't see any swirls, but If I look at an angle, I can see them. Let me know what you think. I have both 106FF and a white pad, as well as the an orange pad with IP. Do you think the 106FF will do it? Im going to start with that.
Last edited by RedlineSi; 04-13-2008 at 10:13 PM.
04-14-2008, 01:48 PM
#463
George, can you explain "jeweling" to me. I have been reading some things about it on autopia. People were talking about using 106 after their regular polishing with a black or blue pad, and how amazing it makes the finish. You have any insight on this.
Oh, and a lot of people talk about using 4" pads with the PC because the 6.5" pads take too long. I figure you guys sell the 6.5" for a reason. Just wanted to see your opinion on pad size.
I am also going to add some pics I took tonight of the swirls from the dealer. For some reason, if I look straight on with the halogens behind me, I can't see any swirls, but If I look at an angle, I can see them. Let me know what you think. I have both 106FF and a white pad, as well as the an orange pad with IP. Do you think the 106FF will do it? Im going to start with that.
Smaller pads on a PC provide more cutting ability. You would be able to achieve more correction from a 4" pad than a 6.5" pad. The opposite is true on rotary buffers. Larger pads on a rotary provide more cut, where a smaller pad provides much less.
Sometimes I have problems seeing surface swirls with halogen lighting. This is usually a good sign when it comes to correction because they are just on the surface and should be easier to remove than deeper marring halogen lights usually reveal. I'd say PO106FF with a white pad (if not orange) should do the trick. Keep us posted on how things turn out.
George
04-19-2008, 01:55 PM
#464
Registered User

Join Date: Nov 2004
Location: DC/MD/VA
Posts: 766
Likes: 0
Received 0 Likes
on
0 Posts
George,
I just placed another order with you guys, cant get enough of this stuff!! In one of my previous orders I got a grit guard. Is there a specific bucket that this goes in or is there a bucket that you recommend? Thanks!
I just placed another order with you guys, cant get enough of this stuff!! In one of my previous orders I got a grit guard. Is there a specific bucket that this goes in or is there a bucket that you recommend? Thanks!
04-21-2008, 10:09 AM
#465
Registered User
Join Date: Nov 2007
Location: Twin Cities
Posts: 229
Likes: 0
Received 0 Likes
on
0 Posts
Any 3-5 gallon bucket will work. I got 2 at Wal-Mart.