When you click on links to various merchants on this site and make a purchase, this can result in this site earning a commission. Affiliate programs and affiliations include, but are not limited to, the eBay Partner Network.
Mishimoto dual-bead clamps for my intake are on the way. Curious to see how nice they are vs the Murray dual-bead radiator hose clamps I have.
Wasn�t thinking when I ordered my Work Royal lug nuts so I returned my them. Since I�m future-proofing this car, I realized why not go ahead and install some ARP studs for longevity and track abuse. As nice as the Work Royal lug nuts are, for the same money you can get a full set of ARP extended studs and a very nice set of extended open-ended lug nuts. I went with some Project Kics R40 lug nuts which seem pretty nice. Unfortunately Work doesn�t make any steel open-ended lug nuts, and the Project Kics caught my eye. I was going to get some Cusco lug nuts, but they didn�t include a lock and don�t sell a lock nut separately so I would have to mismatch the lugs with another brand of locks. Not worth stolen wheels. The Project Kics also seem more advanced and wheel friendly (less damage).
Getting my stitches out tomorrow so I should be able to get my car in the shop this week to finally replace my Mishi condenser. I�m due for an oil change too, so I�ll try to install my CJM baffled oil pan finally too. Getting back on track.
I use the Ecutek iPhone app 24/7 if my car is running, so I like to have it mounted nearby so I can keep an eye on things. I removed my cheap Amazon phone mount since it kept drooping/falling down from the weight of my iPhone and started shopping for phone mounts. It just used a magnetic plate and adhesive to stick to the back of my phone case since it wasn�t designed for MagSafe. I had it mounted on the center console below the AC controls on the silver trim before it curved down towards the ash tray. It worked ok, but was dangerous for viewing, and that was the only place I could get it to stick.
At first I was leaning towards a rear-view mirror mount, but for safety I wanted something at eye level that mounts to the dash. A year or two ago no one was making a true rigid mount for our cars, let alone one that mounted in the correct placement (legality comes into play in some states regarding placement of a mount- most states prefer dash mounts). I tried one MagSafe sticky mount that had wireless charging, but it kept falling off and drooping so I sold it to a friend who had a better use for it.
It seems like someone finally made a little mount that has proper placement and won�t droop. The mount is It�s a little pricey for what it is, but I�m excited to have a more permanent solution that doesn�t rely on adhesives. It�s made by Course Motorsports and uses a bracket that mounts around the top of the vent on the right side of the steering wheel (left of the center console screen). The trim does have to be removed to install it, but it looks super simple and quick. They make MagSafe, standard magnetic, clip-in (wrap around arms), clip-in wireless charging, and a MagSafe wireless charging option for the mount. The base is the same across all clips/magnets which is nice for future proofing, multiple devices etc�It should be here this week so I�ll get it installed asap and post a review thread in the forums, and will link it here. Very excited to have my Ecutek gauges right next to me now, and in my line of sight. I�ll link the mount below for those interested.
I've always had bad luck with the ball-type mounts, as the weight of the phone + case and vibration means it always loosens.
I've got a Panavise https://www.panavise.com/index.html (click on the model car, but they're all 75130-509. Mounts behind radio surround on right side. Added a magsafe mount that I epoxied to the mount and never looked back. I would prefer the phone to be closer to the instrument cluster, but I've had this setup for a year or more now and it doesn't bother me any more.
Edited to add: Iphone 13, magsafe Speck Exec case.
Same here, the ball joints typically always fail on me overtime and having a stiff suspension setup doesn�t help, lol. The difference with this one is that there is a lock collar that screws around the ball joint and compresses it, so hopefully it stays put and doesn�t loosen over time. We shall see.
I installed my CourseMS mount today and am very happy with it so far. It took me a total of 5 minutes to remove the trim, install the mount, and reinstall the trim pieces. Some people might feel uncomfortable removing the center console trim but it is super easy and their instruction video is spot-on. There is a tiny piece of 3M it uses to help hold the bracket in place, but their bracket clips around an existing dash clip and is sandwiched between the dash and air vent trim, so it�s not going anywhere. Placement is perfect, and it holds my iPhone 13 Pro up just fine. It�s really nice that their MagSafe mount (non-charging) works through my non-MagSafe phone case (lattercase carbon case) and doesn�t look like it will fall off; I did a shake test with it before installing and it held strong with my phone case on. They also include a MagSafe 3M ring for thicker cases etc.
Their ball joint uses a screw-style collar with 4 clamping �arms� that compress to hold their MagSafe mount to the bracket, so it shouldn�t droop like other ball joint phone mounts. Time will tell- I�ll be sure to post an update overtime if it does eventually start to droop, but so far so good. Might just have to re-tighten the collar every now and then.
OEM intakes are finally back in my car with AFE dry drop-ins and Z1 post-MAF tubes. Throttle response, idle, everything seems to run slightly better than it did with the Takeda front mount intake. I do NOT feel a loss of power at all, if anything it feels a bit better, likely just from clean filters. Sound level is almost identical to the Takeda front mount, maybe a hair less raspy now actually. Curious to see what Seb says about the data logs now. I used Mishimoto�s new dual-bead worm clamps on the Z1 post MAF tubes and they are perfect. Won�t damage the silicone and provide the best seal around- honestly overkill for a NA intake, but I�m doing things right the first time around from here on out. Very happy I went back to OEM intakes after trying Z1, R2C, SOHO, and Takeda intakes. OEM intakes are the way to go, at least until someone designs a plastic or carbon boxed in system similar to OEM that uses conical filters�that�s the dream, something I�m trying to bring to market eventually but done right.
Also removed my Saikou Michi catch cans and gave them to a friend who�s got much more use for them than I do (built motor NA cars). It was sad to see them removed and go, but I�m happy knowing they are definitely getting used for what they were designed for. I�ll be designing another kit now with Saikou Michi for our OEM intakes- more to come on that project, but it�s happening.
I didn�t have time to do everything I wanted today since our shop closes early on Saturday so I�ll finish the rest next weekend. Would like to have RAV Performance install my baffled oil pan, for peace of mind, but I might end up doing it myself next weekend. Due for an oil change regardless. Still need to swap the clamps on my rad hoses, and still considering going back to OEM rad hoses also. Mishimoto screwed me and my replacement condenser has a huge bow in it from shipping so I can�t install it, nor would I with how bent it is. What a PIA. There were no �fragile� or �this way up� markings on the box so it�s not surprising sadly. Hopefully they can get another one to me this week, getting old not having AC, and now my bumper is off waiting for the replacement�s replacement. Just the way it goes sometimes.
Here are pictures of the amount of oil drained from my Saikou Michi catch cans when I removed them. The driver side caught more which is typical on the VQ37VHR. Barely any blow by though, after 4k miles.
Driver side OCC drained (Starbucks venti cup for reference, sorry I didn�t have a beaker to measure)
Changed my oil today, just used my go-to redline 5w-30 + Nismo filter, but might be switching to Motul 300V next oil change. I haven�t had time to install my baffled oil pan lately so I�m going to hold off until the next OCI hits in another 3k miles, maybe sooner depending on how busy I am. I know that�s super interesting so here�s something to make up for it:
Couldn�t be happier with how the powder coating turned out. Exactly the finish I was going for. Stuck the Cusco sticker on there for now until I have a change of heart or it falls off. Trying to hunt for a new approval sticker that comes with them (the smaller silver sticker on the left of the FSTB). I managed to remove the one that came on mine without damaging it, but might not stick perfectly anymore. Got some special adhesive wipes we use at work for installing trim, so I�ll try that if I can�t find a new sticker.
About freaking time. Z1 finally developed a supercharger kit for the VQ37, in partnership with Rotrex. Sign me up as soon as they release a kit for the G37, which is coming. It’s reasonably priced, makes decent power, and doesn’t require insane modifications (at least for the Z)…looking good. They offer it in 4 trim/power levels based on pulley size. 450whp/110mm pulley, 500whp/100mm pulley, 550whp/90mm pulley, and 600whp/80mm pulley. The 550whp/90mm and 600whp/80mm kits require a fuel return system, and I’m not going that route just yet so I’ll go with the 100mm pulley for now.
The tuner kit is all I will need for now since I’ll be using ID 1050X injectors and no fuel return system. I also already have an Omni 4 bar map sensor (incl. in Z1’s complete kit), and was planning to get an Aeromotive stealth 340 pump regardless so that works itself out. I can always go with a fuel return system down the road, and I already have a thing for Charles’s gorgeous products over at CJ Motorsports anyways.
Stuff I need to finally install before boost to help hold traction-
+Wavetrac LSD
+Z1 diff cover
+Z1 diff brace
+Z1 urethane diff bushing
+Z1 subframe collars
Keep in mind the above list leaves out a lot of other mods required for boost, such as an oil cooler and an upgraded clutch & flywheel. This is just my build list since I already have everything else installed, other than what’s listed above. It adds up. If you’re considering it, just be prepared for the costs to do it right.
This seems like a great kit to start with. Potential to add more power if I get bored and want to add a fuel return system and smaller pulley. It also retains the OEM intake manifold, so down the road one can replace that with whatever intake manifold they fancy (it’s SOHO’s for me). For a reliability or track focused Z, this seems like the winner for the price. The Stillen kit has an outdated blower, and with the 100% necessary air-to-air conversion it would cost over $12k with the same supporting mods. This is almost half of that cost. I was almost starting to consider dropping in an LS3. Z1 has me scheming, hopefully they hurry up and release a kit for our cars!
Been posting a lot of paragraphs lately, lol. Hopefully they are at least entertaining or helpful to some of you who find this thread or post.
I just had to edit my last post above, because, well, I did a certain thing. I was discussing my build plans with a couple buddies today who have more experience boosting and building engines than myself. Happened to be showing them the Z1 supercharger kit and also the SOHO/Stillen air-to-air conversion kit and we were discussing the piping and routing etc of both kits. I always liked the routing of the SOHO/Stillen A2A kits more- equal length tubes (with no 90 degree bends) into the intake manifold just make sense, and it�s less piping overall=less weight and heat soak. While looking at pictures talking about all the kits, google shopping suggestions randomly displayed a lonely Stillen intake manifold for sale on eBay. I typically can�t stand it at the top of search results, but couldn�t believe there was actually an individual Stillen manifold for sale�I have personally never seen one of these being sold individually, and wasn�t sure if I�d ever see another one anytime soon in mint condition. Stillen does not sell their intake manifold separately so this is a find in my eyes, for my plans. Had to grab it before it vanished forever. It might not be the best manifold but for my plans it�s the winner.
I�ll hopefully be able to buy the remaining bits and pieces for the intake manifold from SOHO such as the block off plate and most importantly the SOHO Y-pipe to throttle body.
TL;DR - I bought a Stillen intake manifold to use with a Z1 Rotrex kit that will be modified.
Oh, on the note of building my supercharger kit, I�m selling my OEM 4.08 ring&pinion set if anyone is interested- FS thread should be up soon, just have to grab it out of storage for pictures. New in box, never installed etc.
Going to stick with the OEM final R&P since it would be pointless with a boosted motor.
Edit: FS thread is live in the private classifieds in the engine - power adders sub-forum.
Stillen intake manifold arrived in great shape, other than one small crack in the outer gasket wall on the runners. Going to send it to a machine shop to get it cleaned up everywhere and get that fixed. It�s cast aluminum so should be an easy fix for a machine shop. Also going to have them remove a secondary PCV breather valve the last owner installed above the original in between the throttle bodies. Just needs a little cleaning to make it like-new, and sadly was missing all the hardware and gaskets so I�ll have to source those. Thankfully Stillen sells the throttle body and manifold gaskets for their intake manifold. Curious to see if the Stillen intake manifold gasket is a re-packaged OEM gasket.
It included the original water-cooled core, so first thing to do was immediately toss that useless brick out since I�m piecing together an air-to-air kit (and I�d rather not pop my motor). SOHO sells a Stillen intake manifold block off plate, but I might attempt to fabricate a custom cover out of a solid plate of carbon fiber. If I follow through with the carbon plate, I will share them with the community and make a round to sell and feel out the waters. The main thing to figure out is how to appropriately seal the carbon plate to the manifold - will have to do some major research. Maybe a custom Viton gasket is the easiest and best solution VS a permanent sealing product.
The journey to boost has officially begun
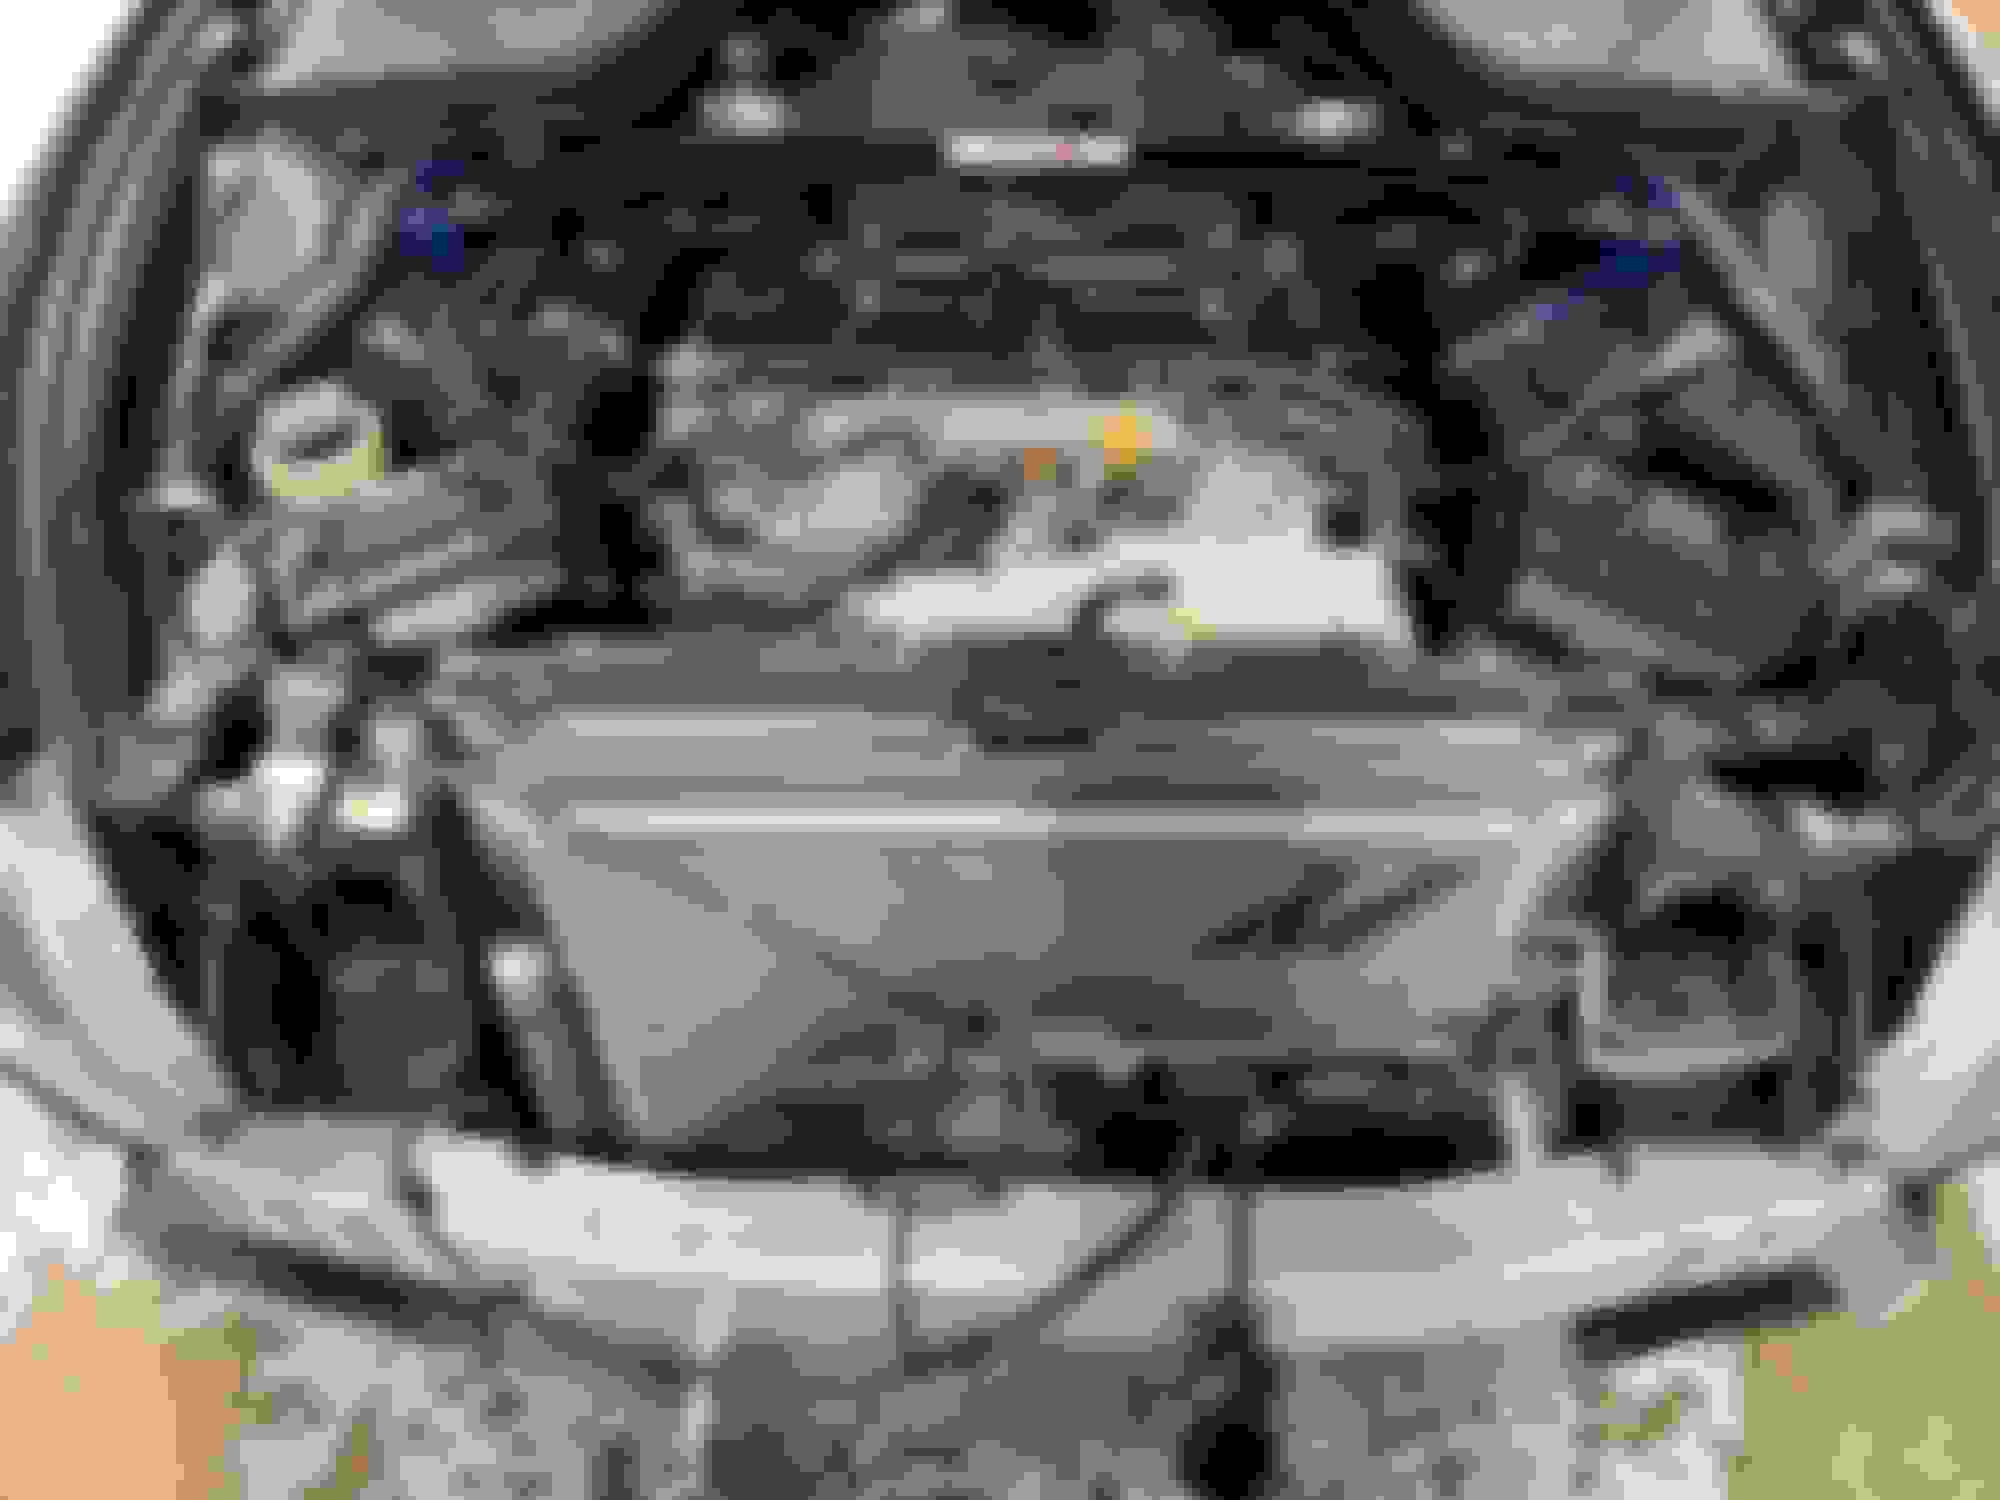
Finally replaced my Mishimoto condenser today. Couldn�t be happier to have AC back. Only took about an hour to do with the front bumper cover already off. It took some finagling to replace it without removing the radiator, but the good news is it can be done. The 4 bolts that secure the corners of the condenser to the radiator were the most difficult to get to- specifically the lower bolts because of my PS cooler and oil cooler (the hose routing was in the way on the passenger side). I just loosened the power steering cooler bracket to get enough clearance with a ratchet. The AC line bolts were easy to get to with a few extensions from the top. Just had to be careful removing the old unit and dropping in the new unit. Luckily I had a friend in the shop helping and he made it a breeze.
Mishimoto�s 2 piece design definitely came in handy, let�s hope I don�t have to do that again anytime soon though. Still need to replace my P2M radiator clamps but I�m going to do that when the supercharger goes on in a few months now since that is actually finally happening. They aren�t leaking so I�m not messing with them. Picture is right after we dropped in the new condenser.

 06-17-2023, 06:52 PM