When you click on links to various merchants on this site and make a purchase, this can result in this site earning a commission. Affiliate programs and affiliations include, but are not limited to, the eBay Partner Network.
Greetings All!! This will be the beginning of Misa’s Evil Ava Build Thread! This is the most current and up to date list of my G. It’s an 09 Sedan, that used to be used for weekend track days, and now is my summertime DD. She’ll go back to the track occasionally, but it’s quite the drive since I moved. Enjoy! Free free to ask questions, I’ll try to update frequently. There is always something in the works. I will try to keep dates and Mods organised by post. This will also be a picture heavy thread.
So, without further ado, here is the beginning!
I don't remember when i got my G, but it is an 09 Sedan 7AT. Here is a picture of her in stock form.
Its obviously been a while, look at that LOVELY picture quality lol.
So, about a year in, I got the itch. So i started with the basics. Oil Cooler, Stillen Gen 3 Intake, and Wheels. So, I snagged a set of 350z wheels off craigslist and got everything else.
Then, I let my brother convince me that it would be cool to body kit and underglow the car. I was not a wise girl back then, so sorta did it. here is the Blasphemy!
Ugly Right??????
Eventually The glow came off. (Kept the KnightRider KITT Bar though). Around this time, I signed up to start driving on the local track. Burnt up the cats, horrible grip (or inexperienced driver), and was too quiet. So, we lopped off the mufflers.
Current Appearance
Around 2014 The modding REALLY Began. We got tuned in TX in 2014. Wasnt impressive, only 321HP at the time. I cant find the picture, but i'll upload it if i do. Now is the end of the intro post, the following posts will be more thorough and organized.
So, as mentioned in post #1, Originally we went with the Stillen Gen 3 Pipes.
These remained installed until 2021, once the rotrex went on.
-2021- Rotrex Time
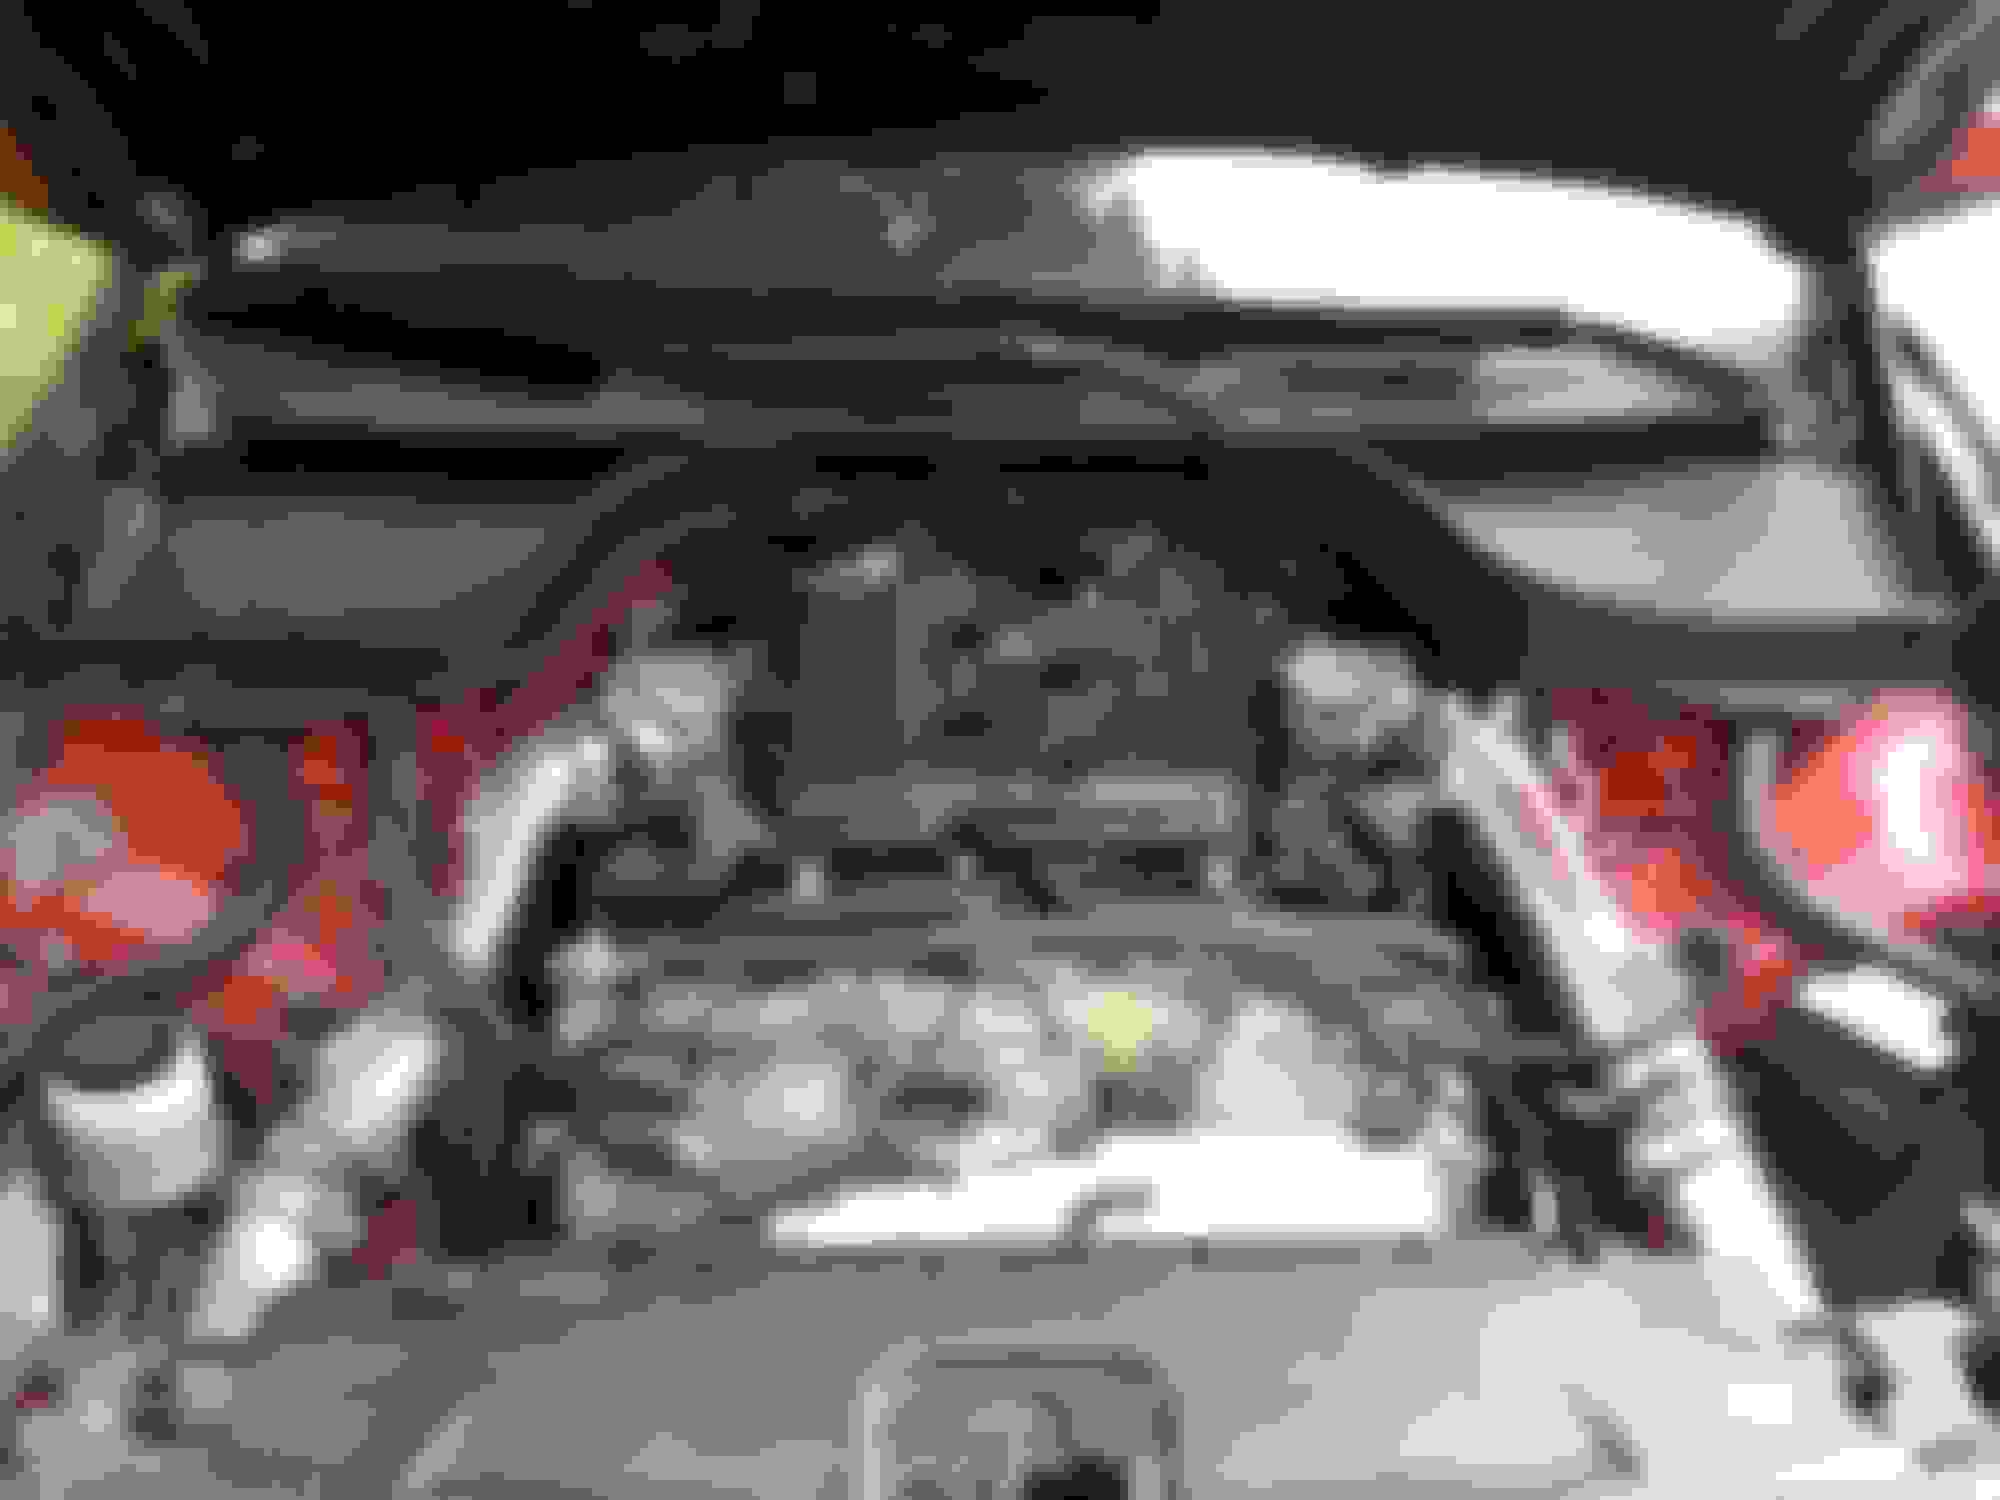
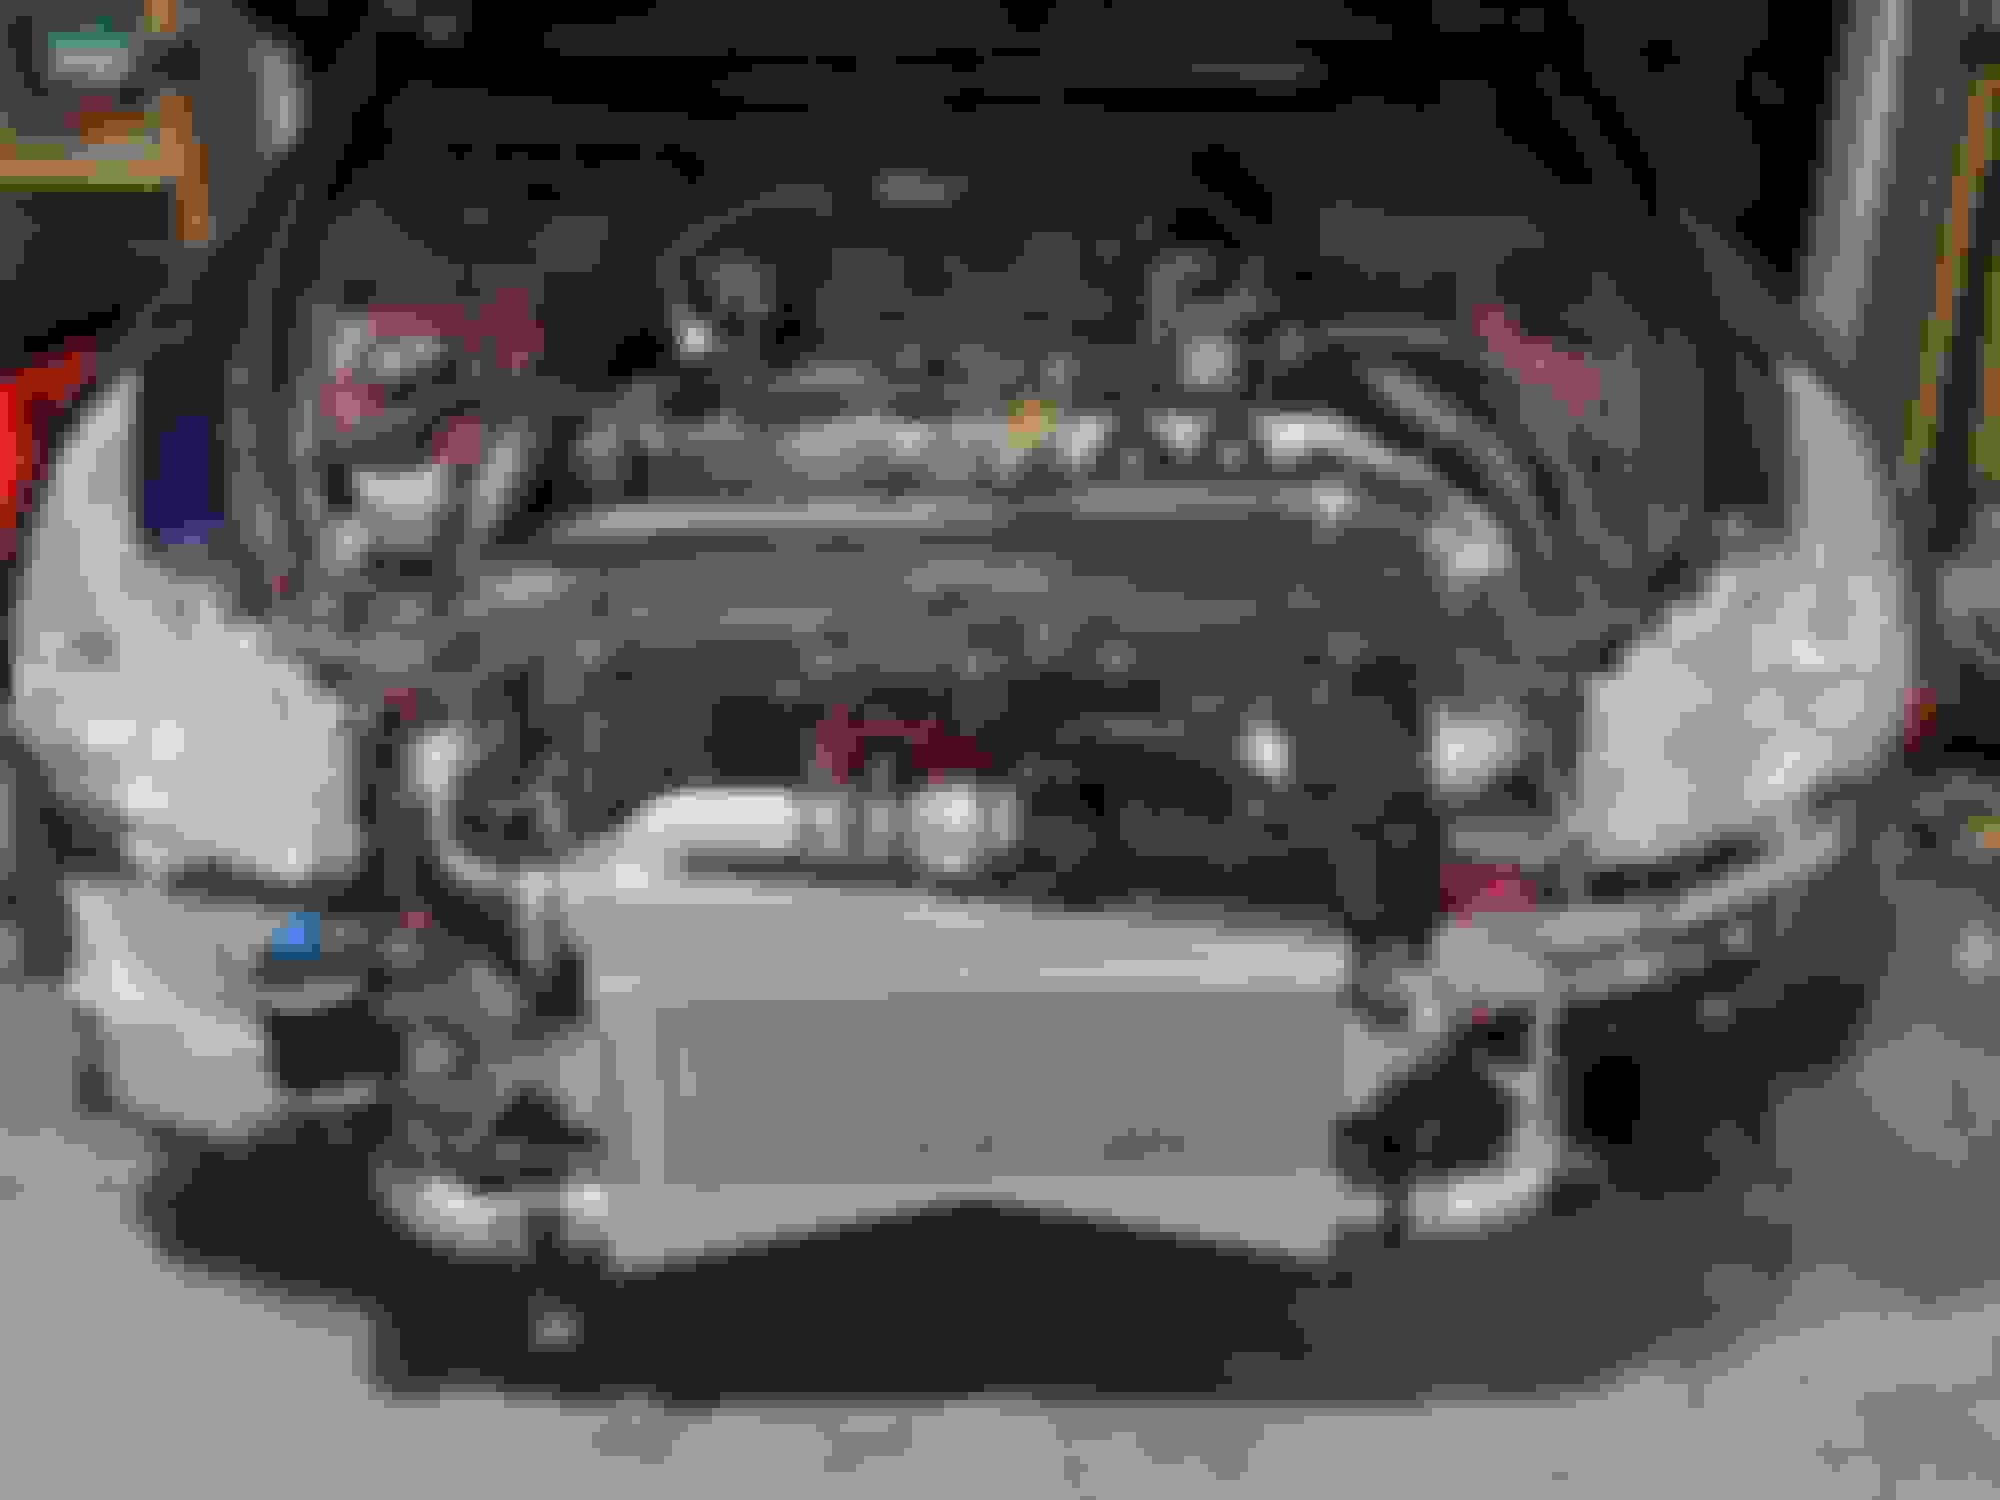
Okay, so you can see each picture is a little different. None are the most current, these may be as new as a few weeks prior to posting (OCT 2021). Lets start with the intercooler.
The intercooler is massive. According to TopGunz, it is good for up to 1000HP. There is a Bypass Valve on the back side, a Tial QJR (reverse operation type) valve. For most, this is sufficient. But, for me I had variables at play that dont allow me to use it as designed for this kit. For me, it is used solely for pressure relief off throttle. for others, it is used to control boost. I will cover more about this in my Emissions Post. Just know, this is plumbed to intake, solely as vacuum relief. I have a filter on this to reduce noise some. This is a Luxury Sport car, after all.
As you see, there is a wastegate and pipe welded to the top. THIS is my boost control. I have a 5psi Spring in there. This is my minimum boost, and it is paired with a 4 Port Mac boost valve. Again, this was designed with emissions in mind, as well as travel. Since i do a lot of driving, sometimes i come across places that dont offer anything higher than 87 octane. Most towns around me have a high of 91 octane. obviously not something to run boost on.
The air filter, is in a different place than Topgunz originally designed as well. this is because i have a catchcan already in said location. the other issue, is on G cars, in order to use the Topguns pipe, the drivers side hood latch has to be removed. So, i opted to use a 3.5 to 3 inch reducer, that fits (barely) in order to keep the latch. then, from the 3 inch side of the reducer, i have a 3 inch to 3.5 inch aluminum elbow, with a bung welded on, and the filter fits on the 3.5 inch side. the bung, has a hose going to the relief valve on my catch can. (Again, explained in Emissions Post). Also have an K&N Drycharger Cover RC-4780DK to keep road water/bugs/rocks out of the filter grooves.
Last edited by Misa; 10-17-2021 at 09:57 AM.
Reason: putting information in
I live in a non-emissions state. I plan on moving to a state that has emissions testing (not Cali). So, I've reworked many of the systems to still work, but with my setup.
Lets start Cats, not the movie. Okay, originally i was going to do the Fast intentions HFC, but they advised against it due to Superchargers having a tendancy of killing them. So, I opted to go with their Resonated downpipes. I plugged off the 02 sensor ports, and relocated the o2 sensors downstream. at the flange that bolts to the downpipes, i have a Steel Core, High flow catalyst. the o2s are right behind these. Now, if a cat fails, it's quick and easy to replace, and further from the heat. My exhaust shop guy, says that they may have a chance to not light off, but since they are steel cores, it should work.
The next system that is modified is the evap system. since i have an ethanol sensor, it is normally wired to the evap pressure sensor. what i did, is wired the two circuit to a switch, and now can select which circuit i want operational. so, for a tune with ethanol sensor, the pressure sensor is cut from the circuit, and for a tune for emissions, the eth sensor is cut from the circuit. This whole system functions the exact same way for my boost control solenoid vs the purge solenoid. flip two switches, swap tune, and i can choose between emissions, or driving/play. I am waiting for ecutek to add CanBus support, as my ethanol sensor is the kind that wires to canbus. Zetronix Eca2Can, if anyone is interested.
That is my reason for running the 4port with a wastegate, as well. the 3port/BPV system Topgunz has, works for most. But i am a no compromise type of gal. For those of you who are electrically inclined, you already see how this works. See, if the 3port is unpowered, the BPV operates as a normal BPV, staying closed until vacuum happens, regardless of pressure. So, if i disconnect the boost control solenoid, the system would run full boost. not good for my situation. But with the wastegate, if the solenoid is unpowered, then it only runs my minimum boost. Evap remains functional, without overboosting.
Now for the most complicated one.. the PCV System. So, i kept my catch can, obviously. It is the filtered, baffle type. I have r35 PCV valves, in place of the oem ones, hoses running to my catchcan. then from the can, to the intake. between the intake, i have spring type check valves, that open only with 14in/hg or more. These help keep the system closed under boost. I considered changing this to a PCV valve from Radium, but thats up for debate still. The TopGunz kit, comes with breathers on the valve covers. but this is a vac leak. so no bueno. I opted to add heater valves from a 1970 Cutlass. For anyone unfamiliar, these valves operate opposite of standard. these valves remain closed when there is no vaccum. for me, this is perfect. I added bungs to the charge pipes, after the MAF. So, when the engine has vacuum, the valves are open, but when there is no vaccuum, (eg. Boost) the valves are forced closed, preventing boost from getting into the crankcase. now, i was recently informed about crankcase pressure still being able to build, from blowby during play. SO, i overdesigned again, and installed 1/3psi check valve on my catchcan, routing to post filter, pre supercharger. So, any excess pressure, is still vented, without causing a MAF leak. I am gonna add an Additional Air/Oil Separator on this line soon.
The PCV thing was more of a stubborn comfort thing. I HATE the smell of PCV gasses in my cabin. I had an old Z this way, it sucked in traffic. So now i can be emissions friendly, as well as still keeping non recirculating blow off/wastegate, while not having a vacuum leak.
Last edited by Misa; 10-17-2021 at 08:42 AM.
Reason: putting information in
Okay Fuel. So, i converted to e85 sometime in 2015. I also started learning Uprev and tuning at this time. I swapped to a walbro 255, and 1000cc Injectors from Injector dynamics. Well, Gonna be honest on this one.. this combination was abhorrently awul. I could not for the life of me get a good idle idle established. I eventually found a way, but it was..not ideal. Turns out,late on i discover, this was an UpRev issue. The injectors were great, even after being cleaned and flow tested. Something in how uprev was handling idle fuel trims and emissions compliancy, was not working right. and with the larger injectors, it completely broke the Idle learn procedure. Eventually figured things out. We'll Be changing to EcuTek for the supercharger tune anyways.
2015 was a Good year for track. I wound up even getting a trophy! But I also learned very quickly of the Gs fueling faults. Hard Right turns (most of our local track) would starve the engine. so, what i originally did, was Add a second fuel pump module to the driver side, plumbing it into the feed line. It worked for what i needed. I had an issue the fuel sender was..interesting (read PITA) that i eventually solved by adjusting the float rods to the FSM specs.
So -2021-
Went the route of an -8AN Fuel system. Sorta. I have -8AN to the rails/regulator, then -6AN Return. Designing this was not fun. After working with multiple companies, i finally wound up getting an adequate solution. What we have, is the -6AN return going into the drivers side, powering a venturi on both the passenger and drivers side of the tank, as well as flowing the excess pressure into the drivers side sump. Inside the mini sump, there is a 200lph pump, pumping the return fuel directly into the passenger mini sump. the venturis are filling both sumps. This way, no pumps starve or run dry, and the main pumps can still flow enough even under hard turns. so far, i can run as low as 2 gallons and still keep fuel pressure at the rail.
Powering the feed for this behemoth fuel system is a walbro 255 and a staged walbro 525 hellcat. These go to the -8AN line, to a DW 10 Micron Fuel Filter, to a split rail, to a merger line, to a custom drilled fuel pressure regulator, to the -6AN return line, to the ethanol sensor, then up to the drivers side of the tank. It does not look pretty. Please dont judge too much.
Picture Time!! On Mockup Motor On Mockup Motor On Mockup Motor Mockup On Engine
Also, forgot to mention DW Injectors running at 52PSI.
Last edited by Misa; 10-17-2021 at 09:59 AM.
Reason: putting information in
As mentioned before, we chopped the mufflers off, then and pipes in their place. eventually we went straight pipes, removing the cats/resonators. For a while we ran custom long tube headers. want a fan of the sound. We eventually added an X-Pipe Muffler and custom short headers modeled after the OEM ones. even stole the heat shield mounting design. The exhaust system ahs been changed countless times, ranging from custom measured by heat and tones, to something more street friendly.
Right now, We have wrapped short headers with the heat shields, Fast Intentions Resonated Test pipes, Dynapro Cats, Magnaflow X Muffler, and twin Borlas. Nice low Rumble, and once helluva scream. And high flow! we can run a garden hose all the way to the cylinder heads from the tail (not that we tried or anything)
here is an upskirt for y'all!! (LOL) Don't those Borlas look Nice?
Last edited by Misa; 10-17-2021 at 09:26 AM.
Reason: putting information in
My G has a few things added. Natavly, the EDFC Active Pro Controller, an Android Radio, Front Cam, GPS, Mic, 3xStart via DBALL2PRO, and.....WIFI!
Let start with the EDFC Pro. This is wired into the Drive mode switch, brakes, and Speed pulse signal. It adjusts Damping at all 4 corners in 1/32 turn increments. It uses a comniation of inputs, as mentioned, with a G force Sensor to adjust all corners dynamically. Under braking it stiffens the front and softens the rear, around corners it measures and adjusts as programmed, and under acceleration it stiffens the rear, minimizing wheel hop. i have it set so in D mode, it softens everything, and in DS mode, it sets everything to a performance adjustment, that i set by using my lap times at the track.
The Android Radio, is from Pheonix. But it is Running a Custom System on it, and is integrated to my G. It has all my Gauges, 8 USB Ports, Microphone, gps, the Dash Cam is wired in as well, it reads data from the canbus such as transmission temp, tire pressure, and others. it is also wired into the ECU to give me a readout of sensors live. I have it wired to an 8 hour timer that resets each time the ignition is activated. the front and rear cameras record for those 8 hours, as well as keeping my mobile network WIFI running for those 8 hours as well. Thats me! Loading Screen a bit dated, ive changed setup since then Chipset a bit dated, ive changed setup since then Chipset Chipset USB USB
The fuel system is powered by an 8 gauge wire for the 525, a 12 gauge wire for the 255, and an 14 Gauge wire for the 200. The ethanol content sensor is wired into the canbus.
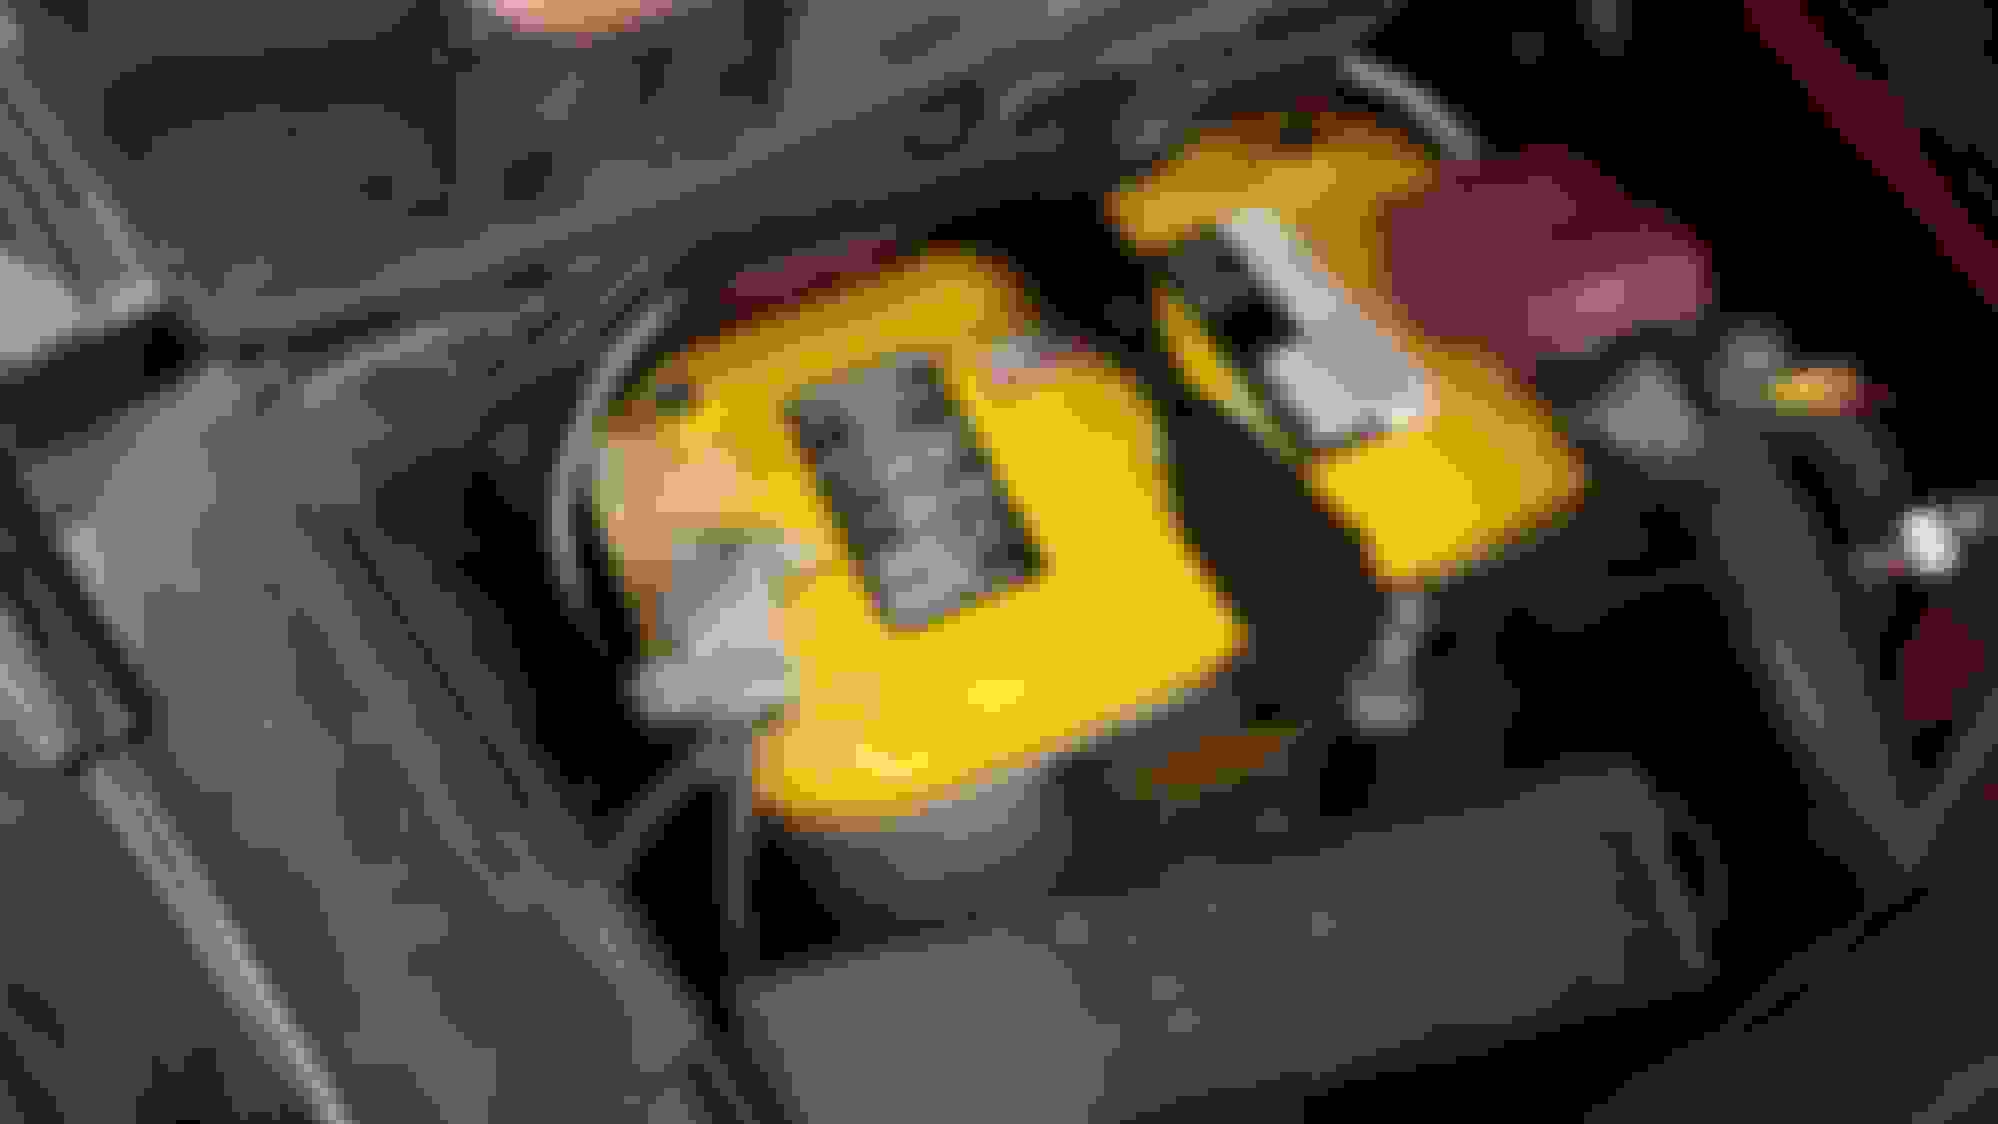
For power, we have an optimat yellowtop deep cycle, with an NOCO battery charger/maintainer for the winter months.
In the front, i converted the oem fog lights into LED DRL lights, and added Fogs in my fascia wired to the oem fog switch.
ALso Upgraded the horns and relocated them.
Finally, a custom grounding kit.
Ive discovered the Transmission computer is getting 15%-20% less power than battery voltage. Not sure why yet, as the connections are good.
Here is a current picture of the radio setup
Last edited by Misa; 10-17-2021 at 12:47 PM.
Reason: putting information in
Old setup: Black powdercoated 350z Wheels, with 255 rears and 235 fronts, stock suspension until 2014.
Current setup (Changes from 2014 until 2021)
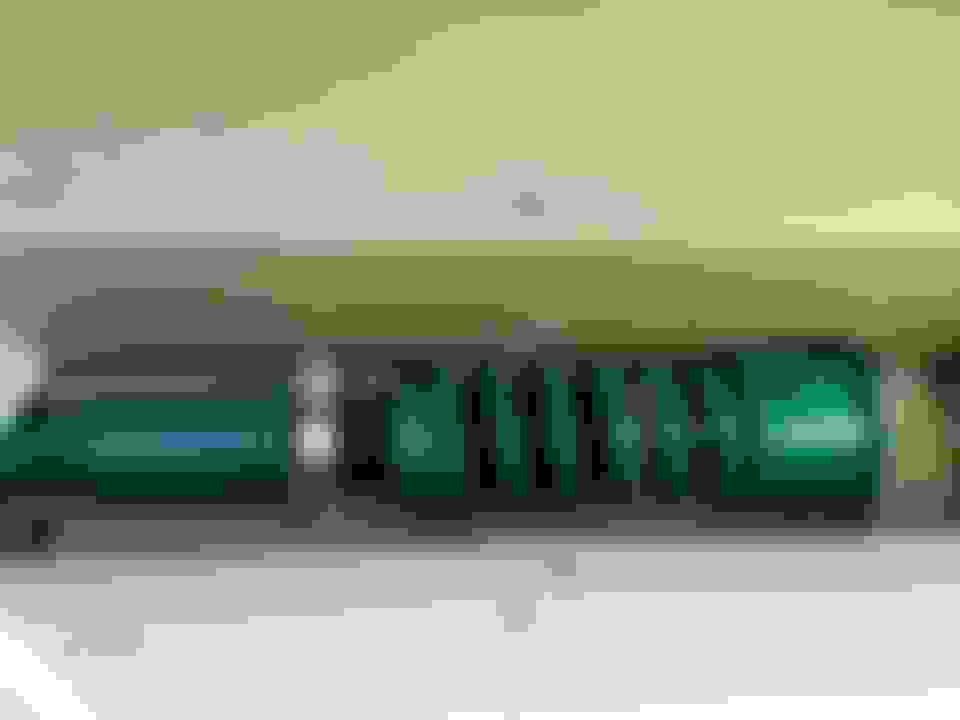
SPL Goodies- Front Lower control arm Bushing and impact Bearing. Eibach Sway Bars. SPL EndLinks, Tein Flex Coilovers with Active Pro EDFC Controller, SPL bump steer adjustable tie rods.
Upper Adjustable Control Arms
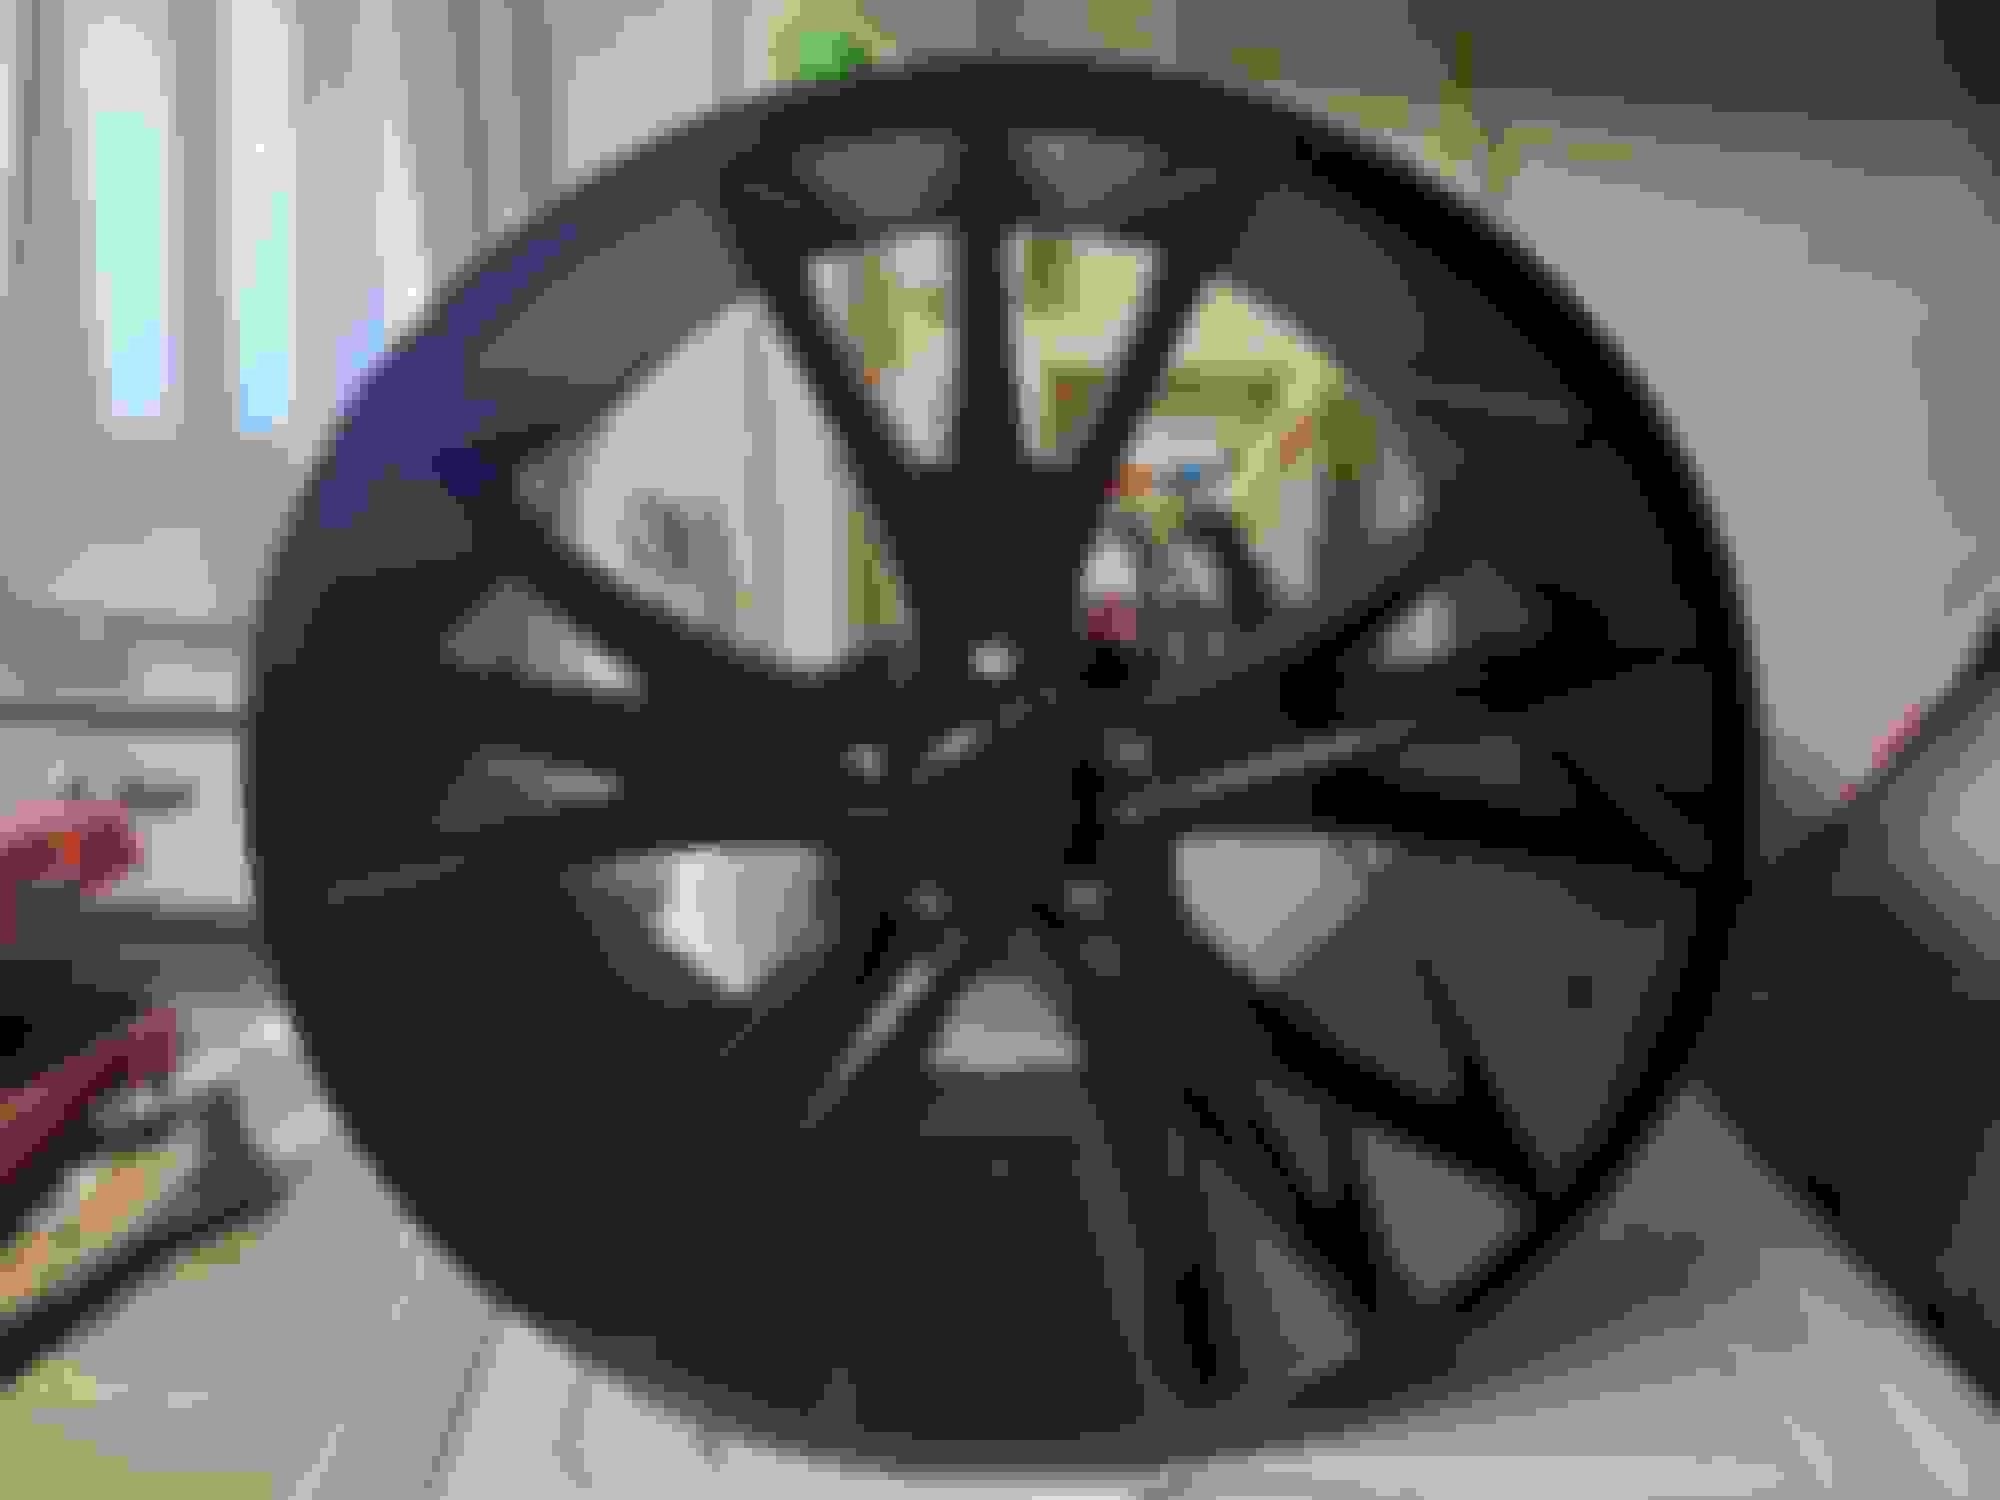
20x10 Front Wheels, 20x12 Rears Shiny and New Clearance Testing Clearance Testing just a little poke eeeeeeeeeek tight fit! custom idea time. Needed to get Traction arms and smaller bolt to fit right Lookie lookie.. they FIT! Barely Lookie! 305 rears. don't see that here often on the sedans
Okay, in the rear i have the coils, Control arms, lockout kit, and traction arms. the arms are all SPL. And the Rear Subframe Collars.
Ive also done the Akebono upgrade, with color! Ford fire red Branding! gotta have the Branding! yikes! barely fits!
annnnnd finally! corner balanced!
Last edited by Misa; 10-17-2021 at 09:48 AM.
Reason: putting information in
Okay so i didnt take a lot of pictures during this process either. In 2017 i blew an engine. Oil starvation got me.
So I bought a low mileage engine (4500 miles from a 2012 that got wrecked) and decided to beef it up a little.
Internals:
-Custom Pistons, 11.5:CR, 0.020 Over
-Carillo H Beam Rods
-ARP Rod Bolts
-L19 Head bolts
-5 Angle valve job
-Nismo Oil Pump
-Modded VVEL
-Ported Intake/exhaust
A local shop did the internal work. Its been 60k miles since, and redline at 8000, so it seems to be holding up well.
I did the swap with the (at the time) boyfriend to help. Up on lift Old out old one gone i dont remember what this is about. Mating transmission to engine and installing/calibrating a dip stick for the transmission Degreeing in the VVEL System after modification soooo emptyyyyyy
There is a 25 row engine oil cooler
a 14 row power steering cooler
a 25 row transmission cooler
the supercharger oil cooler
and filters on all cooler circuits.
I even got to keep functional air conditioning.
i dont have much for pictures. heres an older one, pre transmission cooler upgrade. you can see the engine cooler and power steering cooler here. the transmission cooler wasnt enough, and god upgraded in 2020. in this one you can see the power steering cooler and oil cooler. this is 2018, the power steering cooler has been swapped to a plate/fin type in 2020. unfortunately this made the power steering a bit heavy, but its function over form on this.. im tired of overheating the fluid.
I woiuld take more pictures of coolers, but taking the nose off is such a painnnnnnn.
In 2021 TopGunSpeedworks Came out with a kit for the 370z/G37 platforms that utilized a rotrex c38r supercharger. I decided to finally pull the trigger and boost my G. My situation is CUSTOM and your experience WILL NOT match mine, as my G is set up for very specific circumstances. Take anything here with a grain of salt. some of you may think it is stupid, overdesigned, too many failure points. I know. I know. I really know. (like seriously, us girls get sooo much flack about cars, just give me a break here, the system i ahve for my G works, okay?)
That being said, lets begin.
The kit was designed and tested for the 370z. so there was some sacrifices people need to make on the G cars. i don't DO sacrifice. I want the best of all worlds. that being said, lets go over details.
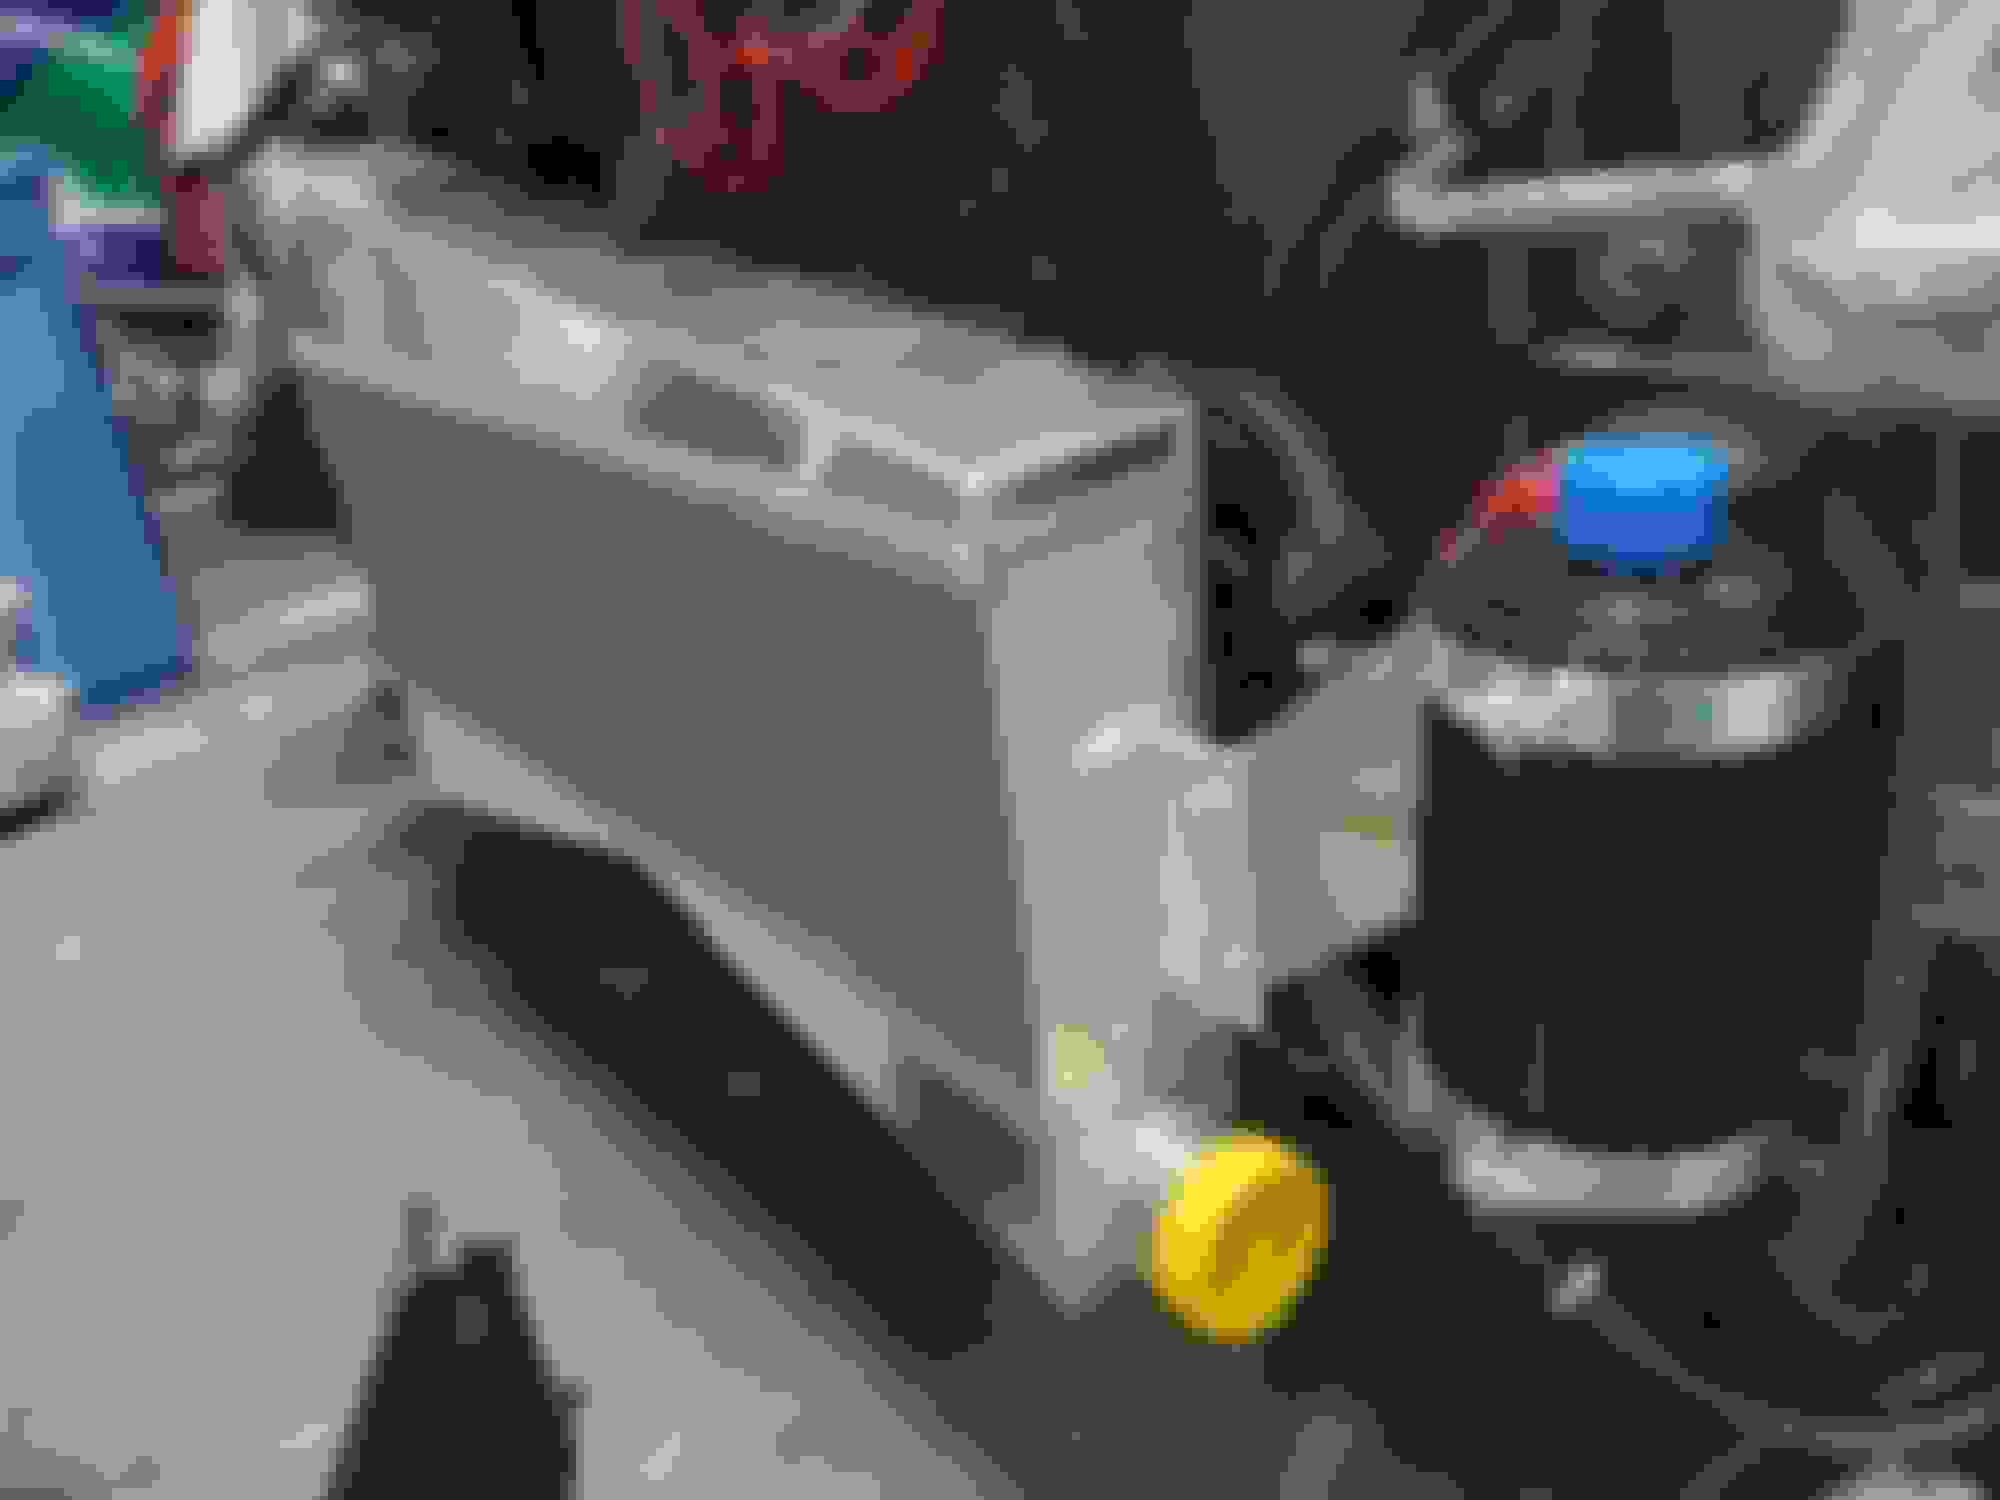
The rotrex kit oil resevoir is supposed to be mounted on the washer fluid resevoir mount points. on my car, the tank is shaped strange. I dont know about others, but my tank was actually in the was of the oil resevoir going on. If i were to remove the tank, it would have fit fine. but i like my creature comforts. so, i had to make a bracket to mount the resevoir in ffront of the washer tank. i dont know if this works on normal G cars or not, but i had to fit it between my fascia vents and the windshield tank.
so i had to use longer hoses and route them differently.i dont have a lot of room for cooling hoses, but i made it work.
as Shown in the Intake post, i welded an extra pipe to the intercooler for boost control. again, this cant be done without cutting away the secondary hood latch bracket. i riveted mine to the plastic shroud and that is fine.
in the intake post, i also explained my filter location. i liked the idea of putting it in the fresh air flow, like stillen. but a shield wouldnt fit in my location, and with the stillen kit, i had bugs and rocks jamming up in the filter even with the shield. so i went with a product k&n had, its a waterproof mesh that goes over their filters. so it works for me. I am not sure how my 3.5-3-3.5 intake choice will work out numberwise. time will tell. I'll likely put the dyno post on this post.
all the piping fit well beyond that. i have the heater valves, the fuel pressure regulator, and the bypass valve all tapped into the evap vacuum line. the primary boost control line for the wastegate is plumbed into the PCV vac line, right before the check valve. so it sees boost, and allows the pcv to function proper. i havent had any issues yet, but i have considered the potential of some oil getting in the line, so i may re route.
Okay this is a long one. Not really. It is a Before, a during, and a lot of After. Not a whole lot explanation, the pictures sorta speak for themselves.
Stock and New Stock, 350z Wheels Stock, 350z Wheels Stock, 350z Wheels Starting Bodywork Starting Bodywork Starting Bodywork Starting Bodywork Starting Bodywork Body Stuff mounted Body Stuff mounted Body Stuff mounted Body Stuff mounted Starting Paintwork Starting Paintwork Starting Paintwork Starting Paintwork Starting Paintwork New Wing mounted New Wing mounted
Okay from this point downward, is completely paintwork. Before brakes and wheels to fit. some with new wing, some with old.
And this is all there is up until Oct 17 2021 all new questions will be answered, and new mods will be in the thread further.
Wow...what a rollercoaster of an intro. Saw the body kit and under glow and rolled my eyes so hard I nearly fell out of my chair! Pleased to see it took a (very) positive turn once I reached pictures of the blower set-up. What's your power goals with the Rotrex set-up? I'm sure many are curious how your transmission is holding up thus far; what are your plans to upgrade the 7AT when/if it lets go?
Yeah, i was a "Naive little girl" listening to the older brother lol. Im hoping to see 800+ but we'll see. I have a big cooler on for the transmission, with a thermostat, valve body had been modded (was pulled from the m56 7AT, so far its held up to 80,000 hard miles, probably 10-20k of track miles. No Slip yet. and so far 500 miles on the s/c, no slip unless in D. but in manual mode or sport is fine. Nature of the beast
There will be a knee-jerk reaction to the body kit and massive wing on a sedan, but your car is so much more than a purple paint job, that it makes you look twice. Then a third time.
Not that those opinions matter one wit, because your build your car. I'm just impressed with the storytelling.
There will be a knee-jerk reaction to the body kit and massive wing on a sedan, but your car is so much more than a purple paint job, that it makes you look twice. Then a third time.
Not that those opinions matter one wit, because your build your car. I'm just impressed with the storytelling.
/subbed
Yeah, I figure as much. but at least the airflow and shape of the wing line up. it actually does help a bit, it was particularly noticeable when swapping from the flat bladed one to the curved one.
Ive had this thing for probably 10 years now lol. definitely no return on investment. so instead, i remember every detail.

 10-17-2021, 07:49 AM