When you click on links to various merchants on this site and make a purchase, this can result in this site earning a commission. Affiliate programs and affiliations include, but are not limited to, the eBay Partner Network.
Sorry for the delay guys, this is the busiest time of year for me (end of fiscal year); and work has sapped much of my time/energy to make updates to the car and the build thread.
Originally Posted by Rochester
I'm comfortable enough, just the leather wore out down the center panels. Didn't matter how clean I kept it, the finish and material just wore out. I blame blue jeans. If I ever get it repaired, I will not be sitting on the leather directly with jeans. Which seems kind of silly, but oh well. At the end of the day, it's a car. Cars get driven. Things wear out.
Kind of off topic, but Deep mentioned how he regularly cares for the leather. I like to think I do too, and yet here I am with damaged leather.
I hear you, and it's unfortunate as you've basically had your leather since it was practically brand new! While I would blame the Infiniti leather- but something tells me this would most likely occur to any brand given the stress jeans can inflict. But I am sure it triggers that OCD.
Originally Posted by BULL
I didnt put too much interest in mine after getting them steamed, cleaned and conditioned. They did improve however the "face" of the seat which is the only leather part had turned into a darker red and the vinyl which are the sides and back have started to "pink" out.
I could care less since I found the matching color to re do them at a later time. I'll be looking for a sport seat in good condition to use and see if it improves. If it does I'm swapping the red skins to the new one.
My seats are from a 2011 LE that had ~90K on it, so while not as bad as yours, they definitely have wear on the bolsters. However the leather faces do respond quite well to the Leatherique. The "pink out" effect does drive me quite nuts, just not sure I will ever address it as if I'm going to do that might as well re-upholster the entire seat. bleh.
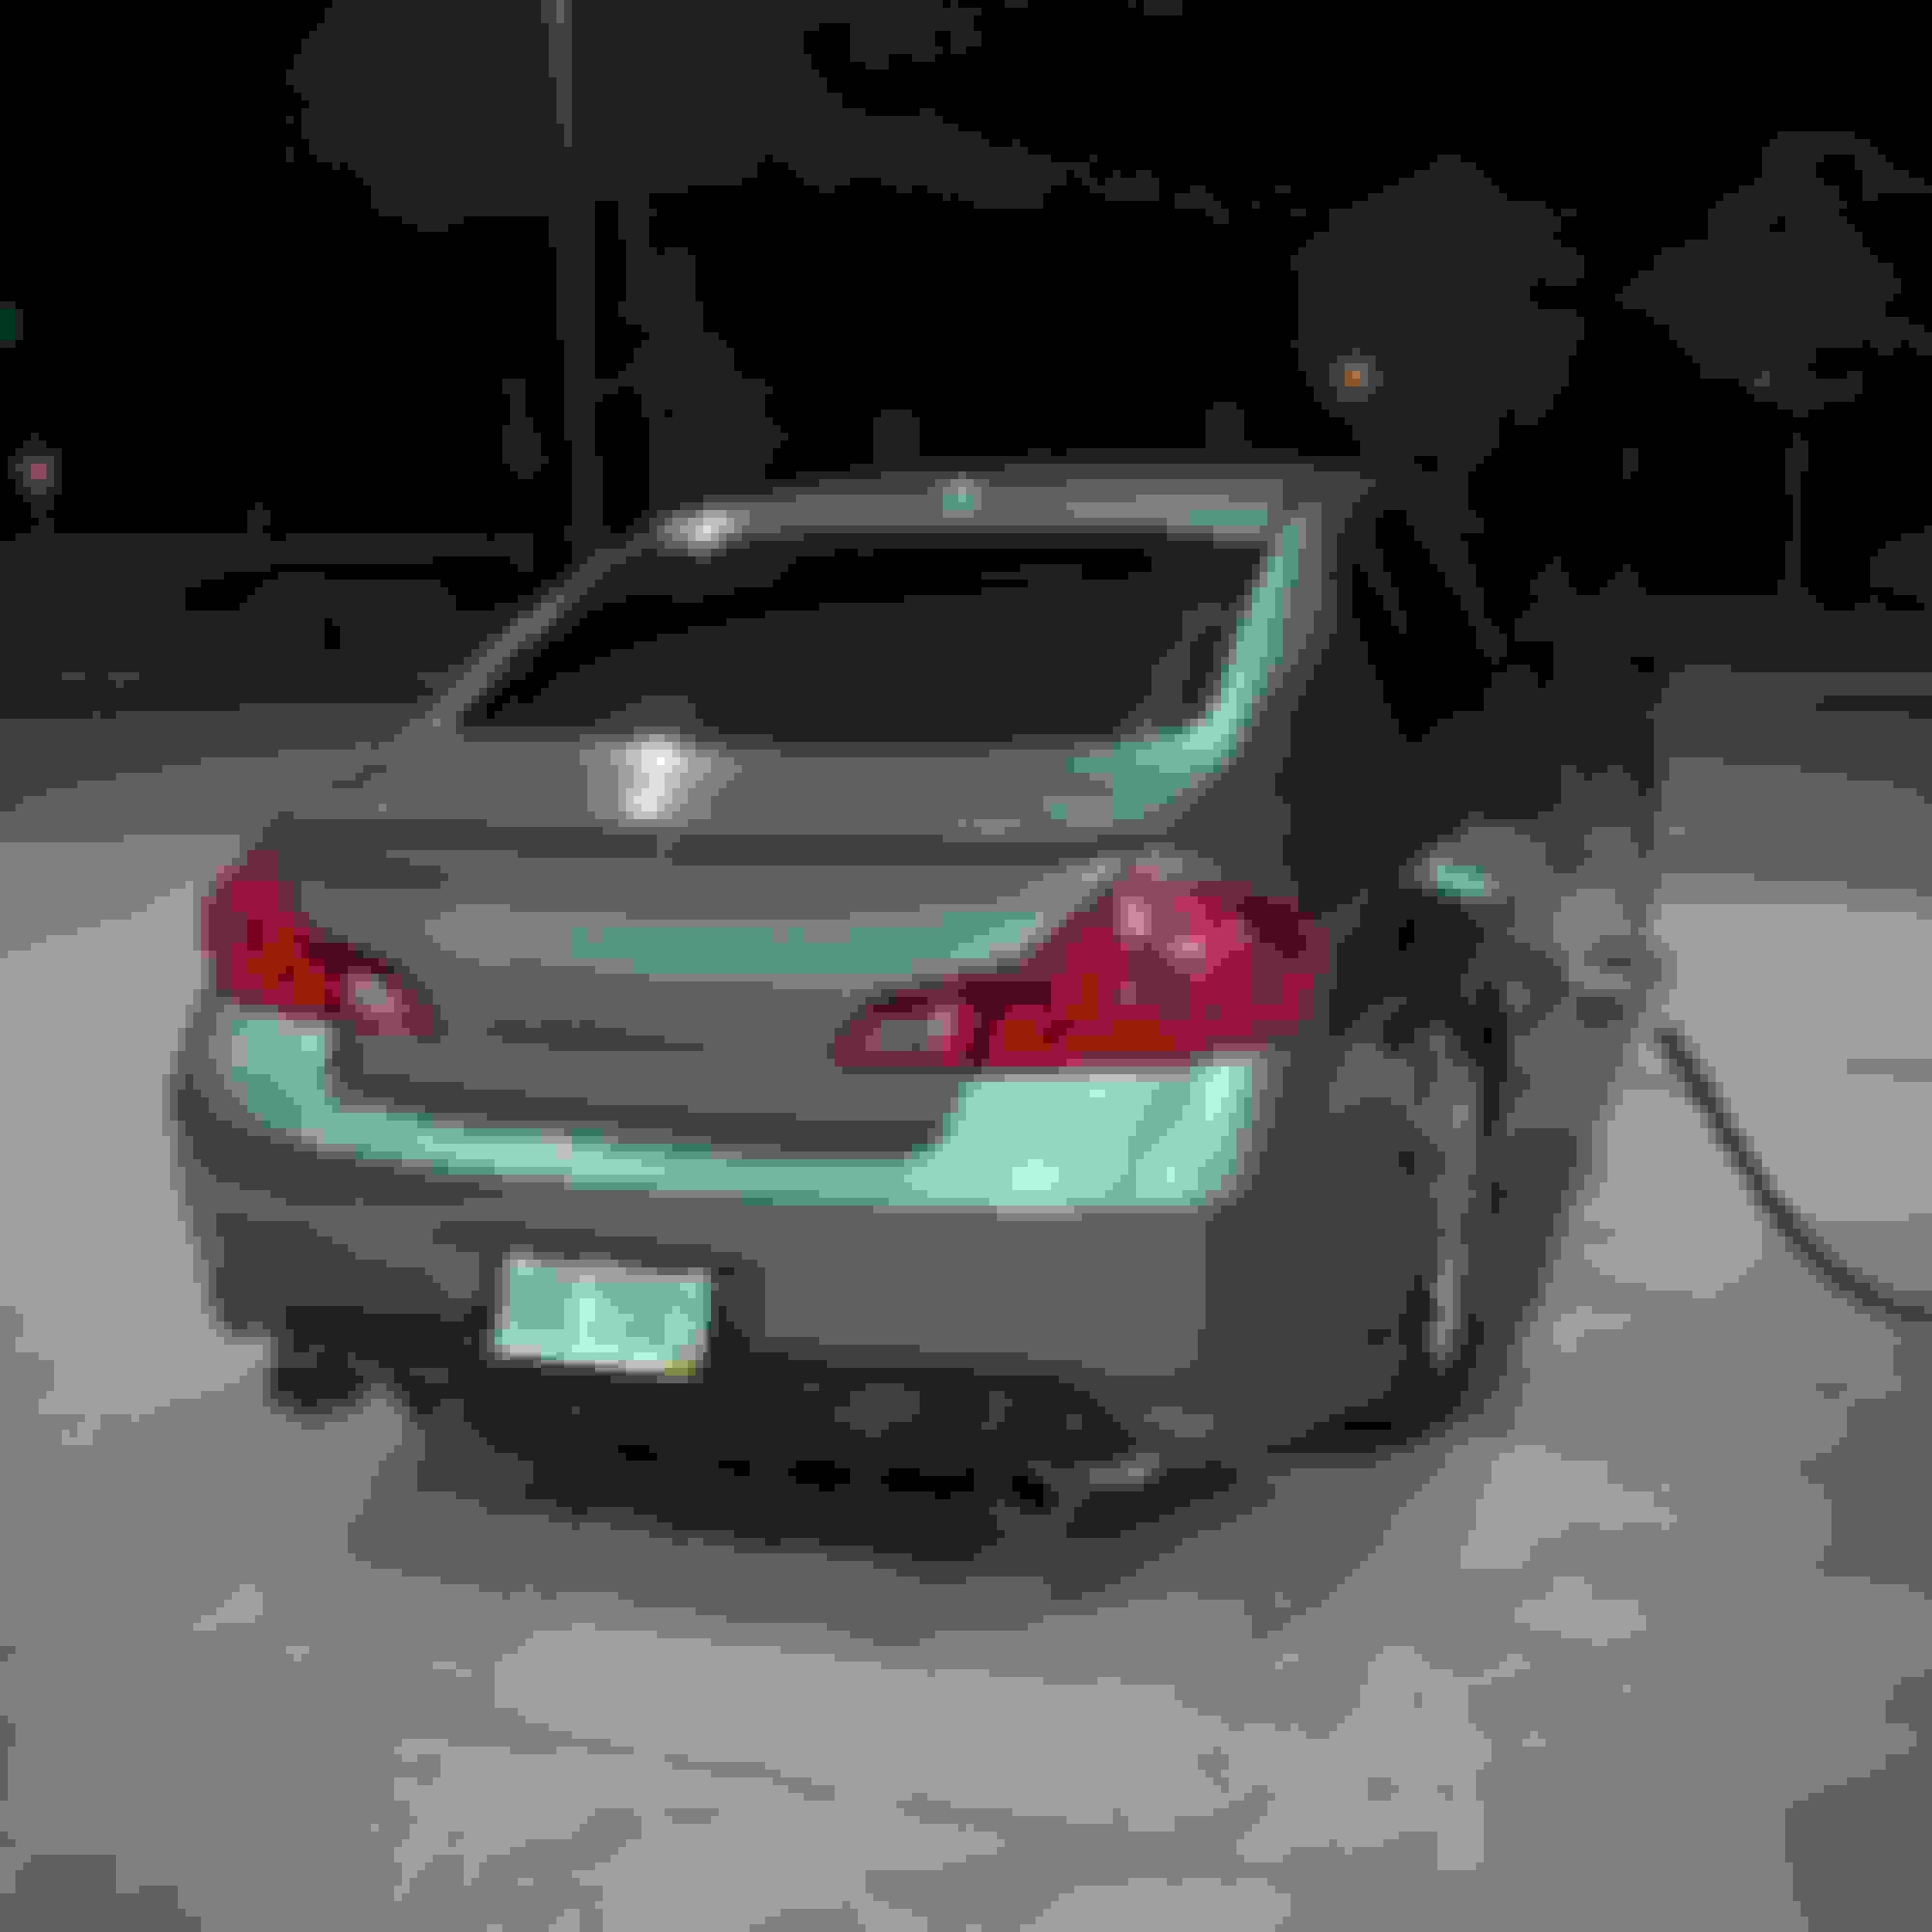
It's been nearly 2 years since I started the journey, but finally my rear end project is complete. 07-09 Rear Conversion, Black Top Aero "Kenstyle" Spats, and AutokitsX CF rear diffuser. I've never been a fan of the 2010+ rears, and with the spats/diffuser I feel like it lends a nice OEM+ vibe tying in the rear (forgive the stockers on, new tires need purchased on my Coupe wheels).
The conversion ended up being much more difficult than expected, as I had to purchase an 07-09 rear crash bar, and foam reinforcements. On top of that, the initial used 07 G35 rear I purchased had fitment issues, leading me to purchase a new bumper on Amazon. I've deleted the sensors for the time being for a "clean look", as I'm planning on using the Workshop 12 tablet solution (which doesn't support them). Glad to finally get this project knocked out.
Rear is nearly complete, just need to address those "fire truck red" tail lights...
That is so-o-o much time, effort and money for a project like this, but cant deny the results are fantastic. IMO, the 07-09 bumper with spats and diffuser is hands down the best rear end look for the Sedan. Matched with the OEM spoiler, sharp but not tacky exhaust tips, and a full debadge... you nailed it. Well done.
That is so-o-o much time, effort and money for a project like this, but cant deny the results are fantastic. IMO, the 07-09 bumper with spats and diffuser is hands down the best rear end look for the Sedan. Matched with the OEM spoiler, sharp but not tacky exhaust tips, and a full debadge... you nailed it. Well done.
Agree and best believe I'll comment "I need these spats in my life" everytime I see them.
Oh hey, and a color-matched, low-profile roof wing too. I missed that aspect of the rear profile. Very nice.
Fast Intentions cans and tips, none of those fugly (but functional) proximity sensors... it all just looks so good. Take a bow, Deep.
Looking at that large expansive area of your debadged trunk, here's a crazy thought... I bought this custom Infiniti badge earlier this year, with a raised black surround and a brush aluminum face. I'm using it on my engine cover and dash, but I'm imagining that on your trunk.
That is so-o-o much time, effort and money for a project like this, but cant deny the results are fantastic. IMO, the 07-09 bumper with spats and diffuser is hands down the best rear end look for the Sedan. Matched with the OEM spoiler, sharp but not tacky exhaust tips, and a full debadge... you nailed it. Well done.
Thanks for the kind words, it was quite the journey but thankfully the "juice was worth the squeeze". Very gratifying to see a vision come together after all that effort.
Originally Posted by BULL
Agree and best believe I'll comment "I need these spats in my life" everytime I see them.
Appreciate it Bull! These spats truly are a game changer, and acquiring them is what set me down this path.
Originally Posted by Rochester
Oh hey, and a color-matched, low-profile roof wing too. I missed that aspect of the rear profile. Very nice.
HappyBuyItNow Extreme low wing! I stole that idea for you
Fast Intentions cans and tips, none of those fugly (but functional) proximity sensors... it all just looks so good. Take a bow, Deep.
Looking at that large expansive area of your debadged trunk, here's a crazy thought... I bought this custom Infiniti badge earlier this year, with a raised black surround and a brush aluminum face. I'm using it on my engine cover and dash, but I'm imagining that on your trunk.
Haha I got the idea of that Low Rise Spoiler from you! That's an interesting idea with that logo, it's almost as if it's like a signature on the trunk. I will rock the clean look for awhile, but it is an interesting "change-up" idea. Only thing, I've been actively de-chroming my car... so part is picturing the logo in gloss black (to match the coupe wheels/black out window trim). Hmmm lots to ponder
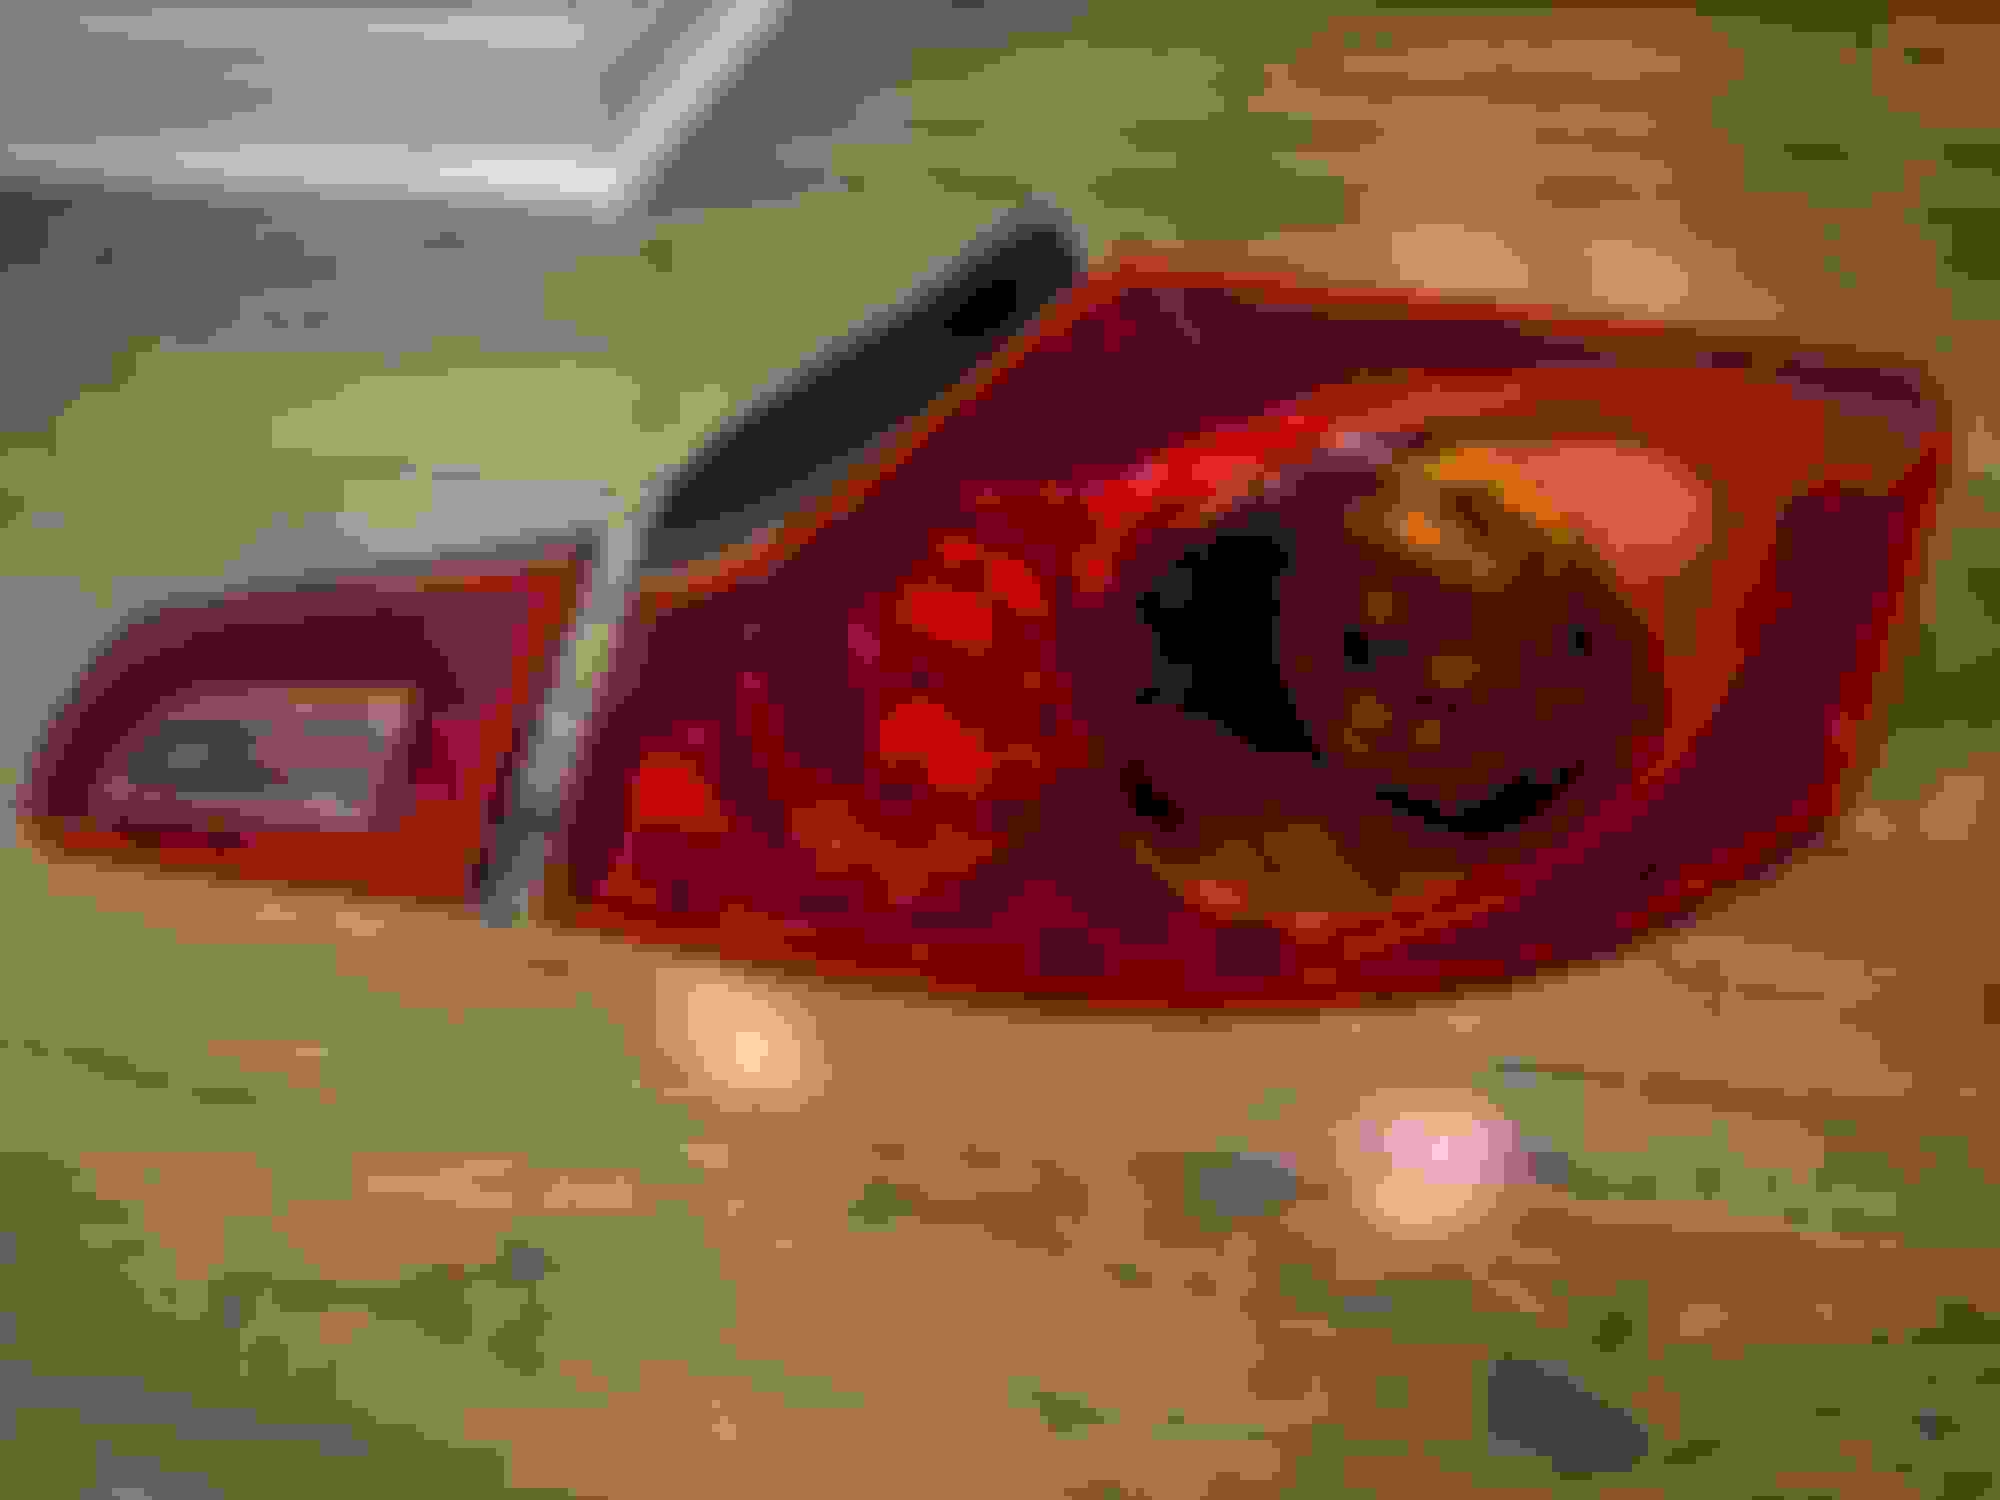
One of my next "big" projects, I've wanted "GT-R style" Halos to match my front headlights with the inner trim painted black, however on the USDM sedan's most example's I've seen always have a thin red line around the edge. This is due to the fact that the USDM tails gain their "reddish" hue from lens themselves, while the inside is all chrome (but the edges are typically unpainted, and this the chrome accents the red lens.) OCD, yes I know.
Enter JDM Tails: They have a slightly "pinker" lens, but I've never been crazy about the amber that's on them. However, I recently saw a retrofitter post an opened up JDM, and the amber is actually just caused by a green colored projector. The lens itself is actually more clear. Mind = blown.
Here's what it looks like with the housing installed. Notice how there's no ugly ring around the edge of the lights, it's the little details that stand out:
With that revelation, I scoured eBay and picked up a set of JDMs with the inner lights (they are different from USDM), purchased from a Russian seller back in August. They just arrived at my house last week.
The current plan is to do Satin Black Housing and Red Reflectors like the above picture, but I will also be adding Halos and deleting the "amber" projector. This should give a slightly smoked look that will set off my new rear setup- all while maintaining 100% visibility. Very excited to get this project going, first step is to send these tails over to the retrofitter.
Hope everyone had a restful and safe holiday season. The Covid spike ended up ruining our travel plans to Texas, so I had a staycation for the first time in many years. Of course I enjoyed the time with the family, but it was an excellent excuse to FINALLY get back to working on the G. The long overdue project (I'm sure @sobeIPL would agree) was to complete the Black Suede / OEM Black Plastic conversion. I had begun this journey over the summer- but just got tied up with work and house projects over the last few months. Sheesh, life.
First step was to rip the car interior back apart, and re-wrap the A/B/C Pilars in black suede. Pro Tip- using a steamer made it much easier to flex the fabric and resulted in a clean finish. The "seatbelt adjusters" for the B-Pillars are modified from a wrecked QX70. I'd like to eventually replace these with 2018+ Q50 RS ones as they will provide a better fit, but this will do the trick for now:
Next was to trim up the headliner and line up the OEM black plastics. That QX70S Map Light with R35 Lenses is just glorious:
Yeah I know that chair is hideous. It was a gift from my wife's grandma... and it sits in the basement. Moving on....
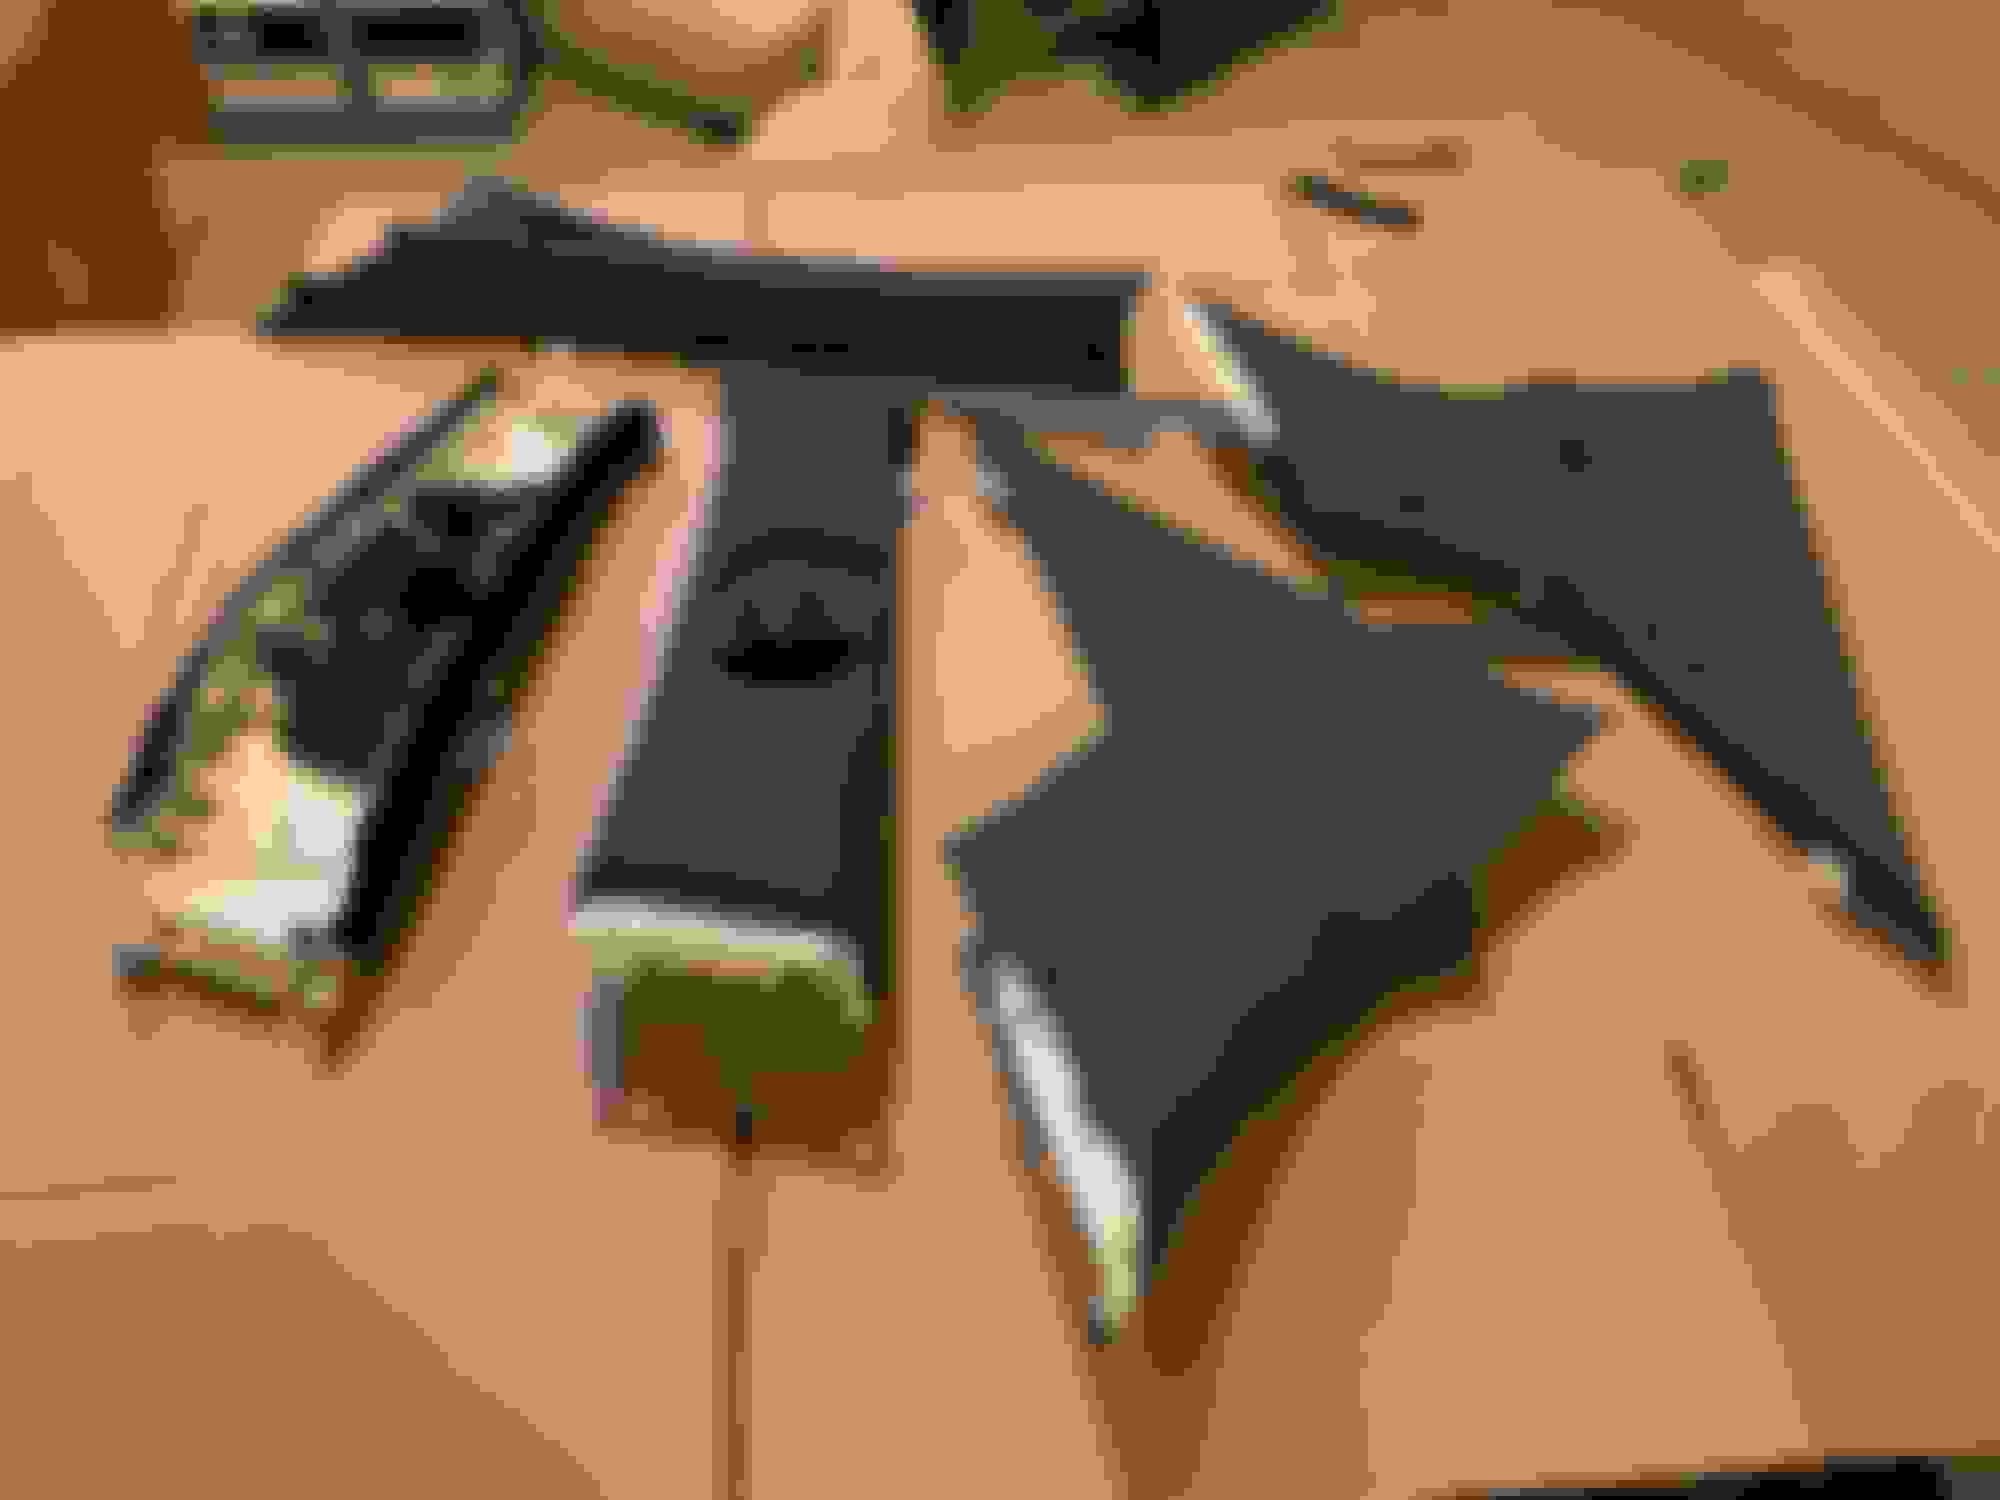
A few months back I had attempted to fuse the G37 sun visors with 370Z plastic parts, but unfortunately my Frankenstein attempt was too flimsy for my OCD. I instead opted for 2016+ Q60 Visors, which are already black and have OEM plastics (and fit in the space allotted in the sedan... the 370Z visors were too big themselves). However the G's OEM sun visor holder sits too far out and is too skinny to be used with the Q60 mirrors. As such we had to get a little creative...
Q60/370z sun visor, notice how thick the base and holder is? I actually ended up cutting off horizontal tabs as you can see here.
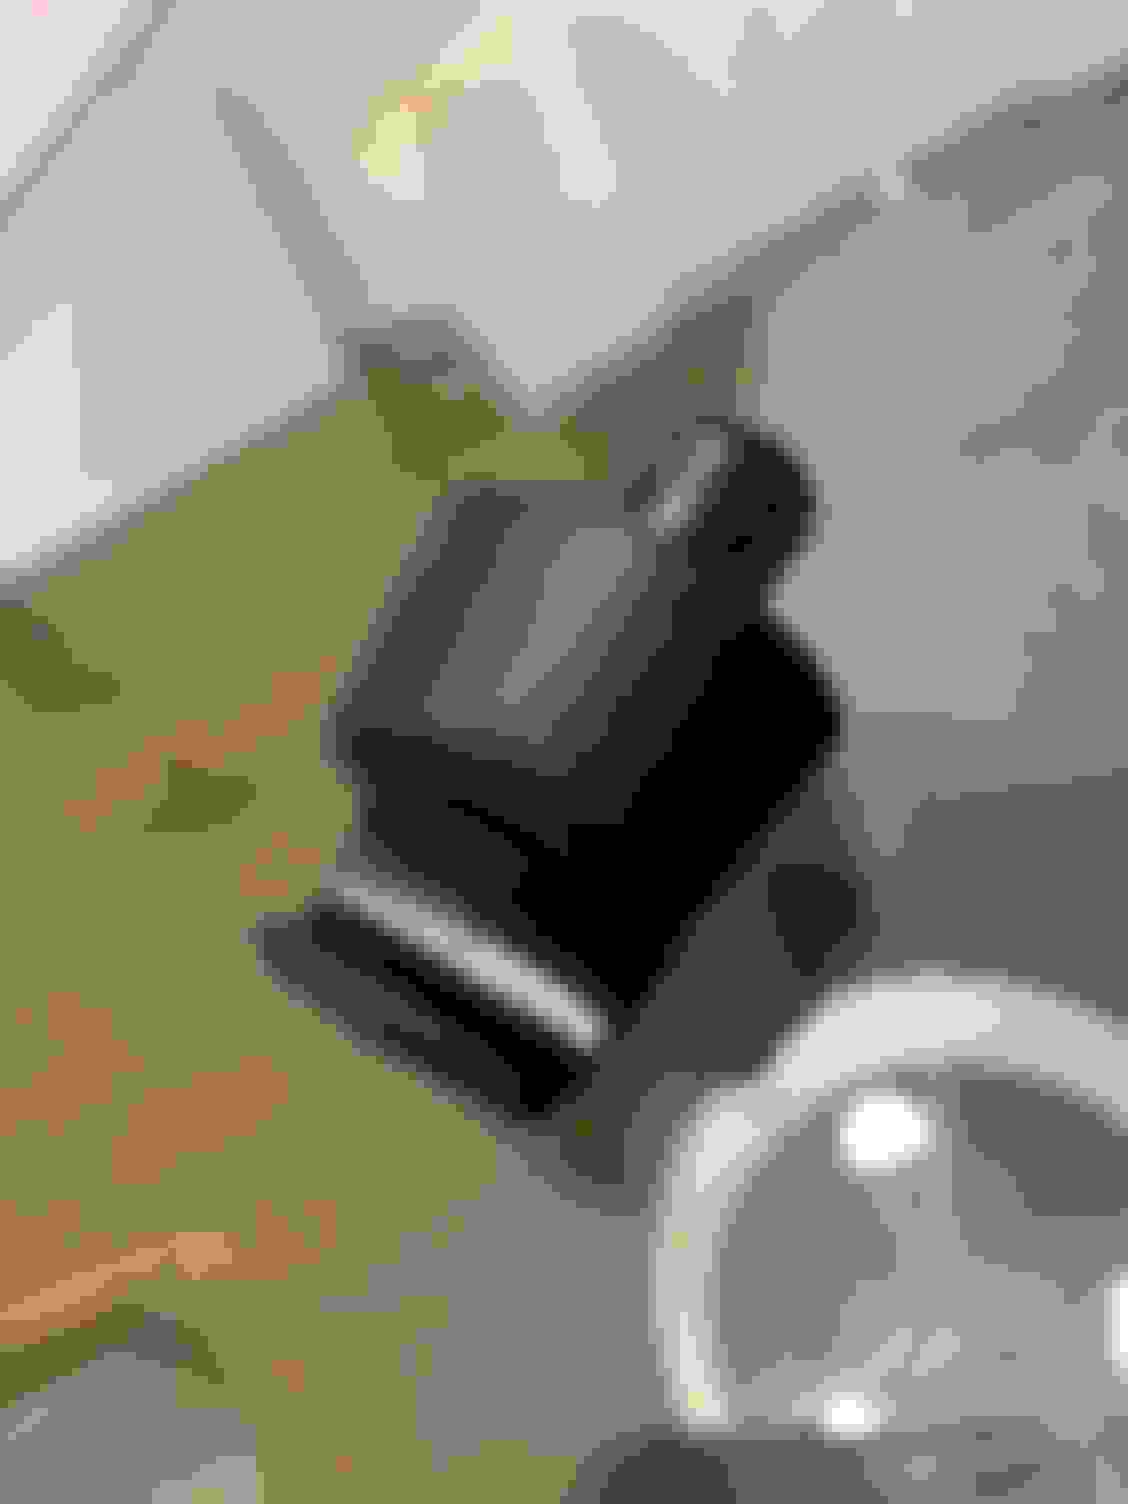
Had to drill into the frame to accommodate the new visor clip. The white rectangular holder is what our OEM sun visor clips would clip into. Test fit! A few more minutes/beers spent to carefully enlarge the hole to ensure a snug fit.
With this modification out of the way, it was time to put the interior back together. Getting the headliner back in the Sedan is a bit tricky, but it was smooth sailing after that. And the results... well I'll let the pictures do the talking:
so so so much better than my last Charcoal/painted plastics attempt... and I think the black suede really helps set off that OEM+ vibe with the Monaco Red seats. Eventually I'd like to wrap the Q60 Visors in Suede as well (to avoid the mismatch between the sun visor label black and the cloth black)... but it's a single piece of foam and I'd rather leave that to a professional to do. In any case, I haven't had sun visors in over a year so the other half will be happy when she rides with me.
Very relieved to get this project completed. Next up is to complete the JDM Folding Mirror/Winker project, and then I'll really start getting the "I'm finished" phase. Or so I tell myself....
On another note I just noticed your seats appear to have been taken apart before.
The head rest plastic guides are black and not red. I was paranoid of breaking mines when disassembling my seat because I knew I would never find the replacements.
On another note I just noticed your seats appear to have been taken apart before.
The head rest plastic guides are black and not red. I was paranoid of breaking mines when disassembling my seat because I knew I would never find the replacements.
Thanks man! And interesting, never knew that they were red originally. I purchased them from a wrecked �11 LE from a large Auto Recycler in FL- so I�m assuming they might have done the swap ( passenger airbag had detonated, and was professionally repaired by them).

 10-19-2020, 11:09 PM