When you click on links to various merchants on this site and make a purchase, this can result in this site earning a commission. Affiliate programs and affiliations include, but are not limited to, the eBay Partner Network.
I want to see how exposed they are with the nose back on. Maybe - that was one of the things I liked about the stillen kit. OR - or - several companies make goretex socks for their cone filters.
I'm also contemplating separating them from the radiator with a swept air splitter - there was a technical paper on the P51 mustang cooling systems where NACA did a lot of heavy lifting on airflow ducts that increase and decrease in size for cooling. Mazda embraced that pretty well with the later RX7s, RX8, and early Miata.
Dude, I've been thinking about doing exactly this intake project. Are you following any specific post, or just figuring it out as you go?
My plan was to cut my OEM tubes for the MAF sensor as well, but would like to avoid as it'll probably be a couple weeks before I can get it all mocked up sufficiently. But good to know about the Sentra sensor tube.
How much you think it'll cost all said and done? Can't image it'll be anywhere near the cost of a Stillen or Z1 long tube intake.
DAMN. Went looking for that website (Rotary Engine Aircraft Archive) and found out that its proprietor, Paul Lamar, died March 13.
Paul was an early mentor to me when I was building race cars and engines - coming from an aviation mechanic background I wanted to apply those fail-safe design principals to race cars. Like the F1 teams do, but for individual club racers. With his help and information, I learned how to port rotary engines for airflow and torque and not just "make the hole bigger", and how to cool them on a hot track when you're 30 minutes at 9000 rpm. Hadn't spoken to him since shortly before I started law school.
emojis nor plain words cannot not convey the sadness I feel today.
Dude, I've been thinking about doing exactly this intake project. Are you following any specific post, or just figuring it out as you go?
My plan was to cut my OEM tubes for the MAF sensor as well, but would like to avoid as it'll probably be a couple weeks before I can get it all mocked up sufficiently. But good to know about the Sentra sensor tube.
How much you think it'll cost all said and done? Can't image it'll be anywhere near the cost of a Stillen or Z1 long tube intake.
I'd recommend cutting G37 intake tubes off (out of a junkyard) before going with the Sentra tubes - there's bound to be some differences, however small.
eBay intercooler piping kit - $90, with silicone couplers and t-bolt clamps.
sentra MAFs - $12
Z1 post-maf tubes - $80ish (I got them used)
R2C filters - $120
Bolts/nuts/bracketry - $10
Palmetto Brewing Company Pluff Mud Porter for after - $10
$322. Probably more like $400 if buying the after-maf tubes new.
Where money could be saved - after-maf can be fabricated with an appropriately sized silicone 45* elbow if you're not concerned with fitting the stock setup (I had the Z1 aftermaf tubes for about a year already). You only truly need the 45* aluminum bends in the kit - way more expensive to buy piecemeal but even at $25/tube you're coming in with less. Silicone adapters were cheapo and I wouldn't trust them to hold boost (not that that matters in this application) but should be cheap to find.
The biggest benefit to me - I didn't save that much money over a Stillen - is that I wanted to build something more like the admintuning setup, and I have larger MAF tubes to swap in easily when I get ready to tune the car. It is certainly cheaper than the $600+ AdminTuning deal.
Ya, so I've also already got HKS (I think?) silicone tubes, and was checking out siliconeintakes.com and was planning on ordering piece by piece that I needed. But still the gen3 are like $600, and after I've already spent $90 on the intake tubes, made more sense to me to do the DIY route.
I wouldn't count my beer costs in my budget or it'd look like I shoulda just bought a supercharger for the same price.
Looks like you're piggybacking off the T-bolts. I suspect if you use nyloc nuts, that approach should be fine. Sure, the brackets themselves are crude right now, but it's a proof-of-concept. You'll surely cut, file and paint.
Yeah, that's more what I was talking about. And I think I need to reinforce where they're bolted to the radiator-bumper gap cover.
Have you considered painting the clamps too? You're going to see that shiny through your grille.
I don't have great luck painting chrome, but yeah - not loving the cheapo T-Bolts. They're honestly overkill for this application. I considered mounting them all pointing down so the bolt part wasn't visible but expediency for now. I can get worm gear clamps in black oxide...
Make sure your filter clamps are turned for top access to the clamp bolts, so that you can replace the filters by simple removing the rad shroud. Otherwise you might be creating a future bumper removal project. Maybe, IDK, just thinking out loud.
I have them on the bottom pointed forwards, which *should* line them up with the bottom opening of the upper bumper grille. Long screwdriver and I'll be gold. Now that I think about it, I should probably mount them pointing down so I can remove from the bottom after pulling the lower engine cover. Those filters aren't going to fit out the top.
You already said money isn't the motivation, it's the project. So get some nice looking clamps, why don't you?
Originally Posted by rotarymike
Now that I think about it, I should probably mount them pointing down so I can remove from the bottom after pulling the lower engine cover. Those filters aren't going to fit out the top.
Just thinking what orientation makes more sense. Maybe it doesn't matter if you come up at them from below.
The bands on mine, at least, attract a magnet - so not aluminum. The T-bolt and housing I'm almost sure are AL.
Heck I've got a wide point black Sharpie. On shiny metal it makes a kinda gunblue color.
I like the fancy blue clamps I saw elsewhere on here but I'm not worrying about cosmetics yet. Still have to do headlights and foglights, although I have to put the nose on today to drive to work tomorrow.
Thanks. I can count on one hand the folks that have taught me how to think like an engineer, and three are gone now. Two of my racing buddies from NC are gone as well (industrial accident and heart attack, not auto accidents...)
While I'm sad Paul is gone, he was in his 80s and lived a long life full of doing stuff, much of it what he wanted to do. Can't knock that.
So the ducting theory I was talking about - it's partially this: https://en.wikipedia.org/wiki/Meredith_effect but not the heat expansion thrust part, it's the carefully designed duct.
I recall there being a ratio - 1/3 of radiator face size to duct size, given sinusoidal duct curvature. But I can't seem to find that now.
Point being, I think you could put a splitter at the top of the lower grill that curves up to the top of the radiator, and just stick the air intakes behind the upper grill. The lower opening would have a nicely curved upper duct surface leading to the radiator. You would *have* to have a well-sealed undertray for this to work, and likely other air exits from the engine bay (ie, hood vents). Might even need a splitter.
Thank you for that article. One of the things I've been thinking about doing was rethinking this as I also think the radiance of the cores impact the temp of the filtered air.
One of the things I've noticed is that most brand filters only suction from their sides, only cheapo ones have the opening in the front.
My theory is If I can find the right filter that can fit as close to the opening as possible, should make the same.
What's your take on performance after this?
Pretty cool about the sentra MAF housing, I had a similar idea if I ever go to 3 in intakes to use the vq35DE maf housing and achieve the same results.
I'm thinking that was sent from your mobile? I think autocorrect or v-t-t garbled something as I don't quite get it.
Only thing I can parse there is the MAF size - there were quite a few maxima, altima, and rogue/murano vehicles in the junkyard that had 80mm MAF housings, as well as the old DE engines.
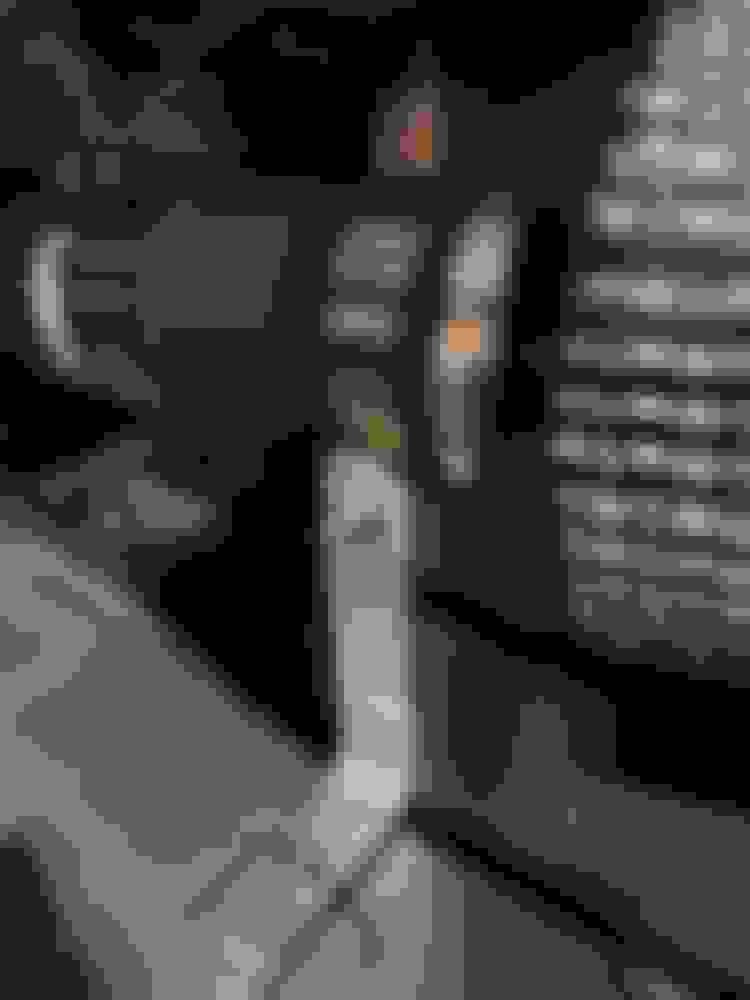
Revised my brackets on the LTCAI - hanging from the radiator filler panel was good in theory but the plastic is too brittle for my taste. I installed nutserts in the bumper (basically a rivet with internal threads) and used some aluminum bar stock and stainless hardware to bracket 'er up.
Completed brackets.
Hit them with some cheap black paint to avoid the shiny plague.

 05-18-2020, 11:02 AM