When you click on links to various merchants on this site and make a purchase, this can result in this site earning a commission. Affiliate programs and affiliations include, but are not limited to, the eBay Partner Network.
No.
.
.
.
.
.
.
.
.
.
.
Still working on the mounting. Had the passenger side for a while and I'm 90% sure of the route I will take, although I'm not in love with my solution for the top bolt/stud. I did get the Q mirror base to fit in the G mirror mounting location with much cutting/sanding, and have a solid idea for the bottom two mounting bolts/studs. Wiring is another beast to tackle, but that one isn't as hard in the long run - I did grab mirror wiring stubs from a junkyard car so I have the G plugs to put on the Q mirror harness.
Z1 2 piece rotors, powdercoated calipers, brake pads went on without a hitch. Then to route the Z1 stainless brake lines...
I chose the basic lines since they have less connections (IE, no brass block in the middle) and therefore less prone to leak or fail. My current recommendation: get the premium lines with the block.
Had a call with Z1 tech support. They said no right or left, run them however you can it doesn't really matter. Well, the slip-fit brackets ARE different between the two front lines, and 'run them however' doesn't sit well with my aerospace or racing background.
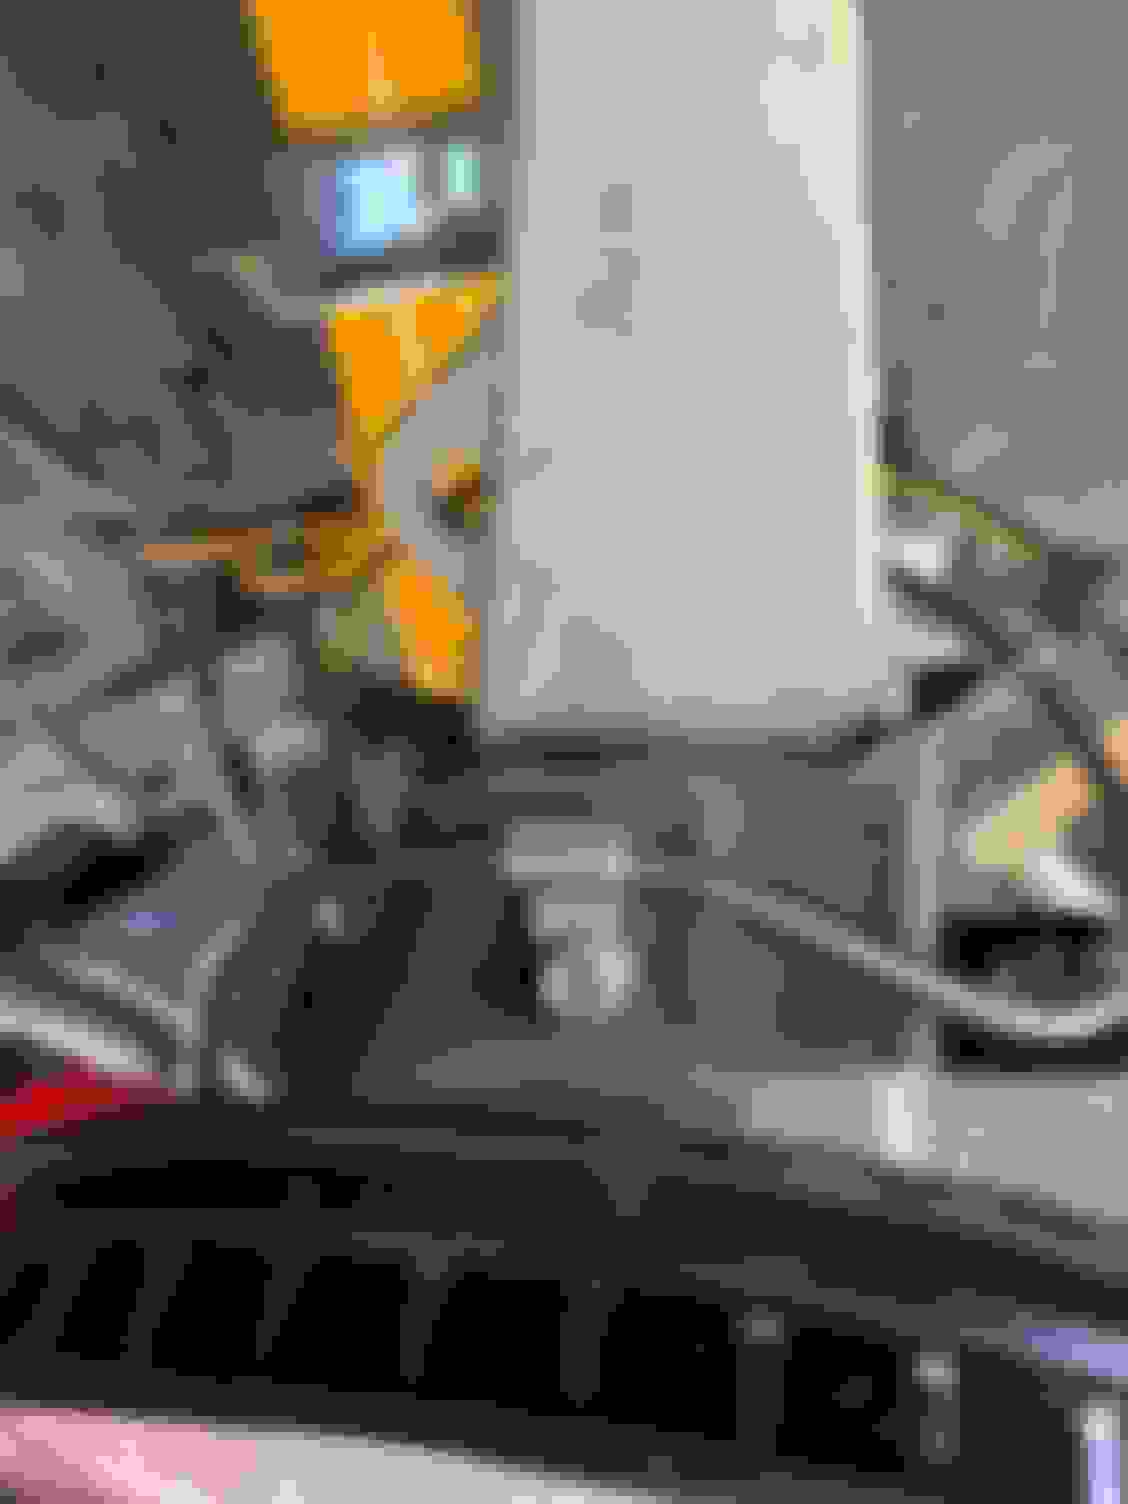
Plumbed them straight up from the caliper, skipped the OEM bolt-mount point to use one of the bracket mount bolts: (shock is just temp there to help with running the line, and isn't connected at the top)
Needed some washers there to keep the line off the upper bolt and the edges of the bracket. New longer bolt to make up for that. I'm pretty confident in this contact point.
Next, trying to get the line to curve around and not bow out (and rub the wheel/tire) when at full turn lock... initially I thought I could do the trick with surplus aerospace hardware. I *really* liked this solution.
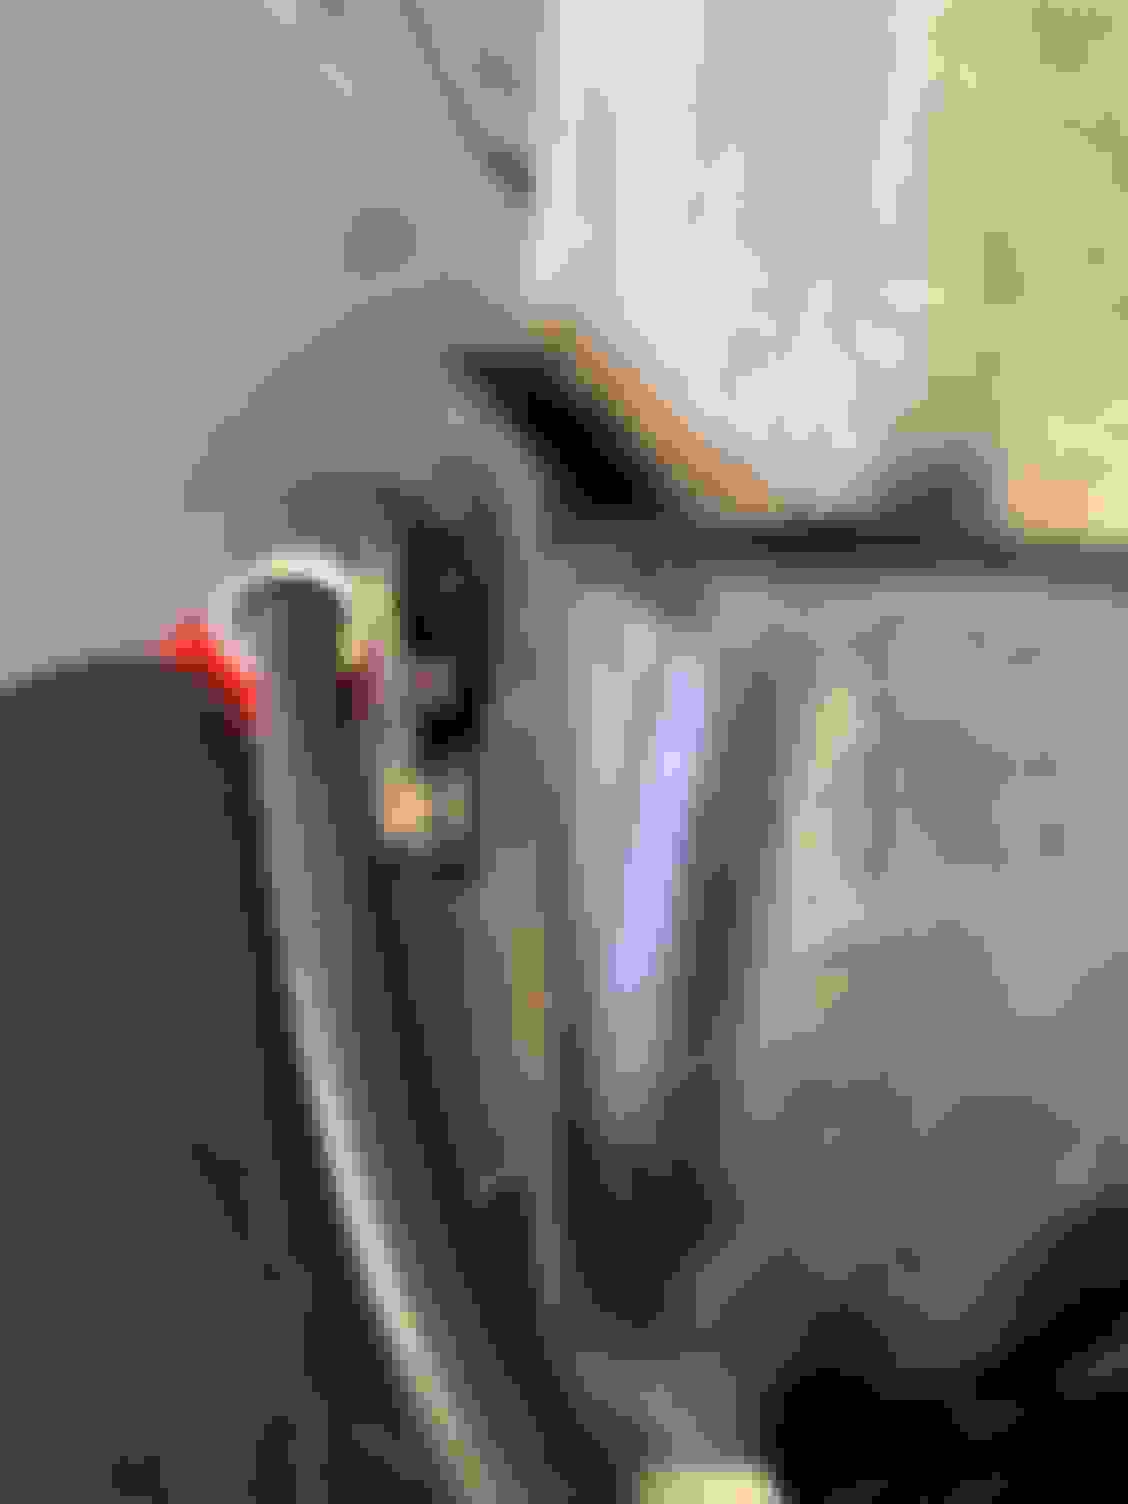
But that left no where for the other slide bracket to be, and putting it where the brass block was originally would have required more hardware (and pulled tight on turns). So I grudgingly ditched the AN hardware and hacked something together to use the slide bracket.
I used the big fender washer to space the whole thing out towards the end of the bracket to keep the line away from the bracket itself. It's bent because that bracket has ears on the bottom to hold the OEM brake line hardline-rubber line interface. It is secure though, and despite looking like *** keeps the Z1 line away from anything.
Think I've got it right. At full turn the line looks like this (this is driver's side, full left turn then full right turn).
It touches, but barely and only at extreme full lock.
So this was my head-scratcher Sunday and yesterday after work slacked off. Still waiting to get the bump stops and put the shocks/springs on there, and I guess today after work I'll lift the rear and start on that end.
Didn't spring for the two-piece rears, huh? I bet that was a difficult decision. Smart, but difficult.
You know, you and I talked about it, my wife and I talked about it and I really didn't lose sleep over it.
The hardest part was finding rotors that had the hat coated black to at least match the fronts from a distance (StopTechs from RCA Engineering, the same place I got the Konis from). The difference in slot pattern doesn't bother me enough to matter and certainly wasn't worth $700. Nor was it worth $700 to drop 10 pounds total weight - the fronts drop 20 total, and will make a more dramatic improvement - both in less unsprung weight at the front end of the car, and since the weight transfer under braking loads the front end, that was the place to focus on improvement.
You know your body is telling you that you're too tired to work on the car when you spend 30 minutes trying to impact off a welded-on nut.
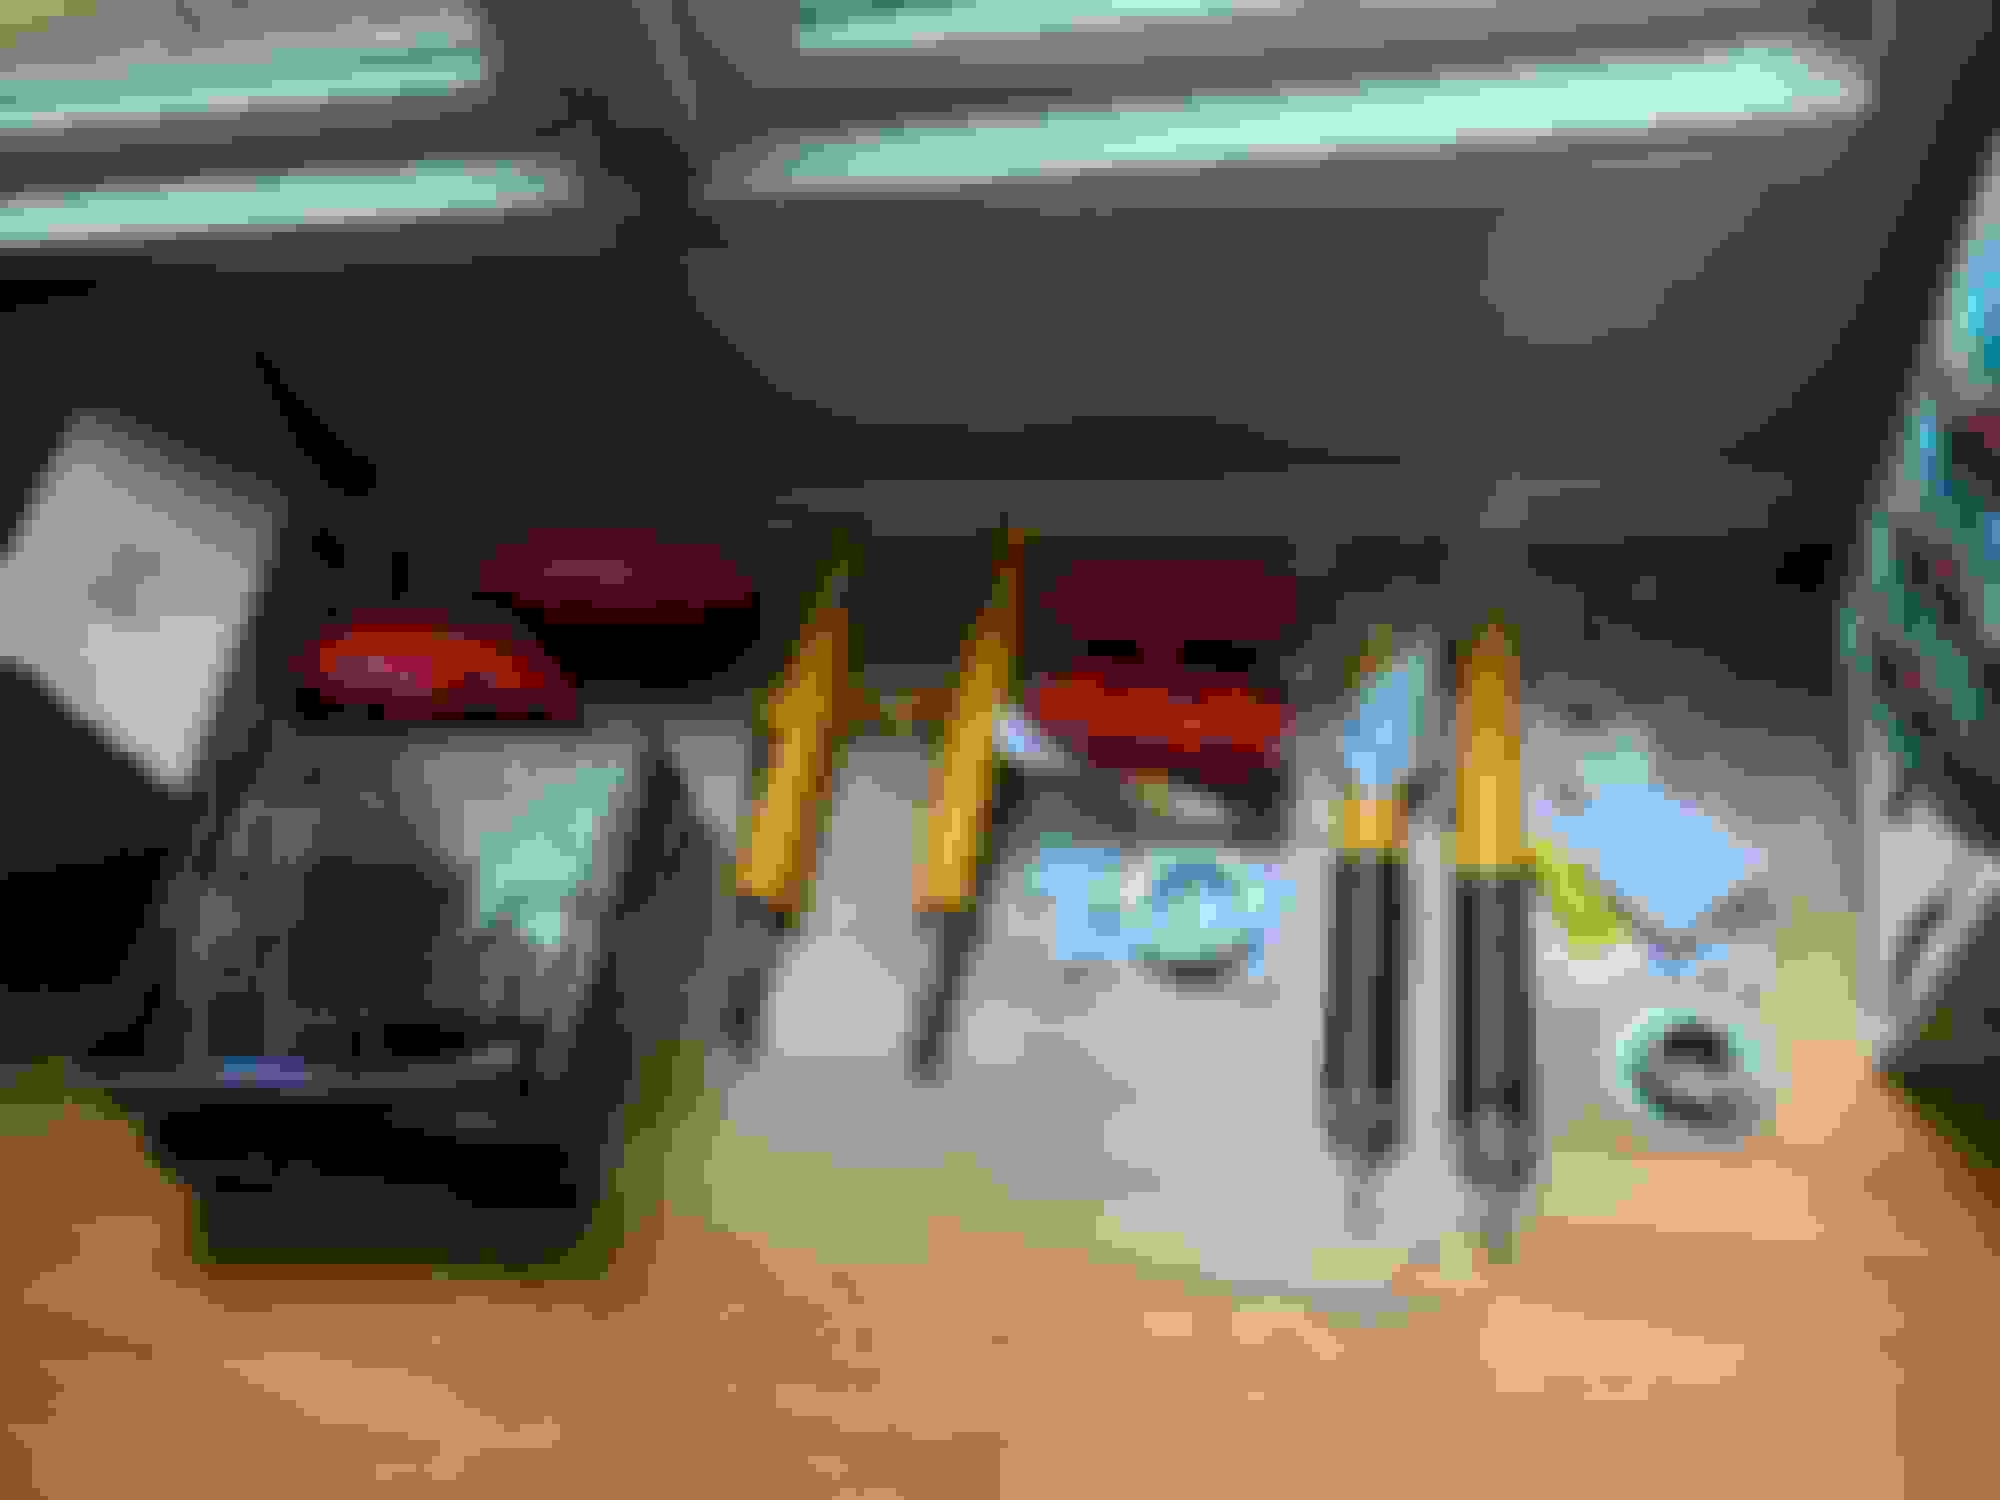
Fronts and rears on the car. Brakes went easy; rear struts same once I got over my 'moment'. Rear springs were surprisingly easy. Put the poly spacers underneath the lower spring cushions instead of on top of the upper seat/bump stops - cut the lip off to make them flat, then split them so they'd follow the contour of the spring cup seat. Haven't driven enough to consider the suspension 'settled' yet since I also did brakes - those are still not bedded in.
All in all:
Z1 2-piece front rotors
Stoptech slotted rear rotors
Hawk HPS 5.0 pads
New Stoptech remanufactured calipers, powdercoated red, with Akebono stickers and high-heat clear spray to keep them on
Z1 stainless braided brake lines
1.5L of ATE Type200 DOT4 - complete flush
Koni yellow struts
Red version 370Z Nismo springs
Whiteline HD front shock mount/swaybar links
New OEM front bumpstops/shock shaft covers
And got a pile of parts out of the library, and now have a pile of cardboard to recycle. I can even see the floor in the garage in some places. Even did an oil change, just because I was under there.
Current thoughts: I hope the fronts settle more, right now the back looks slightly droopy even with the spacers. We'll see. The fronts clunk but I think I know what I didn't tighten all the way - just been raining solidly so didn't want to fix in the monsoon. Brakes look awesome; here's hoping they work well. I've always had good experiences with Hawk pads so I'm hopeful. Konis still on full soft.
Also, PSA: starting the car with the ABS master unplugged leads to lots of odd side effects, other than just OBD2 complaints. As in, the car would not shut off unless you held the start button down for 10 seconds like a computer, then it went immediately back to 'on'. Did this to final flush with power to the brake booster. Now that it is plugged back in, and codes cleared, nothing out of the ordinary.
Also a note: if I can find some wheel bearing/hub assemblies in the junkyard for cheap and a length of steel pipe, I'll have a pretty unique barbell with the front rotors.
The mind knows how to work on things still, but the body isn't as willing as it was. I've got an enormous bruise on my R arm that I have no idea what caused, and sunburned through multiple layers of SPF 70. Still have a pile of parts to install prior to Z nationals, and limited weekends to do so LOL.
I did get a new 'treat' - but not a topic for this forum. Not a toy. Let's just say Benelli's patents have expired on many things. Might even start to compete again this fall.
Clunk fixed - tightened down strut top bolts on the fronts with weight on them (IE, installed in the car) and all good. Drove through a monsoon today, so hopefully bedded the brakes some while keeping them cool. VERY thankful for my filter socks today - water was rushing over the hood in places, and when a semi passed me I got a total whiteout - couldn't see through the windshield at all. Yay hurricane-prone city with insufficient drainage.
So far it's a more settled ride (once I was done with my meeting and the rain paused) but not hugely different - a win IMHO. The butt still looks low but I know that's a function of the smaller wheel arch and the car's overall design - the frame rail - ground measurement is almost equal front and back.
I did the same and went with about an equal height measured at the jacking point pitch welds. Keeping the factory rake was a higher priority than an even fender arch height.
Looking good though with the drop. These cars really do need it, just a slight drop works wonders for the visuals.
Rear does look low compared to the front. Or maybe the front is high?
Tasty brakes, need better pics. No center caps?
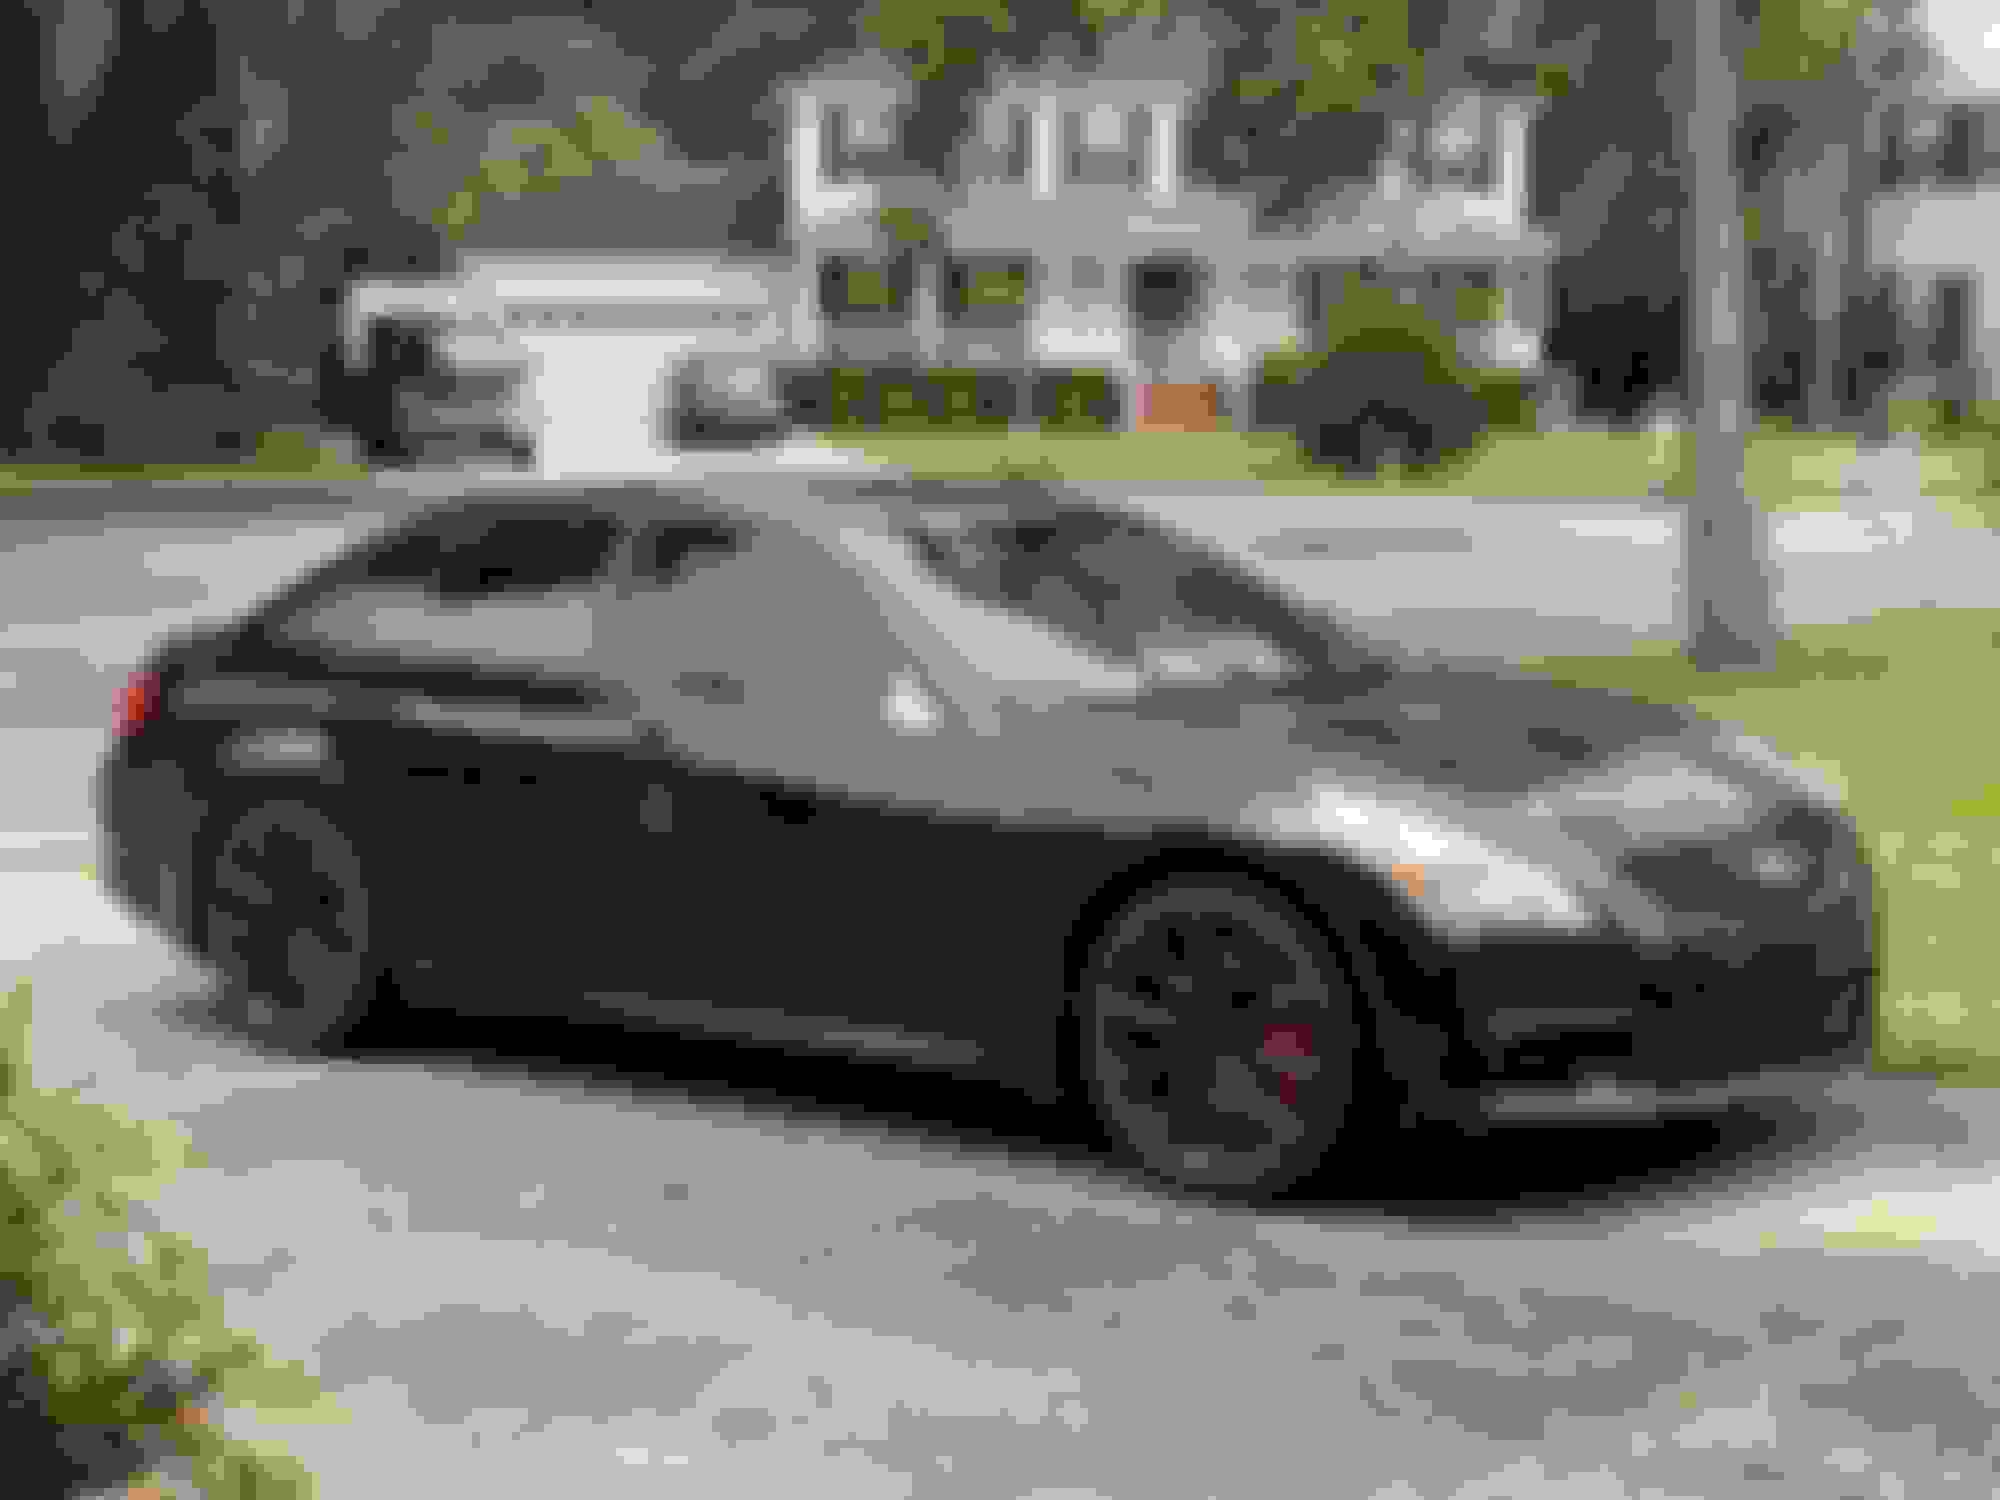
Charming little cul-de-sac. Big houses. No thru-traffic there!
Looks low, but measures the same. Just different rear wheel arch spacing.
I need to figure out a way to paint my chrome center caps but have the infiniti symbol still be chrome. I'm going to start with scotchbrite and TSP and spray them black with wheel paint, then use a rubber wheel to buff the paint off the raised symbol. That's the idea anyway.
The big house in the background is the biggest - most are about 2/3 that size. Yeah, nice and quiet - at night you can hear the foxes and other critters out in the marsh (we're next to a river). But... 45 minutes away from everything, in every direction. Problem with living in a land of many rivers is that there are only so many bridges - for example, I live ~8 miles from the beach cartographically . Takes a drive of 36 miles to get there and close to an hour. Be faster if we had a boat. What caught our eye was the old-growth trees in most yards and the Spanish moss. We have a giant ~300 year old live oak (qqv) in our back yard.
Regarding the rear drop, it is easy enough to adjust (some) with different poly spacers in the spring bucket, and that's easy enough to get to in order to change out. Might have to give it a little forward rake.
If you're looking for opinions, I prioritized perceived height over actual height, which is why my floor-to-fender measurements are the same front and rear. I highly doubt the 1/2 rake will matter (to any one of us).
It's a minor thing, really. What you've got there looks great.
The car drives fine; still need to get someone who knows these (I guess Infiniti at this point) to do a proper alignment after 2 other shops handed me back a twitch, tramlining mess and said it was within spec. But none of the issues I'd expect with an actual sagging rear suspension. Still might tweak the rake as it's visually bothering me, but not a priority. My wife is hounding me to put the interior back in first LOL. It *would* be nice to have a cupholder, now that @iCrap is printing inserts. Prior to interior, HVAC de-mildewifier. Prior to that, passenger seat removal (for access). Prior to seat reinstall, swap leather upper skin. Always dependencies for any particular job.

 08-02-2021, 08:31 PM


 Impressive, Mike.