When you click on links to various merchants on this site and make a purchase, this can result in this site earning a commission. Affiliate programs and affiliations include, but are not limited to, the eBay Partner Network.
As for the CF wrap, mines the size of a silver dollar. I'm redoing it this summer with a proper heat gun.
Wow. That's quite a coincidence.
Have you thought about shipping the pieces somewhere to have them hydrodipped? Ever since I saw that problem, I'm been thinking about it as an alternative. Never did that before. I wonder how well the process would adhere to the panels?
I have a few random fake cf hydro dipped items around the house and they look a lot more fake than the wrap. I think trying to polish the plastic surface a little to make it more smooth will help the vinyl adhere better. The surface isn't perfectly smooth to begin with, so I think that texture would transfer to the hydro dip. Its a lot thinner than vinyl after all. Maybe creating a cut line in that spot will relieve some pressure from the vinyl. Will need to experiment. If you want to be the guinea pig for hydro dipping those pieces, I would love to see what happens lol.
I sprayed those pieces down with Adhesion Promoter before wrapping them. The first time I wrapped them, it was obvious they weren't going to hold. The second time, and it was solid for years (until now). However, if you're feeling like the dip looks poorly compared to the wrap, then I'm going to want to re-wrap.
I just used a hairdryer and no promoter, so I'm not surprised it gave way. I think putting a careful cut line down that stress area may be the way to go. Kind of like they cut lines in concrete slabs.
I just used a hairdryer and no promoter, so I'm not surprised it gave way. I think putting a careful cut line down that stress area may be the way to go. Kind of like they cut lines in concrete slabs.
IIRC, I used promoter but no hair dryer. I think. Not 100% on how I did it, but I'm sure I wrote about it somewhere.
I grabbed a $25 heat gun off Amazon to do my window trim. Played with it a bit, it completely changes the way the vinyl behaves. Kind of like bakes it into shape.
I grabbed a $25 heat gun off Amazon to do my window trim. Played with it a bit, it completely changes the way the vinyl behaves. Kind of like bakes it into shape.
Ive always wondered if the difference between heat gun and hairdryer was noticeable. Would you say it�s easy worth the generic heat guns on amazon?
I'm going to have to make the center cover like you did. It does look good.
I was worried it would look bad, but then was relieved lol.
Originally Posted by cmckenzie15
Ive always wondered if the difference between heat gun and hairdryer was noticeable. Would you say it’s easy worth the generic heat guns on amazon?
Oh, it's an absolute night and day difference. The heat gun heats up like 10 times more than a hairdryer, have to be really careful with it, but yes, absolutely worth it. I bought a cheap Black & Dekker one, it doesn't have temp control or any fancy features, but does the job really well.
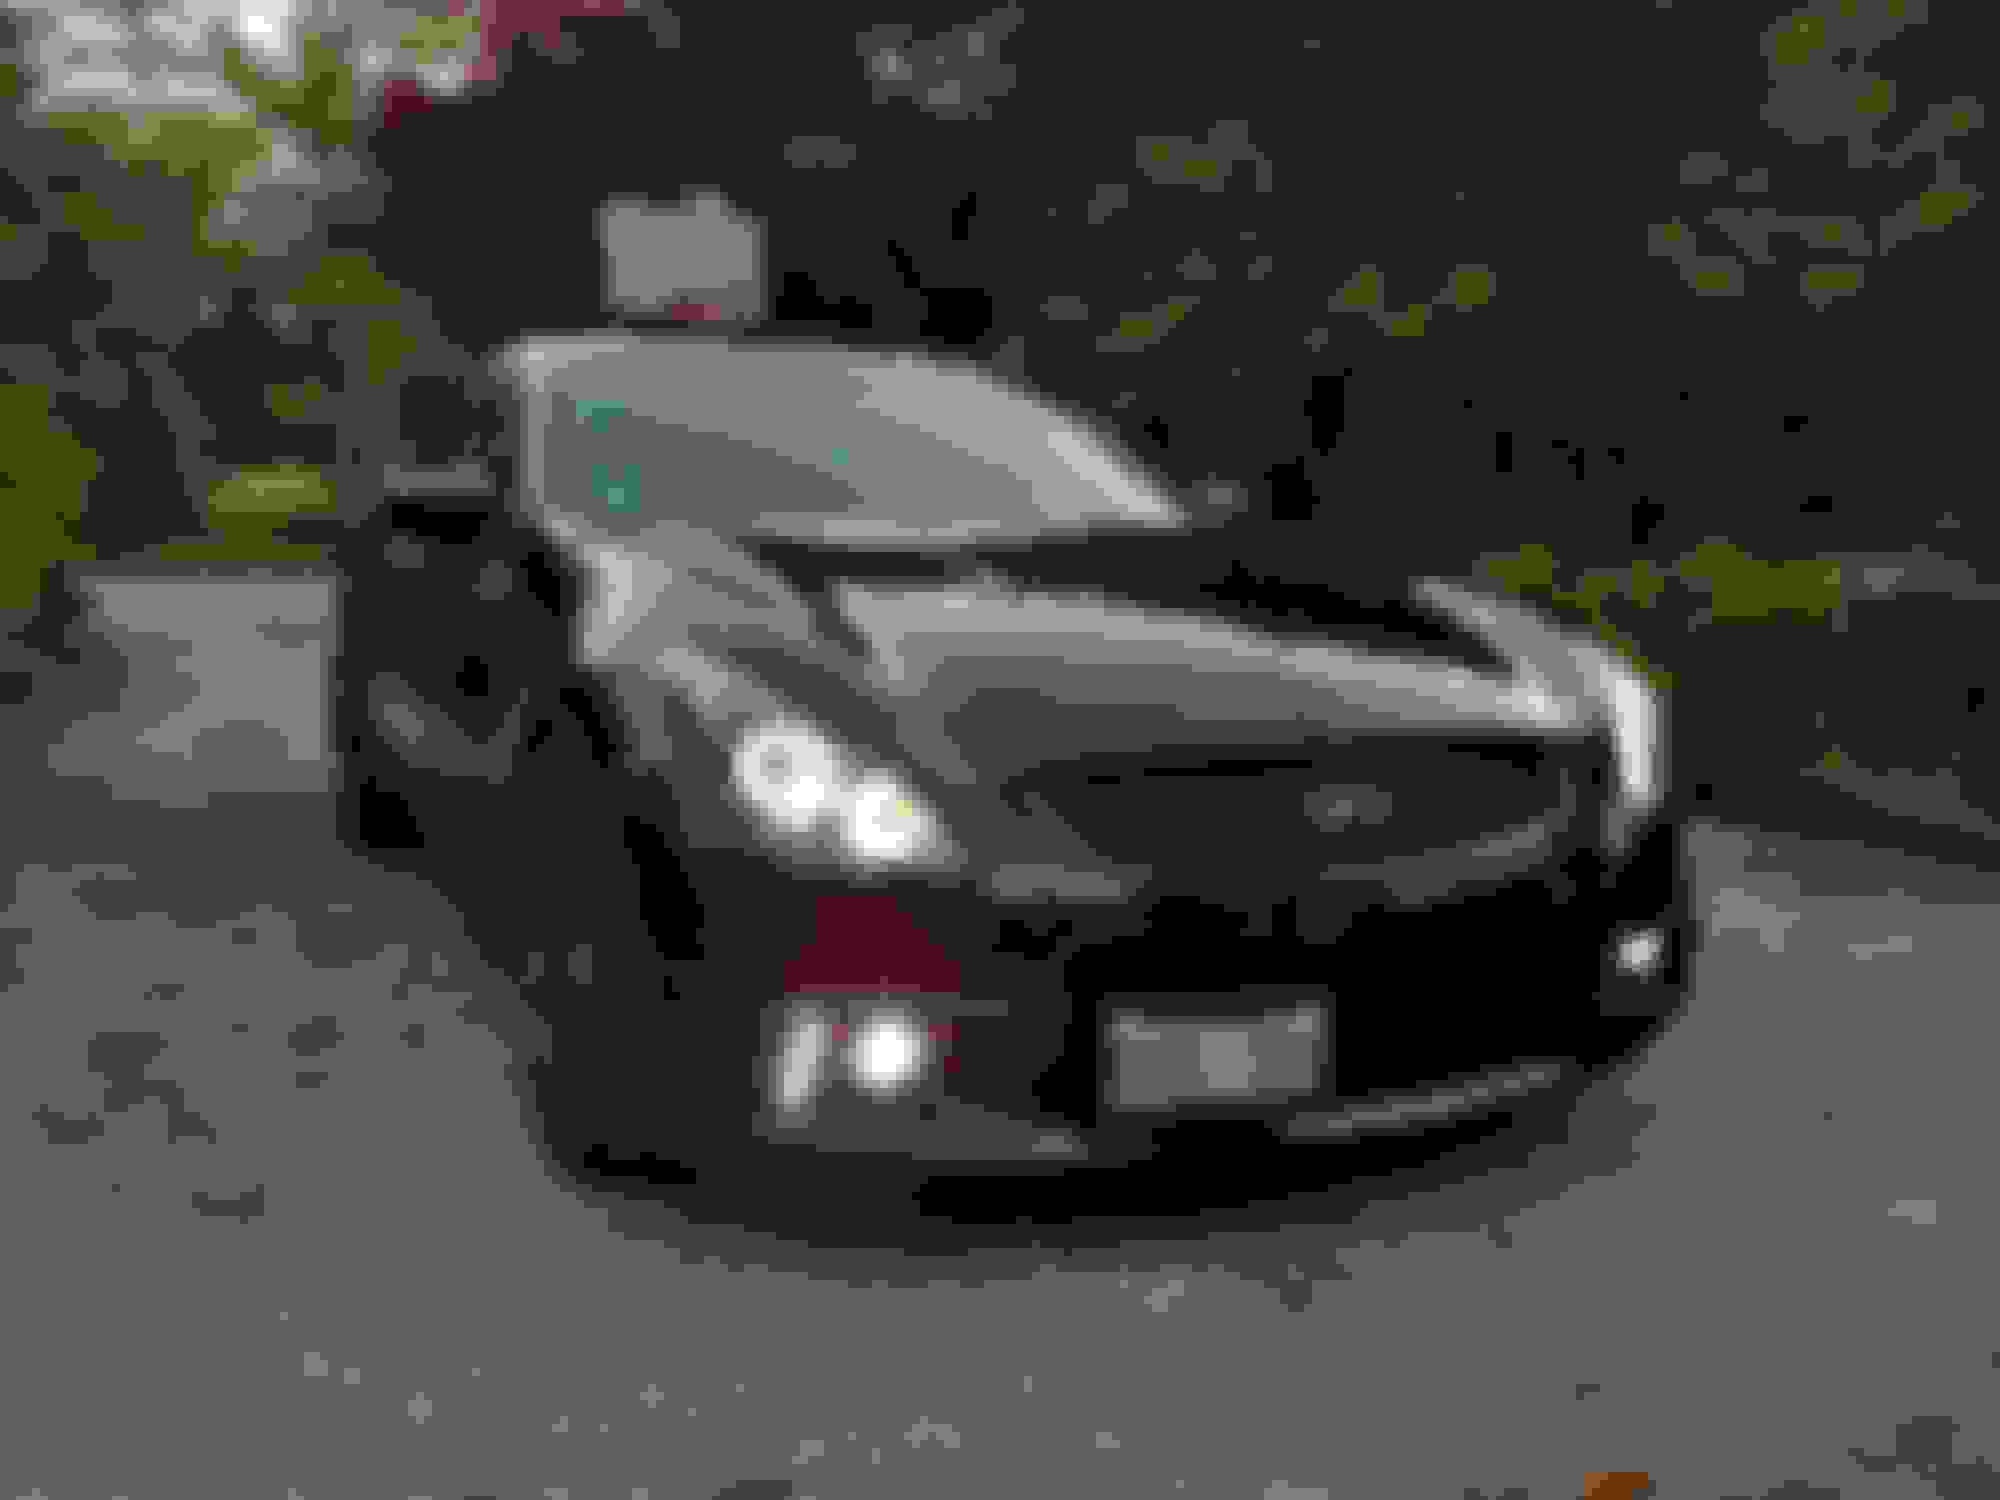
Alrighty, here is the big update. Ill try to break this up into a few posts based on what part of the car was being worked on.
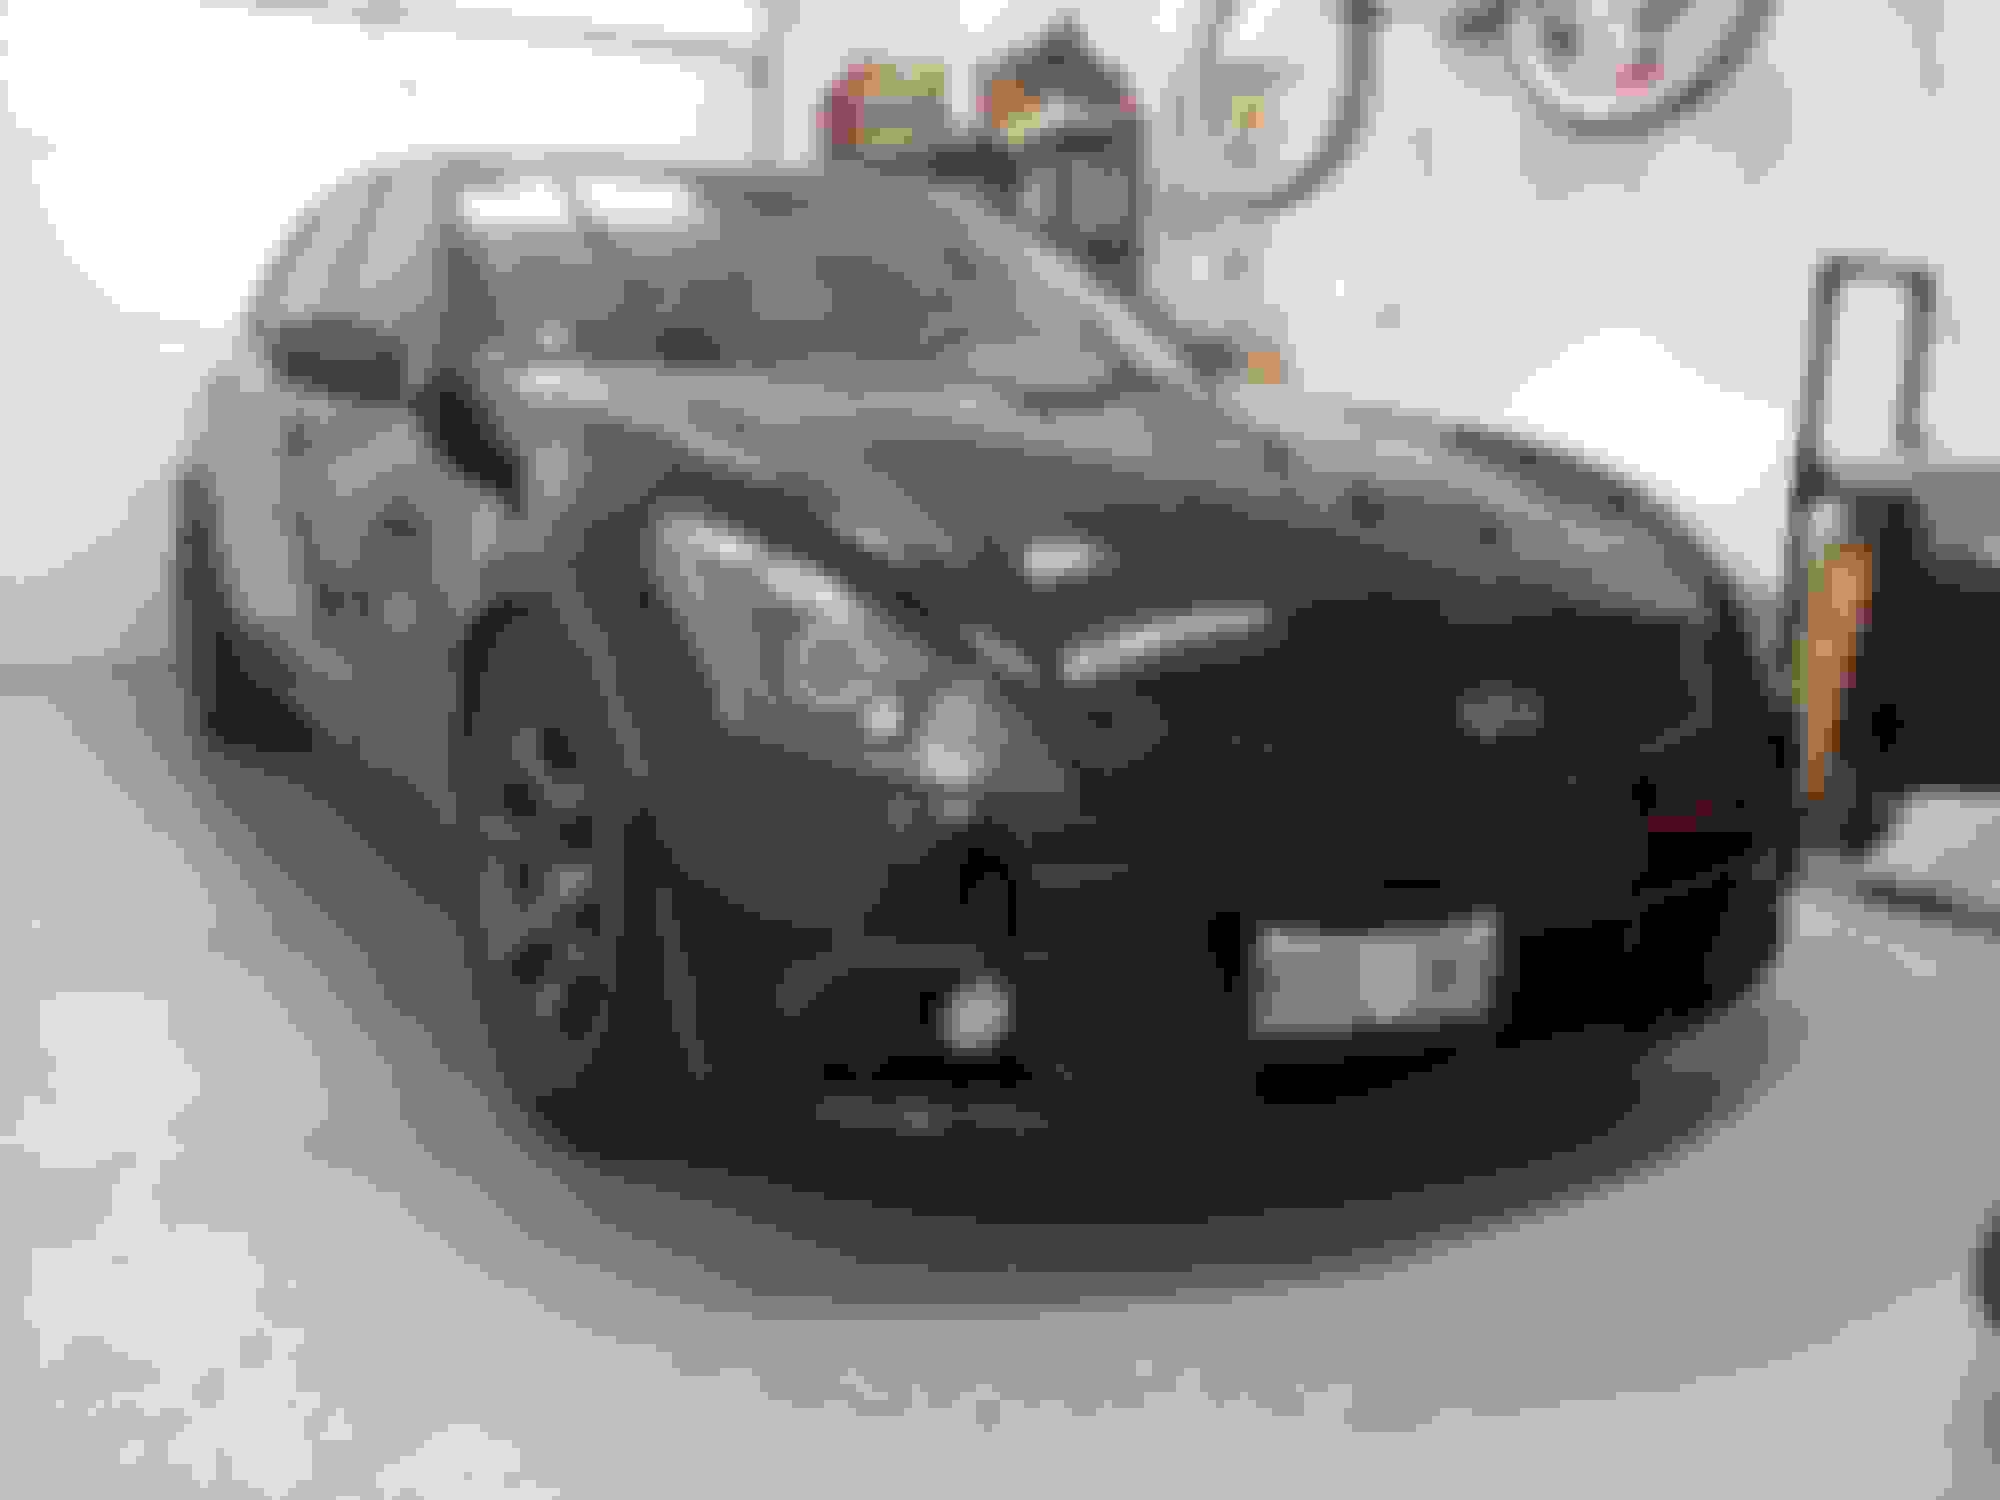
So, here is what the car looks like now after all the work in the next few posts. The TLDR version is sport bumper upgrade with custom headlights and other lighting.
For starters, all the fluids were changed.
Then I took care of some of the ripped up mounting points for the undertray and areas where plastics come together. Went with nutserts in some aluminium angle stock. Really reinforced everything nicely.
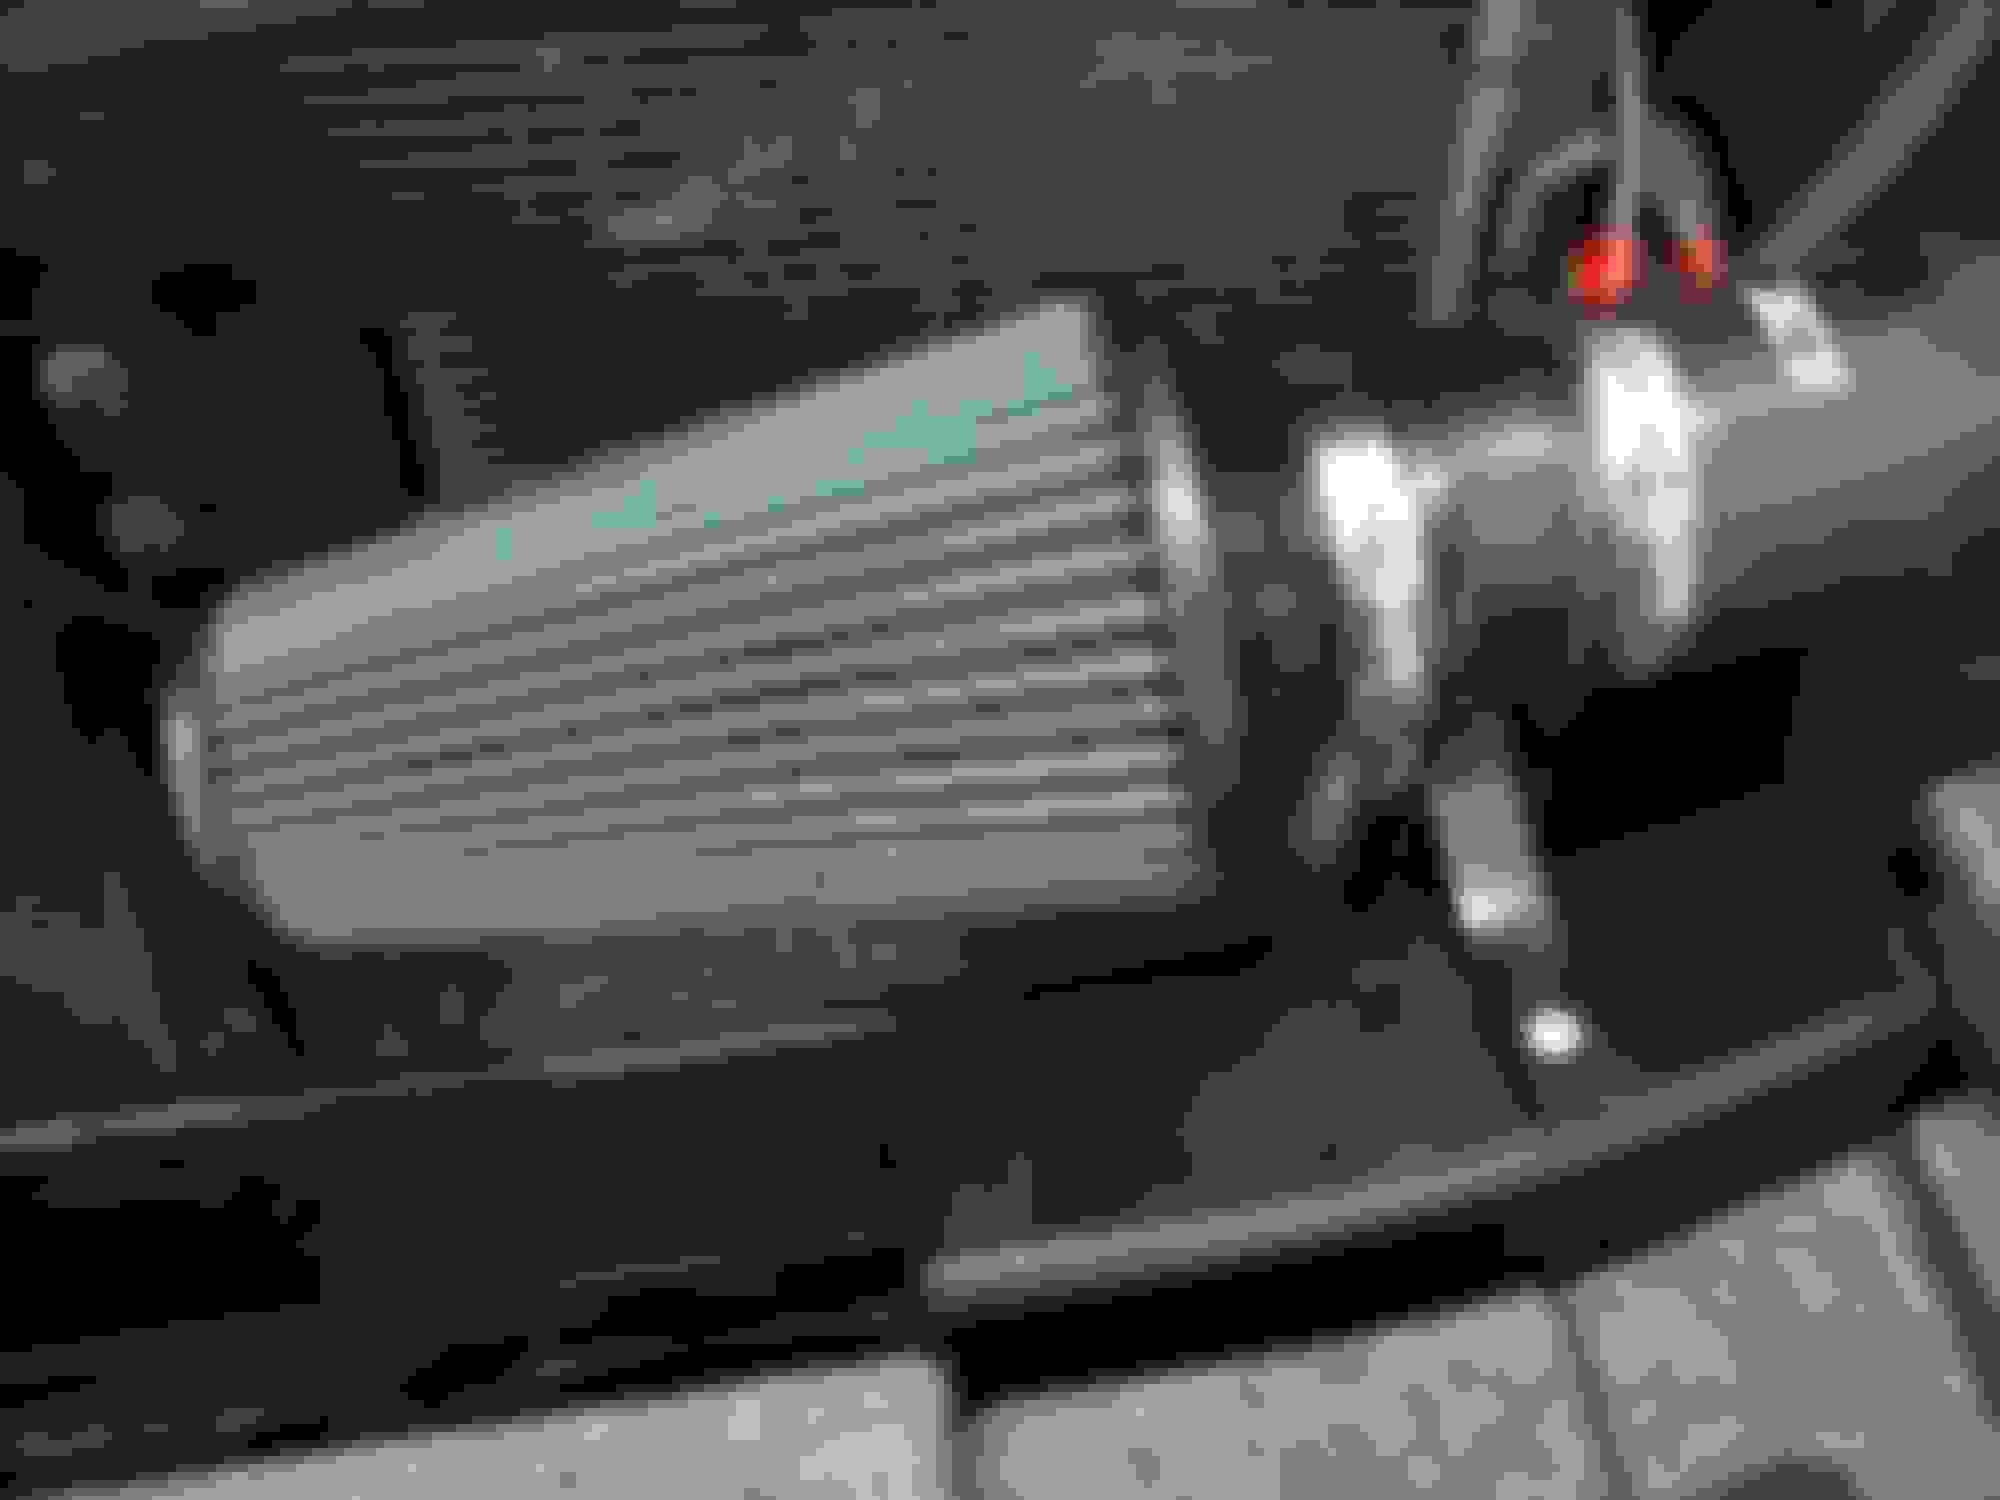
Then I moved onto installing the newly painted hella Horns. At first, I tried a central mounting spot, but wasn't a fan of how much they were covering the radiator in an important spot, and wasn't sure the vertical bar was strong enough as it flexes pretty easily. Went with side mounting locations instead.
Then, I wasn't a fan of how the intakes just dangle, especially since the goal was to have a more transparent grille, I went ahead and made up some nice aluminium brackets, painted black to match everything else. I was going to thread the crash bar, but didnt think there was enough material, so used some nutserts here as well.
Here you can see the final position of the horns as well as final mounted intakes.
Ok, so moving onto the bumper. I am a known cheapskate when it comes to modding the car, so when I saw the price of all the little grilles, I shivered and decided to build my own at a fraction of the cost. This opened an opportunity to experiment with some custom lighting. I decided to add some DRL lights as well as upgrade the fog lights. Started off by making backing plates out of ABS plastic and front plates for the LED lights. I have some switchback lights on the way, but for now, I worked with what I had on hand. The mesh will be sandwiched between the front plate and the back plate.
I experimented with some cheap metal mesh to see how it would look. Didn't like it as much as the hexagon plastic mesh I used later. For now, the side grilles are still flat, mesh coming in the next few weeks.
For some reason, I thought the fog light bezels on the non-sport bumper were the same as sport ... boy was I wrong. Panicked, I went to a local hardware store and found some ABS toilet drain pipe couplers that were pretty close in diameter to what I needed. Wrapped some sandpaper around a pool noodle, threw it on the drill press and expanded the inner diameter of the pipes. After some quick boring math, figured out the angle and ended up with some nice looking bezels.
Everything was epoxied into place and then some plastic bonder was used on the outer seam to give it a nice smooth transition (shiny stuff in the photo).
There is one tab on the foglight side of the plate that locks into the oem mounting hole, and the other side is secured with the bolts that hold the drl into place.
Then after a coat of plastic adhesion promoter and some paint, turned out pretty good.
Moving onto the lower centre grille... Started off by making a backing plate out of some Lexan. used the OEM mounting tabs to mark the slots, then slotted holes in the tabs themselves to run a cable-tie through them and lock the whole structure into place. The grille mesh was cut to fit the inside of the hole and mounts to the backing plate as well as the bumper itself. This makes the whole construction connected mechanically vs chemically. There is also the hole for the cruise control. I intentinally made it larger in height than it needs to be to keep things a bit more symmetrical. Eventually, I may remake the backing plate out of another material.
Test fit the mesh cutout.
Added some moulding around the edge of the mesh.
Once the bumper was mounted, I build the little box that makes up the walls leading up to the cruise sensor. I ran out of time, so for now, I slapped some rubber moulding on the back and cable tied the whole thing into place. This piece is getting remade. It works, doesn't block anything, but is just a bit ugly. Once properly mounted, a nice little bezel is going on there to tidy things up.
And now the final piece to finish the bumper off, the upper grille. Cut out the middle slots and then filled the sides with fibreglass cloth and epoxy resin.
Slapped a bunch more epoxy on the back to reinforce things. messy, but does the job.
Now, using some plastic epoxy filler, I coated the added areas and then sanded it down after drying.
Moving to the mesh. Cut it to shape and made cutouts to use existing tabs in the grille to pressure fit everything. The mesh actually just sits there sandwiched between the bezel and bumper cover with no need for adhesive.
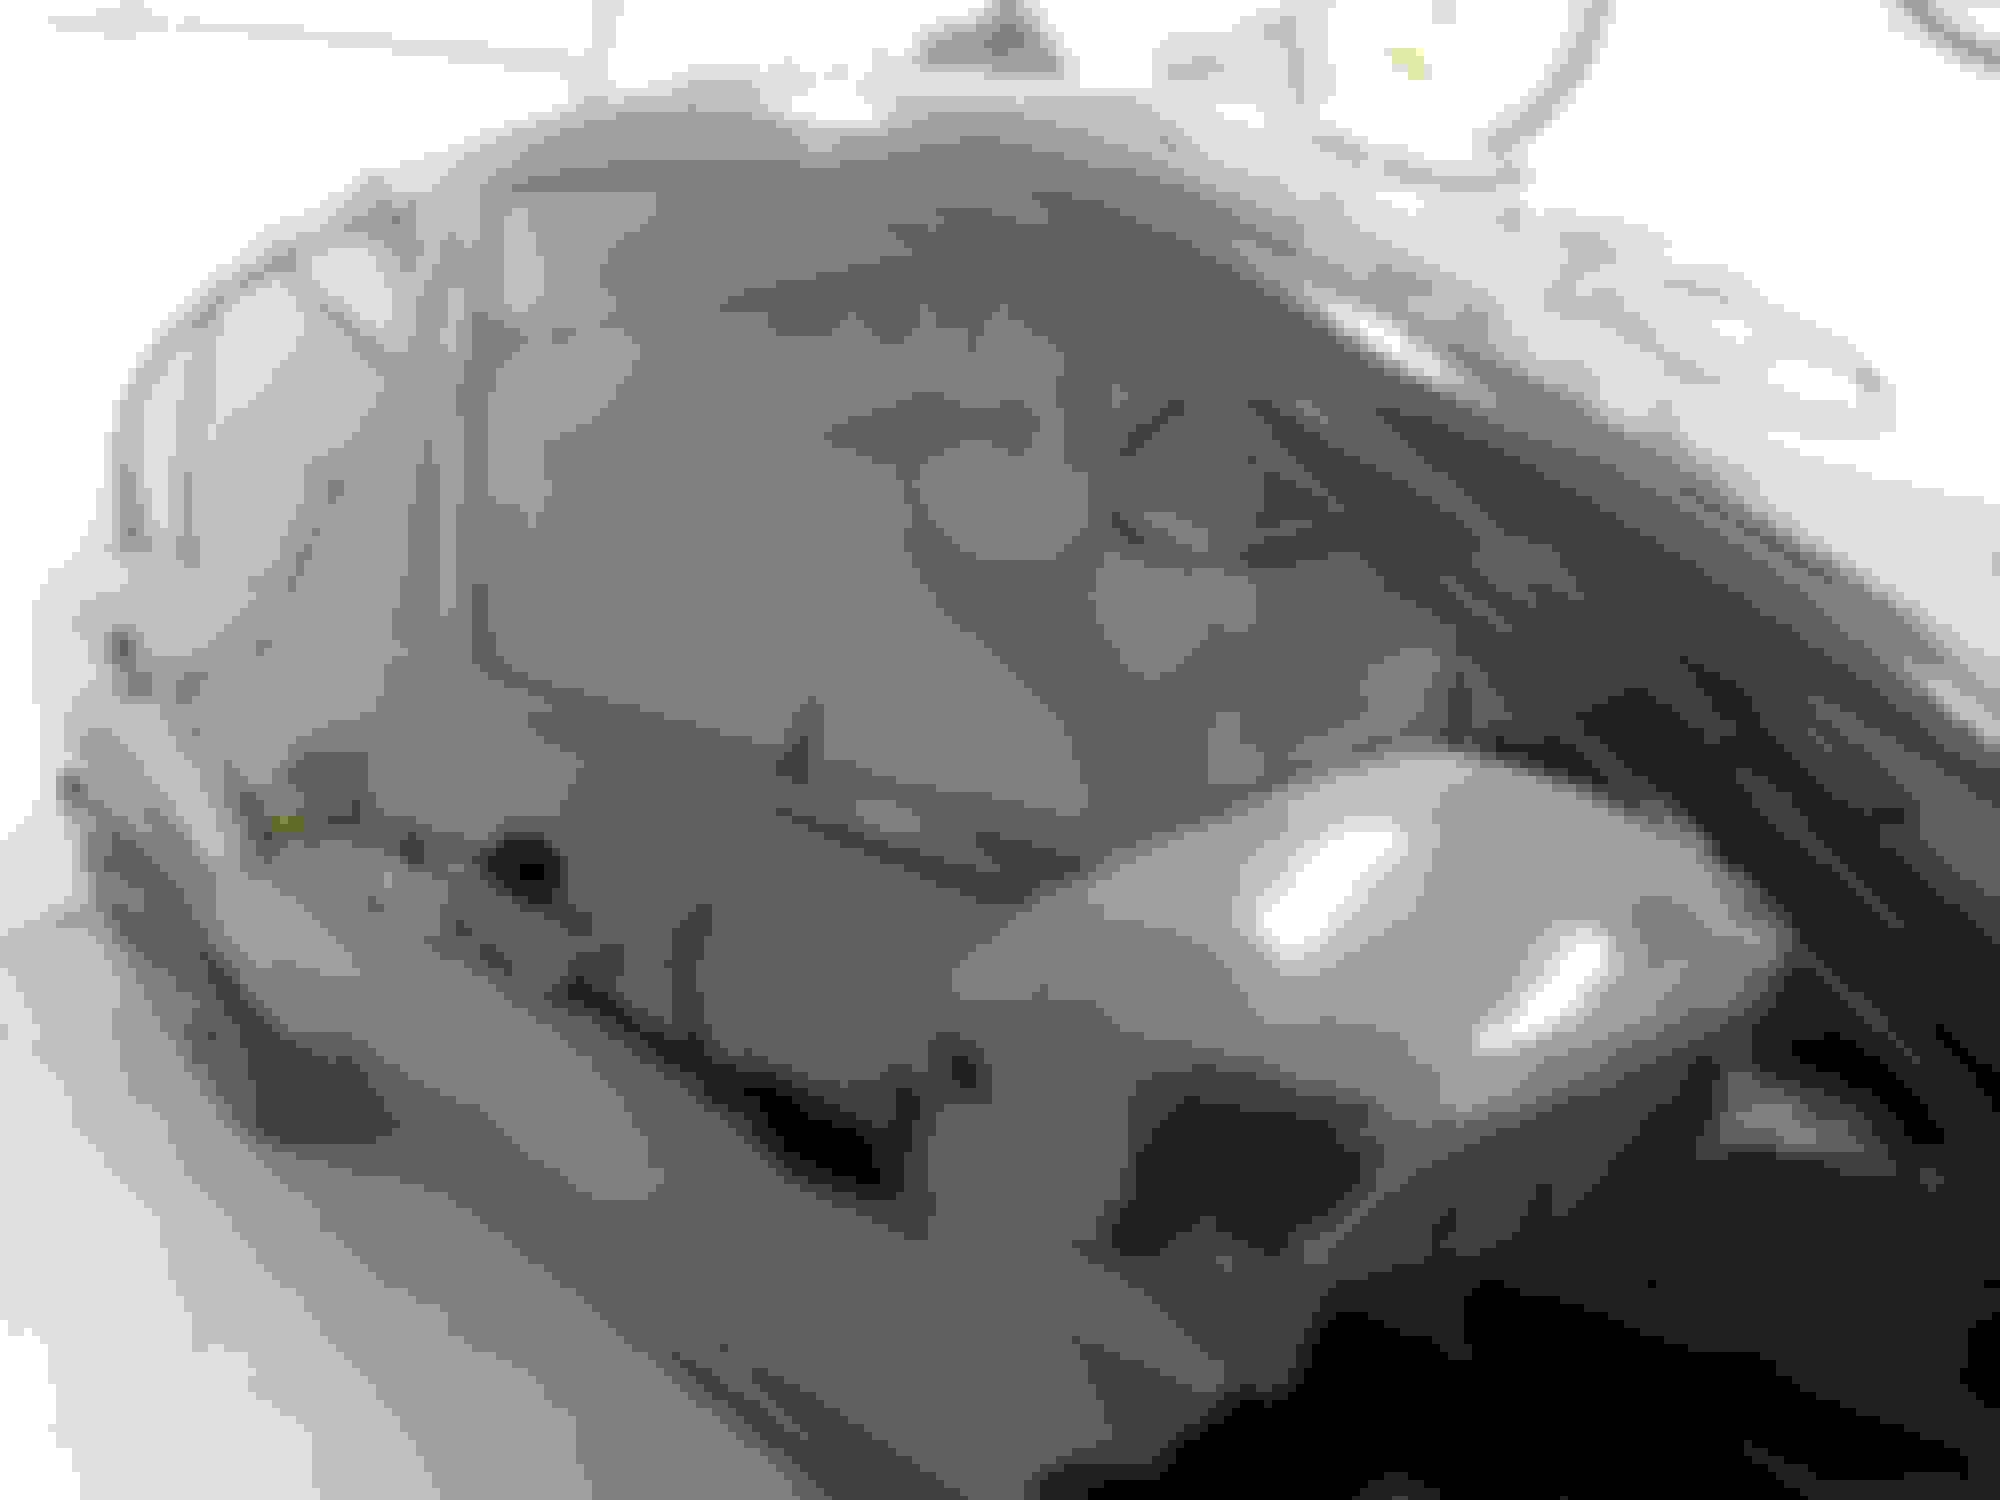
The headlights came next. This was definitely a PITA project.
First, since I'm in Canada, I had to figure out how to bypass the always-on Canadian DRL projectors. Went at it by hacking the fusebox a little. I made this little tap that replaces the 2 15a fuses for the headlamps. The 'forks', I wasn't comfortable leaving like that, so I added some insulation between the prongs to make sure 100% nothing gets shorted out. Basically, the power side goes to a 30a fuse (replacing the 2 15a ones), then a switch by the steering wheel, and back to the fusebox. This enables me to turn the low beams off completely whenever I want and run with just the halos on.
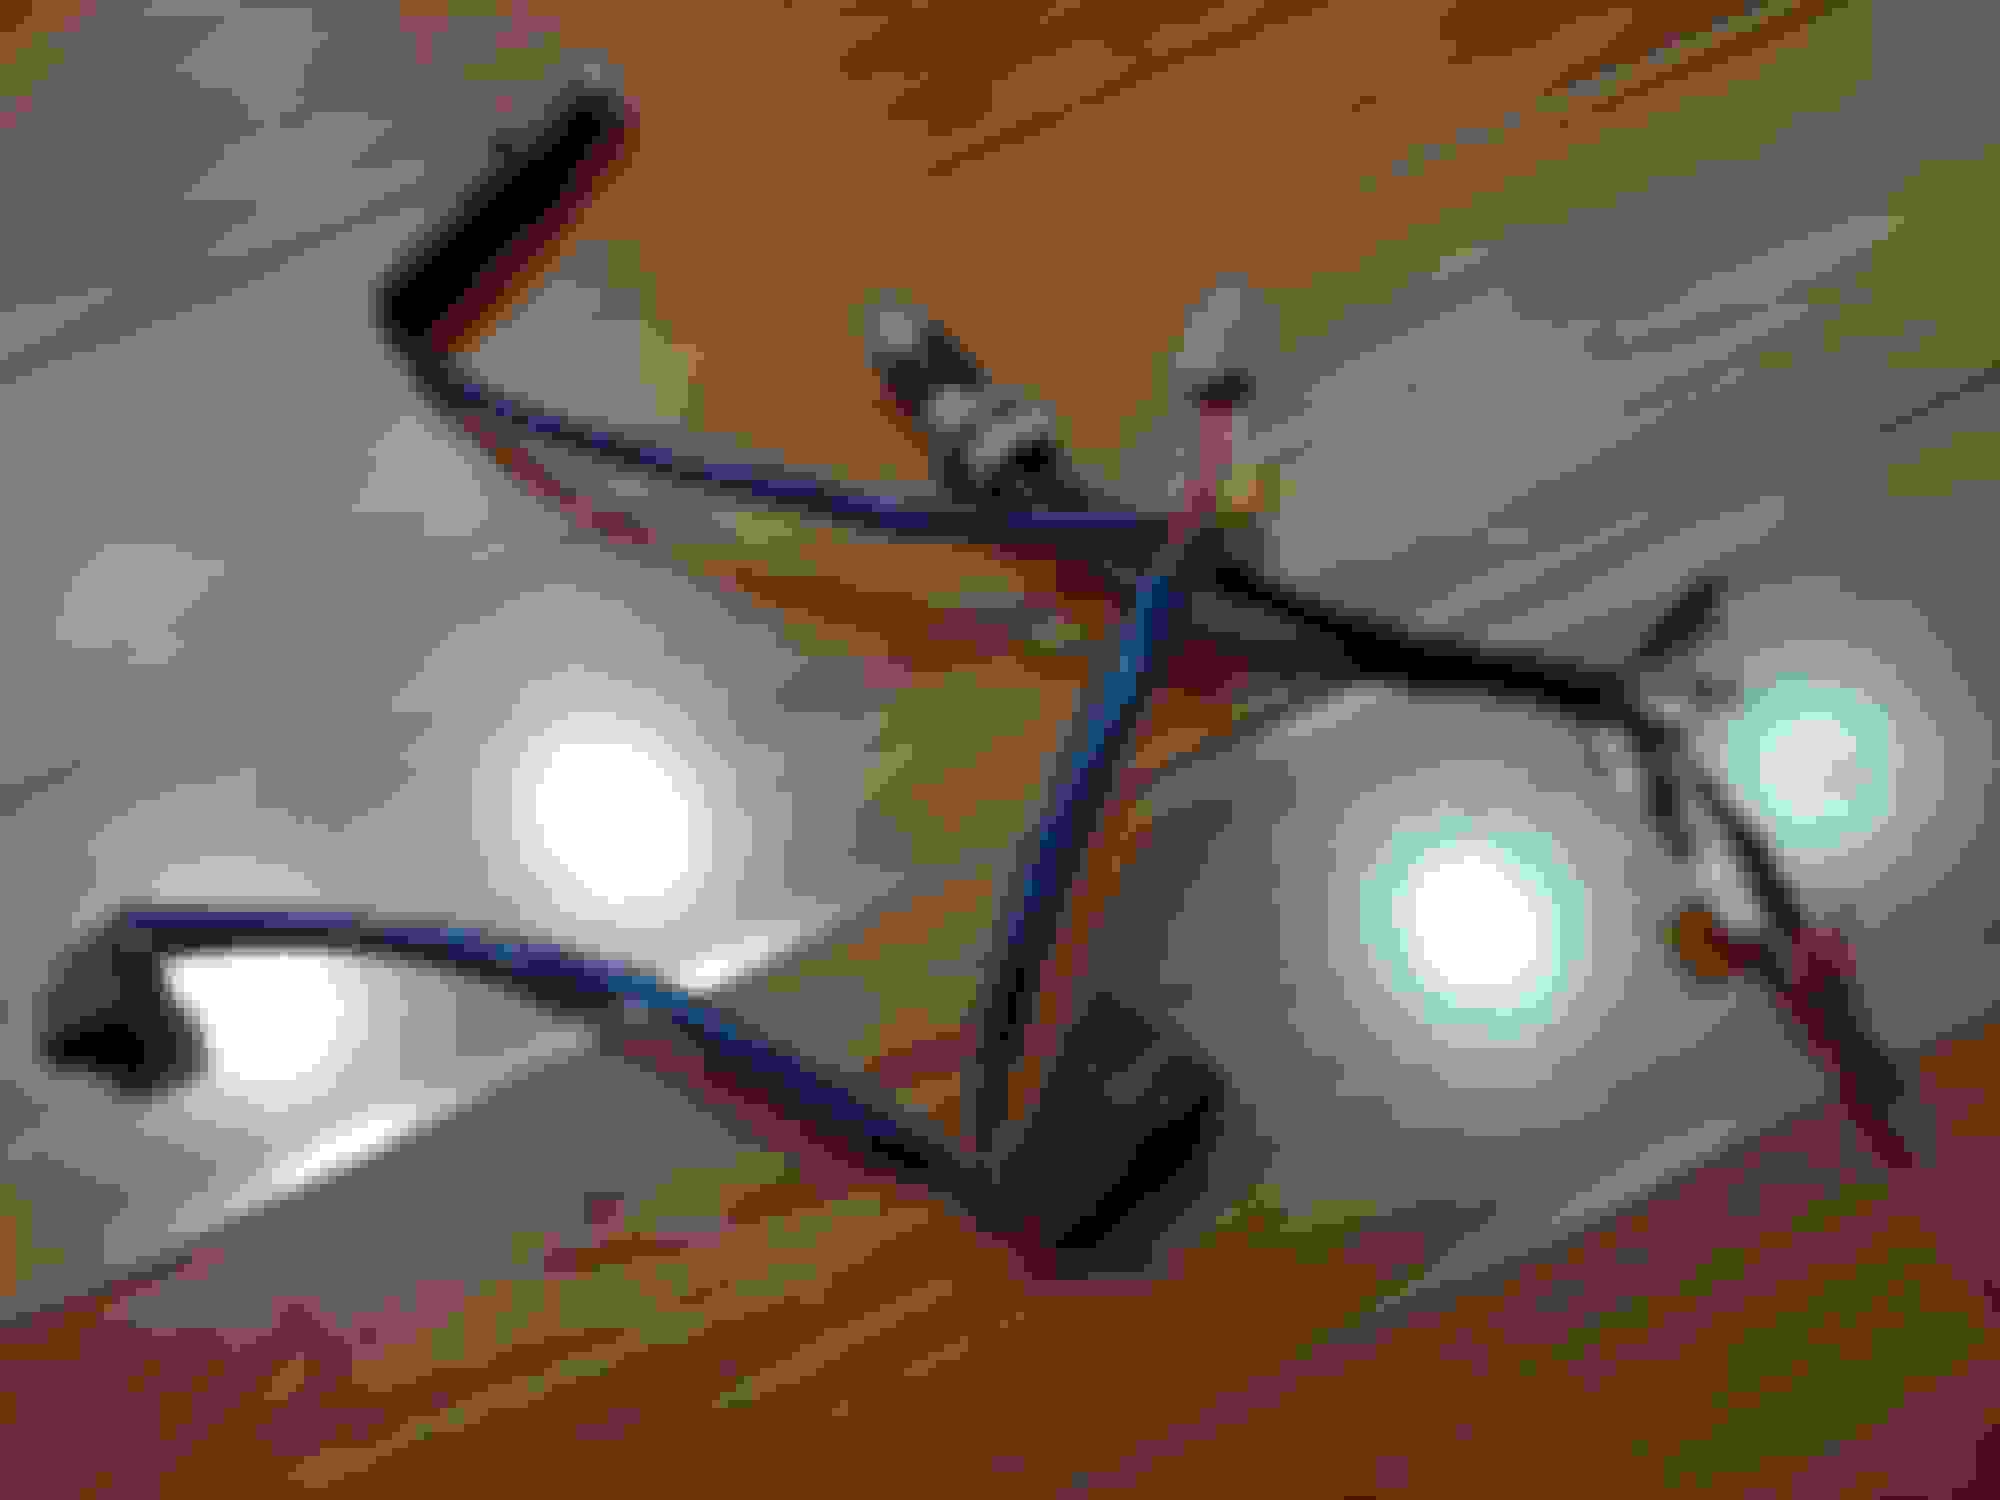
Once I knew that worked, I pulled the headlights and got to work. First, I wanted to test the circuits and see where I could tap for power. Hooked up the two halo drivers and tested it out. I had resistors to eliminate hyperblink in my LED switchbacks before, but now, since the driver was controlling the voltage for the turn signals and halos, there was no longer a need for the resistors. This is a proof of concept testing photo.
After adding 'Y' splitters to run to the switchbacks in the lower bumper, the wiring harnesses for the headlights were simplified to basically something like this. The yellow female connector was originally for low power from the parking lights for the halos to dim when high beams are on, but I decided later not to use it and that was removed.
R-power
Y-turn signal
B-ground
W-low power (described above)
After, using a heat gun to open the lights up, I cleaned out all the old glue and replaced it with fresh Morimoto butyl resealing glue. Opening them up didn't take long, cleaning the old glue took forever.
I started off by making some modifications inside the headlight. First, I took the old fresnel lens and grafted it into the plastic turn signal. the little lip on the back of the lens hooked onto the cutout I made in the plastic. used some high-heat epoxy to secure it into place.
Moving onto the main projector, I modified the secondary shield that basically adds a fade to the left side of the light. Removing it makes the final cutoff super crisp. (it's a little black piece on the back of the silver bit in the lower left of the photo)
Added 2 lens spacers and installed the STI-R clear lenses into the main projectors. Keeping the dust off afterwards was a true pain in the butt.
Here we are with all the lenses installed.
Next, painted the housings. Same black basecoat, then calliper clearcoat on top, housings matte, and projectors gloss.
Halos were mounted using beading wire. Didn't take too many photos of the process as it was a trial and error learning experience and I didn't really have my hands free for photos.
All the wiring was made to be modular. Everything is connected using terminals you can disconnect. All the wires are then covered in braiding and everything is heat shrunk. Here is a sample of the wire going to the DRL. Later, a third one was added for the switchback function.
And here is how they connect to the 'Y" splitters. The exposed wires and connectors are from the drivers, they have a sealant inside the terminals, so there was no need to go as crazy with the heat shrink. Everything then tucks nicely under the fenders.
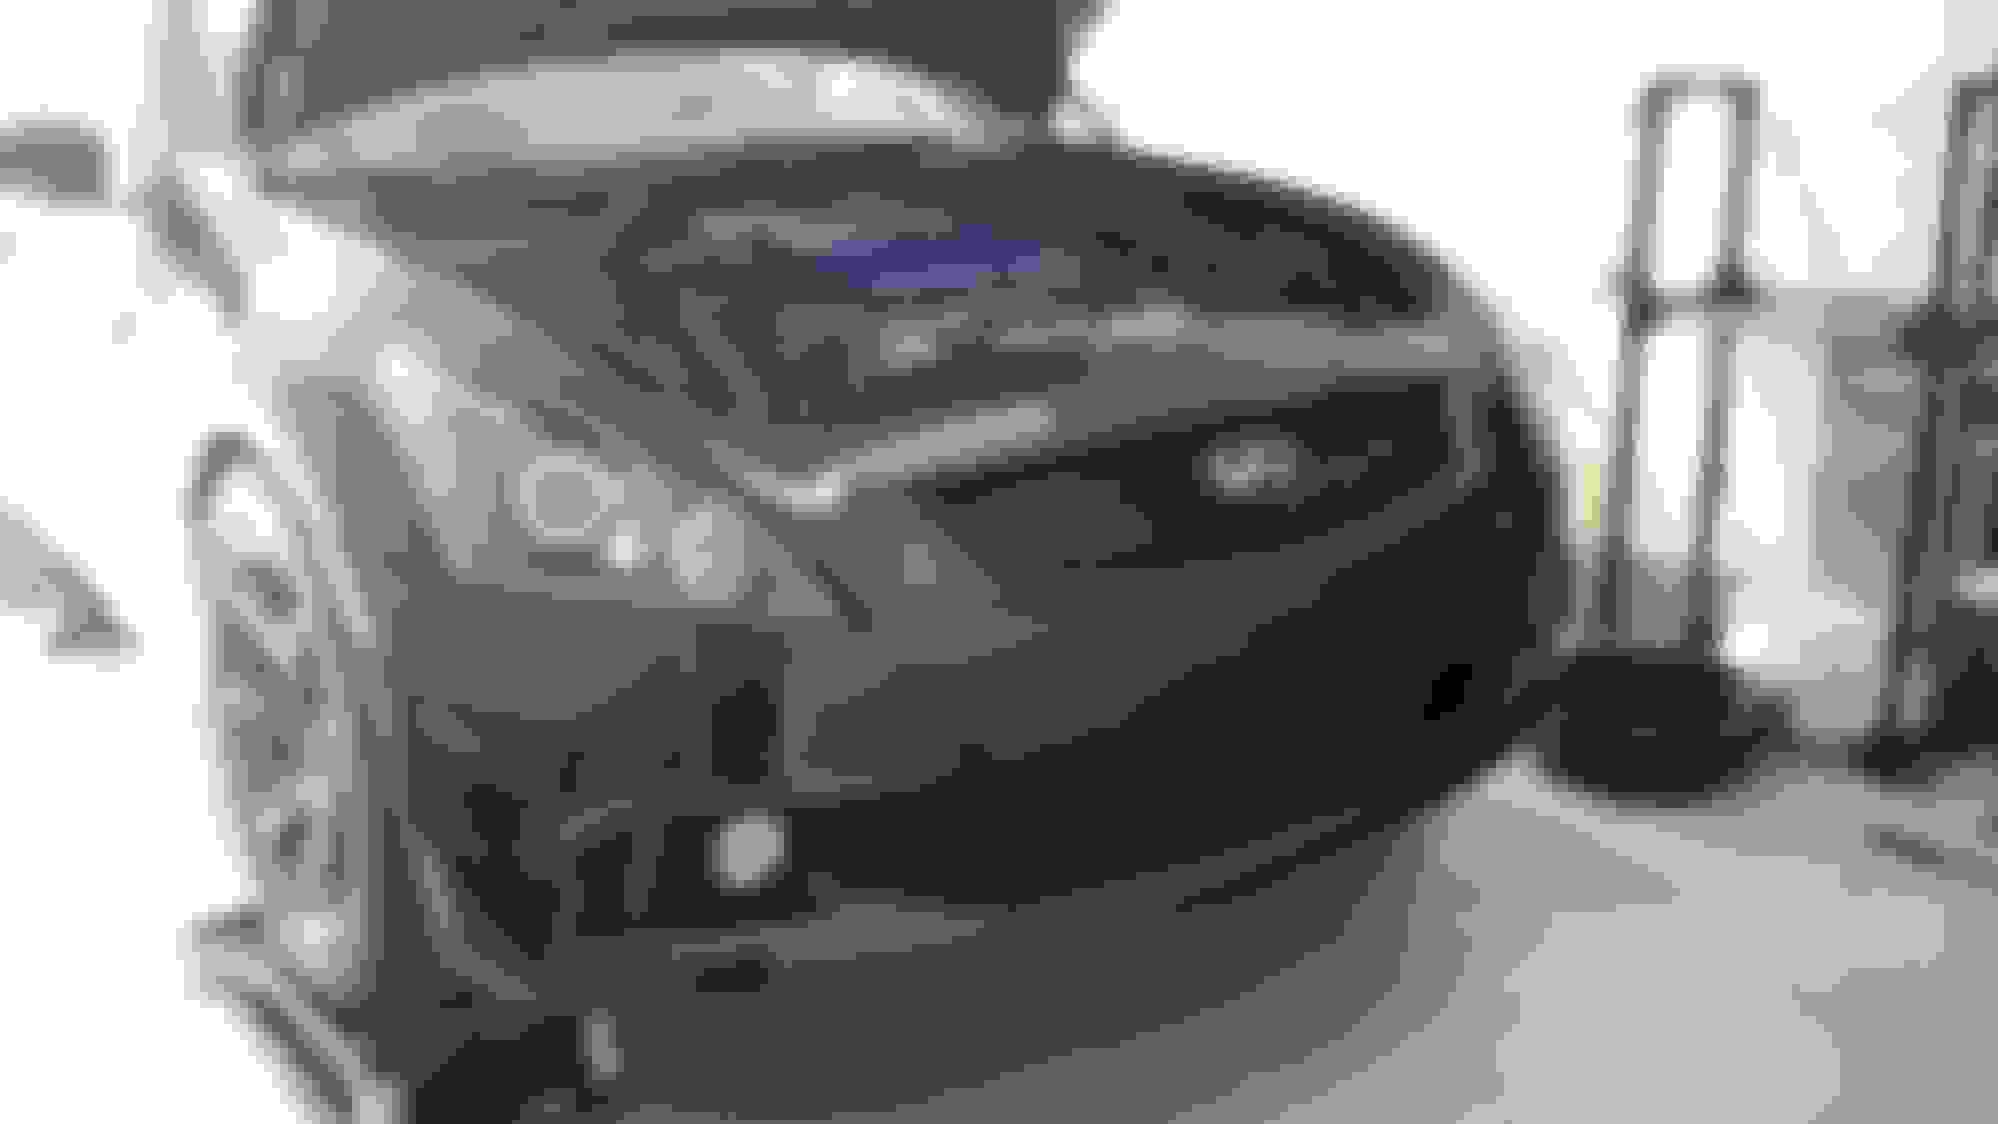
Finally, it was time to assemble all the pieces together.
Bumper not attached yet, and the emblem not attached yet either. Just mocked up to see how it all looks.
Here is a video of the first testing. Lights not attached yet, so don't mind the weird cutoff on the wall. Also, ignore the scratches, lights were polished after. Ignore the yellowish turn signal white bulb as well, also swapped after. https://drive.google.com/file/d/13V9...ew?usp=sharing
Light output and colours after turn signal bulb was swapped.
Not the best photo, but I'm pretty happy with the cutoff too.
Next, came polish. The lights were pretty scratched up, so was the rest of the car. I gave the whole thing a full cut/polish/ceramic treatment.
This is also where I wrapped the chrome trim on the windows and added the carbon fibre mirror caps.

 05-22-2020, 03:11 PM

 That's quite a coincidence.