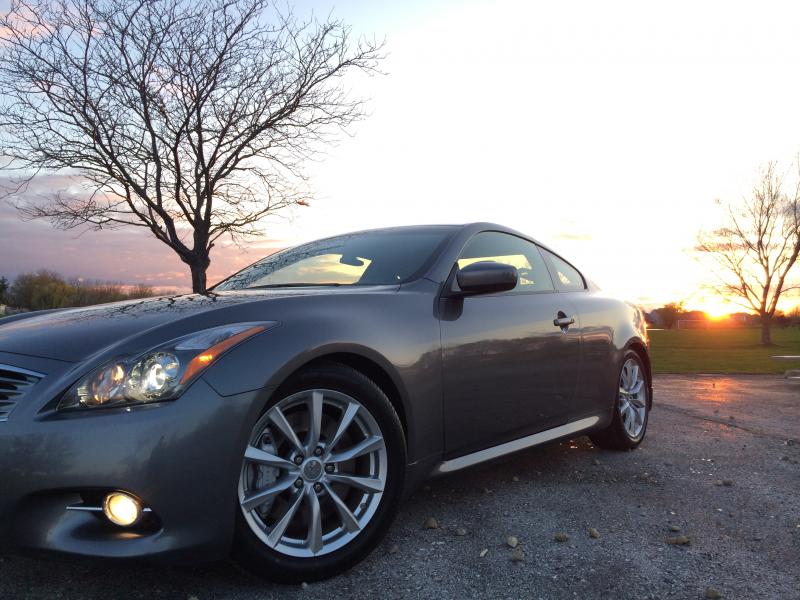
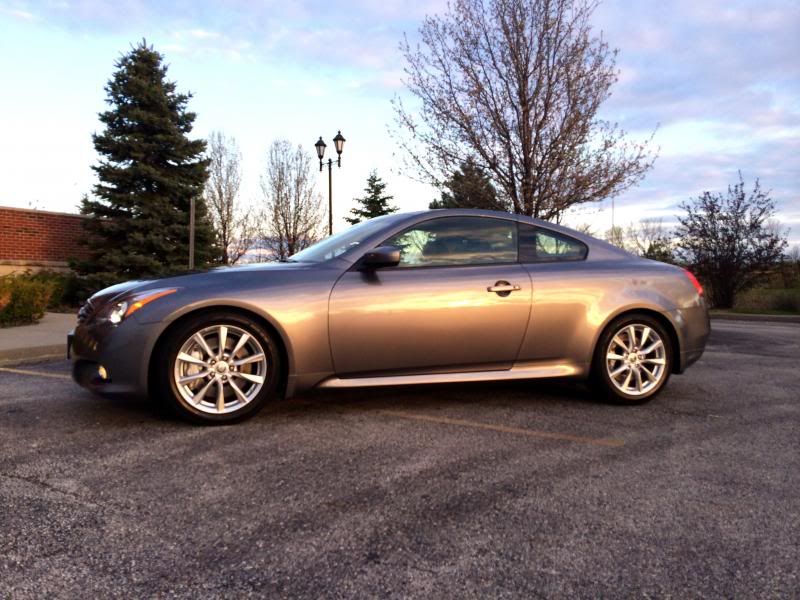
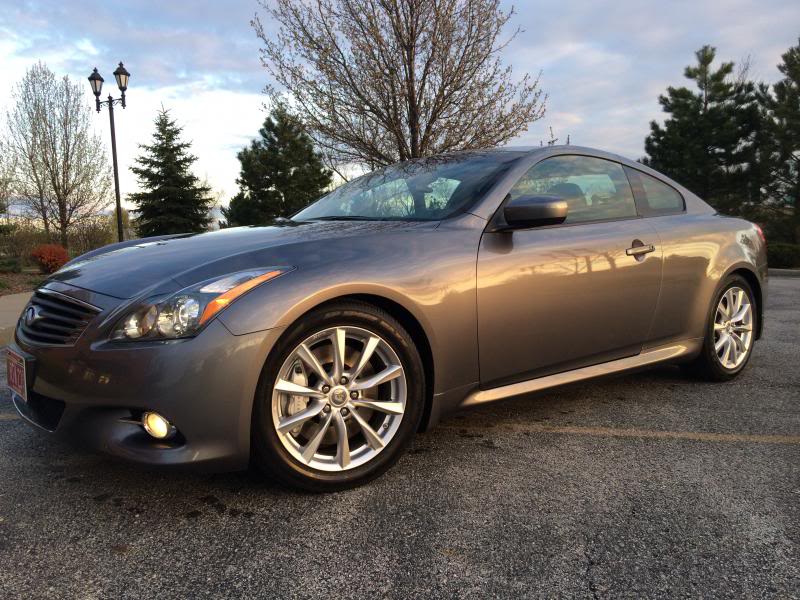
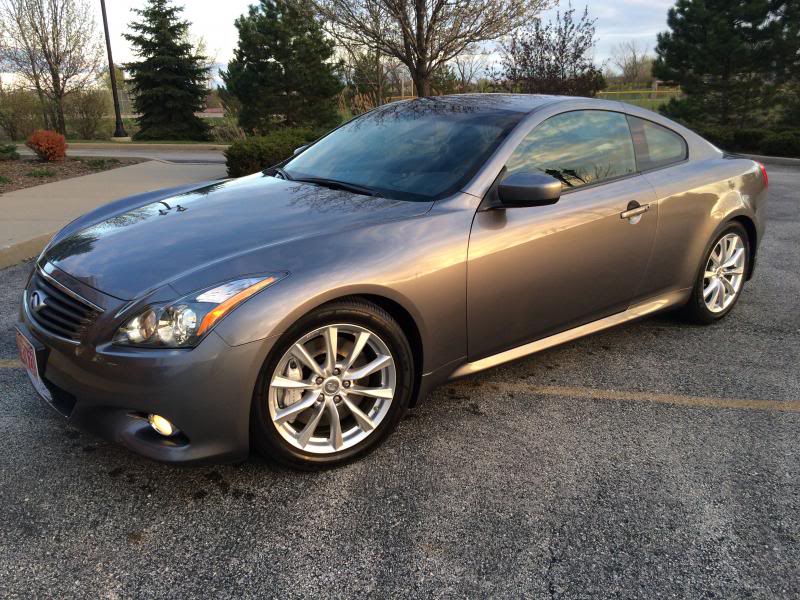
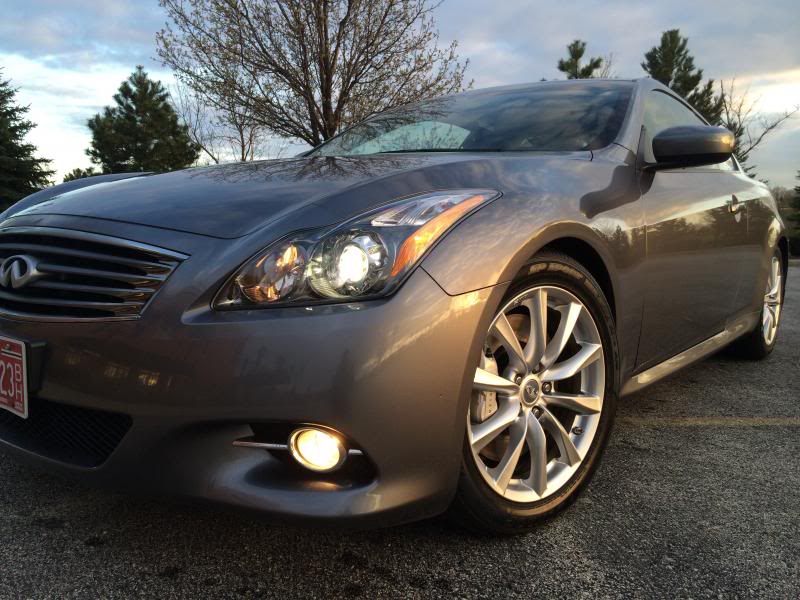
Ryne's Graphite Shadow AWD G37 Coupe
#34
I have the OEM spoiler sitting in my room. I pulled it out from under my bed and put the huge box leaned up against my couch so I have to look at it every day until I put it on my car. Motivation!
Here is my question: How have any of you put on your spoilers? Is this DIY, or should I just open my wallet and be safe. Drilling holes into the lid makes me nervous, but worst of all is that the instruction "packet" is around 15 pages.
Here is my question: How have any of you put on your spoilers? Is this DIY, or should I just open my wallet and be safe. Drilling holes into the lid makes me nervous, but worst of all is that the instruction "packet" is around 15 pages.
#35
I did the oem spoiler install last weekend.
If you aren't comfortable doing some of the steps required..shop around some local body shops that have good reviews, it seems the going rate is 100-125$ to install.
I had a variable step drill bit set from Harbor Freight (like $9 , something equivalent from say Ace Hardware is $35-40) and a drill that has a side hand attachment for steadying. If you look for drill bits in the metric sizes asked to be drilled for the holes, it becomes a costly endeavor.
The instructions do seem lengthy, but they are in pretty specific detail.. being a few more for those with the backup camera which is what I had to install. Using the provided paper templates, taping down, paying attention to detail and measuring twice if not three times... it was a relatively easy install. If I had to do it again, it would take 30-45 minutes, first time was about 2.5 hours..but I did drink a few pints during the process.
Just make sure to clean the application surfaces with alcohol to promote a long lasting adhesion and to coat the holes drilled out with rust inhibitor of some sort (or primer).
I didn't want to set up an appointment and I had all the items needed for the install on hand..plus, body shop personnel or not, they are going to use the same template to center punch, pilot hole drill, and drill out the final holes. Personally, I believe I will take care and caution with my own car more than anyone else would for a task like this.
Although, if they screwed something up, at least you know they will be able to get in new trunk deck and paint it for you, lol. Don't let me scare you off of doing the install though, seems plenty have had apprehensions and installed it just fine. Hey, at least you made the wise decision of OEM over the ebay offerings-- already well ahead of the game in terms of final fitment and color match.
edit: if you or someone else installs, opt to leave the existing rear parcel shelf brake lap unconnected...it looks a lot better relying on the built in led strip integrated into the spoiler to pull that duty.
Last edited by krazyfiend; 05-19-2014 at 12:48 PM.
The following users liked this post:
Ryne (05-19-2014)
#36
I did the oem spoiler install last weekend.
If you aren't comfortable doing some of the steps required..shop around some local body shops that have good reviews, it seems the going rate is 100-125$ to install.
I had a variable step drill bit set from Harbor Freight (like $9 , something equivalent from say Ace Hardware is $35-40) and a drill that has a side hand attachment for steadying. If you look for drill bits in the metric sizes asked to be drilled for the holes, it becomes a costly endeavor.
The instructions do seem lengthy, but they are in pretty specific detail.. being a few more for those with the backup camera which is what I had to install. Using the provided paper templates, taping down, paying attention to detail and measuring twice if not three times... it was a relatively easy install. If I had to do it again, it would take 30-45 minutes, first time was about 2.5 hours..but I did drink a few pints during the process.
Just make sure to clean the application surfaces with alcohol to promote a long lasting adhesion and to coat the holes drilled out with rust inhibitor of some sort (or primer).
I didn't want to set up an appointment and I had all the items needed for the install on hand..plus, body shop personnel or not, they are going to use the same template to center punch, pilot hole drill, and drill out the final holes. Personally, I believe I will take care and caution with my own car more than anyone else would for a task like this.
Although, if they screwed something up, at least you know they will be able to get in new trunk deck and paint it for you, lol. Don't let me scare you off of doing the install though, seems plenty have had apprehensions and installed it just fine. Hey, at least you made the wise decision of OEM over the ebay offerings-- already well ahead of the game in terms of final fitment and color match.
edit: if you or someone else installs, opt to leave the existing rear parcel shelf brake lap unconnected...it looks a lot better relying on the built in led strip integrated into the spoiler to pull that duty.
If you aren't comfortable doing some of the steps required..shop around some local body shops that have good reviews, it seems the going rate is 100-125$ to install.
I had a variable step drill bit set from Harbor Freight (like $9 , something equivalent from say Ace Hardware is $35-40) and a drill that has a side hand attachment for steadying. If you look for drill bits in the metric sizes asked to be drilled for the holes, it becomes a costly endeavor.
The instructions do seem lengthy, but they are in pretty specific detail.. being a few more for those with the backup camera which is what I had to install. Using the provided paper templates, taping down, paying attention to detail and measuring twice if not three times... it was a relatively easy install. If I had to do it again, it would take 30-45 minutes, first time was about 2.5 hours..but I did drink a few pints during the process.
Just make sure to clean the application surfaces with alcohol to promote a long lasting adhesion and to coat the holes drilled out with rust inhibitor of some sort (or primer).
I didn't want to set up an appointment and I had all the items needed for the install on hand..plus, body shop personnel or not, they are going to use the same template to center punch, pilot hole drill, and drill out the final holes. Personally, I believe I will take care and caution with my own car more than anyone else would for a task like this.
Although, if they screwed something up, at least you know they will be able to get in new trunk deck and paint it for you, lol. Don't let me scare you off of doing the install though, seems plenty have had apprehensions and installed it just fine. Hey, at least you made the wise decision of OEM over the ebay offerings-- already well ahead of the game in terms of final fitment and color match.
edit: if you or someone else installs, opt to leave the existing rear parcel shelf brake lap unconnected...it looks a lot better relying on the built in led strip integrated into the spoiler to pull that duty.
#37
I DIY'd my Sedan Spoiler, IMO it was simple, and I didn't even have the templates, just had to carefully measure. I also primed the holes I drilled w/ a Q-tip that I dipped in spray primer. Took about 90 minutes, and again, this was w/out a template.
BTW, car's looking great Ryne, you weren't kidding about those calipers being quite snug w/ those 18s, but the overall look is
BTW, car's looking great Ryne, you weren't kidding about those calipers being quite snug w/ those 18s, but the overall look is

The following users liked this post:
Ryne (05-19-2014)
#38
I DIY'd my Sedan Spoiler, IMO it was simple, and I didn't even have the templates, just had to carefully measure. I also primed the holes I drilled w/ a Q-tip that I dipped in spray primer. Took about 90 minutes, and again, this was w/out a template.
BTW, car's looking great Ryne, you weren't kidding about those calipers being quite snug w/ those 18s, but the overall look is
BTW, car's looking great Ryne, you weren't kidding about those calipers being quite snug w/ those 18s, but the overall look is

Did everyone drill all the holes? I know I have seen some people only drill under the chrome piece?
#39
Thanks! My girlfriend's dad does body work, so I'll probably work on this one with him. I just wanted to make sure it was relatively straightforward before I started drilling holes into a relatively new brand new car (13).
Did everyone drill all the holes? I know I have seen some people only drill under the chrome piece?
Did everyone drill all the holes? I know I have seen some people only drill under the chrome piece?
 I'd drill small pilot holes prior to the full drill bit size just so you won't get any wander on the bit.
The following users liked this post:
Ryne (05-20-2014)
#40
The drilled holes for the coupe have one additional drilled hole that is outside of where the existing faux chrome lip resides in comparison to the sedan spoiler install..
.. there are only two holes under the chrome lip that are drilled and used for retention under that area, along with the 3m tape/foam...it would probably hold, but I plan to keep this car for awhile so I had no qualms with drilling the side holes along with the main difference, a high center drilled hole that goes dead center about an inch above where the faux chrome oem lip sits. That one I saw as necessary for a tight lasting seal and at that point you've committed to the spoiler and never going back to the stock lip. So why not drill the side holes at that point? I wanted to install it once and never second guess if after a few winters one of the adhesive sides started to lift (doubtful because of the FG construction instead of PU, but who knows).
Good luck! Feel free to ask any other questions.
The following users liked this post:
Ryne (05-20-2014)
#41
The drilled holes for the coupe have one additional drilled hole that is outside of where the existing faux chrome lip resides in comparison to the sedan spoiler install..
.. there are only two holes under the chrome lip that are drilled and used for retention under that area, along with the 3m tape/foam...it would probably hold, but I plan to keep this car for awhile so I had no qualms with drilling the side holes along with the main difference, a high center drilled hole that goes dead center about an inch above where the faux chrome oem lip sits. That one I saw as necessary for a tight lasting seal and at that point you've committed to the spoiler and never going back to the stock lip. So why not drill the side holes at that point? I wanted to install it once and never second guess if after a few winters one of the adhesive sides started to lift (doubtful because of the FG construction instead of PU, but who knows).
Good luck! Feel free to ask any other questions.
.. there are only two holes under the chrome lip that are drilled and used for retention under that area, along with the 3m tape/foam...it would probably hold, but I plan to keep this car for awhile so I had no qualms with drilling the side holes along with the main difference, a high center drilled hole that goes dead center about an inch above where the faux chrome oem lip sits. That one I saw as necessary for a tight lasting seal and at that point you've committed to the spoiler and never going back to the stock lip. So why not drill the side holes at that point? I wanted to install it once and never second guess if after a few winters one of the adhesive sides started to lift (doubtful because of the FG construction instead of PU, but who knows).
Good luck! Feel free to ask any other questions.
#42
Thanks for the answers guys. I looked at the template and saw the hole you are talking about dead center, right above the chrome lip. Installing without that hole would be pushing my luck. If I drill that hole, I may as well drill them all; I just know I have seen good installs done before, but it appears to be sedan specific. Im a spoiler kinda guy so I don't see any reason I would want to put that chrome lip back on anyways, I just wanted to see what my options were. The chrome lip takes a bit away from the sportiness, compared to the spoiler.


