When you click on links to various merchants on this site and make a purchase, this can result in this site earning a commission. Affiliate programs and affiliations include, but are not limited to, the eBay Partner Network.
2013 Sedan Headlight project - AKKON OEM Style Blackouts
Hey all! Long story short, my oem headlight lenses have started spider cracking, and the passenger side has an actual deep crack from a rock hitting it a few weeks back.
I decided to take on an experiment "for science" and pulled the trigger on a pair of sedan Akkon headlights. I haven't seen anyone use these yet and knew it'd be a gamble. These aren't the ones that are styled like OEMassive, but rather a traditional oem headlight with blacked out shroud and reflectors.
I planned on adding switchback halos and STI-R clear lenses, so off came the lenses. I've retrofit dozens of lights in the past without issue and figured these would be no different.....annnnnd I was wrong.
First off, these things are NOT sealed with traditional butyl, but rather a permaseal type sealant. The stuff took about 20 cycles of 270� for 20 to 30 minutes at a time, and that only gave me about a minute to two minutes of working time to pry the lenses off. Huge PITA. The housings themselves are fairly flimsy too, and the channels distorted heavily when prying the lenses off despite using a proper pair of separating pliers, but they did eventually come apart.
I'll get pictures posted tomorrow, but here's my take so far:
The front lenses themselves are good quality and decent material. The reflectors are not just painted black, but actual black material so it'll be interesting to see how they hold up to heat and sunlight vs. Painted reflectors.
Surprisingly, after I got them apart, the projectors already had a clear lens installed. I'm still going to compare this lens to the STI-R lenses after I get my oe lights out to hook up the ballasts. Thats the only good thing about the projectors though. The reflector bowls are metal, but seem to be a fairly poor quality metal. Looks like it would shatter if you dropped them. The front "casing" that holds the projector lens itself is not OE style, but rather a cheap plastic bit that seems flimsy. I'm seriously debating opening up my OE Lights to swap the projectors all together, as I'm not sure how these will hold up.
The rest of the lights, including the DRLs and upper bulbs are all great quality, so the projector and the housing itself are where these lights seem to cheap out. Again, this was a risk I knew so I'm not worried, just wanting to share in case others are looking at these lights.
For my own sake, does anyone have confirmation that the '13 Sedan headlights from the factory are sealed with ACTUAL BUTYL or do they use a permaseal type material that's a pain to remove as well? If regular butyl, I'll probably open them up and reuse my original housings and projector and swap over the reflectors, front lenses, and peripherals from the AKKON lights. If the oem lights use a permaseal type sealant, yeah I'm not dealing with that again. Hard to devote that much time to opening a light with 3 kids under 5 running around the whole time!
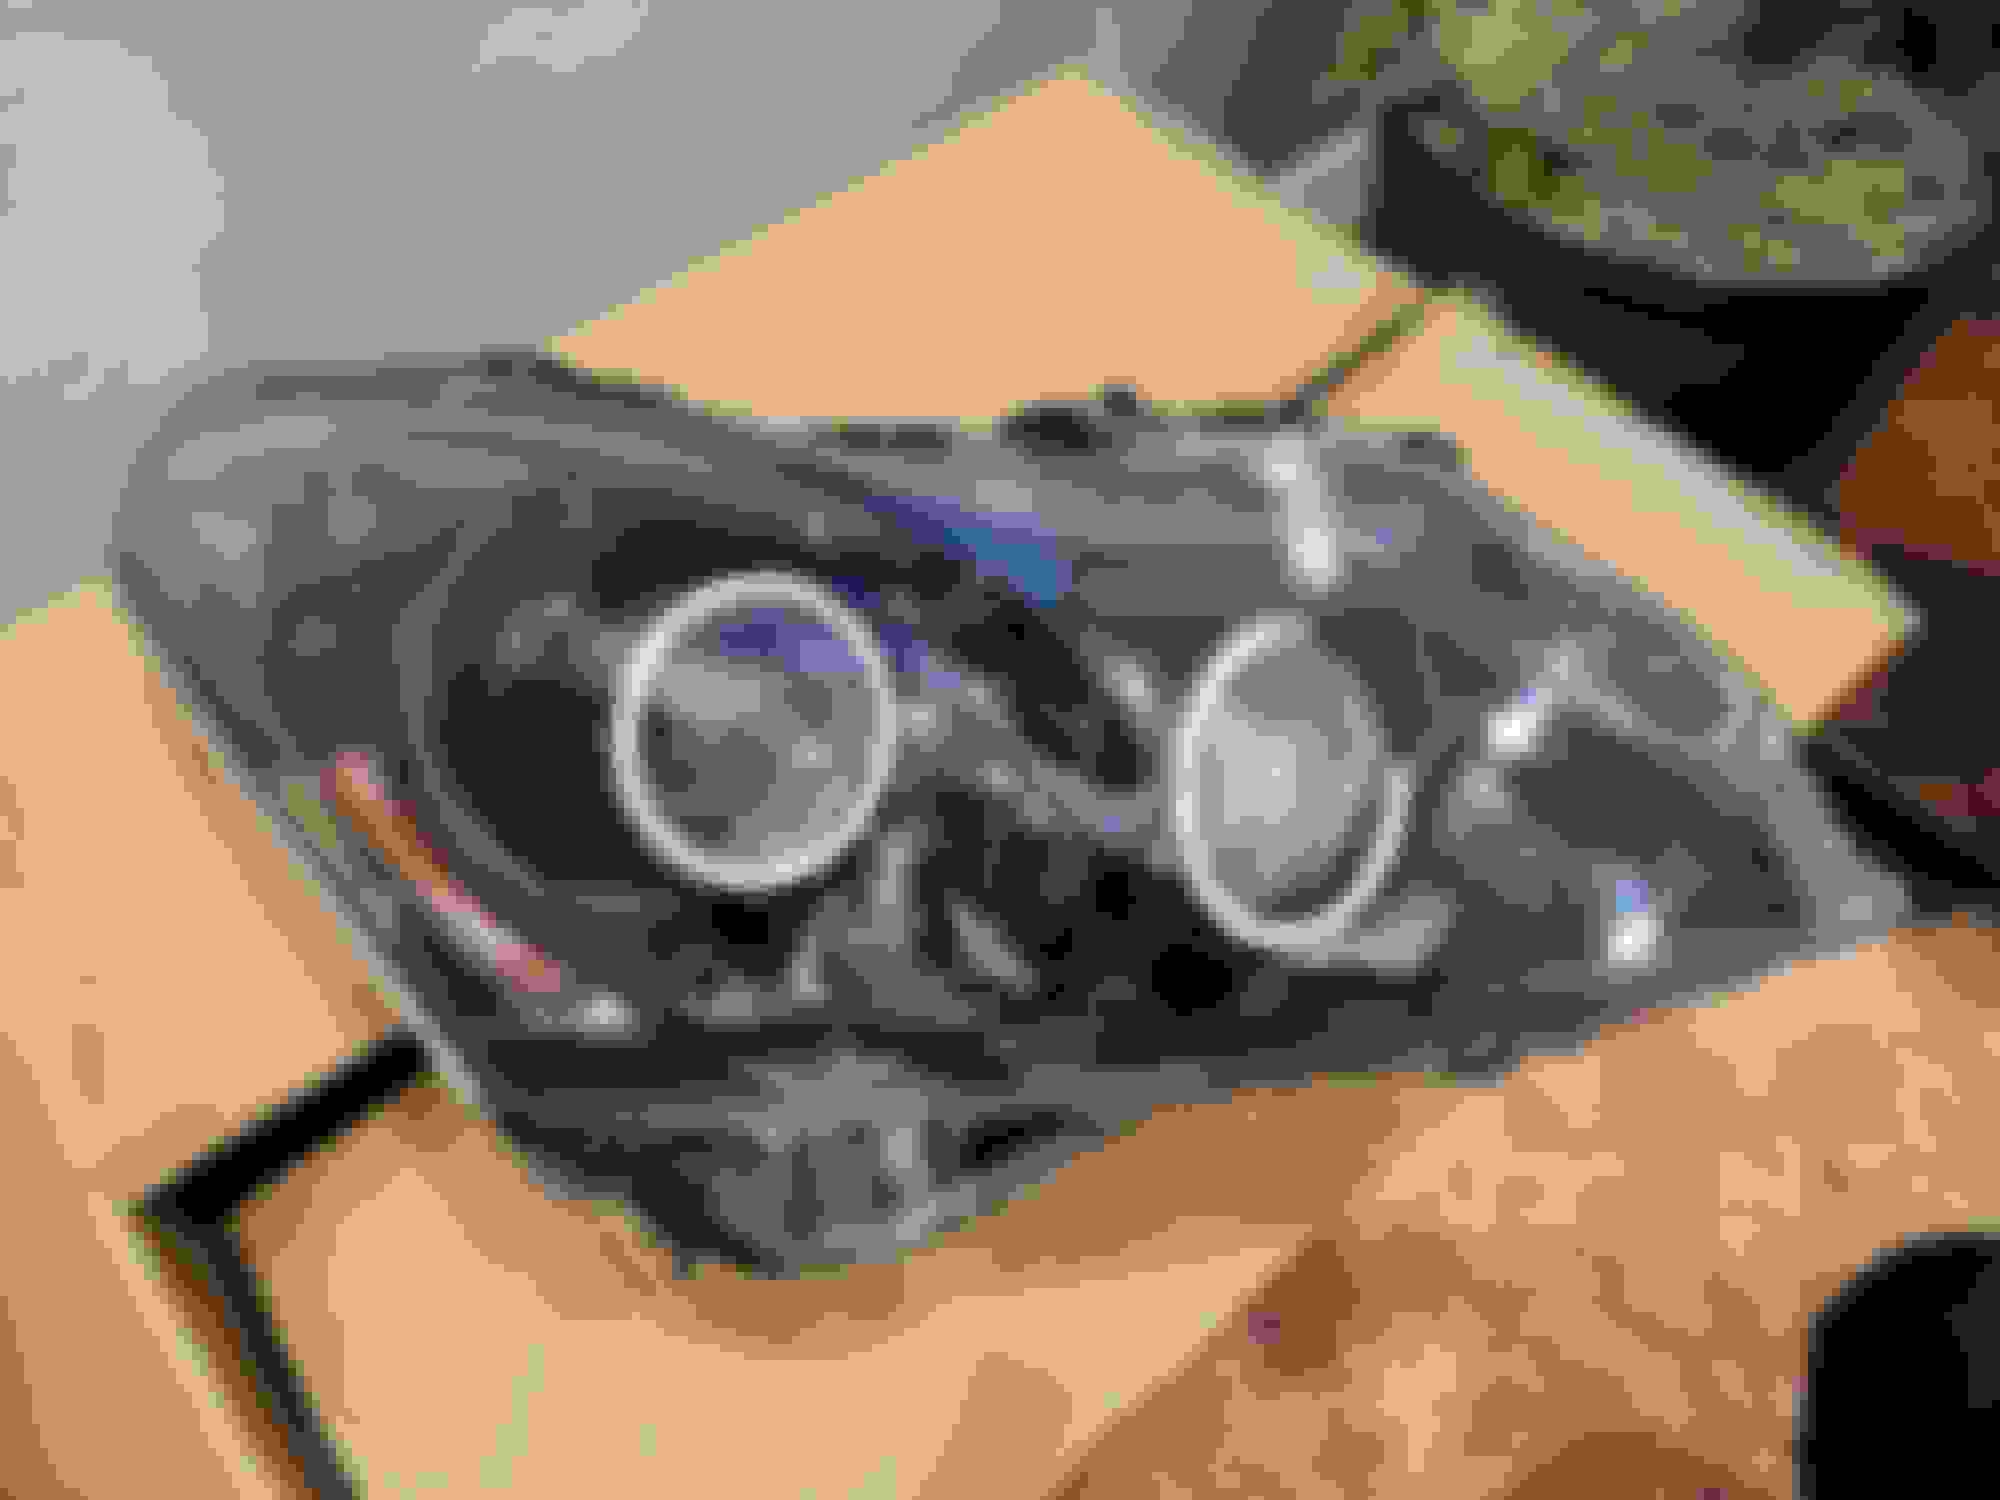
Pics coming soon, but the lights do look exactly as advertised. You swap over your existing ballast but everything else comes with the lights. Total cost shipped was $399 for the pair. Not horrible if you want to run them plug and play without modifying.
This is the pic of the lights from the listing, which do look identical to what i received.
A few guys are running them unmodified on a G37S Facebook page but I haven't gotten any information from them. Did you by chance check their output in stock form before opening them? My oem are spider cracking like yours. And with kids and recent clutch replacement along with the rear differential bushings getting replaced, I definitely don't have the cash to modify anything. I would love to just replace my lenses with some off eBay and paint inside while open. But again, with kids and 12 hour shifts at work I don't have the time or patience..
Got busy yesterday and didn't get to work on these much, but I've got some updates and pictures!
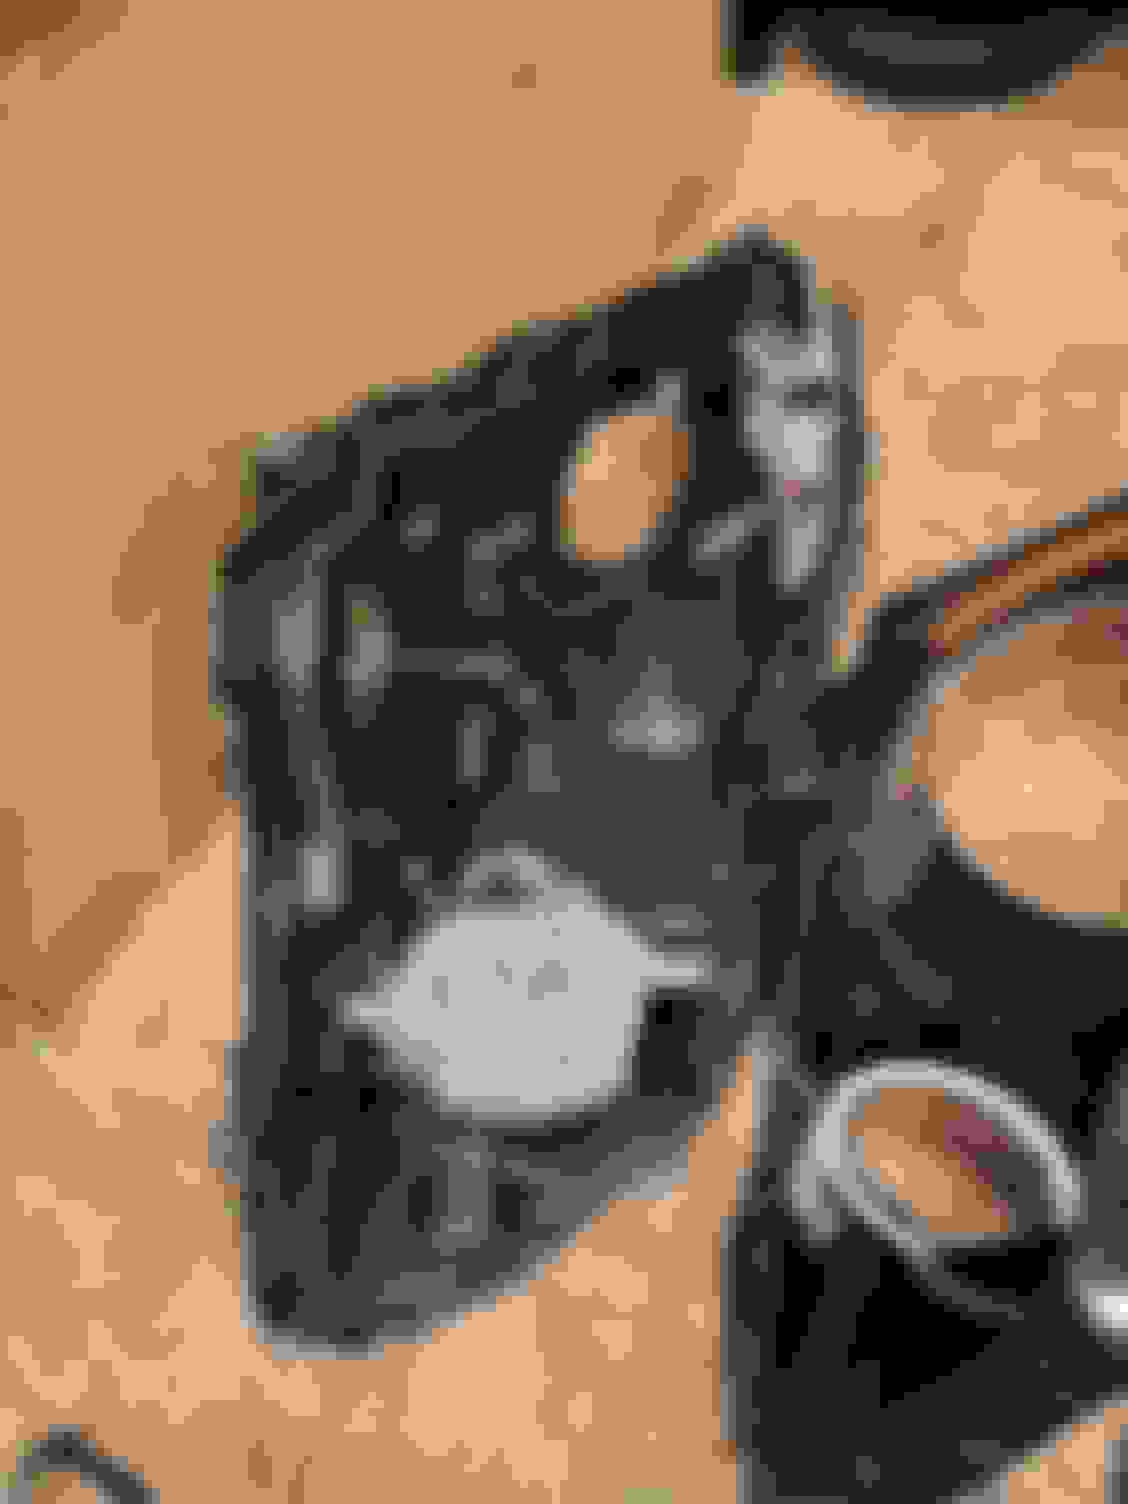
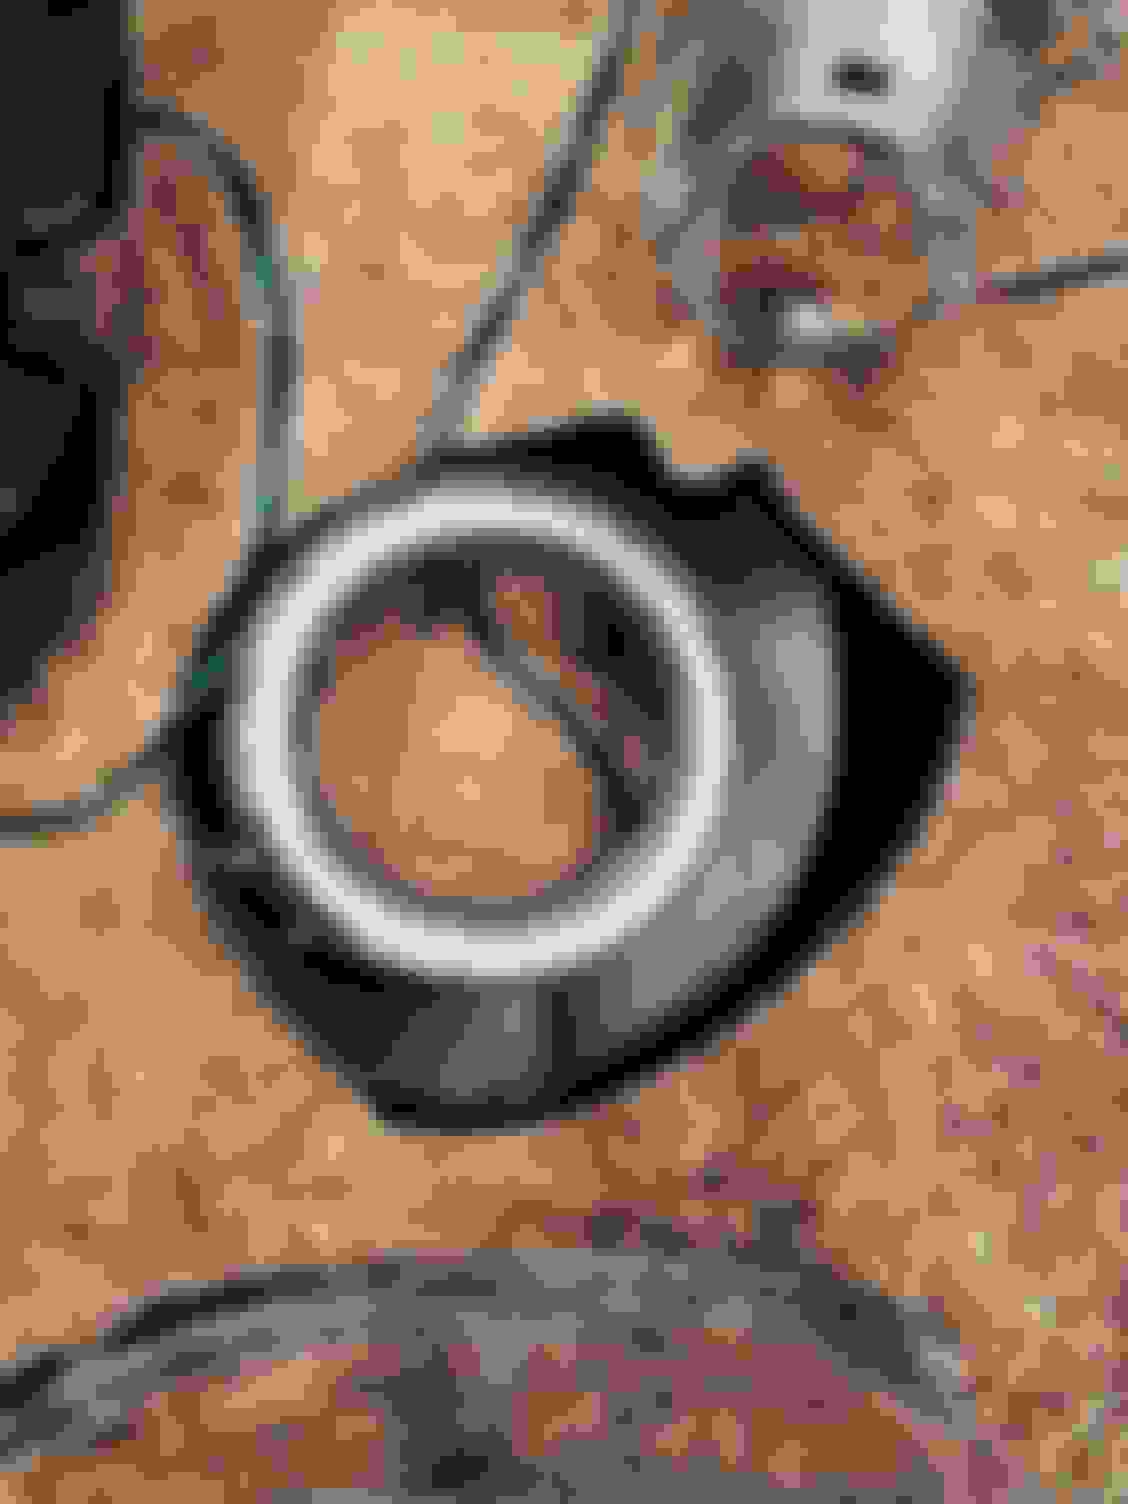
So honestly, the Akkon projectors that come with these surprised me a bit. You only hear bad things about the LED/square style projectors that come in a lot of aftermarket lights, but these were surprisingly decent! I've got some shots of the projector body below, so you can see why I was hesitant at first on the quality. I will be swapping over the bulb retaining hardware, cables, and ballast from my OEM light, but the Akkon projector has a flimsy plastic retainer to hold in the bulb. It'd probably work just fine without issue, but who wants to risk that during a night drive. The projector bowl itself is average quality, it's metal and that's about as much as you can ask. The solenoid inside functions with no hangups or sticking, as I've seen with aftermarket projectors in the past, so that was nice to see. rear of the projector and bulb retaining clip
The front bracket that the lens physically rests in is plastic. This is my biggest critique of this projector. It has 4 retaining points, as you can see with the "staple-like cutout" on the exterior. They're spaced to fit the Akkon lens precisely with no additional spacers needed.
Solenoid and high-beam shield
Now, originally I had purchased STI-R lenses thinking these lights would come with a similar lens to OEM. I was surprised to see clear lenses already installed, but for science I tried installing the STI-R lenses to see if there would be much difference in output, cutoff, light spread, etc.
I can 100% confirm the STI-R lenses will NOT fit these projectors without modification that would then render the "stock Akkon" lens unusable. The STI-R lens has a thicker mating flange that won't allow the retaining "clips" in the projector housing to fully grab it, which inadvertently messes up the spacing as well. Even with modification, it'd take a lot of tweaking to get perfect. You tell me, but the results below tell me I'll be just fine running the Akkon lens.
Keep in mind I'm shooting these at ~20ft away at a ceiling. I still have my OEM lights in the car, so I had to connect the ballast and projector inside the fender well so it was pretty much impossible to take shots against a wall.
Here's the comparison between the Akkon lens and the STI-R lens. With tuning, I'd say output would be identical, and I'm not sure the cutoff would be all that much better. Not bad at all for plug and play. These are also taken using the bulbs that came with the Akkon lights. I'll be swapping in a pair of Osram Night Breaker's before the lights go in the car, so I should get an even brighter output than shown here. No clue what the specs are on this bulb, but this was mainly to test the projector.
Akkon cutoff with "stock" akkon bulb and lens
STI-R lens. Tuning is horrible, but without significant trimming, spacing, etc in 4 separate areas which leaves a lot of margin for error, I'm going to leave the Akkon lenses in.
Now that the lens bit has been sorted, it's worth noting that EVERY SINGLE SCREW ON THIS PROJECTOR was loose. Literally every screw. I tightened them all down and used some blue loctite because I do not feel like anything coming loose once the lights are back in the car and resealed.
Aside from that, the projector works well, equally as bright as the OEM Infiniti projector, so quite better than most aftermarket non-oem style lights for this car.
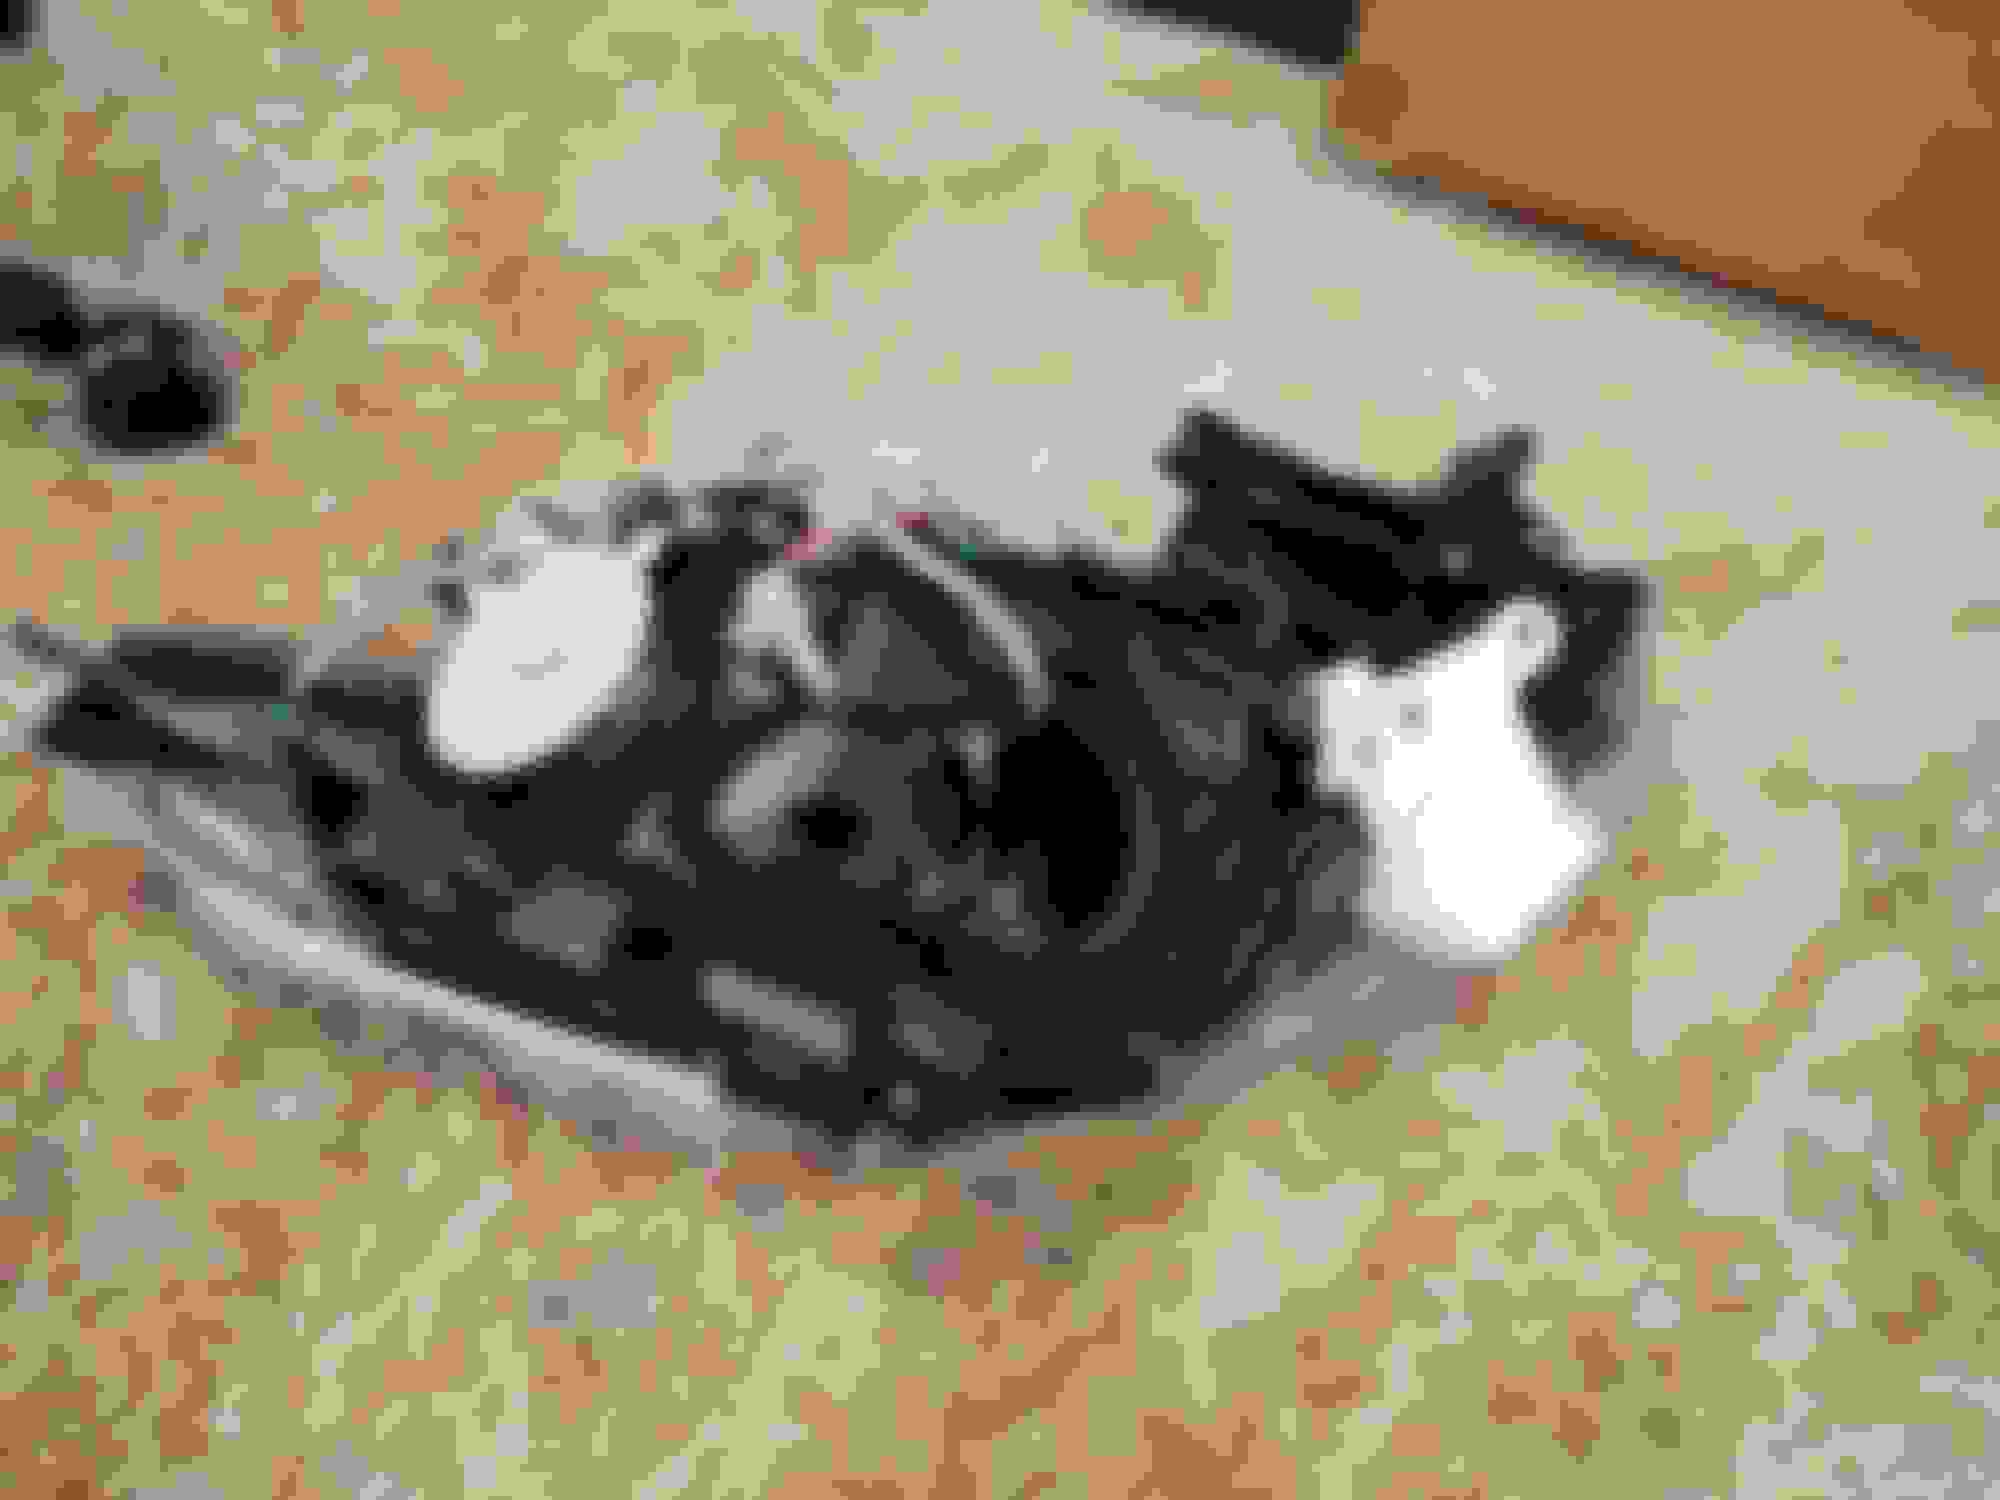
Here are some gut shots of the light from unboxing to fully disassembled to add the halos. Overall, not horrible for the money, but there's definitely some tradeoffs at this price point. We'll see how they turn out once finished and in the car!
Driver's side headlight as received in-box. The lenses were wrapped nicely to prevent scratches. I am working on the passenger light in the remaining pics. Rear of the light. All wiring, bulbs, and hardware are included and like OEM, with the ballast and ignighter missing. The housing plastic does feel a bit more flimsy when heated. I hated separating this light. They used permaseal, and it essentially destroyed the channels to remove the lens. 10/10 do not recommend opening these lights up. I'll be resealing with Morimoto retrorubber, and hopefully salvaging the channels with careful use of a heat gun The guts of the light Shroud is actual black plastic, not painted Reflector is also black plastic, not painted chrome.
The price is sure right. Looking forward to seeing pics of these on your car. What color is your sedan?
Me as well! Mine is liquid platinum so the black should contrast nicely. Paint is pretty shot from my kids dinging it up, and our 5 year old recently tossed the recycling bin on the hood and bear clawed it in the process. Debating wrapping it in pearl white satin, but that's down the road if it happens.
I have the Akkon GTR style headlights and after two years the clear coat on them is pealing.
Very cool project!
What part of the clear is peeling? The outer lens, or clear on the inside/reflector? My car is garage kept so I'm hoping that will help. Unfortunately it did not help prevent door dings from my kids 🤣
As far as purchasing goes, I actually got these new off of ebay. I get points at work and stockpiled enough and snagged them, so legit "free" aside from the 60hrs a week I put in.
Got a little more work done last night. Again slow progress, but a 4mo old, 2 year old and 5 year old take a significant amount of time after work!
That said, all that's left on this one is to bake it back together, bend some of the channels back once they're nice and hot, and figure out where I'm going to wire/mount the LED drivers at. I think I can get away with mounting them just inside where the ballast attaches to keep everything inside the lights, but that's TBD. I'll be using some proper crimp connectors and adhesive-lined shrink wrap to wire everything in. I do have some additional sealed connectors from past retrofits so I might wire both drivers into a single 5 pin connector, but again I'm not sure I need to go that far out of the box.
Here are some pics before it gets sealed back up. Ive got the retrorubber fitted into the channels and a thin strip on the lens itself. Doubling up isn't needed, but once it heats up and melts in, this is a foolproof way to ensure you have no leaks or access for moisture. Not pictured but I also put two large packs of desiccant behind the reflector for added moisture protection. Nothing looks worse than an internally foggy lens!
Also, you can really tell how mangled the channels got because of the permaseal. Despite that God awful adhesive, it's nice to know I didn't have to mess around with paint to get results, nor sacrifice light output! Again, these seem to be a pretty good deal if you're not planning to open them up!
I'll be going just a bit over what the retrofit source advises for the retrorubber, which is 265�F for 7 minutes. I've had the best luck around 12 minutes of baking to really let the retrorubber flow and soften. That allowed me to do a single heat cycle vs. Several cycles to Reseal the past sets I've done. Hoping this one will be finished up tonight.
Now time to rinse and repeat on the other light and chase down a very intermittent parasitic draw before these go in the car!
What part of the clear is peeling? The outer lens, or clear on the inside/reflector? My car is garage kept so I'm hoping that will help. Unfortunately it did not help prevent door dings from my kids 🤣
As far as purchasing goes, I actually got these new off of ebay. I get points at work and stockpiled enough and snagged them, so legit "free" aside from the 60hrs a week I put in.
I'm hoping these will hold up a little better. I'll be ceramic coating them before they're on the car to add some protection, but as long as they arent spider cracked, I've resprayed clear on lenses before so thats not the worst but I'd hope to get more than 2 years out of them before that happens.
And I can agree on the more oem look. These may end up looking a little too blacked out, but I think it'll be a nice touch to the front end.
The shape of the G's headlight lens is a little difficult to work with. Hopefully the coating works for you.
The shape of the G's headlight lens is a little difficult to work with. Hopefully the coating works for you.
I'll agree with you there. The "bubble" they have in front of the projector can be tricky to sand evenly but I've had good luck doing them when removed from the car. It's a lot easier for me to work with their shape holding the light on my lap vs. in car, and using very small pieces of sand paper with a sponge. My current lights made it through two resprays before the FL heat cracked them all together, and then a rock pretty much took the last bit of life they had. I didn't have them ceramic coated though, and I'm debating some PPF for this pair as an additional layer of protection. We'll see once I get the coating on if I'm satisfied with it. It'd be smarter to do PPF>Ceramic coat>UV protection>wax> but that's significant overkill IMO.

 12-13-2023, 10:14 PM