When you click on links to various merchants on this site and make a purchase, this can result in this site earning a commission. Affiliate programs and affiliations include, but are not limited to, the eBay Partner Network.
I'll agree with you there. The "bubble" they have in front of the projector can be tricky to sand evenly but I've had good luck doing them when removed from the car. It's a lot easier for me to work with their shape holding the light on my lap vs. in car, and using very small pieces of sand paper with a sponge. My current lights made it through two resprays before the FL heat cracked them all together, and then a rock pretty much took the last bit of life they had. I didn't have them ceramic coated though, and I'm debating some PPF for this pair as an additional layer of protection. We'll see once I get the coating on if I'm satisfied with it. It'd be smarter to do PPF>Ceramic coat>UV protection>wax> but that's significant overkill IMO.
I found it is easier to work with them on the car as they can't move. The headlights are quite large and found it difficult to do fine sanding with them not mounted to anything. The small bump on the lens is the tricky spot. From what I found, PPF will be the best as a lot of the headlight coatings will just wear away. I actually bought the PPF kit for my G as once I re-coat them I was going to put PPF on them. Good luck!
Finally got this finished after way too long. The end of December and January were quite busy months with the holidays, multiple work trips, and all 3 kiddos contracting COVID (aka none would sleep), so it took progress speed down to a trickle, but we're finally done!
After finishing the halo install on both lights and sealing them back up, I spent a good amount of time with a heat gun to get the channels back into their original shape. Heating the lights back in the oven would've made the butyl heat cycle way too much, so I used targeted heat to get things back where they belonged. After that was finished, I moved on to wiring things up.
I'm a stickler for keeping things as clean as I'm able to, so messy tangles of wire in an engine bay aren't exactly something I like to see. To tackle that, I used proper crimp connectors, adhesive heat shrink, and wire loom to keep things tidy.
I used a standard weatherproof 4 pin relay to handle power. I mounted it on the passenger side under the weatherstripping/cover between the hood and fender, and used an existing hole so I did not have any drilling involved.
Once the relay was mounted, I used another existing hole where a bracket bolted for the airbox. After using a small wirewheel I have for my dremel, I carefully removed the paint from this area in the exact diameter of the bolt I had planned. This mounting location, as tested with my multimeter, had nearly 0 ohms of resistance to the negative terminal on the battery, so it was the perfect location for the passenger side grounds. I used crimp ring terminals to attach for the ground wire off of the relay, as well as the ground wire for the passenger side halo harness. Once this was bolted up, I used a hole in the LH shock tower to ground the driver's side of the harness for that lights' halos. Again, pretty incognito for the locations.
For power, the relay was in the perfect position to run both the power wire and signal wire along side the 1" harness that runs along the strut towers down toward the headlights. This harness snakes directly into the battery compartment, so I used some 1/4" wireloom to loom the signal wire and power wires from the relay. They're ziptied and nearly unnoticeable to the naked eye. From there, I used a crimp-in-place fuse holder to ensure the power wire was fused, and attached a ring terminal to the positive battery cable.
I ran the signal wire through the firewall through the main wiring harness grommet and over to the driver's side fuse panel where I used a fusible link to tap into an unused circuit that receives power once the ignition is on. I did not have to move any existing fuses, which was nice, as I had 3 unused spaces in this panel.
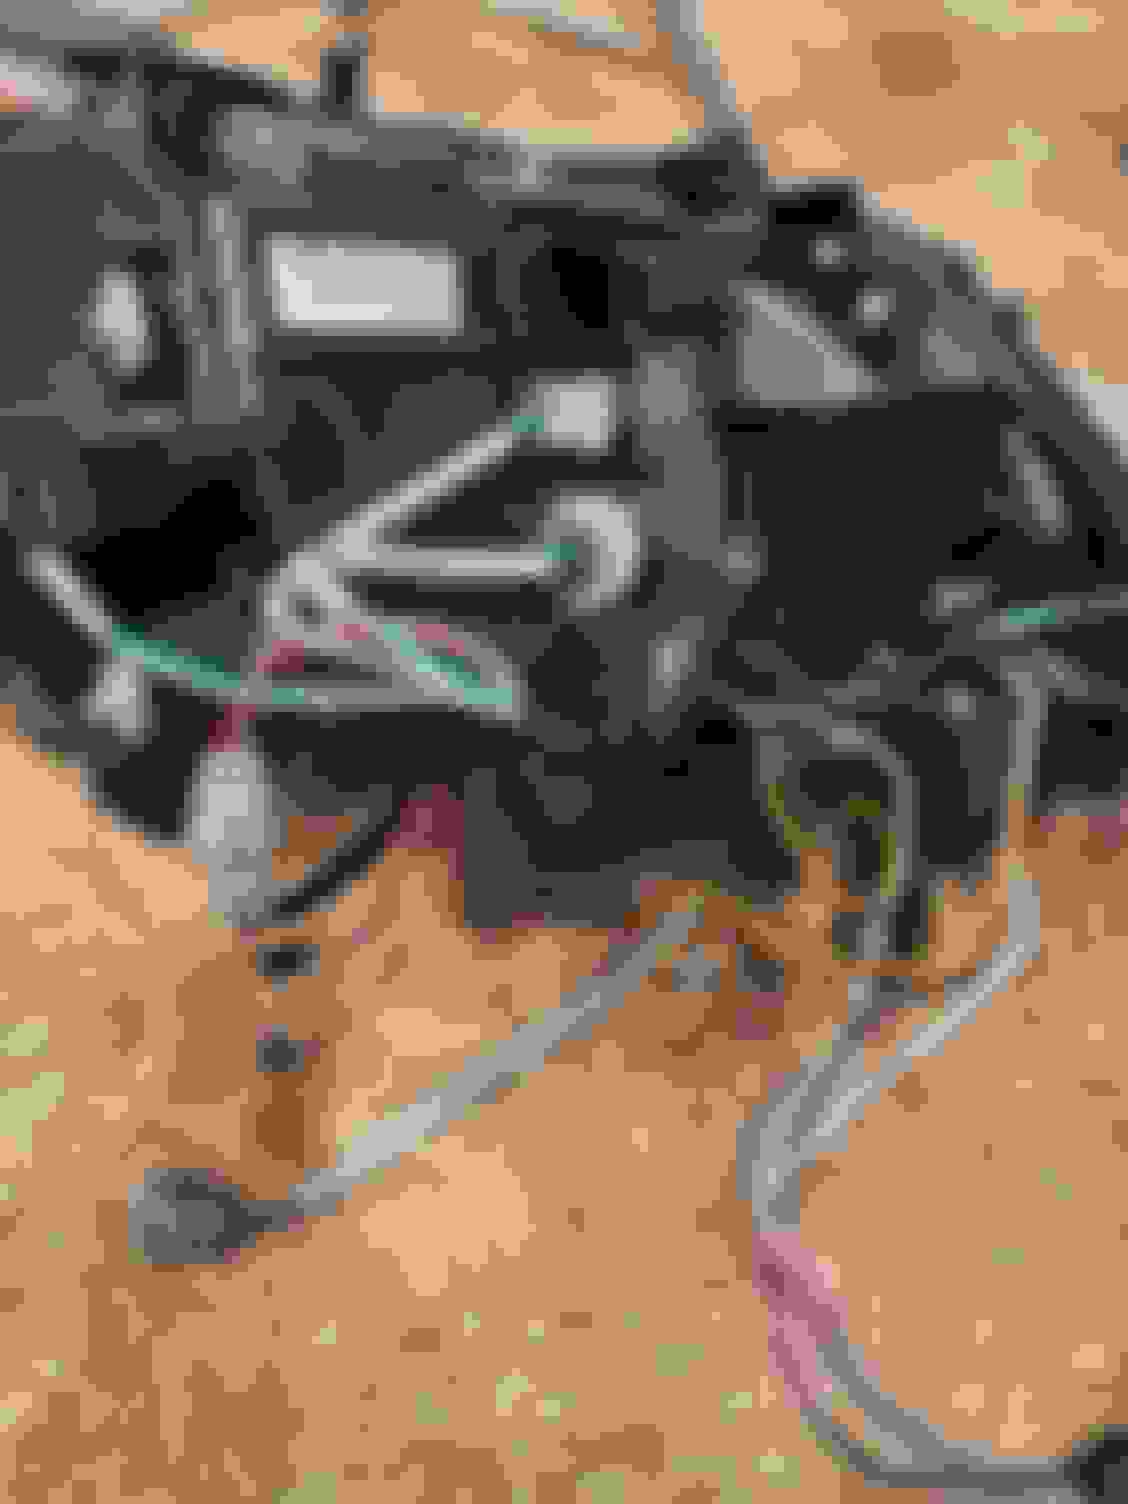
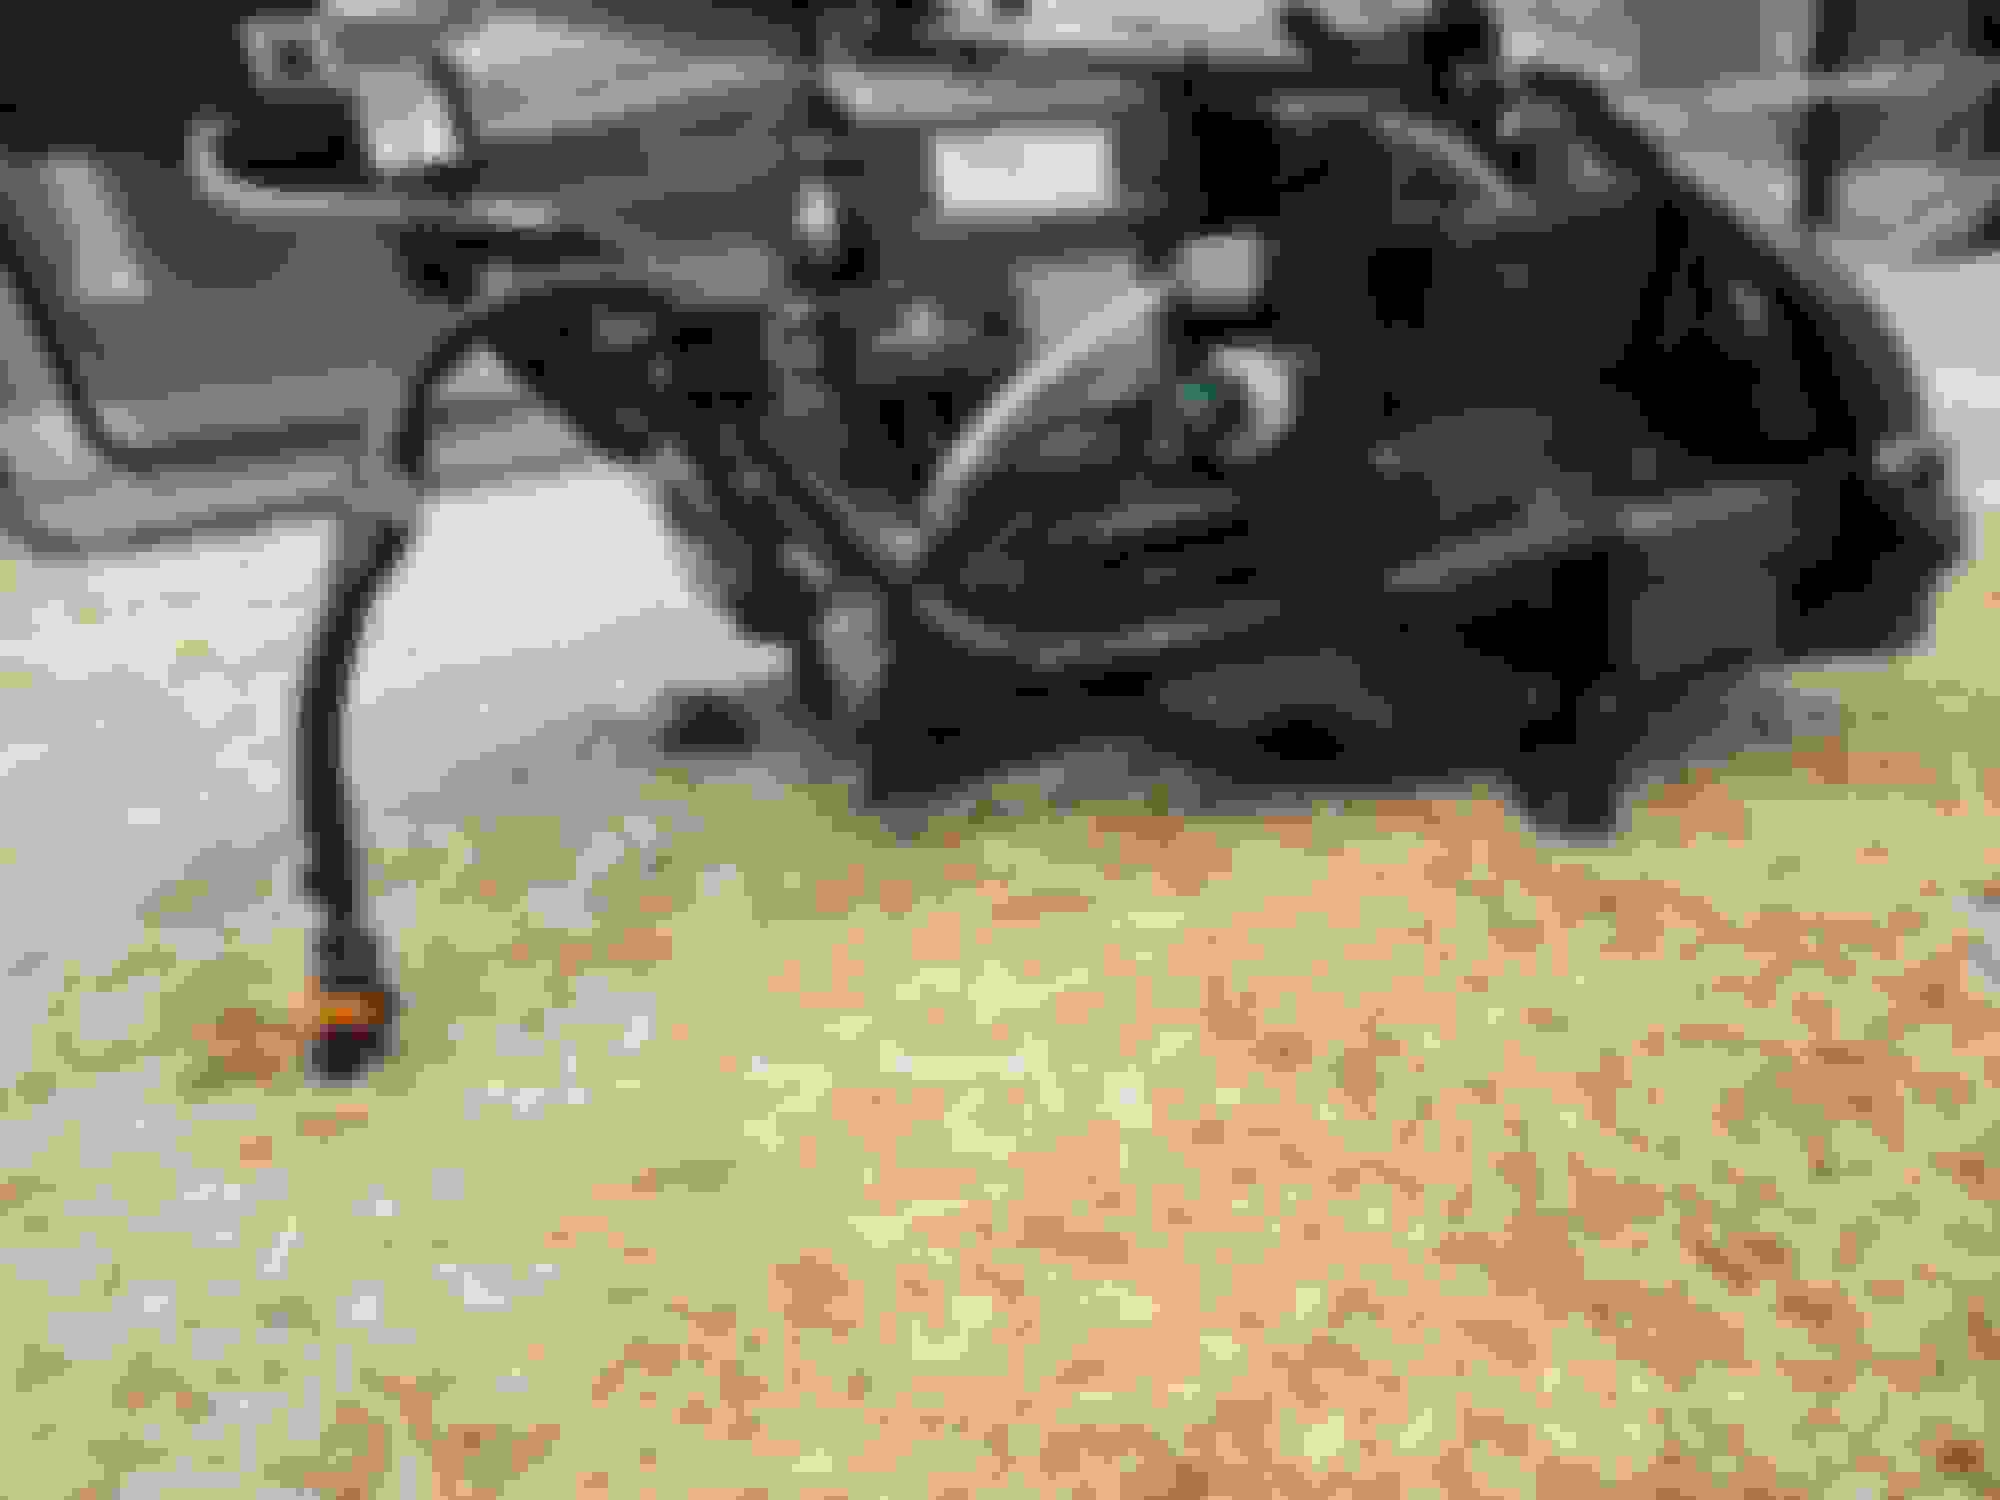
In the theme of keeping things clean, I didnt like the idea of extending wires from the LED drivers to stuff them in the glove box, or to mount them on the bumper bar, as I'd like everything to come out as a unit should I ever return things to stock. I made some quick brackets out of some scrap acrylic I had laying around, heatset nuts, and mounted the drivers directly to the light housings. I crimped and spliced the signal wires for the amber switchbacks into the power wire for the combination lamp, loomed up all the wiring to tidy things up, and these were ready to go in. I did not want this rats nest to look like this in the engine bay. Much better, and the halos now have a nice clean weatherproof connector shared by both drivers
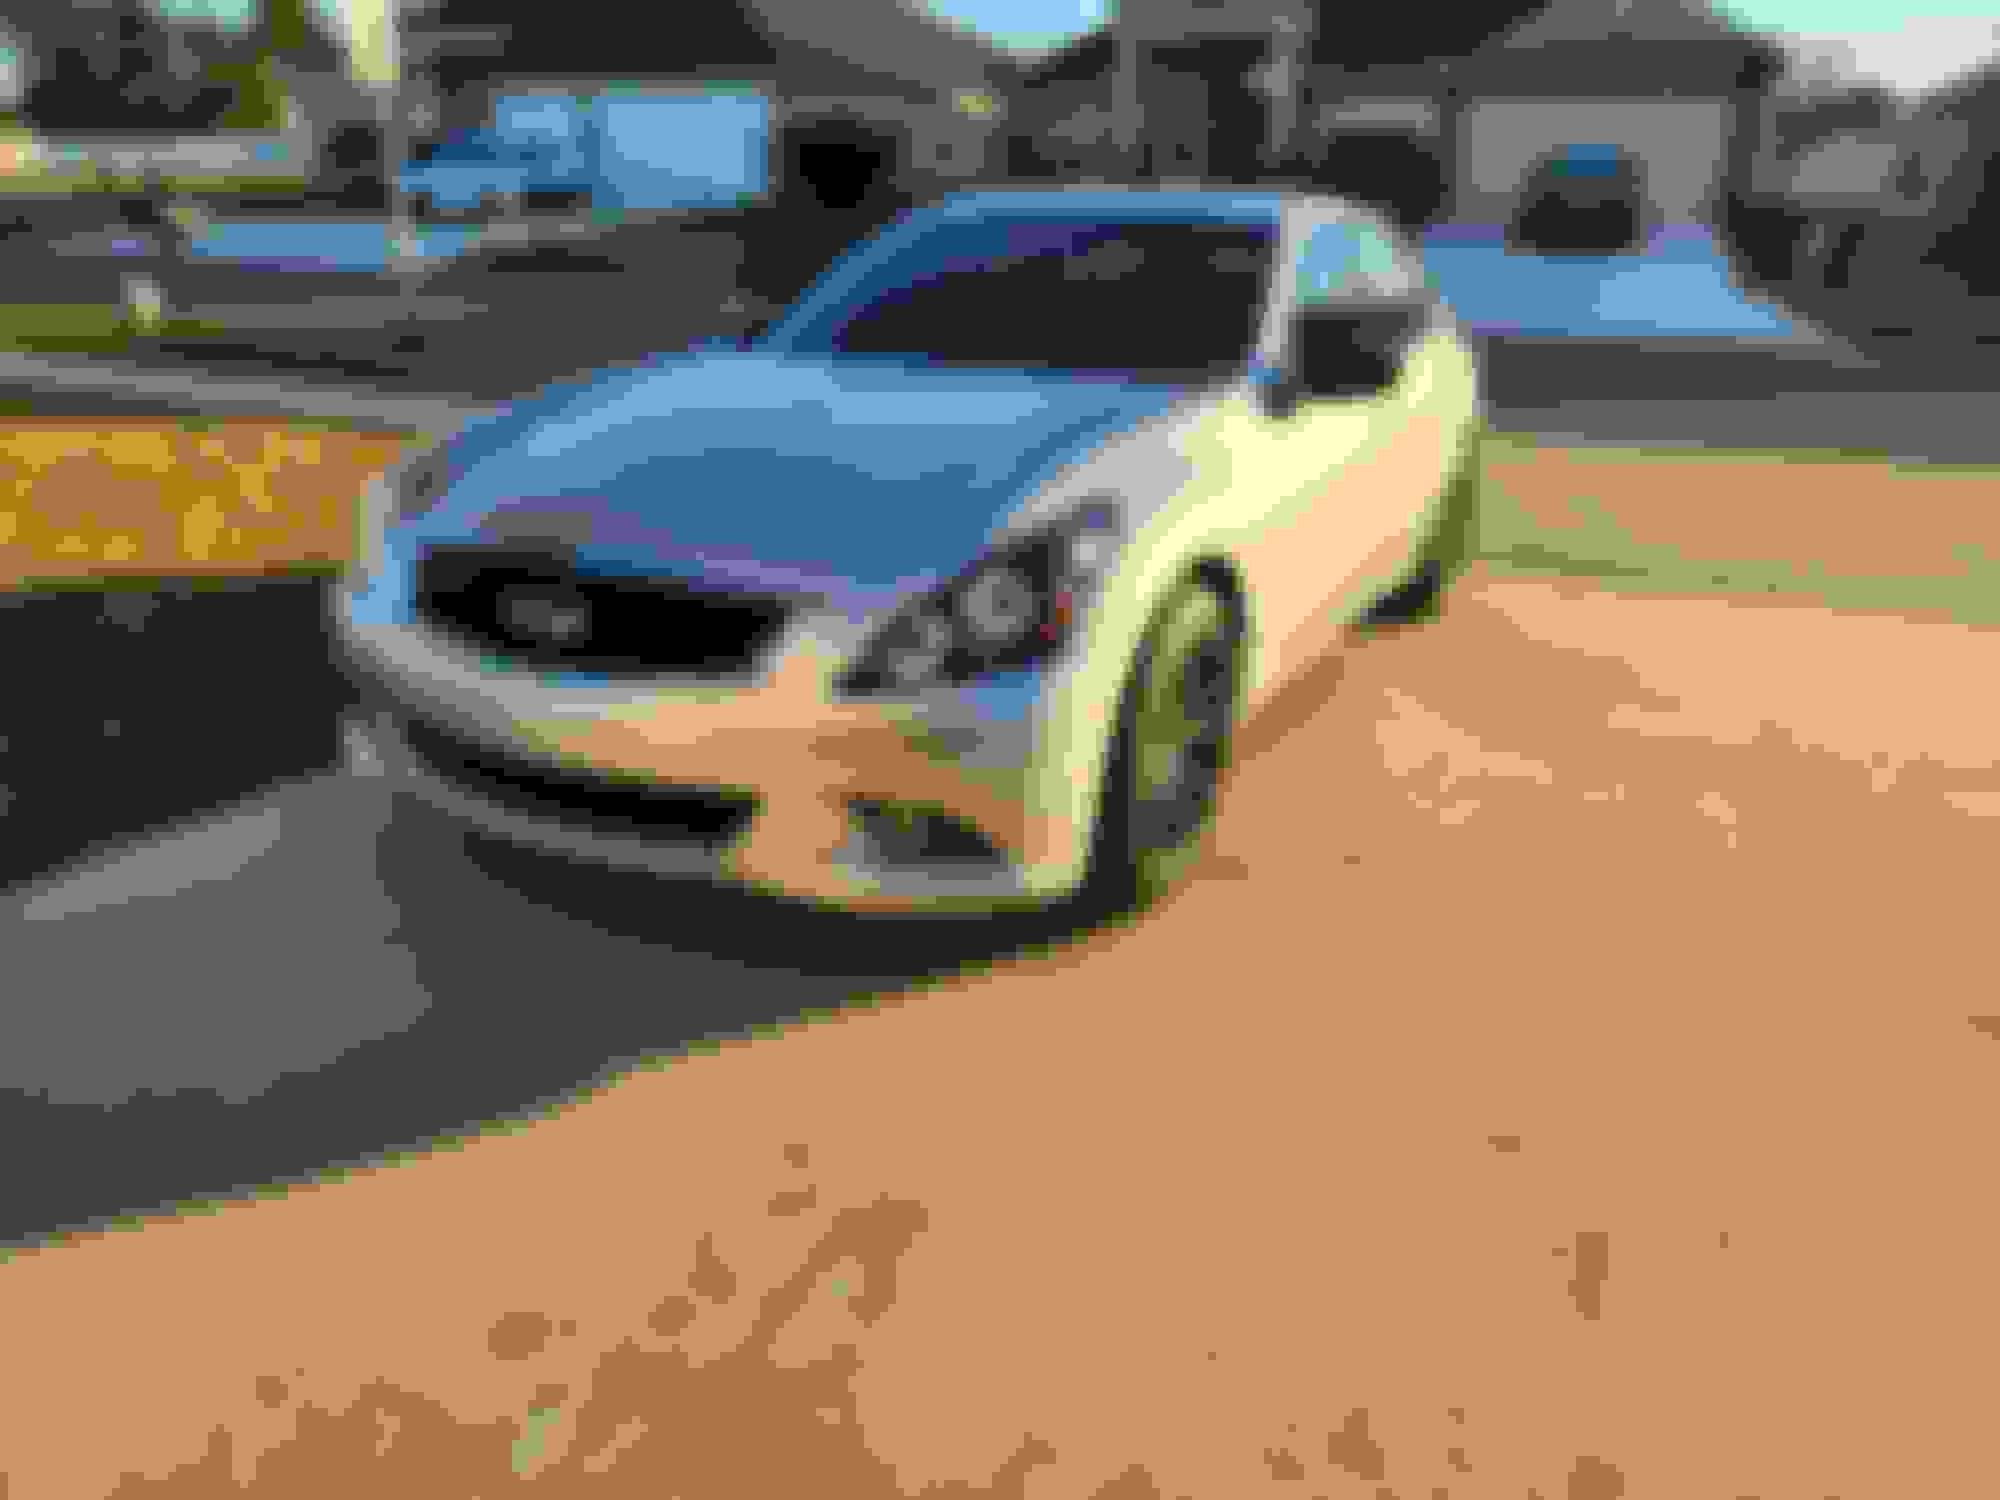
And after installing the Osram Nightbreaker Laser IIs, the lights made it into the car. Havent gotten a chance to drive at night yet to get output pics, but these bulbs are amazing from an output standpoint. Much better than the bulbs they were replacing, and the clear lenses in these projectors provides a nice clean cutoff.
For now, I don't have the halos switched so they're on all the time when the ignition is on. I plan on getting an X model heated seat panel for the center console and repurposing the snow mode button for the halos, but that's not a priority nor rush as I love the look when they're on. All in all, I'm pretty happy with the results! Now to wash this filthy car and get it cleaned up, and eventually take care of the garbage that is left of the paint on this thing haha.
I bought these headlights and was going to do the halo retrofit, but I've started to get bubbling on the housing in front of the projector. Any other owners experience the same? Akkon black housing sedan 2010+ headlight
I bought these headlights and was going to do the halo retrofit, but I've started to get bubbling on the housing in front of the projector. Any other owners experience the same? Akkon black housing sedan 2010+ headlight
I was very curious if this was going to happen with these or not, but again, for science! If it does, I still have my OEM headlights and will pull those apart, paint the reflectors, and swap parts over to those housings with the AKKON lenses. So far mine are holding up well in the FL heat/sun, but my car is in a garage 90% of the day. I work from home, so aside from taking the kids to school/daycare and running errands/weekend driving, it doesn't sit and bake in the sun too often.
I'll agree though, I tested when mine were apart and these reflectors are NOT painted. They are black abs, although I'm not sure if they use a different material for the top portion or if it is smoothed and polished ABS. The backs of the reflectors are clearly injection molded black ABS though. I think with the amount of heat the projectors can cast via refraction of sunlight, anything not entirely reflective is going to melt. I've seen focused sunlight melt rock into lava, no chance the majority of composites will hold up to that when they're black. For now they look great though, but that's a later problem lol!
Ha, well I spoke too soon. I have a few months on these now, and I'm starting to get some slight bubbling just at the edges of the reflectors underneath the projector lens. I can guess they'll look similar to yours after a year or so, but again I'll just get my OEM housings prepped to swap the projector shrouds, wiring, and lenses over to once it gets bad enough. Not worrying about it for now, and am just focusing on enjoying the car/maintenance at this point.
These are the exact halo's I ordered in 90mm with perfect fit on both lamps. I opted not to get smoke rings because I love the way the white looks when the car is off and it's obvious there are halos installed. Gives the front end a slightly more aggressive look even when the lights are out during the day. I used installation wire to install these, and truth be told, I didn't use any doublestick tape after stress testing the wire and feeling confident enough it would be adequate to hold things in place. The last thing I wanted was any adhesion issues down the road due to heat, etc. I'd be shocked if any road impacts would break that wire short of an actual collision.

 12-22-2023, 10:13 PM