When you click on links to various merchants on this site and make a purchase, this can result in this site earning a commission. Affiliate programs and affiliations include, but are not limited to, the eBay Partner Network.
Sobeipl, I bought some more charcoal suede since I want to redo the headliner this coming winter and delete the grab handles. Hardest part for me last year was doing the headliner groove portion. Might make a diy on how to remove it too if anyone else would want to reupholster their headliner.
Well I’ve been busy AF working on this damn car and I’m so ready to be done. Getting close but I don’t want to take shortcuts with finish line in sight.
Here is recap of what’s done:
- Headliner wrapped and installed. Overall it’s pretty good. There is a few spots where I left a dimple from pressing my thumb into the foam too hard when gluing it. Oh well.
- Dash is wrapped and done. Overall the dash came out so/so. If I could do it again, I could do it much better. I had some trouble with the vents like I said previously so they look a little choppy. My dash was also in really bad shape and I should have done more prep work fixing before I wrapped it. The area around the side vents and all along the radio and A/C controls is a little bumpy. I’m probably making it seem worse than it is, but I’m a perfectionist.
-Phoenix Radio is working properly, I got everyone wired up and all the ancillary cables and crap to utilize oem stuff. Only thing I don’t have is SAT antenna.
-Trim all painted (including Phoenix Radio) and it looks sick AF.
Leather Shiftboot and Leather Center console, leather glove box installed and came out money.
-Rear deck and rear side panels wrapped. I installed the deck and one rear panel and it looks good. It was a pain to get in and I now I have to take it out again:/ My seatbelt bracket stripped so I had to get a new one. Just came in. I also got some non-bose speaker grills which I really wanted and decided since I have to remove it to just replace the 6x9s in the back too. Got some alpine type Rs. The grills are beige but I’m gonna just spray them black. Should look sick.
-Subwoofer and amp installed and it THUMPS! Zenclosure with JL10w6 powered with Arc 1100.5. I have channels for the alpine type R 6x9s when those come in and I’ll use the last two channels for front components. Trying to get a deal on some 3way esotecs.
What’s Left to Do:
This weekend I’m going to sound deadening the trunk and find someplace to mount the amp. Likely where the old bose amp is that powers the shelf speakers since I won’t need it anymore. I’m also going to remove a door panel to start planning the sound deadening and wrapping of the doors. Next weekend I’m going to have the parts I’m waiting on to pull the rear side back off, take the shelf out, install 6x9s, install seatbelt bracket, put in new speaker grills, then put both rear sides back on and finally put my passenger seat back in. After that, the only thing left will be the doors.
Man, I wish I had a shop or you near me that would upholster my sun visors. I bought a couple pairs of sun visors to reupholster myself to look better than my current ones that I upholstered myself last year. One upholstery shop near me charge $600 to reupholster my sun visors. No thanks!
Man, I wish I had a shop or you near me that would upholster my sun visors. I bought a couple pairs of sun visors to reupholster myself to look better than my current ones that I upholstered myself last year. One upholstery shop near me charge $600 to reupholster my sun visors. No thanks!
What part gave you trouble? What visors are you using? I can walk you through it.
So I bought some q60 coupe visors and undressed the passenger side to find out it was a foam block, not clam shell like ours. I was pissed and left it alone for a couple months since I didn’t know what to do with that. On Monday I picked up the driver side while moving some stuff around and it seemed different. I used my trusty exacto to slit the seams and what do you know... it’s a clamshell! This is what I wanted. So I’m unsure if all q60 come with clamshell for driver side and foam for passenger side or if I got two mismatched from different years.
So once it was open and I got the mirror and other hardware popped out, I cut a piece of leather and lightly glued it to the visor. I did not remove old visor foam. Just wrapped straight over the old visor. Definitely have some tricks and tips for you as you go, but wasn’t that bad. Just a little tedious.
Im unsure how I’m going to do the passenger side. I’m thinking of using the G visor and Frankenstein the parts from the foam block q60 visor and then proceeding like I did.
Looking good! After all the blood, sweat, and aggravation you spent on this project, you can step back and admire a job well done.
Will probably step back, admire for a brief moment before thinking “this car is way to nice to be all show and no go” and then going on my phone and searching “G37 stillen supercharger”. Lol
I really do love the G and even owned a 350z before it. Im getting married soon which means kids are the horizon. The plan is too keep my G for the long haul as my fun weekend car so almost surely I’m going to boost this sucker or drop a VK or something. Car only has 80k miles and I don’t drive much at all. The shape and curves on the G are timeless badass as long as you don’t have the soccer mom oem bumper. What makes a new car new? One could argue that my G draped with fine Napa leather, 200+ pounds of sound deadening, top of the line audio and juice under the hood is strictly superior to a brand new q60 in every way. One step at a time but light FI is potentially the next move in the future.
What part gave you trouble? What visors are you using? I can walk you through it.
So I bought some q60 coupe visors and undressed the passenger side to find out it was a foam block, not clam shell like ours. I was pissed and left it alone for a couple months since I didn’t know what to do with that. On Monday I picked up the driver side while moving some stuff around and it seemed different. I used my trusty exacto to slit the seams and what do you know... it’s a clamshell! This is what I wanted. So I’m unsure if all q60 come with clamshell for driver side and foam for passenger side or if I got two mismatched from different years.
So once it was open and I got the mirror and other hardware popped out, I cut a piece of leather and lightly glued it to the visor. I did not remove old visor foam. Just wrapped straight over the old visor. Definitely have some tricks and tips for you as you go, but wasn’t that bad. Just a little tedious.
Im unsure how I’m going to do the passenger side. I’m thinking of using the G visor and Frankenstein the parts from the foam block q60 visor and then proceeding like I did.
I just used the sun visors that came with the car, so it has the clam shell design. For me the hardest part was wrapping the suede around the area where it clips onto the clip that is installed onto the headliner and the and also the main moveable part where you can twist the sun visor the side whenever sun is glaring from the driver’s side window. I used foam backed suede and did a mirror delete with filler. Yours looks very good.
I just used the sun visors that came with the car, so it has the clam shell design. For me the hardest part was wrapping the suede around the area where it clips onto the clip that is installed onto the headliner and the and also the main moveable part where you can twist the sun visor the side whenever sun is glaring from the driver’s side window. I used foam backed suede and did a mirror delete with filler. Yours looks very good.
hmmm... well those are the intricate areas but there isn’t really any big trick there. It was just a matter of cutting the fabric around those areas so that you can fold it in without too much clumping and once you close it they sandwich together clearly. When the visor is open (guts facing up) the area where the little rod the clips will essentially be like circle. I just cut out that circle, glued the edges, tacked it down and good to go. If you have pics of your visor showing the bad spots I can have a better idea of where it went wrong for you.
If you used the G visor, how did you deal with the hardware? I can’t imagine painting would work since the clipping/unclipping would tear the paint quickly.
I should have taken pics of the visor along the way to show the steps. I’ll try to do so on the next one.
When I put my wrapped rear parcel shelf in I wanted to puke looking at those bose speaker grills. Literally held up the project trying to find non-bose. Couldn’t find them ANYWHERE. Finally found a set but there beige. Bought them, painted them and they are looking good. Minor cosmetic flaws but they were so hard to find I can’t complain really. Not too noticeable in person.
Big day tomorrow. Installing the rest of the interior. Hopefully everything goes smoothly. After that, all I’ll have left is the doors and small miscellaneous things.
Big plans this weekend got foiled. I tried but lots of hiccups. Didn’t have the right wrench to get my 6x9s out. Was missing my third rca cable and the part that surrounds the opening in the trunk was clunky AF. It needed to be addressed. I also realized I needed to wrap since I’ll likely pull my seat down so I’m not separated from my woofer by and enclosed barrier MLV.
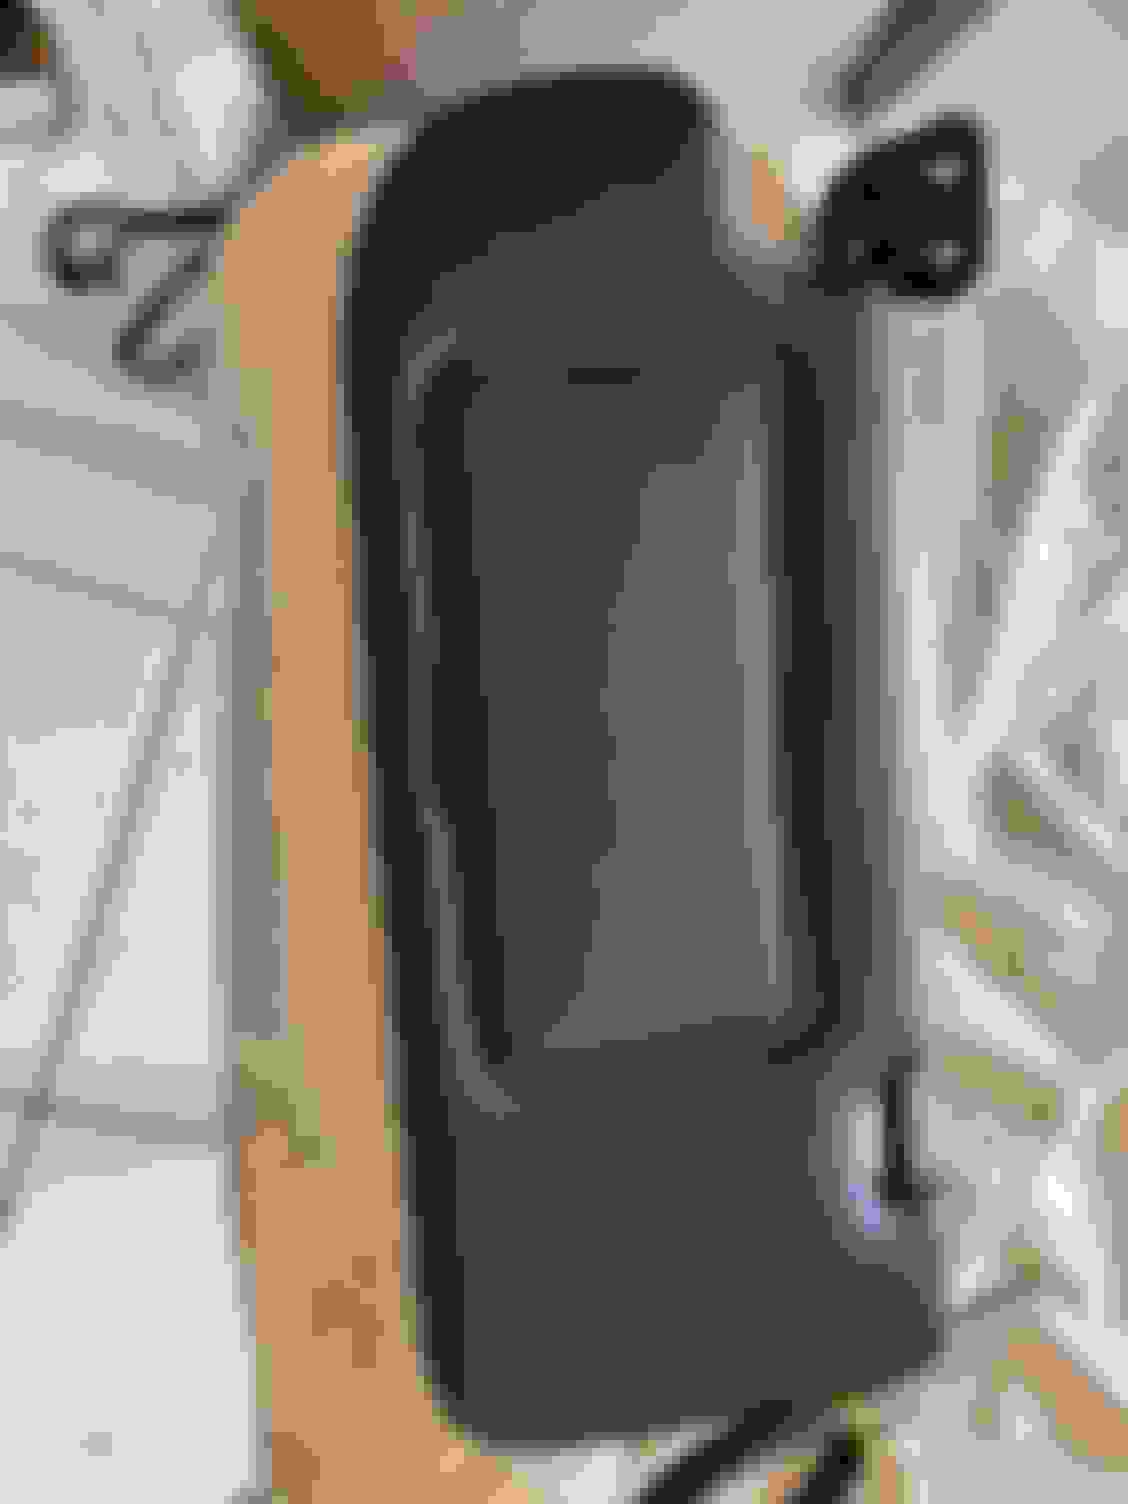
Check out this bad boy. Top is wrapped. Bottom isn’t Carpeted backside since so much of this piece makes contact with bare metal.
Hopefully I’ll have the back done before I leave for Holliday vacation to Cali.
Hopefully I’ll have the back done before I leave for Holliday vacation to Cali.
I was thinking of going to Florida for winter break since Cali sucks badly now. Would not recommend Cali right now, everything is closed for a third time cause our Governor thinks it a genius idea to destroy even more businesses. If you're coming over, I feel it's because you really want to work on my sun visors Just joking. I have my whole headliner torn out. Going to fill the grab handle holes with expandable foam and start wrapping the headliner with my new charcoal suede. Took some pics of the removal process that I will probably make a DIY thread of. By thr way, I threw out my grab handles into a dumpster. I will be known as "Mother-in-laws hate this guy" since I will have no grab handles. I'm keeping those grab handle metal clips just in case.

 11-04-2020, 11:22 AM


 Just joking. I have my whole headliner torn out. Going to fill the grab handle holes with expandable foam and start wrapping the headliner with my new charcoal suede. Took some pics of the removal process that I will probably make a DIY thread of. By thr way, I threw out my grab handles into a dumpster. I will be known as "Mother-in-laws hate this guy" since I will have no grab handles. I'm keeping those grab handle metal clips just in case.