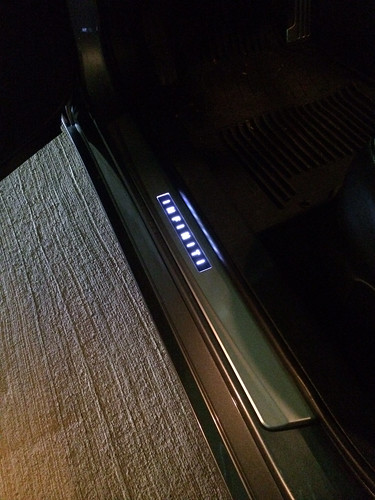
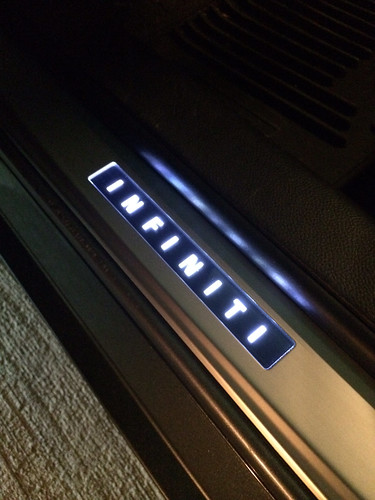
G37 Sedan Illuminated Floor Sills
#46
The tap harness for these is just an extra unnecessary harness - especially if you're tapping a control module like this with 30+ wires on it. It's much easier to tap two wires - takes 5 minutes of your time.
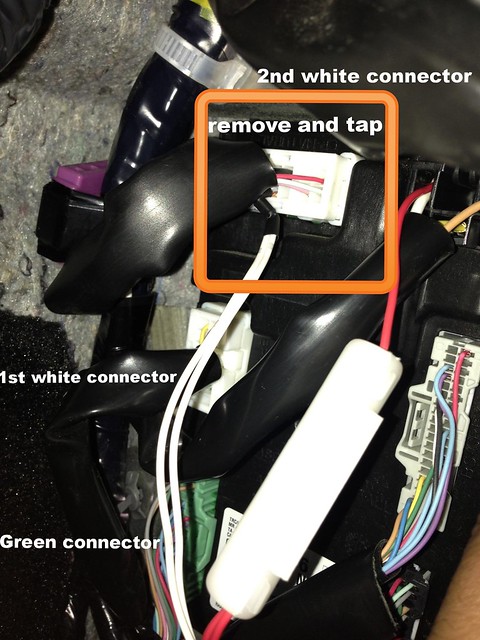
Picture of the BCM and the plug you need to remove, is below. It's outlined in the red box. Remove this plug and remove/pull back the black shield covering the wires. Expose the wires. Locate the sky blue wire and the mint (light) green.
(NOTE: You are looking for the mint "light" green, NOT the thicker dark green wire)
Proceed to tap the following wires:
DISREGARD WHERE THE RED WIRE WIRE IS PLUGGED INTO.
TAP THE CONNECTOR HARNESS HIGHLIGHTED IN THE RED BOX AND USE THE WIRES MENTIONED ABOVE.

Picture of the BCM and the plug you need to remove, is below. It's outlined in the red box. Remove this plug and remove/pull back the black shield covering the wires. Expose the wires. Locate the sky blue wire and the mint (light) green.
(NOTE: You are looking for the mint "light" green, NOT the thicker dark green wire)
Proceed to tap the following wires:
- WHITE (SILL HARNESS) connects to > SKY BLUE (BCM HARNESS)
- RED (SILL HARNESS) connects to > MINT GREEN (BCM HARNESS)
DISREGARD WHERE THE RED WIRE WIRE IS PLUGGED INTO.
TAP THE CONNECTOR HARNESS HIGHLIGHTED IN THE RED BOX AND USE THE WIRES MENTIONED ABOVE.

Last edited by connoisseurr; 05-07-2014 at 09:48 AM.
The following 3 users liked this post by connoisseurr:
#48
The following users liked this post:
nishfish871 (05-07-2014)
#49

Now I can put my car back together again LOL!
The following users liked this post:
gsteigerwald (05-10-2014)
#51
connoisseur,
thanks for the amazing and detailed DIY write up. It was awesome and very detailed. Couldn't have done it without you. Thank you very much.
I also see what you mean about dremeling out that a piece of the drivers side since its a tight fit for the wire.
thanks for the amazing and detailed DIY write up. It was awesome and very detailed. Couldn't have done it without you. Thank you very much.
I also see what you mean about dremeling out that a piece of the drivers side since its a tight fit for the wire.
Last edited by gsteigerwald; 05-10-2014 at 03:04 PM.
#52
I'd recommend it to everyone if you have a dremel or a grinder. Doesn't need to be done - you could alternatively put a piece of the provided foam tape down, wrap the shielded wire itself with some foam tape and call it a day. It's not really in a spot where pressure would typically be applied but you never know.
#54
The following 3 users liked this post by connoisseurr:
#55
Full DIY posted in the link below. I still need to add a blurb and pictures for how I secured my wires - I will get around to that this week. Hope this can help you all out.
https://www.myg37.com/forums/d-i-y-i...ml#post3777520
https://www.myg37.com/forums/d-i-y-i...ml#post3777520
#56
Got my sills installed today thanks to Connor! His DIY was a great help. For the guys worried about tapping wires, it's not bad at all. It was my first time doing something like this and it was very easy.
Thread
Thread Starter
Forum
Replies
Last Post
Upscale Speed
Body Interior Exterior Lighting
3
08-06-2015 05:08 PM


