Any safe way to remove the small pits & scratches on headlight covers?
 07-13-2012, 07:18 PM
#1

Any safe way to remove the small pits & scratches on headlight covers?
Just painted my headlights and would love to have perfect or at least close to perfect covers again. Anyone know if there's a product or procedure that will at least improve the dings and light scratches on the covers.
 07-13-2012, 10:05 PM
#2
Registered Member

Sure. There are a number of products out there for refinishing headlight cover/lenses that start with a sanding step if your damage is fairly severe. But I've had good results on moderate renovations with a Porter Cable random orbit (7424XP) and Meguiars M105 followed by M205.
07-14-2012, 02:00 PM
#3
Sure. There are a number of products out there for refinishing headlight cover/lenses that start with a sanding step if your damage is fairly severe. But I've had good results on moderate renovations with a Porter Cable random orbit (7424XP) and Meguiars M105 followed by M205.
DI Packages PC 7424XP with M105, M205 and 5.5" pads | Detailed Image
07-14-2012, 02:37 PM
#4
Registered Member
Yes, that's a good kit, from great people. I bought this one because I wanted a broader variety of pads:
DI Packages Porter Cable 7424XP 5.5" Starter Kit | Detailed Image
I bought the larger sizes of M105/M205 with it, but the 32oz sizes will go a pretty long way. You only use the M105 when you're doing fairly serious correction.
DI Packages Porter Cable 7424XP 5.5" Starter Kit | Detailed Image
I bought the larger sizes of M105/M205 with it, but the 32oz sizes will go a pretty long way. You only use the M105 when you're doing fairly serious correction.
07-14-2012, 03:48 PM
#5
Yes, that's a good kit, from great people. I bought this one because I wanted a broader variety of pads:
DI Packages Porter Cable 7424XP 5.5" Starter Kit | Detailed Image
I bought the larger sizes of M105/M205 with it, but the 32oz sizes will go a pretty long way. You only use the M105 when you're doing fairly serious correction.
DI Packages Porter Cable 7424XP 5.5" Starter Kit | Detailed Image
I bought the larger sizes of M105/M205 with it, but the 32oz sizes will go a pretty long way. You only use the M105 when you're doing fairly serious correction.
 07-14-2012, 05:02 PM
#6
Registered Member
Definitely mask around them. The Meguiars two-step will get the scratches and surface crazing pretty nicely. If those are pits that you can feel dragging your nails across them, you may need to use some 1500-2000 grit sandpaper. One cool thing about this kind of correction is that you can start with the mildest solution and work backward to the most severe one until you get rid of the surface flaws you're after, then move back forward to the mildest to get the maximum shine. So, you can try M205 on a lens, see what it looks like, go to M105 if you still have issues. If corrected with the 105, go back to the 205, otherwise go to the wet sanding, and then back up through the 105-205.
I'd finish up with the Meguiars plastic polish product and a black pad. They'll come out looking like wine glasses.
Another tip: use the "Ask A Pro" forum on the Detailed Image site. Todd and the other guys are very helpful. I have no hubris about it if their recommendations are different from mine, I'm just telling you what's worked for me.
The following users liked this post:
twin_snails (04-23-2015)
07-14-2012, 05:15 PM
#7
Registered Member

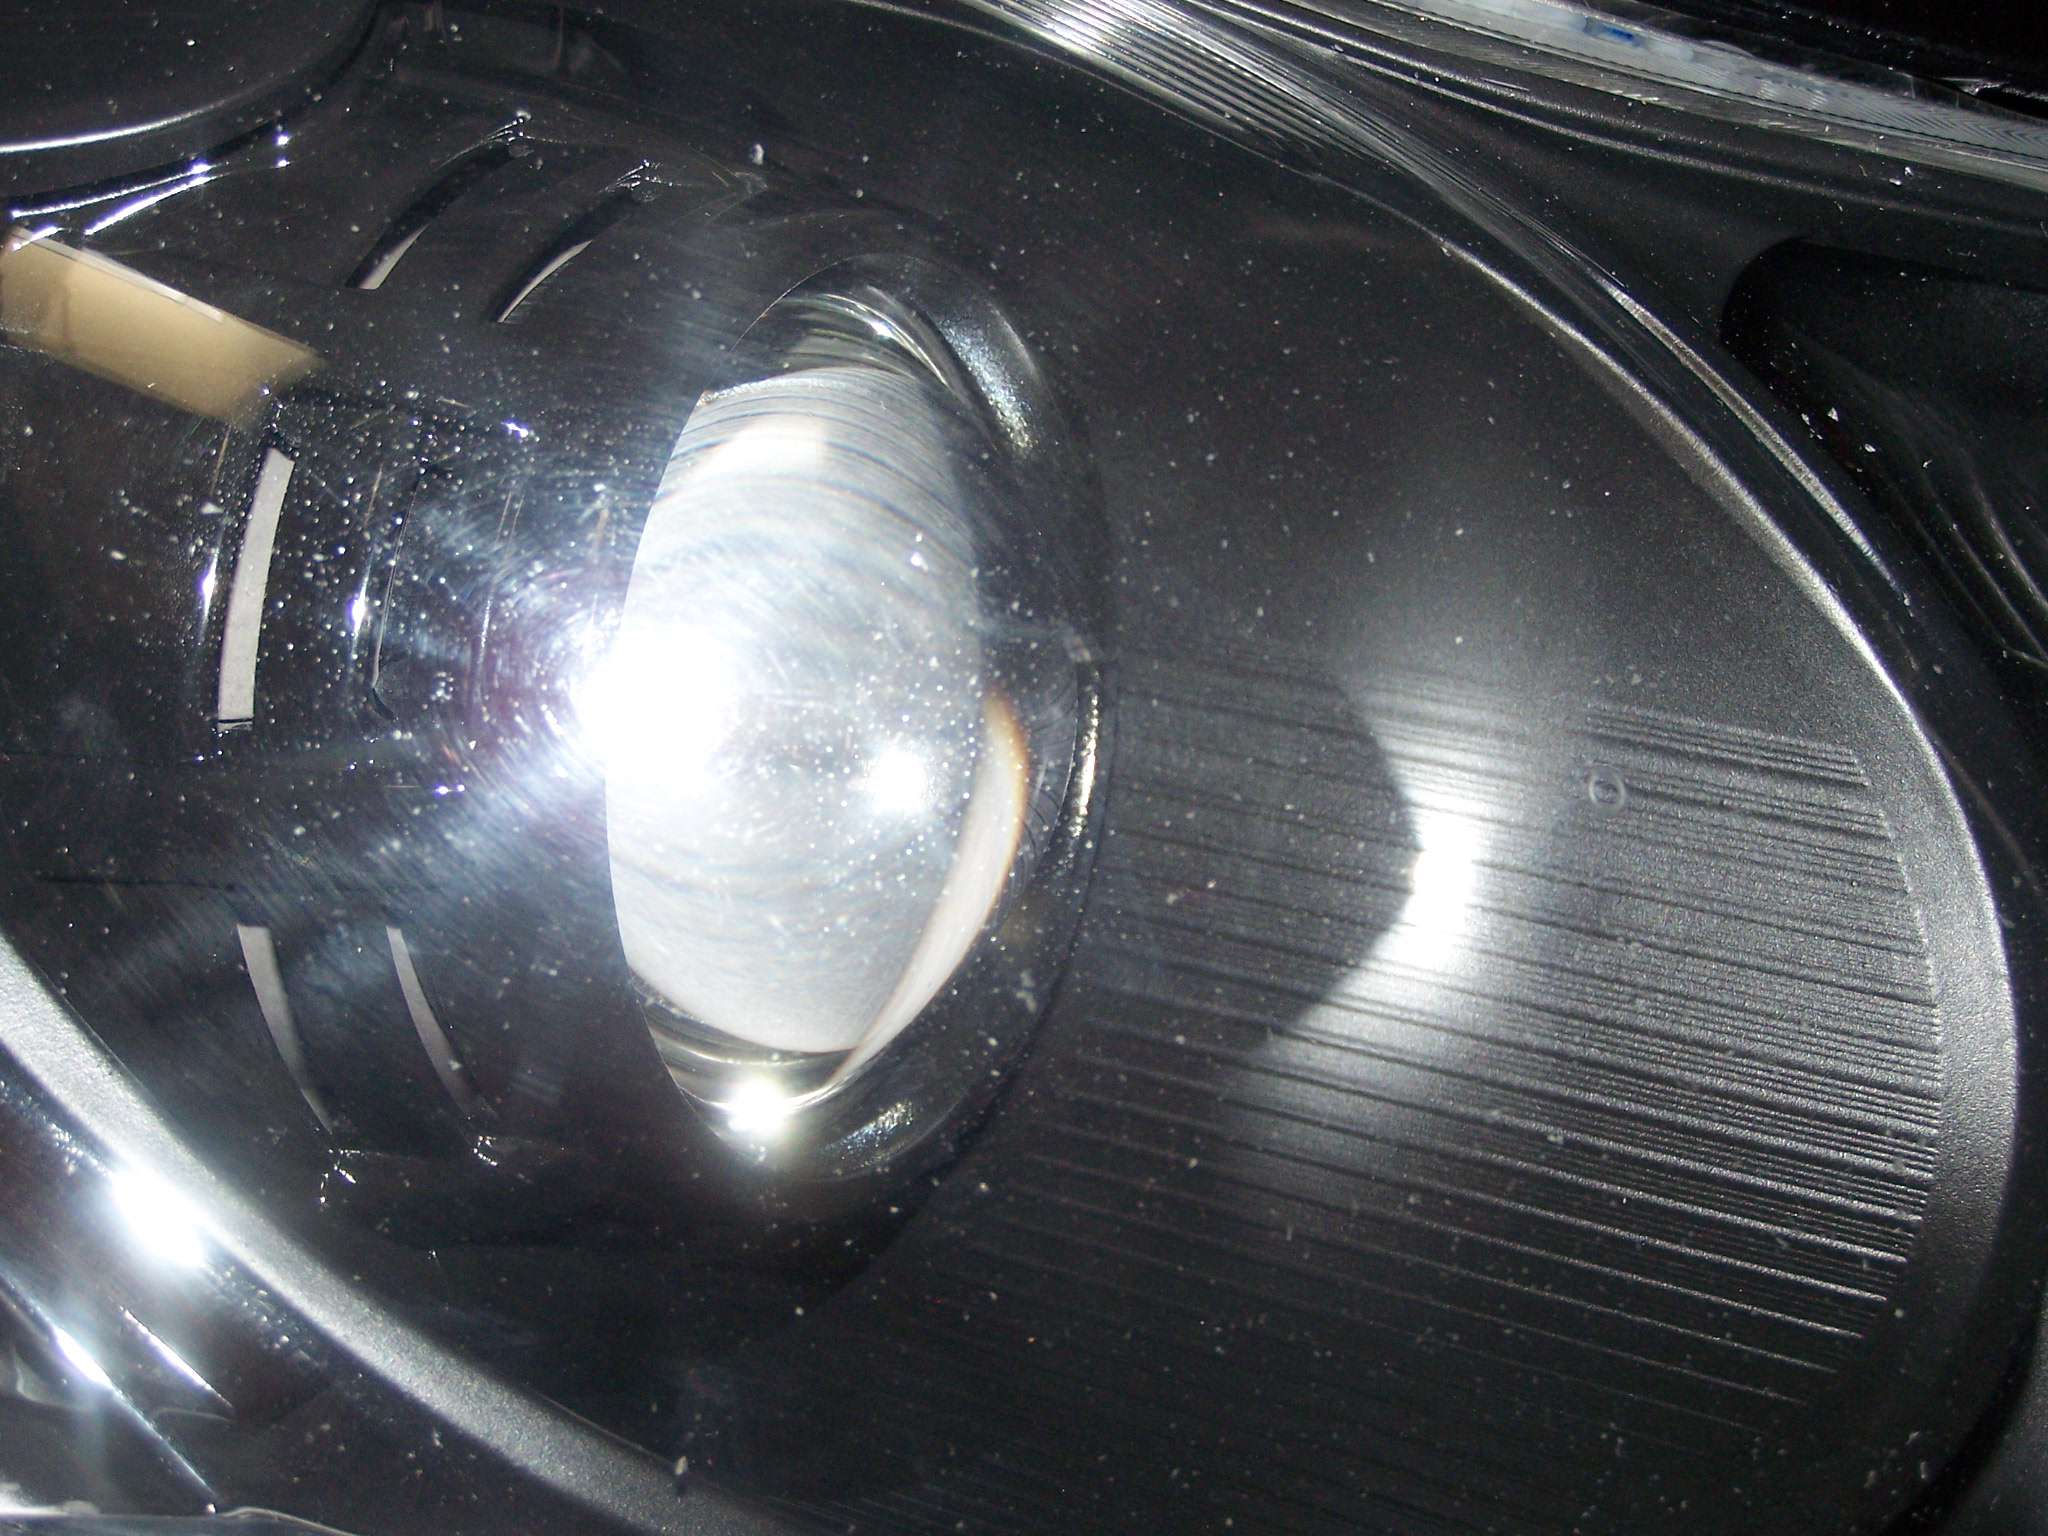
Here are some examples of my friends headlight restoration work. If they are bad enough then wetsanding is required. If the pitting is deep you won't get it all out but you can get a like new shine. Make sure you get some UV protection on them after the polishing. He only charges $40.
https://sites.google.com/site/shinei...ery/headlights
https://sites.google.com/site/shineinmotion/Home
https://sites.google.com/site/shinei...ery/headlights
https://sites.google.com/site/shineinmotion/Home
The following users liked this post:
twin_snails (04-23-2015)
Trending Topics
07-14-2012, 05:39 PM
#8
Registered Member
Yes, if they've gone milky like that, sanding is a must. blnewt doesn't have that, so he may get enough correction of the pitting with M105 without sanding. Then he can go buy sandpaper if he needs it.
 04-22-2015, 04:27 PM
#10

But I did clean up my old 07 G35 headlights (after I sold it to a friend, lol)
Just follow this DIY and you should have them looking 95% as good as new
https://www.myg37.com/forums/d-i-y-i...storation.html
The following 2 users liked this post by blnewt:
Daddy Fat Sacs (04-23-2015),
twin_snails (04-24-2015)
04-22-2015, 04:59 PM
#11
Registered Member

Sanding and wet sanding, then polishing (or in my case, I used blue then white buffing bars and a bench buffer wheel) will get them looking great. The only issue with the sanding is possible degradation of any UV coating which may cause early yellowing. If so, then you just buff it out a bit more often.
Was looking at that Porter Cable set, too. The wife was hesitant, but I clay barred half the hood of her truck last weekend. Now that she sees and feels the difference, I think I'm getting the green light for the polisher
Also, always cool to see mods and/or veteran owners that are giving so much valuable information still asking questions and learning. Have seen many on other forums that feel there is nothing more to be gained and that they know all that needs to be known. For the short time I've been here, the quality of the members and staff is quite apparent. Thank you all.
The following users liked this post:
blnewt (04-22-2015)
The following users liked this post:
Flakman (04-22-2015)
04-22-2015, 07:42 PM
#13
Registered Member
^^Nice words there  ^^
^^
That DIY thread from Gio has a good solution for replacing the UV protection, or at least it's a suitable substitute, it's Blue Magic and probably available at most chain stores but not sure
BlueMagic
^^That DIY thread from Gio has a good solution for replacing the UV protection, or at least it's a suitable substitute, it's Blue Magic and probably available at most chain stores but not sure
BlueMagic
04-23-2015, 03:50 PM
#14
Sanding and wet sanding, then polishing (or in my case, I used blue then white buffing bars and a bench buffer wheel) will get them looking great. The only issue with the sanding is possible degradation of any UV coating which may cause early yellowing. If so, then you just buff it out a bit more often.
Was looking at that Porter Cable set, too. The wife was hesitant, but I clay barred half the hood of her truck last weekend. Now that she sees and feels the difference, I think I'm getting the green light for the polisher
Also, always cool to see mods and/or veteran owners that are giving so much valuable information still asking questions and learning. Have seen many on other forums that feel there is nothing more to be gained and that they know all that needs to be known. For the short time I've been here, the quality of the members and staff is quite apparent. Thank you all.
Was looking at that Porter Cable set, too. The wife was hesitant, but I clay barred half the hood of her truck last weekend. Now that she sees and feels the difference, I think I'm getting the green light for the polisher
Also, always cool to see mods and/or veteran owners that are giving so much valuable information still asking questions and learning. Have seen many on other forums that feel there is nothing more to be gained and that they know all that needs to be known. For the short time I've been here, the quality of the members and staff is quite apparent. Thank you all.
[/QUOTE] ^^Nice words there ^^
That DIY thread from Gio has a good solution for replacing the UV protection, or at least it's a suitable substitute, it's Blue Magic and probably available at most chain stores but not sure
BlueMagic [/QUOTE]
I did a little searching on the blue magic headlight sealant and while I found great reviews on the product, I also found a forum where someone who knows their chemicals seems to think it is no different than a high quality synthetic paint sealant like M21 or whatever you prefer... Top the m21 with collinite 845 and I hope that is a deadly combo that lasts at least a year.
Only time will tell...
04-23-2015, 04:11 PM
#15
I did a little searching on the blue magic headlight sealant and while I found great reviews on the product, I also found a forum where someone who knows their chemicals seems to think it is no different than a high quality synthetic paint sealant like M21 or whatever you prefer... Top the m21 with collinite 845 and I hope that is a deadly combo that lasts at least a year.
Only time will tell...