Headlight tint removal and painted housings project
#1
Headlight tint removal and painted housings project
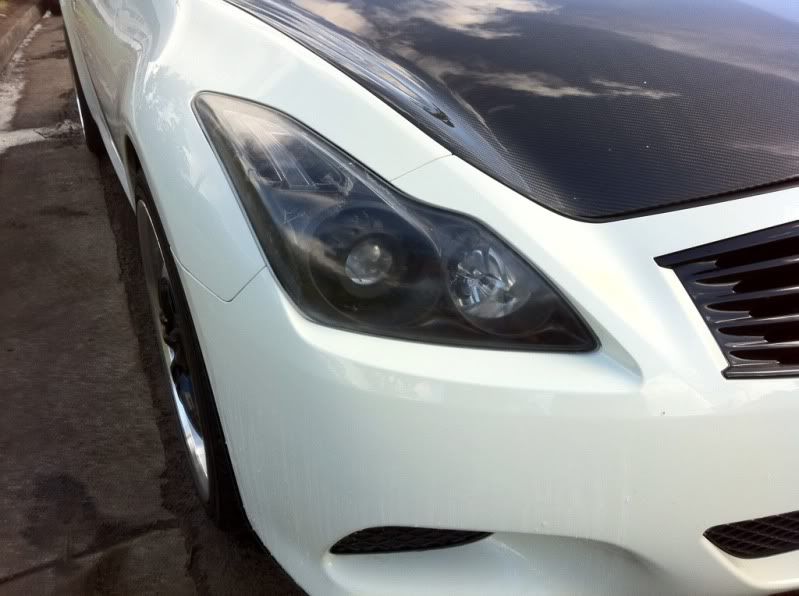
Ok I took the whole weekend to do this. Removing that tint was a complete pain in the *** and took the most time. If it wasn't for that tint, I would have done the whole thing in a few hours.
Ok here's the pics:
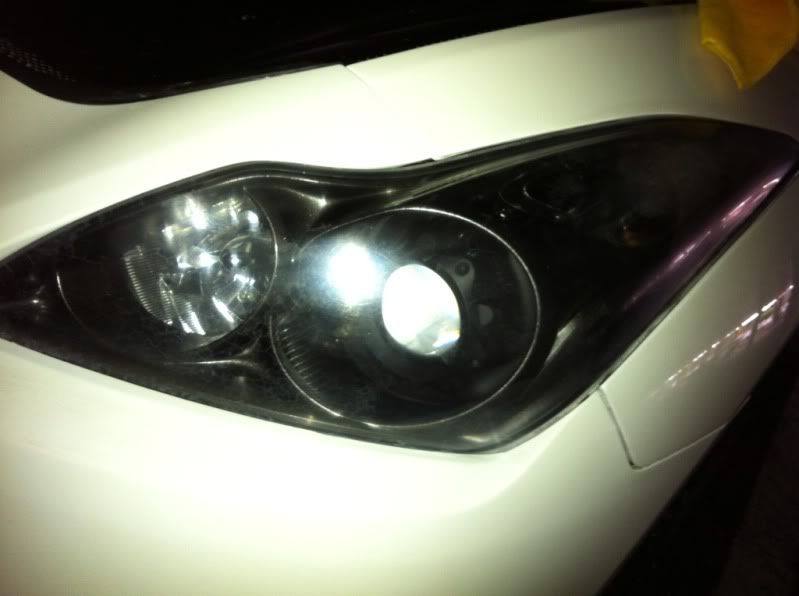
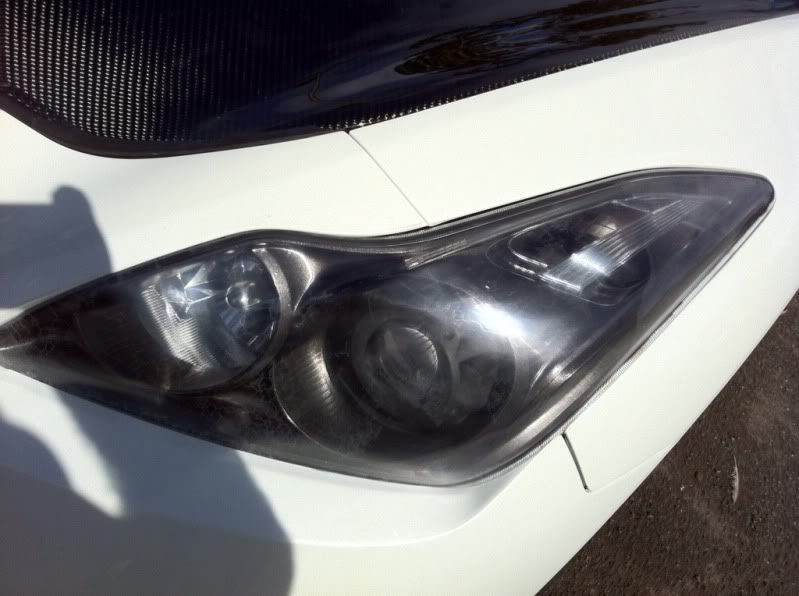
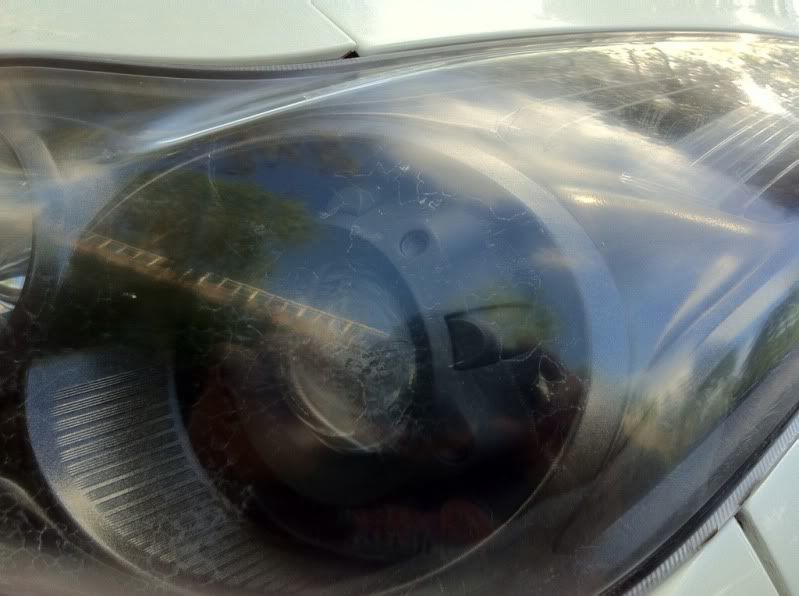
This is how it looked like.
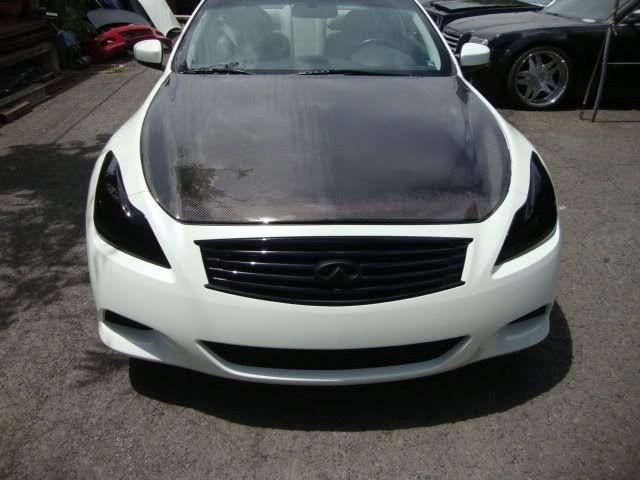
I did not notice how much light output was affected until about two weeks ago when I drove a 2011 sedan loaner. That's when I realized I have to fix it.
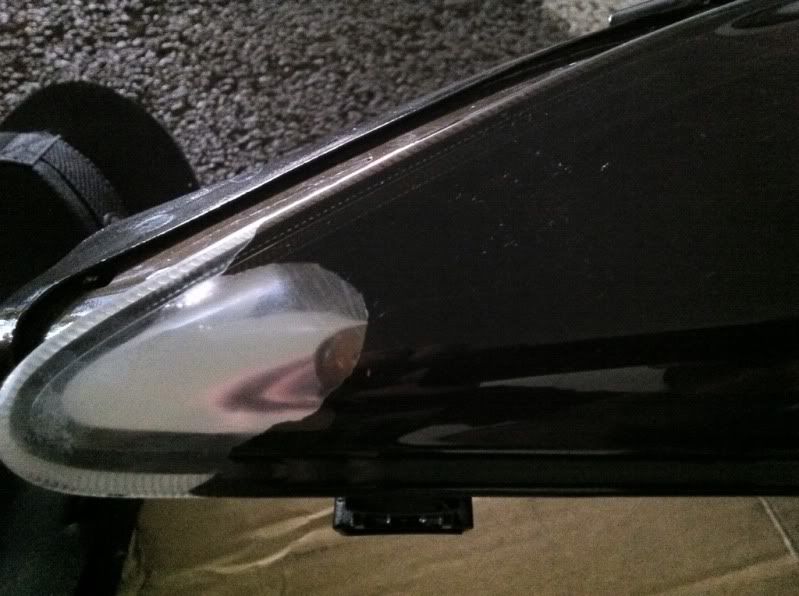
Removing tint with laquer thinner. This section took about half an hour and lots of elbow grease.
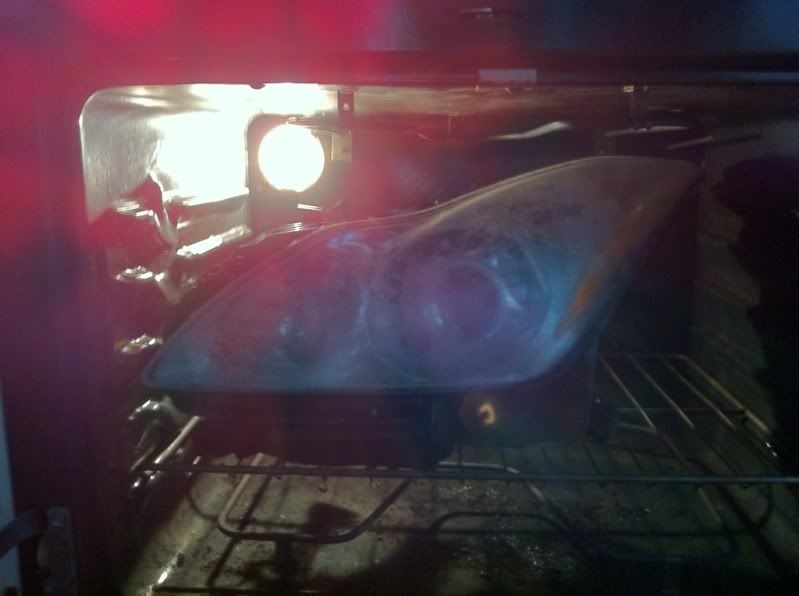
What's for dinner? Roasted headlight.
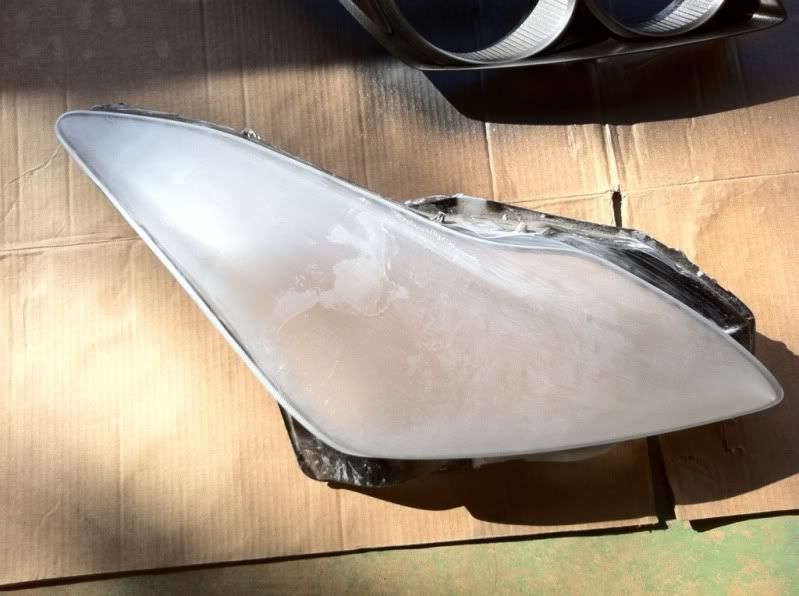
Tint removed and sanded.
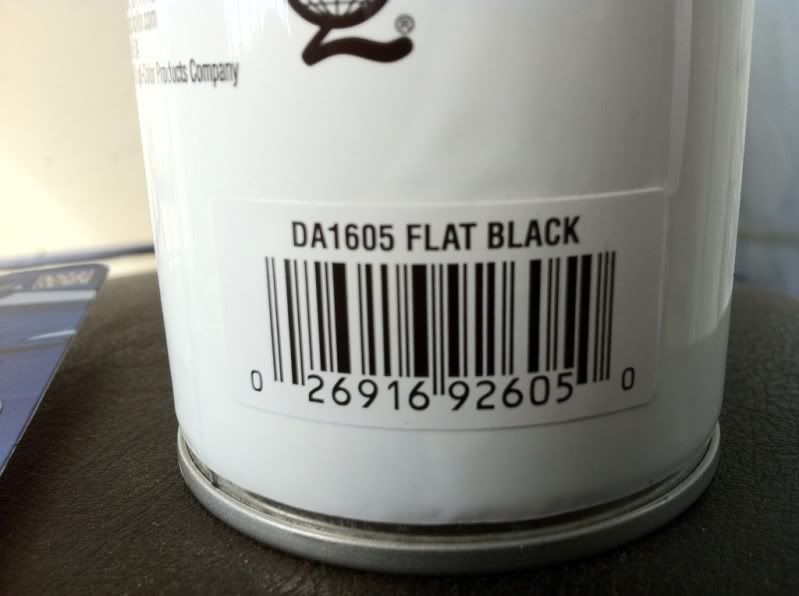
Housings painted. Headlight bezel is flat black and housings I painted them with rust oleum black night metallic paint.
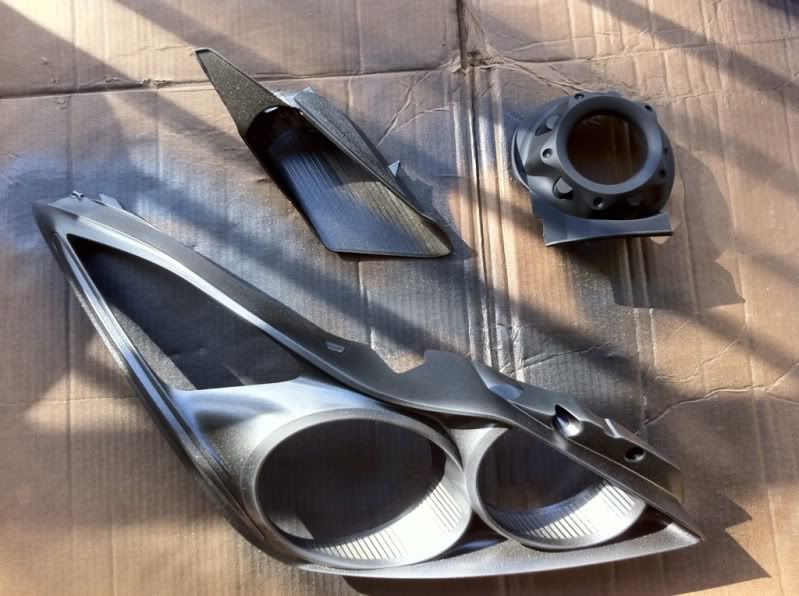
Finished work.
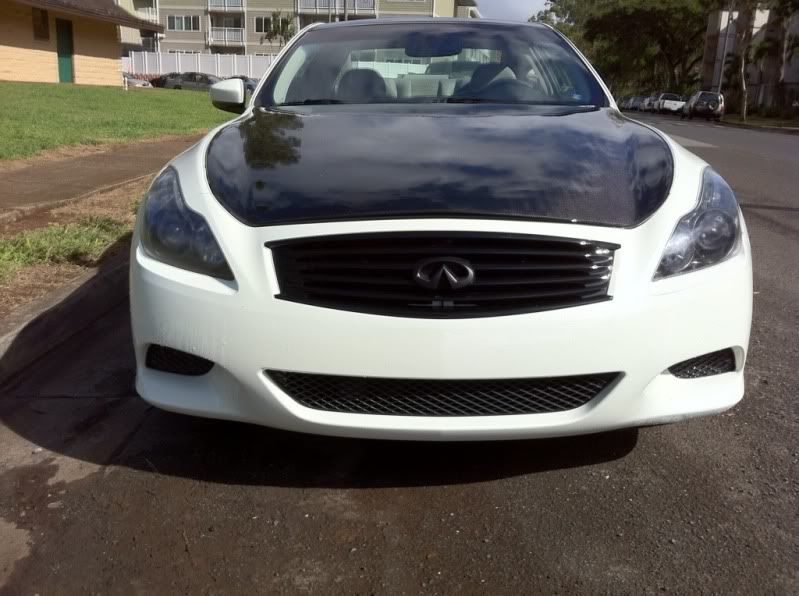
Paint used:
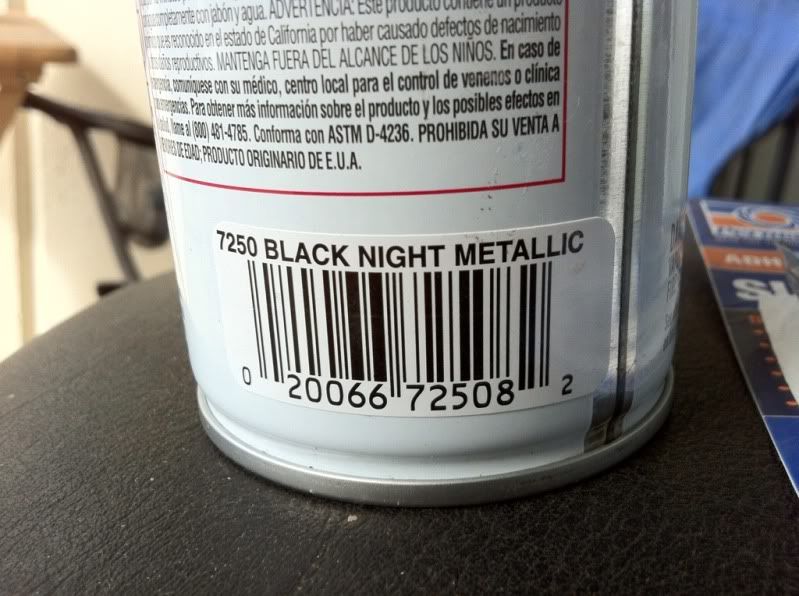
The headlights still need some more restoring work. I used 1000, and 2000 grit sand paper and wet sanded it. I'm gonna try 600 and 800 and the use the 1000 and 2000.
And of course after all this work, some ******* breaks my driver side mirror. Haters.
Ok here's the pics:
This is how it looked like.

I did not notice how much light output was affected until about two weeks ago when I drove a 2011 sedan loaner. That's when I realized I have to fix it.
Removing tint with laquer thinner. This section took about half an hour and lots of elbow grease.

What's for dinner? Roasted headlight.


Tint removed and sanded.

Housings painted. Headlight bezel is flat black and housings I painted them with rust oleum black night metallic paint.

Finished work.


Paint used:


The headlights still need some more restoring work. I used 1000, and 2000 grit sand paper and wet sanded it. I'm gonna try 600 and 800 and the use the 1000 and 2000.
And of course after all this work, some ******* breaks my driver side mirror. Haters.
Last edited by 1NEETO; 12-19-2011 at 05:11 PM.
#5
No condensation issues so far. I used permatex black RTV. I used a whole tube for both headlights but quite frankly you should use about two thirds of a tube per headlight. But So far no condensation.
Oh yeah don't forget the super glue! I broke a few tabs on my headlight assy trying to open it up!
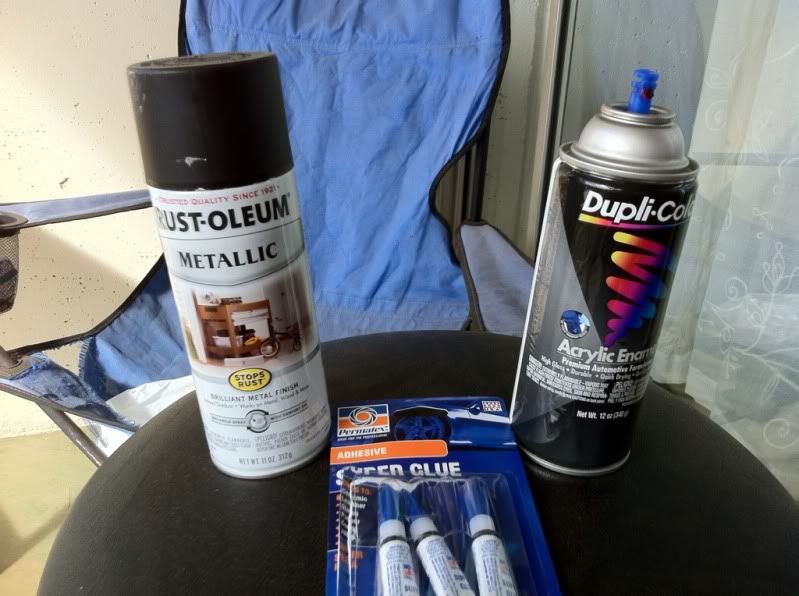
Oh yeah don't forget the super glue! I broke a few tabs on my headlight assy trying to open it up!

#6
trust me! that buffing wheel will not remove 1200-1000 grit sandpaper! you will need a rotary buffer with a very aggressive buffing pad!
#7
 No big deal really, the headlights are so much brighter already!
Trending Topics
#10
As for difficulty, well of you're not mechanically inclined I think you should not attemp it. Removing the bumper alone can be a daunting task for those who are not comfortable with tools. taking the headlight apart is the easy part. Getting the headlights out and installing them is what can be daunting. oh yeah don't forget the super glue because you might break a few things!
Thanks! I think so too and boy are those headlights bright!
#12
If you have removed the bumper in the past then this is nothing. Once you remove the bumper, there's only 4 bolts that hold the headlight.
Thread
Thread Starter
Forum
Replies
Last Post
cconklin2
Private Classifieds
7
01-09-2016 07:21 PM


