When you click on links to various merchants on this site and make a purchase, this can result in this site earning a commission. Affiliate programs and affiliations include, but are not limited to, the eBay Partner Network.
I like the painted valve covers, I have had some plastic adhesion promoter and red crinkle coat along with new gaskets sitting in my garage since last year waiting for a similar mod...kinda sucks the way the engine is designed between the cover and the
I can never tell what to do to tuck wires, but it always seems to look better than normal...even if I cant tuck em I'd like to replace the cracking plastic coating on the harnesses running around the engine bay at some point on my car with something more durable. my biggest concern is upsetting the dried out wiring and not wanting to unplug wiring unless necessary...all other things I'm up for but I really don't like messing with wiring lol
I was in the same boat, I ended up biting the bullet and went ahead and CUT everything.
On the V35 the harness wraps around the pass side and goes across towards the drivers.
I ended up cutting about 2 feet of wire to route everything in a nicer manner.
Car has been my daily for 2 years without any issues.
On the g37 I've already moved the light wiring out of the way, the next thing I'm tackling is the power and grounds of it.
Outside of the VTC and MAF wiring the 37 wiring is not as bad and can be forgiving. Will post soon.
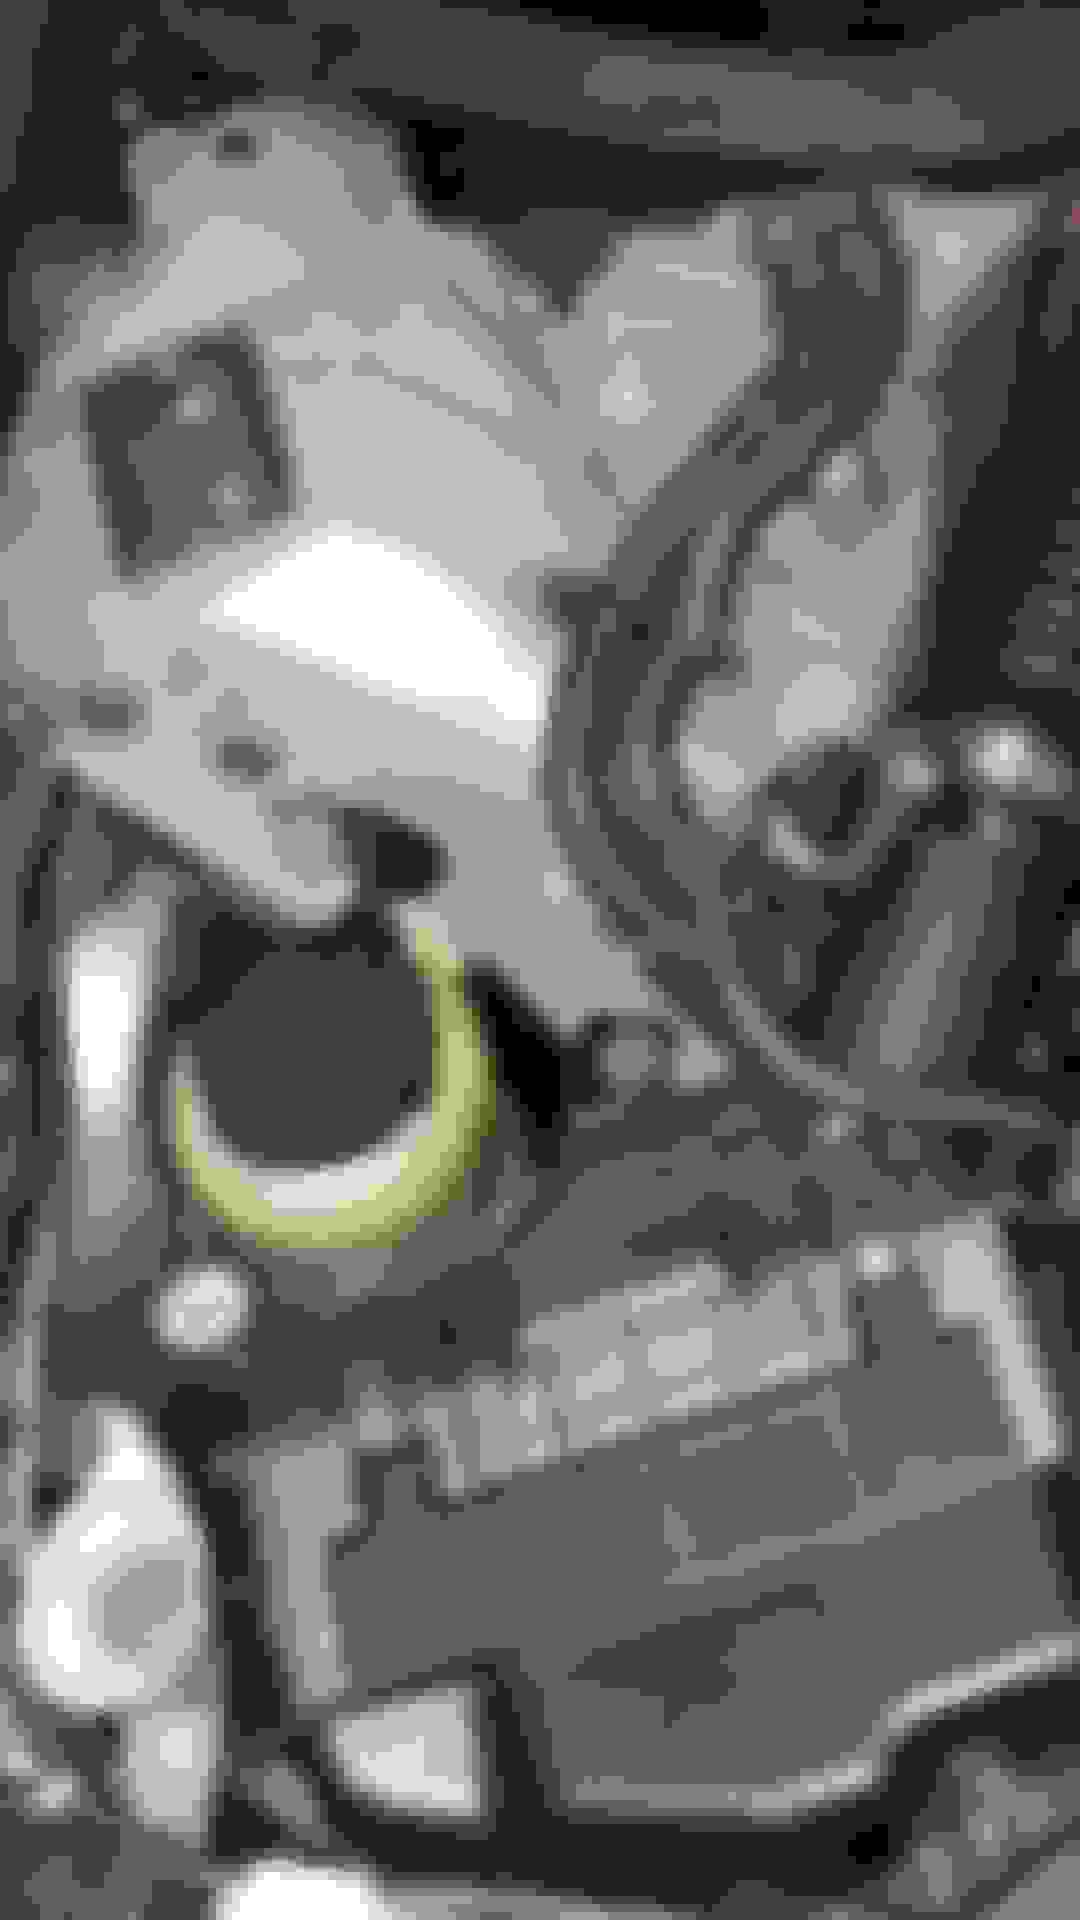
Here's what's been done so far. I'm tackling many parts of the car at the same time. The other day I took some time to re route the Light wiring. Simpler process than what I had in mind. Trimming from the plastics will be needed.
Here is the end result. Will keep the stock boxes to get a baseline since this will be a daily. Want 3 in intakes but tuning is not an option at the moment. These damn boxes are huge.
Here is the end result. Will keep the stock boxes to get a baseline since this will be a daily. Want 3 in intakes but tuning is not an option at the moment. These damn boxes are huge.
Soooooo can we get an tutorial because this is awesome!
So the wire tuck ended up being more of a wire relocation. I will give brief explanations as only individuals who are serious about this should attempt.
Once the front end was off I realized how much give the LIGHT wiring for both sides had once you start removing the loom the fender seals cover everything and you're left with a hole
The grounds I ended up making my own, I bolted them to bottom parts of the engine to the bottom parts of the bay.
Power wires for Alt/Starter were the hardest part. You can either run your own if you want or use the stock ones.
For the Alt you'll have to drill a hole from the battery box into the bay
For the Starter you can run the wire along side the valve cover and insert it using the booster hose grommet back to the battery.
I used epoxy to covert the holes and thick enamel paint for the bay.
Where's your coolant overflow bin? You didn't tuck that too, did you? LOL
yes I did, I ended up using a bottle that I placed under the pass airbox. I did a top feed style bottle that I had to remove.
I'm trying to get a base line of how much does coolant does the OEM reservoir see to come up with the right size re do the system.
I think the design flaw in my idea was that I think since the OEM is bottom fed it uses the weight of the coolant to push some back into the system.
So the wire tuck ended up being more of a wire relocation. I will give brief explanations as only individuals who are serious about this should attempt.
Once the front end was off I realized how much give the LIGHT wiring for both sides had once you start removing the loom the fender seals cover everything and you're left with a hole
The grounds I ended up making my own, I bolted them to bottom parts of the engine to the bottom parts of the bay.
Power wires for Alt/Starter were the hardest part. You can either run your own if you want or use the stock ones.
For the Alt you'll have to drill a hole from the battery box into the bay
For the Starter you can run the wire along side the valve cover and insert it using the booster hose grommet back to the battery.
I used epoxy to covert the holes and thick enamel paint for the bay.
Extremely satisfied with the result
I'm looking at your diagram... are the bundles that run along the side cut, or just relocated? It reads like you just moved them up and over (or under, whatever) without cutting, is that right? Did you have to unclip various connectors and remove the front piece to accomplish that?
Here is the end result. Will keep the stock boxes to get a baseline since this will be a daily. Want 3 in intakes but tuning is not an option at the moment. These damn boxes are huge.
any plan for a write up? I'm definitely game after learning to solder and extend wire harness for oil pressure guage!!
I have faith that you both can accomplish this.
You'll need to unplug everything this strain of wires connects to and to lay it down it will require the fenders to come out.
Once the fenders are off start laying the wires and start connecting what you can after you have moved the wires behind the line of where the rubber seal sits with the bay.
You'll need to remove some of the loom by the the battery and master cylinder area to thin the size of the harness as fit will be tight due to the plastic covers.
Once you have connected everything, start ziptieing or bolting the harness down and make sure the hood shocks dont pinch the harness and the covers clip down and the seals dont look like bacon.

 08-02-2019, 08:55 AM


 yes I did, I ended up using a bottle that I placed under the pass airbox. I did a top feed style bottle that I had to remove.

