
Engine Bay Thread
 08-31-2013, 07:45 PM
#256
Administrator

iTrader: (9)
Why are the air-intake and door-button chime brackets raw metal? Wouldn't these things look so much better painted? So I'm priming and painting these things in satin-black. Tried gloss-black on the door chime bracket, and I think satin would look better with all the black plastics.
Weird that they're not painted as OEM pieces.
Weird that they're not painted as OEM pieces.
 09-01-2013, 01:35 AM
#257


 09-03-2013, 08:51 PM
#260

Finally got engine bay just about complete, just waiting on a couple of finishing touches, here's some shots by photographer Alex Esperon from the Texas Imports Today meet yesterday~ all painting done by JPSBLACKG37


The following users liked this post:
Chasinggreg (03-28-2023)
 09-04-2013, 08:38 AM
#262
Administrator
iTrader: (9)
Yeah, it really does look fantastic. I love the blue in the recessed area at the front of the radiator cover. And of course, the beautifully painted engine cover, with matching gloss-black coolant overflow bin. Nice touch, that. Notice the gloss black battery/brake cover plastics, yet with the vertical pieces painted blue to match the rest... that's an excellent detail.
Reaching real hard for constructive criticisms, I think the spot of yellow on the radiator cap seems out of place. And there's one too many Stillen logos, to where I think I'd take the stickers off the mid-pipes, rather than turn the rubber couplings around. And purple fender washers?
But those are really minor comments, because overall this guy's engine bay is stunning. Truly something to be proud of.
09-04-2013, 09:00 AM
#263
Yeah, it really does look fantastic. I love the blue in the recessed area at the front of the radiator cover. And of course, the beautifully painted engine cover, with matching gloss-black coolant overflow bin. Nice touch, that. Notice the gloss black battery/brake cover plastics, yet with the vertical pieces painted blue to match the rest... that's an excellent detail.
Reaching real hard for constructive criticisms, I think the spot of yellow on the radiator cap seems out of place. And there's one too many Stillen logos, to where I think I'd take the stickers off the mid-pipes, rather than turn the rubber couplings around. And purple fender washers?
But those are really minor comments, because overall this guy's engine bay is stunning. Truly something to be proud of.
Reaching real hard for constructive criticisms, I think the spot of yellow on the radiator cap seems out of place. And there's one too many Stillen logos, to where I think I'd take the stickers off the mid-pipes, rather than turn the rubber couplings around. And purple fender washers?
But those are really minor comments, because overall this guy's engine bay is stunning. Truly something to be proud of.
The dress up bolts are neo-chrome, they have a purple / blue tint depending on the light, I like them

Also probably going to paint the power steering reservoir, and the window washer fluid cap on the left as well and I think I'll be done.
Last edited by Zydan; 09-04-2013 at 09:20 AM.
09-04-2013, 09:27 AM
#264
Administrator
iTrader: (9)
You're welcome, Dan. Well done, sir. I also like how the dipstick loop and the coolant overflow bin cap are painted to match as well. Excellent detail.
So now I'm looking at the full resolution version of one of these pictures on your photobucket account. It looks like the lower section of the driver's side intake piping is seriously scratched up. Yikes! IDK what you do about that.
You might consider taking those T-Bolt clamps and turning them completely around, to where the hardware is underneath the piping, and the bolts are pointing towards the fenders.
I'm sure you can do a better job with the tape on the MAF wires. Try using a larger wire loom over what's there, flare it out at the MAF connection, then wrap it tightly with electrical tape.
Paint the door chime bracket something other than raw, galvanized steel.
Notice all the bolts on the strut towers that are part of various grounding wires and brackets... like circuit boxes, and the PS reservoir? You could replace those with SS or Ti, or anything really.
09-04-2013, 10:08 AM
#265
You're welcome, Dan. Well done, sir. I also like how the dipstick loop and the coolant overflow bin cap are painted to match as well. Excellent detail.
So now I'm looking at the full resolution version of one of these pictures on your photobucket account. It looks like the lower section of the driver's side intake piping is seriously scratched up. Yikes! IDK what you do about that.
You might consider taking those T-Bolt clamps and turning them completely around, to where the hardware is underneath the piping, and the bolts are pointing towards the fenders.
I'm sure you can do a better job with the tape on the MAF wires. Try using a larger wire loom over what's there, flare it out at the MAF connection, then wrap it tightly with electrical tape.
Paint the door chime bracket something other than raw, galvanized steel.
Notice all the bolts on the strut towers that are part of various grounding wires and brackets... like circuit boxes, and the PS reservoir? You could replace those with SS or Ti, or anything really.
So now I'm looking at the full resolution version of one of these pictures on your photobucket account. It looks like the lower section of the driver's side intake piping is seriously scratched up. Yikes! IDK what you do about that.
You might consider taking those T-Bolt clamps and turning them completely around, to where the hardware is underneath the piping, and the bolts are pointing towards the fenders.
I'm sure you can do a better job with the tape on the MAF wires. Try using a larger wire loom over what's there, flare it out at the MAF connection, then wrap it tightly with electrical tape.
Paint the door chime bracket something other than raw, galvanized steel.
Notice all the bolts on the strut towers that are part of various grounding wires and brackets... like circuit boxes, and the PS reservoir? You could replace those with SS or Ti, or anything really.
Good idea on the clamps, that wouldn't be to much trouble, I think I'll do that as well
Was also thinking about a wire tuck, but then you're left with all the holes... the SS and TI is also a good idea~
The mods never stop, when you think you're done, you're never really done.
09-04-2013, 10:18 AM
#266
Administrator
iTrader: (9)
As for color... that Black Nickle finish on the R2C Intake is so-o-o pretty, you could get lost just staring at it. Here's mine:
 09-04-2013, 10:34 AM
#267
Wow yeah, that's super sexy~!
 09-11-2013, 10:14 AM
#269
Administrator
iTrader: (9)
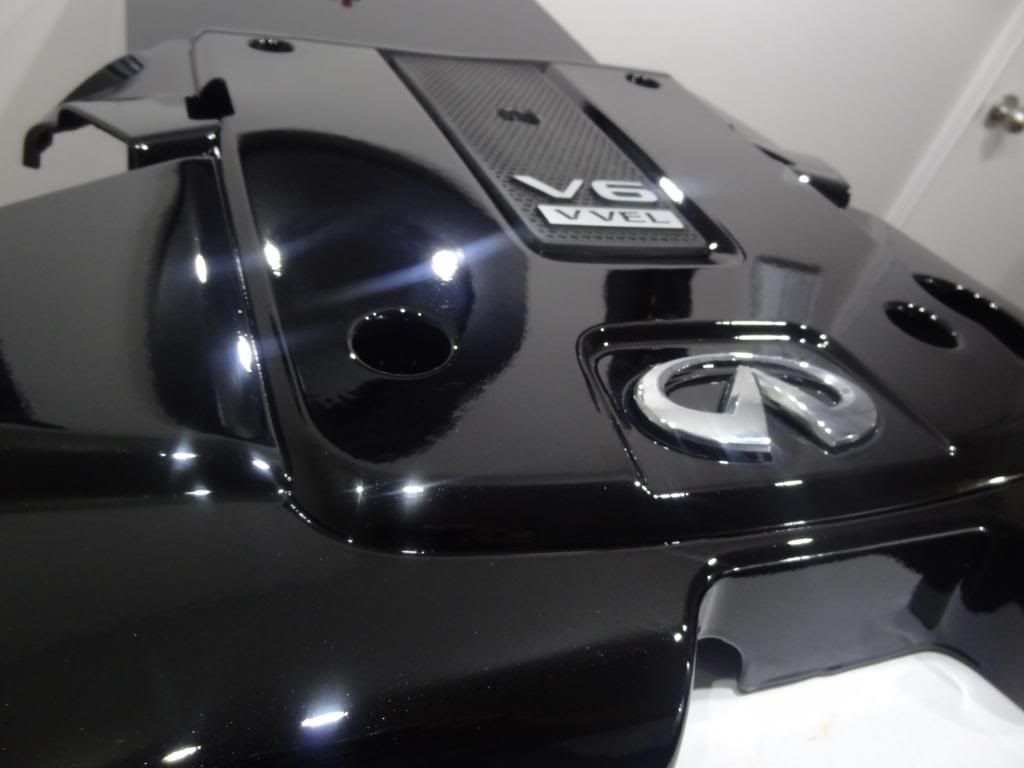
Painted the engine cover again. Going for the whole Creamsicle thing now. 

