
Hid Foglights *pics & Video*
 09-09-2008, 12:43 PM
#1
Registered User
Thread Starter

Join Date: May 2008
Location: Yonkers, NY
Posts: 75
Likes: 0
Received 0 Likes
on
0 Posts
Hid Foglights *pics & Video*
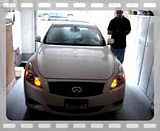
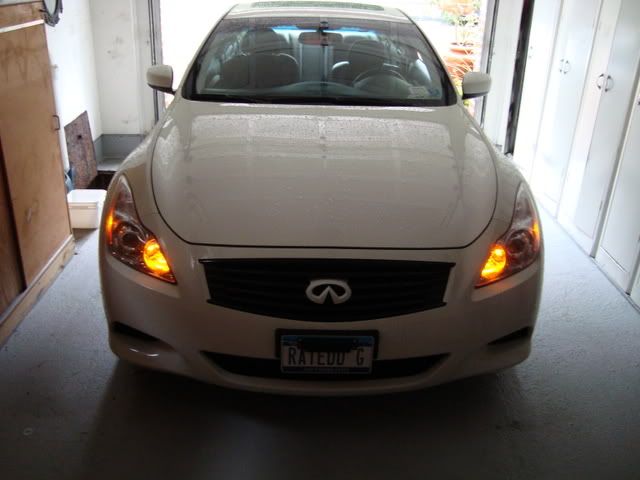
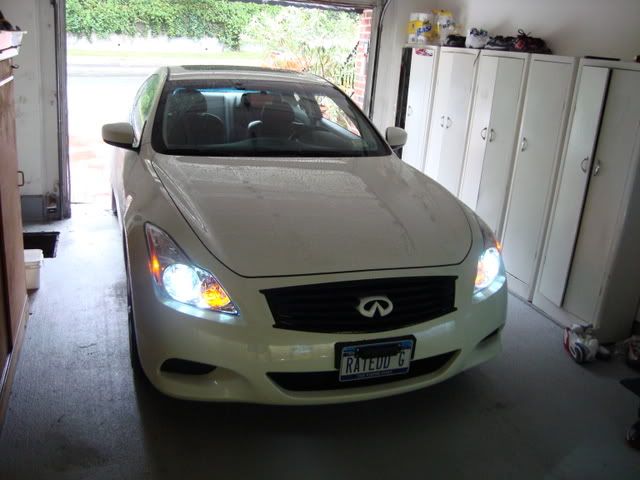
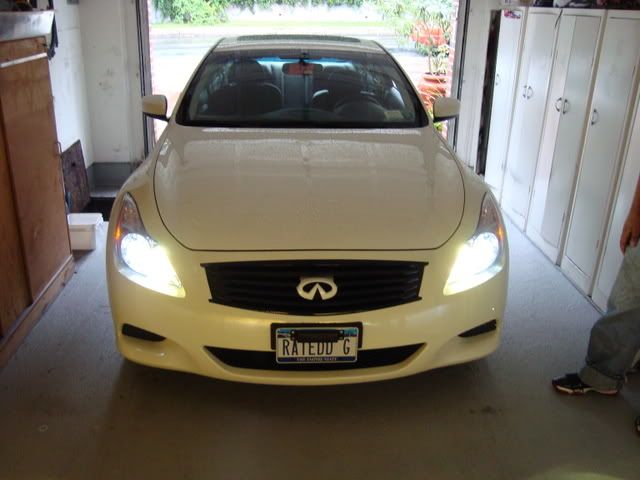
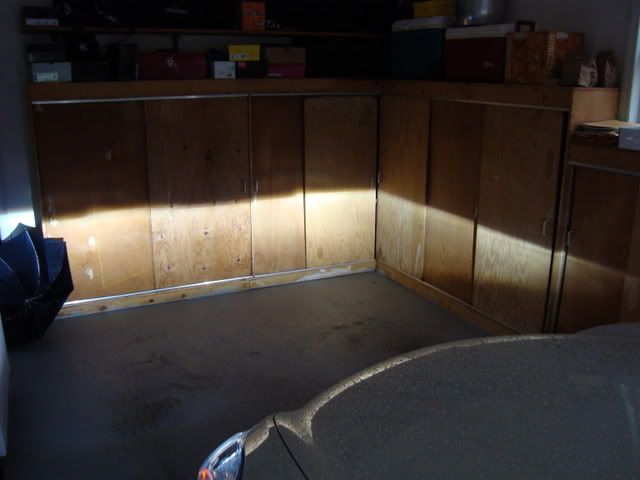
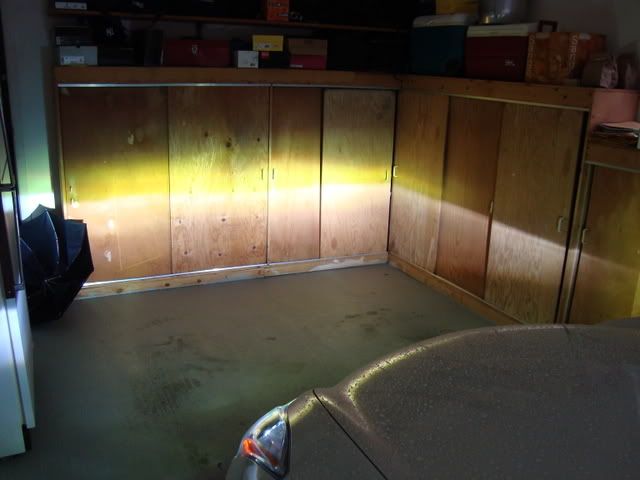
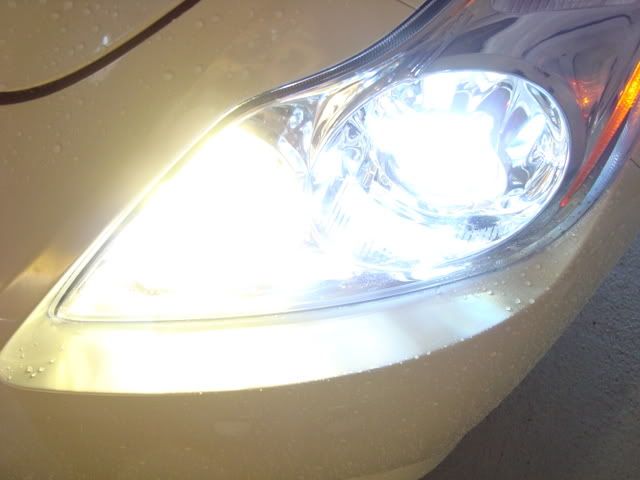
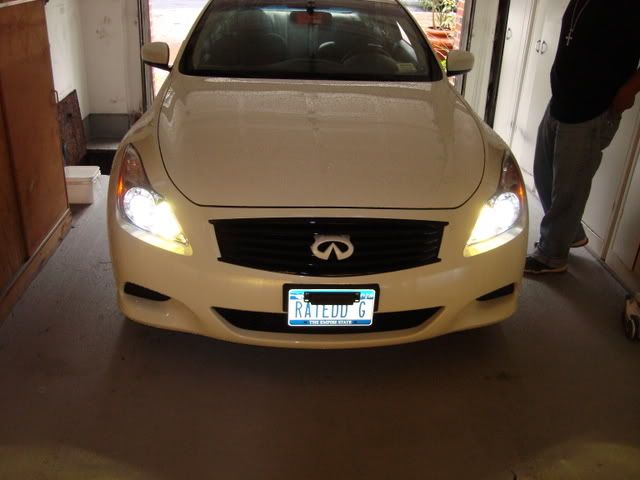
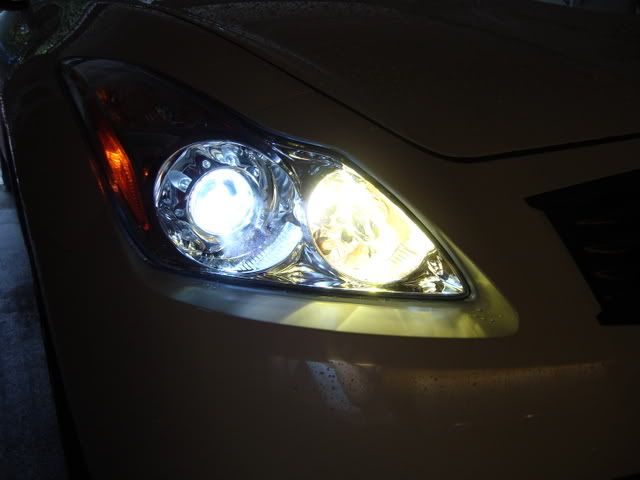
I finally got them installed. Installation was kind of an hassle. Def not easy to do. You have to cut the stock wiring harness, remove it from the cap, and put them together again. ehh too much of a hassle to install this lol. I got them in 3k and they look great. Everything gets lit up even in the rain. So its 3k fogs, and 6k heads. Here are the pics and the video.
 09-09-2008, 12:55 PM
#4
Registered User
Thread Starter
Join Date: May 2008
Location: Yonkers, NY
Posts: 75
Likes: 0
Received 0 Likes
on
0 Posts
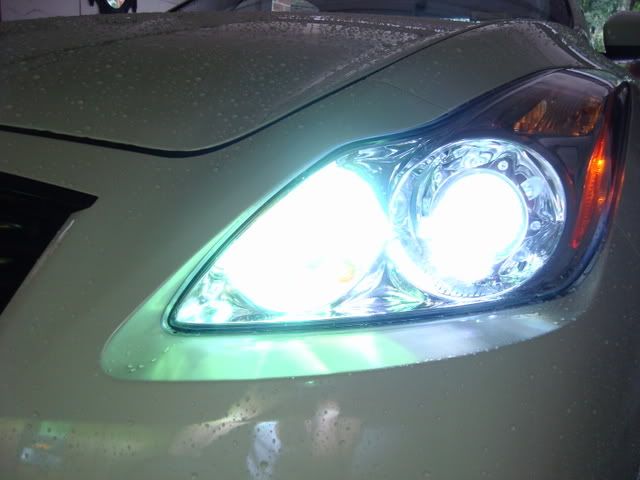
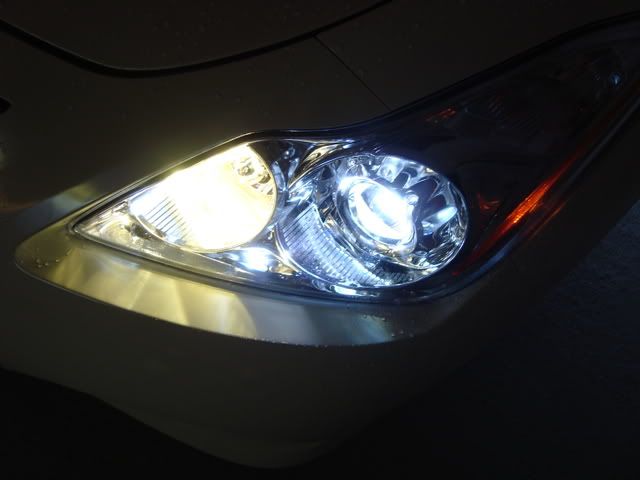
HPA 6K Capsules for the heads.
I think so also...I didnt reaim them or anything. Thats how they were from the factory. Ill see how it looks night time. Maybe ill swap out for the 6k fogs also. But i like the look of the headlights the way they are now.
I think so also...I didnt reaim them or anything. Thats how they were from the factory. Ill see how it looks night time. Maybe ill swap out for the 6k fogs also. But i like the look of the headlights the way they are now.
 09-09-2008, 01:49 PM
#11

I can' get the darn video to play on my work computer.
I have the 6K headlights (installed) and the 3K HID fog kit (not installed yet) my question is this: In the screen capture and the first 2 photos your lights look very orange. In the rest they look much more yellow as I expected. What's the difference in the photos?
I have the 6K headlights (installed) and the 3K HID fog kit (not installed yet) my question is this: In the screen capture and the first 2 photos your lights look very orange. In the rest they look much more yellow as I expected. What's the difference in the photos?
 09-09-2008, 02:10 PM
#14
Registered User
Thread Starter
Join Date: May 2008
Location: Yonkers, NY
Posts: 75
Likes: 0
Received 0 Likes
on
0 Posts
Yeah I bought it from someone over here. The one in the orange is just headlights and city lights.
The kit was plug and play but the connectors that connect to the stock bulb are behind the cap and in the fog light housing. All I did was cut them, pull them from the cap and connected the wires back together.
The first side took me about an hour and a half and then the other side was a breeze since I already knew how it was going to be done.
You have to drill a hole in the fog light cap in order for the wires to come through from the bulb. My kit came with a rubber garmet that protects it from condensation.
