Magden install
 09-07-2008, 07:47 PM
#1

Magden install
So I picked up a Magden M.1 from Amplified motorsports. Installation is easy, pretty much plug and play for regular installs. Of course, I had to do a custom install.
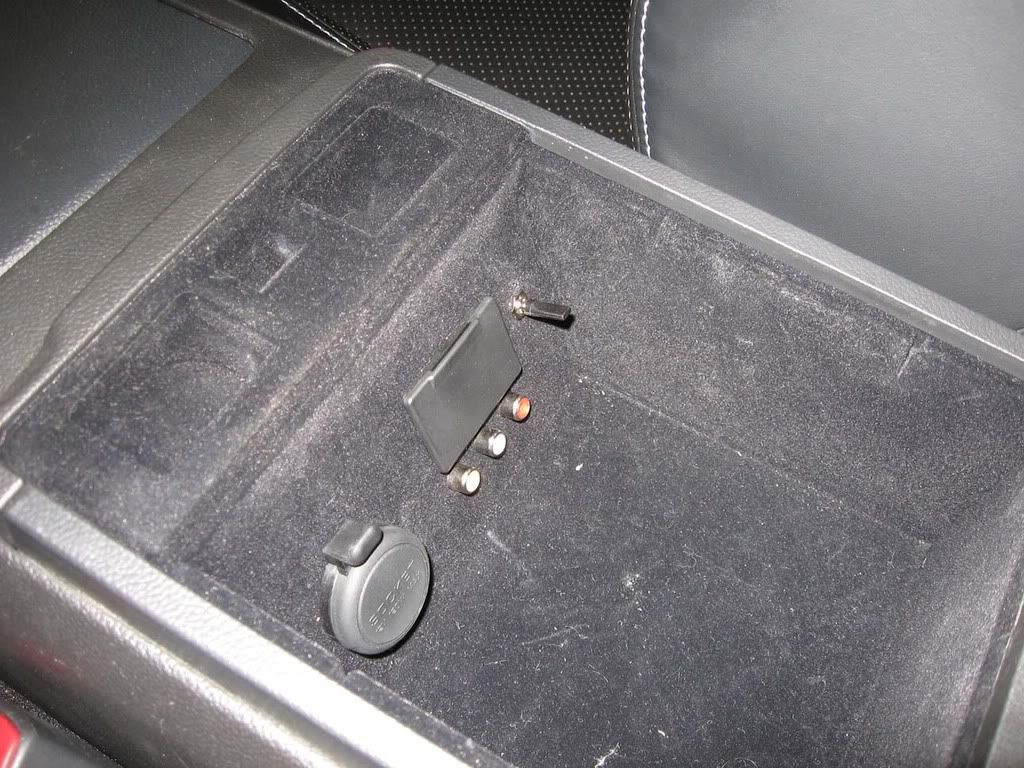
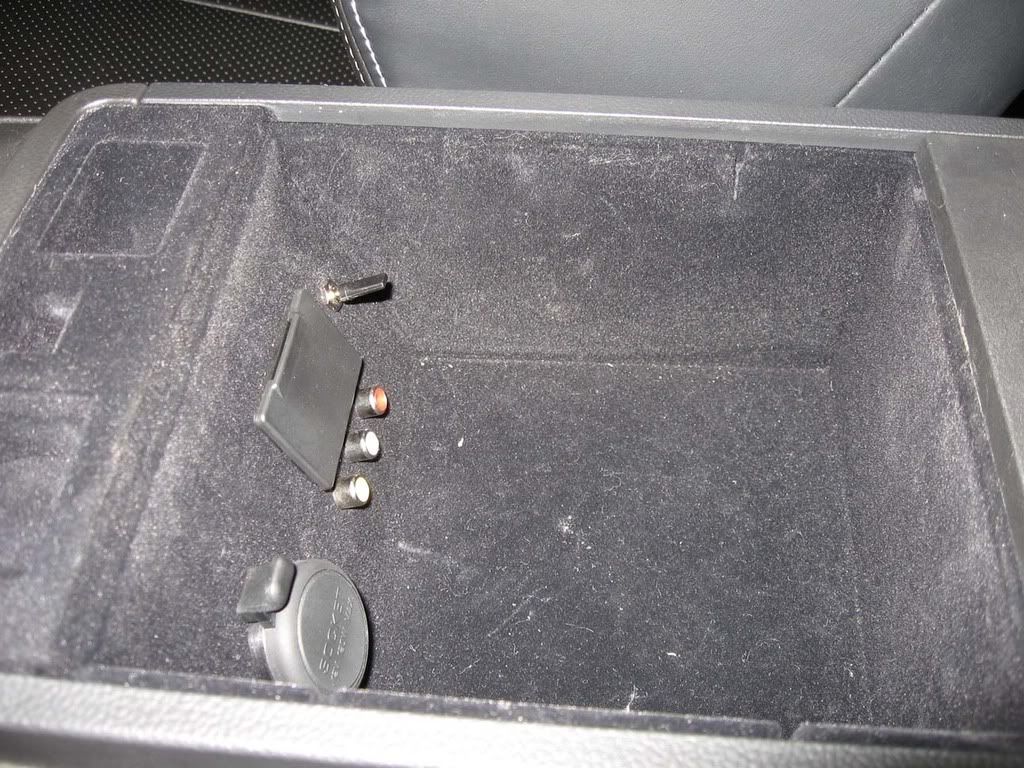
To start I went to Staples and bought a computer serial extension cable and a wireless presentation mouse. I ran the serial extension, power wire and RCA under the rear seat and under the carpet into the center console. The OBD II cable from the M.1 was run under the drivers dash down the drivers side of the center console and made the connection to the serial extension under the armrest/storage compartment. The OBD II connection from the factory is set in a way that the M.1's connector puts the wire facing the driver. I unscrewed the 2 screws holding the OBD II harness and rotated it 180 degrees. Now the cable faces under the dash.
For the power I cut off the M.1's cigarette lighter adapter and used 2 blue Scotchlocks to connect to the stock cigarette lighter wires. That way I can still use the cigarette lighter to charge my phone or anything else.
For the video, since I already had my PS2 wires soldered to the inside of the RCA connection box, it was easy to cut and splice in the new signal. Since I didn't want any feedback going into either the PS2 or the Magden, I put a switch inline so that I could select which to view.
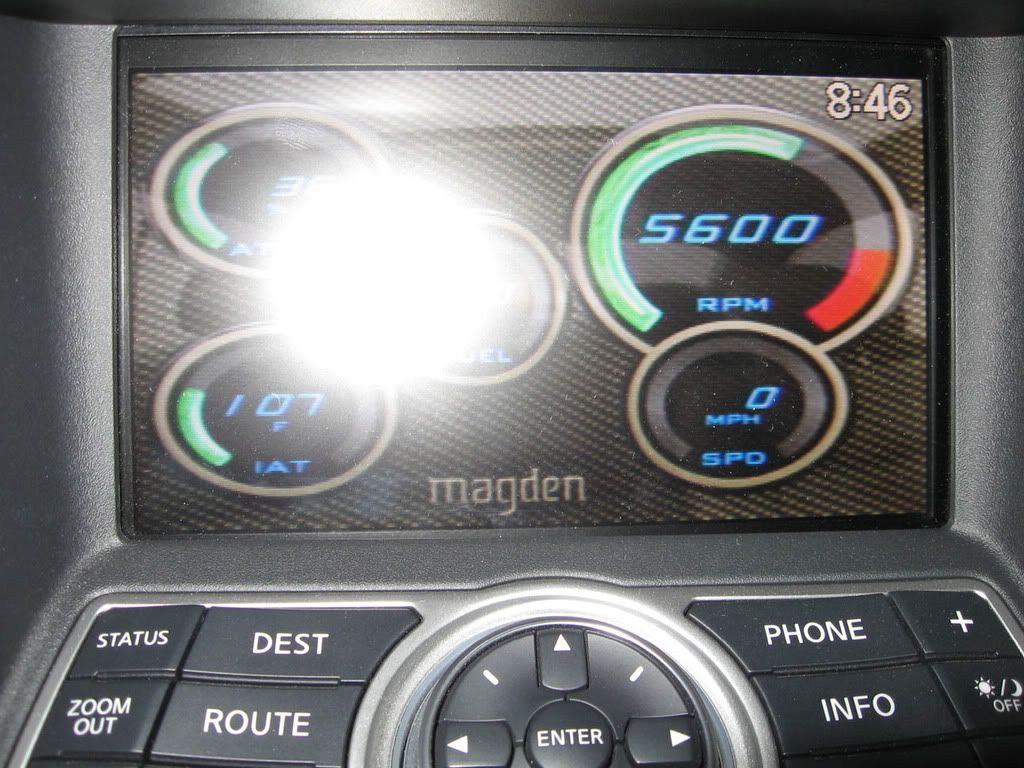
Now we all have see screen shots of the Magden M.1, if you haven't check out there site. It is a great tool to have, and this thing is really cool. I haven't totally set it up yet, but it can tell you all you want to know about how the car is running. Very interesting if you like to know how your car works.
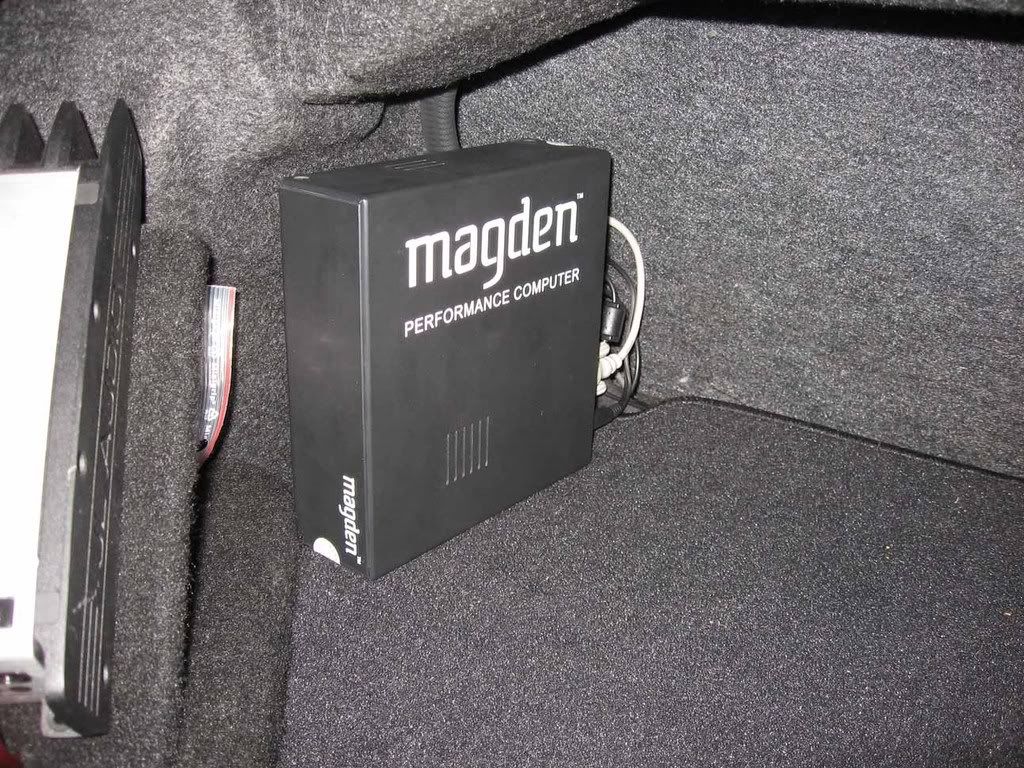
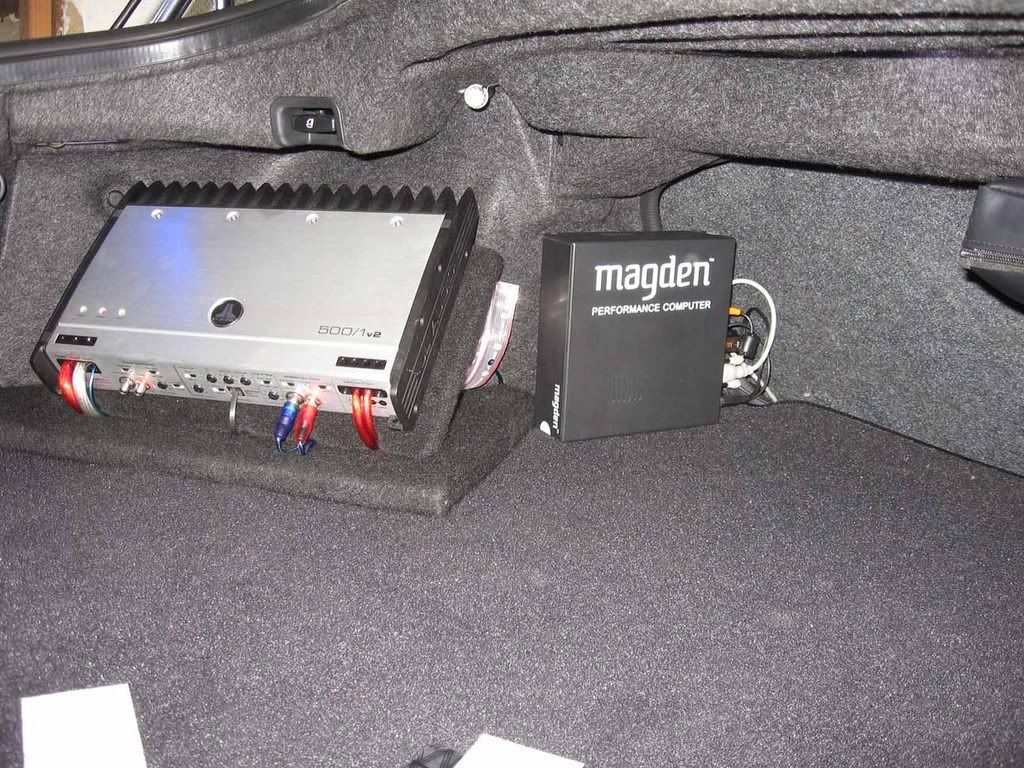
Here is a shot of were the Magden is going to be placed after I rebuild the amp rack.
Here's a shot of the RCA connection box and switch set up.
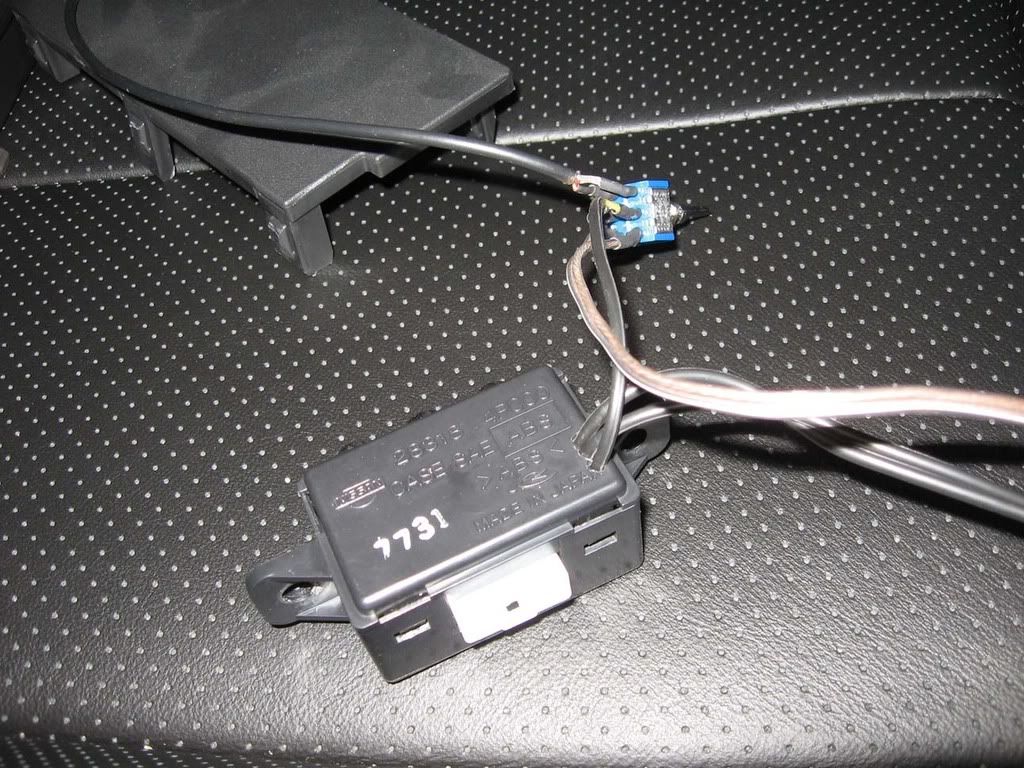
Here some shots of the switch mounted.
Here is a shot of the much needed video bypass.

Here is a shot of the presentation mouse used to control the M.1.

To start I went to Staples and bought a computer serial extension cable and a wireless presentation mouse. I ran the serial extension, power wire and RCA under the rear seat and under the carpet into the center console. The OBD II cable from the M.1 was run under the drivers dash down the drivers side of the center console and made the connection to the serial extension under the armrest/storage compartment. The OBD II connection from the factory is set in a way that the M.1's connector puts the wire facing the driver. I unscrewed the 2 screws holding the OBD II harness and rotated it 180 degrees. Now the cable faces under the dash.
For the power I cut off the M.1's cigarette lighter adapter and used 2 blue Scotchlocks to connect to the stock cigarette lighter wires. That way I can still use the cigarette lighter to charge my phone or anything else.
For the video, since I already had my PS2 wires soldered to the inside of the RCA connection box, it was easy to cut and splice in the new signal. Since I didn't want any feedback going into either the PS2 or the Magden, I put a switch inline so that I could select which to view.
Now we all have see screen shots of the Magden M.1, if you haven't check out there site. It is a great tool to have, and this thing is really cool. I haven't totally set it up yet, but it can tell you all you want to know about how the car is running. Very interesting if you like to know how your car works.
Here is a shot of were the Magden is going to be placed after I rebuild the amp rack.
Here's a shot of the RCA connection box and switch set up.
Here some shots of the switch mounted.
Here is a shot of the much needed video bypass.
Here is a shot of the presentation mouse used to control the M.1.


 09-07-2008, 09:10 PM
#5
Since we can't use the touch screen of the car, you have to use a mouse to control the M.1. You can use a regular mouse or a trackball. And a wireless one is better for obvious reasons. I like the wireless presenter because it looks like a regular remote.
Trending Topics
09-07-2008, 09:36 PM
#8
Registered User

Join Date: Aug 2008
Posts: 17
Likes: 0
Received 0 Likes
on
0 Posts
We are also working on a wireless remote setup, but that solution is a couple of months into the future.
/Magnus F.
Magden Automotive.
09-07-2008, 09:58 PM
#9
We've disassembled several head units from Pioneer, etc, to see if we could tap into their touchscreen, with no luck. We recommend using a hand held trackball such as this when connecting the M.1 to a head unit. However, any USB mouse device will work.
We are also working on a wireless remote setup, but that solution is a couple of months into the future.
/Magnus F.
Magden Automotive.
We are also working on a wireless remote setup, but that solution is a couple of months into the future.
/Magnus F.
Magden Automotive.
09-07-2008, 11:34 PM
#10
Florida G35 Club, Premier Member
iTrader: (3)
Join Date: Oct 2005
Location: Orlando, FL
Posts: 2,508
Likes: 0
Received 0 Likes
on
0 Posts
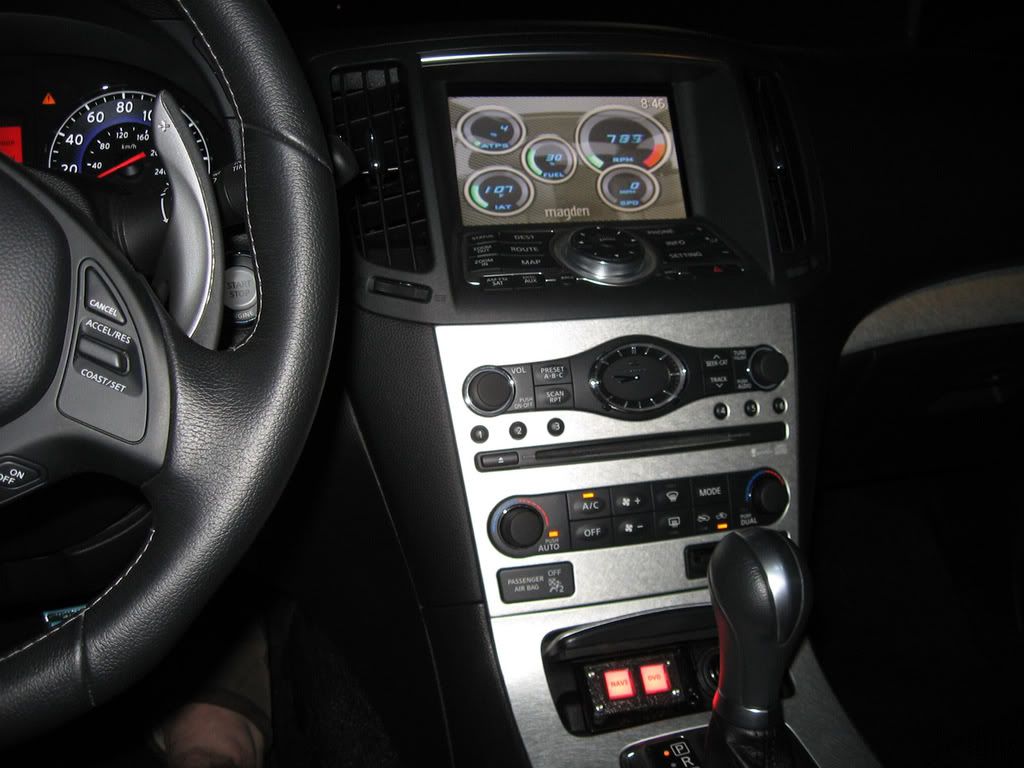
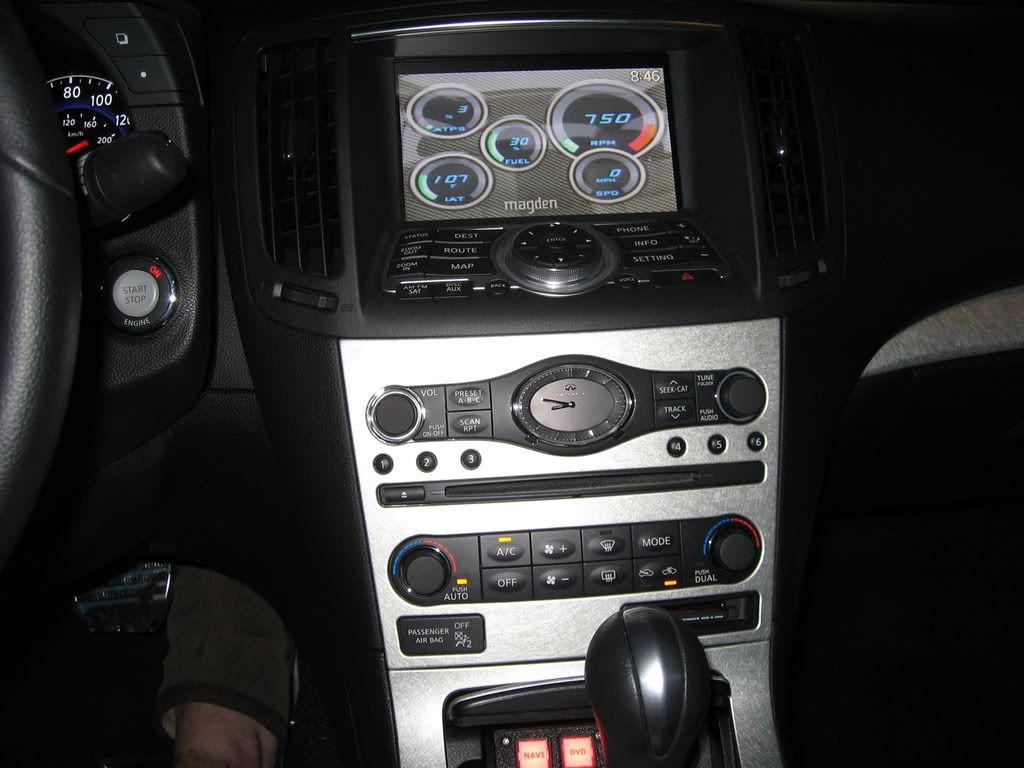
Looks good! Can we see some pics of the nav screen and how it looks on there? I want to see how the gauges and dials look like, and how it fits on the screen.
09-08-2008, 12:05 AM
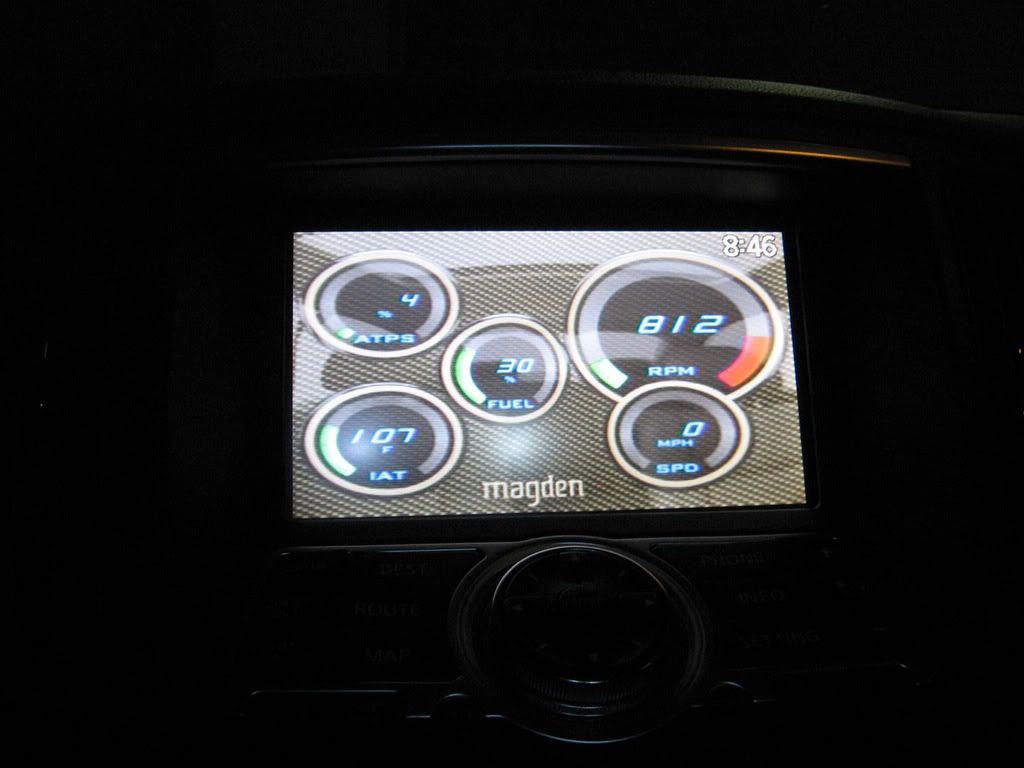
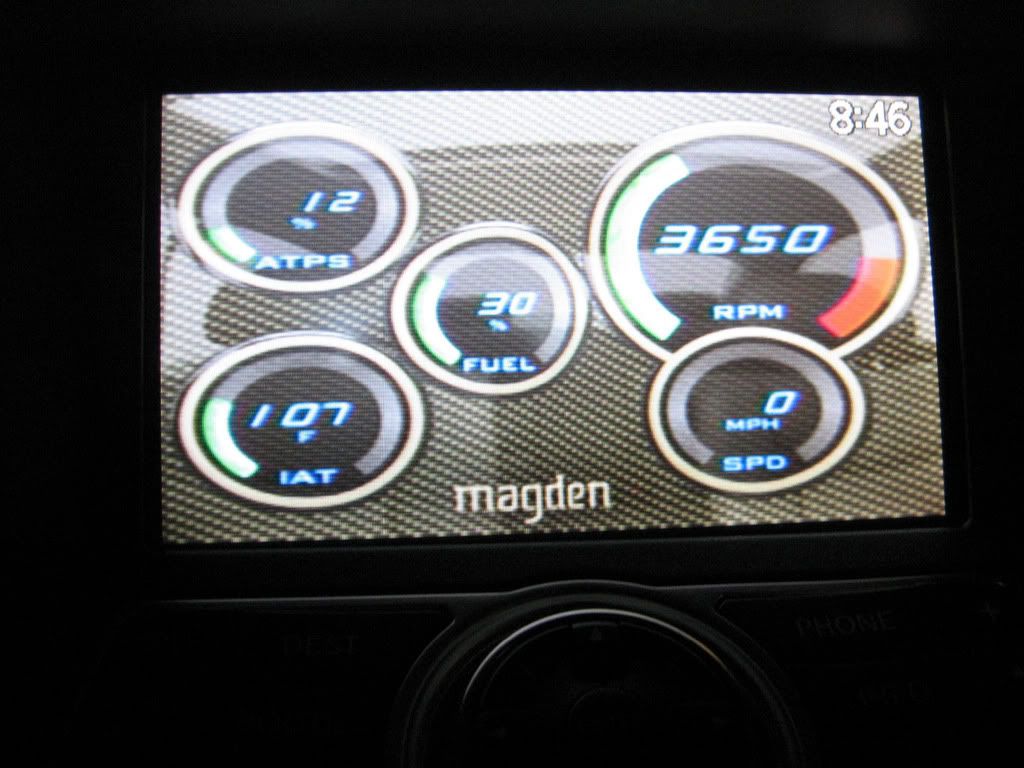
#11
Here are some pics of it working in the car. You can change the style to 3 different styles. You can change the color of the face and the dials. And you can display a LOT of different readings. I have ATPS=Throttle position, IAT=Intake temp., Fuel=Fuel level, RPM=you know, and SPD=Speed. And everything changes instantaneously. Excuse the one with the flash but it shows the rest of the console.