
New Mods?? Show it off >>HERE<<


 12-14-2011, 10:48 PM
#504

So my mod mayem continues... This one I convinced myself I could tint my tail lights after smoking my clear corners with VHT Niteshade Tint. I only intended doing the clear corners, but they turned out well so I sacked up and did the tails.
I bought the spray can of tint at O'Reilly's for $11 and got a high gloss clear coat for $6. Also got 2000 grit wet-sandpaper for prepping the tail lights before spraying, and then will use it again on the clear coat to remove any imperfections. I also used rubbing alcohol on the lights before applying the spray tint.
Here are some pics throughout the process:
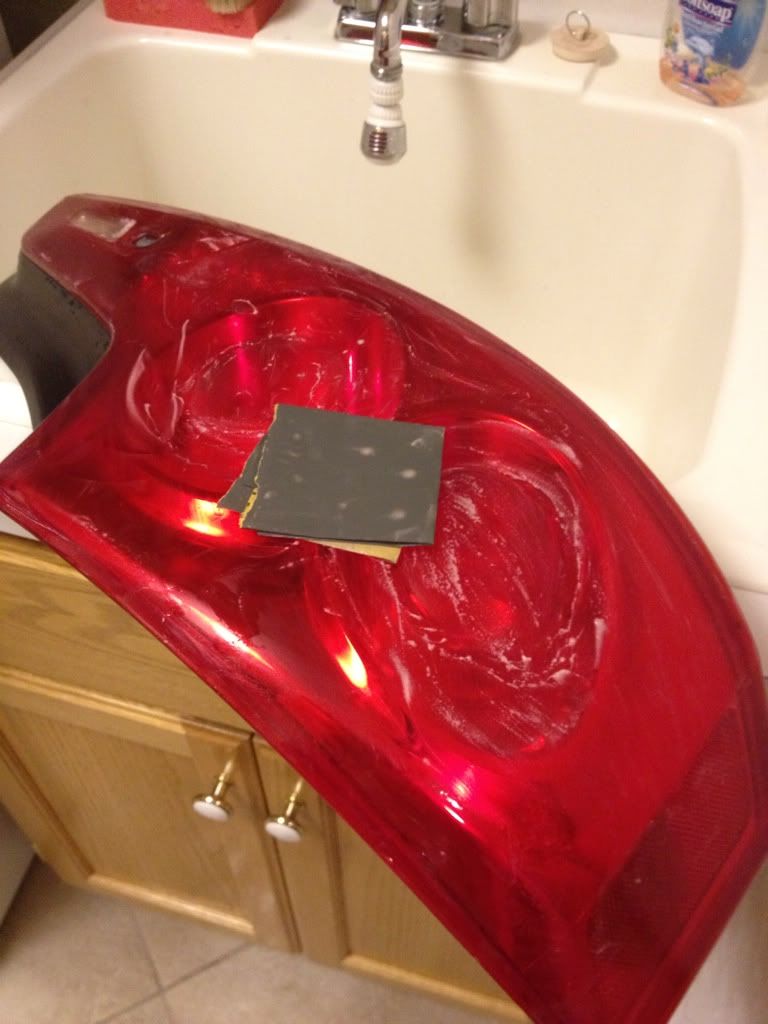
Wetsanding the tail light using 2000 grit sandpaper.
Rinsing off the light and then drying it. After it dried, I used rubbing alcohol to remove any grease or oils from my hands that got on the tail light. Now it was ready for spraying.

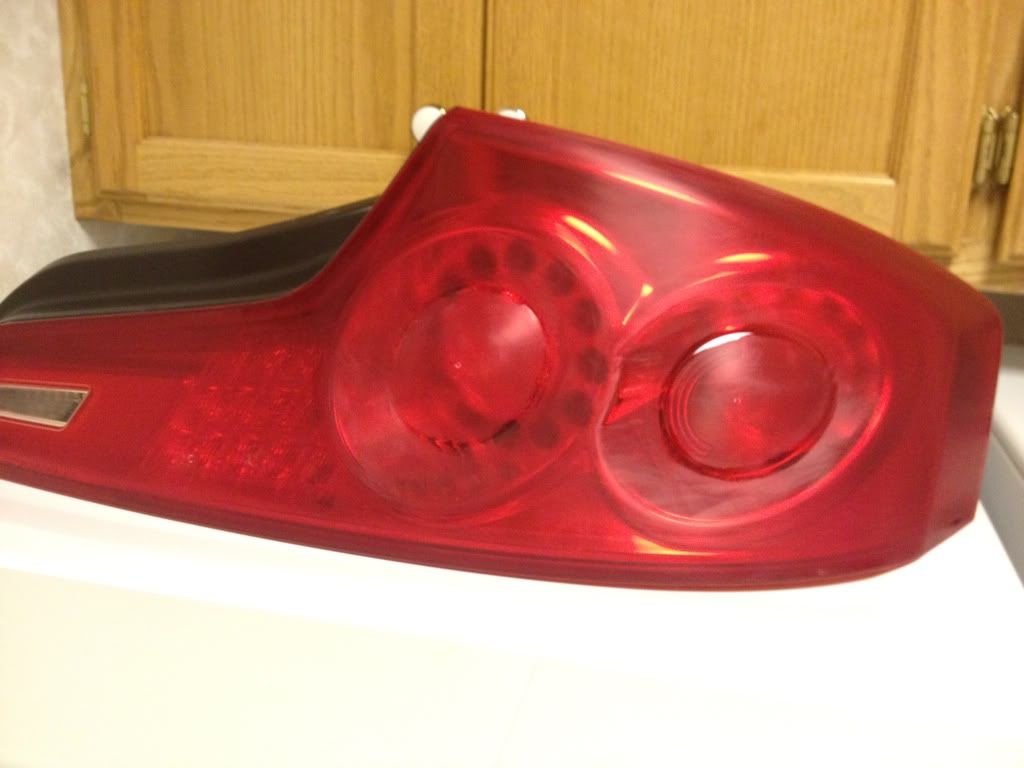
I sprayed a light first layer on the tail light, and then a very light second layer. I let it 'dry' for 5-10 min before applying the second coat.
After applying the two layers of spray tint, I let it dry for another 15 min and then applied the clear coat. I waited 5 min in between clear coats, and applied a total of three coats.
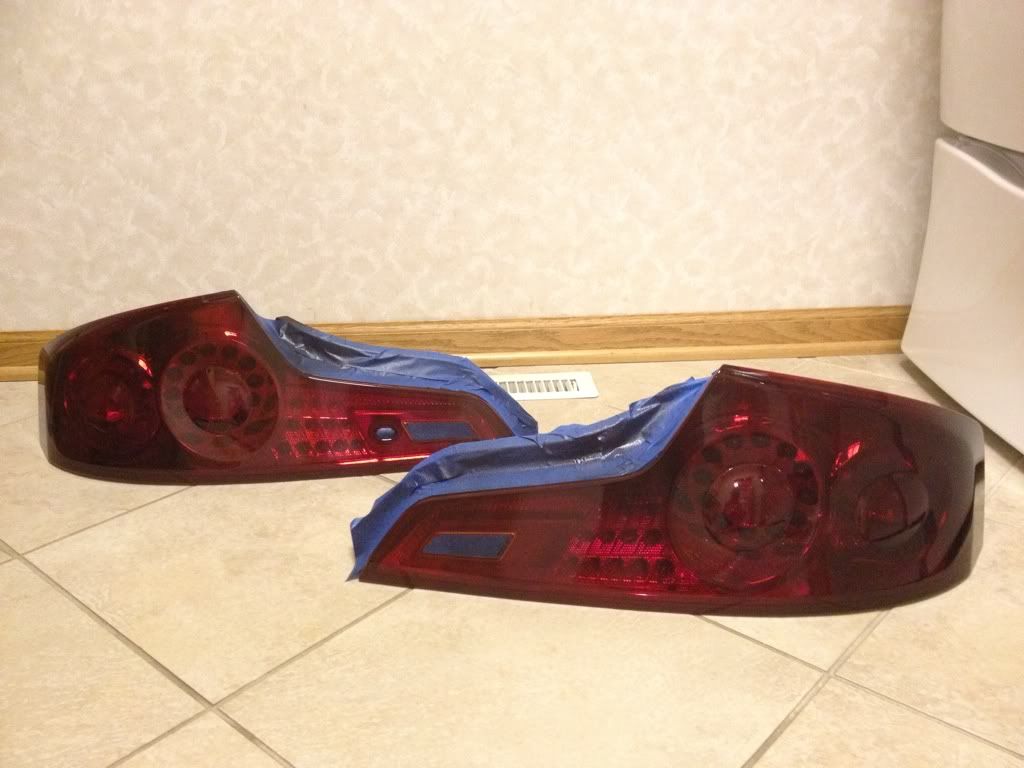
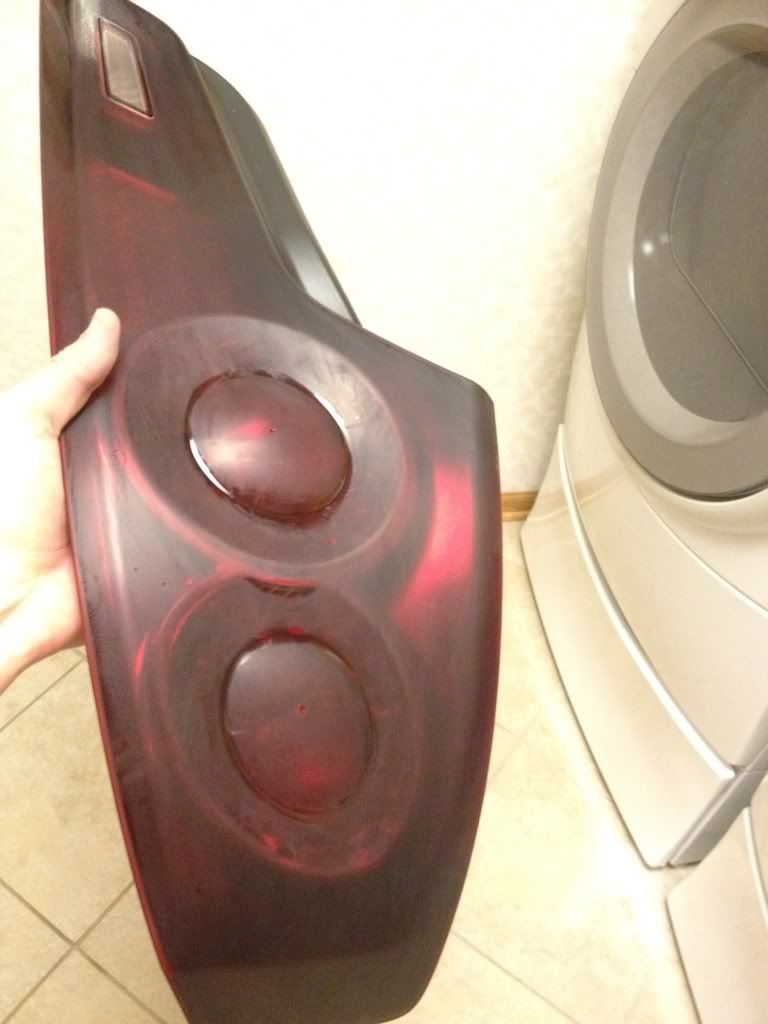
This is about an hour after the last clear coat was applied, I still need to take the 2000 grit sand paper to it and remove some of the imperfections on the tails. I will finish it off with polishing the lights. I am very happy with the result so far, and would suggest testing out the spray tint on something before your trying it on your actual tail lights .
.
I bought the spray can of tint at O'Reilly's for $11 and got a high gloss clear coat for $6. Also got 2000 grit wet-sandpaper for prepping the tail lights before spraying, and then will use it again on the clear coat to remove any imperfections. I also used rubbing alcohol on the lights before applying the spray tint.
Here are some pics throughout the process:
Wetsanding the tail light using 2000 grit sandpaper.
Rinsing off the light and then drying it. After it dried, I used rubbing alcohol to remove any grease or oils from my hands that got on the tail light. Now it was ready for spraying.
I sprayed a light first layer on the tail light, and then a very light second layer. I let it 'dry' for 5-10 min before applying the second coat.
After applying the two layers of spray tint, I let it dry for another 15 min and then applied the clear coat. I waited 5 min in between clear coats, and applied a total of three coats.
This is about an hour after the last clear coat was applied, I still need to take the 2000 grit sand paper to it and remove some of the imperfections on the tails. I will finish it off with polishing the lights. I am very happy with the result so far, and would suggest testing out the spray tint on something before your trying it on your actual tail lights
.
 Should finish off your transformation perfectly! Just make sure to rub the crap out of them w/ buffing compound and alllllll the little scratches will burn right out.

 12-15-2011, 09:18 PM
#510
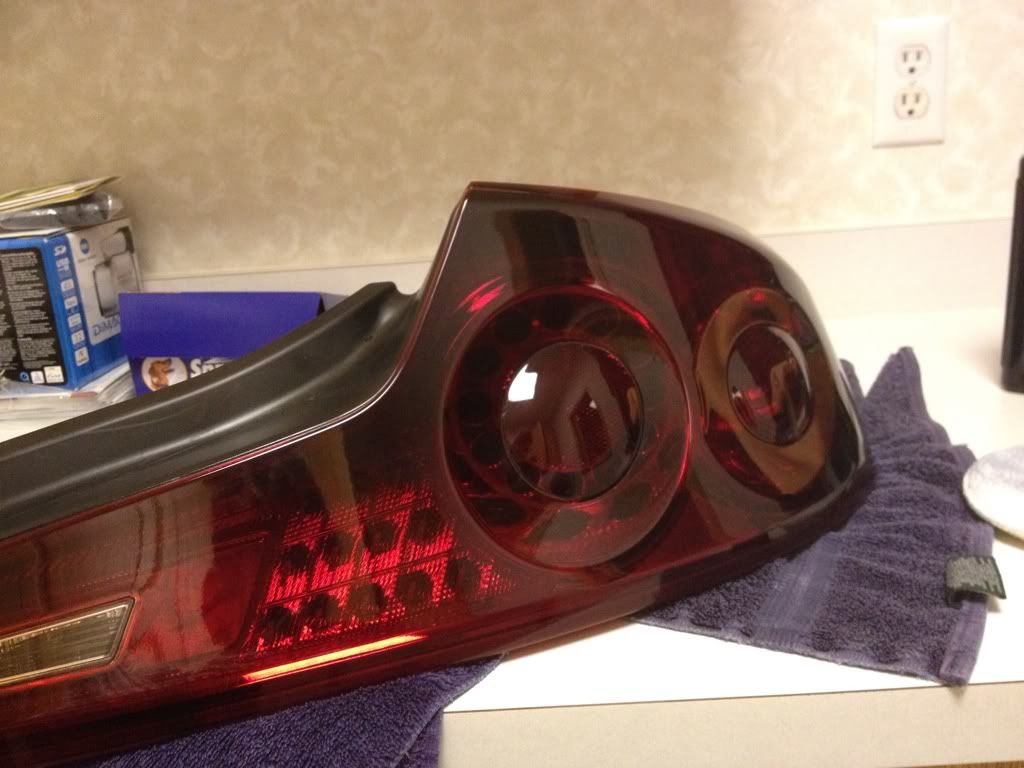
So after letting the tint and clear coat cure for 24 hours, I wet sanded both tail lights with 2000 grit. Rinsed with soap and water, and then dried both. Here is a pic to show how scary the light looked before taking the compound and shinin' it all up 
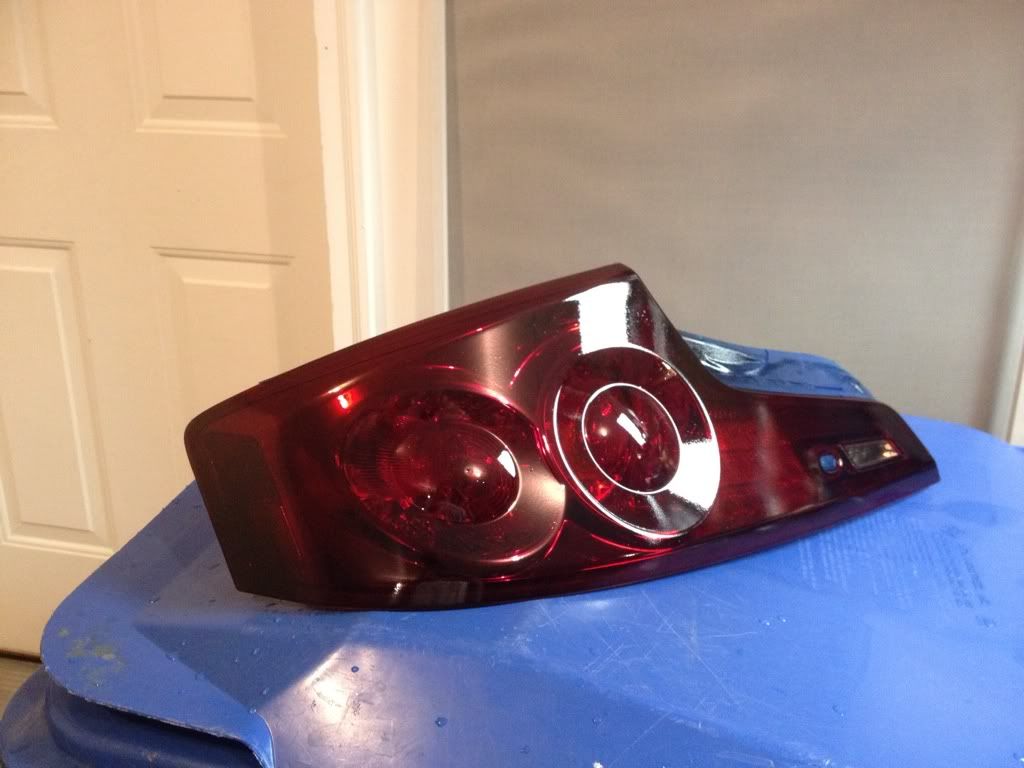
I then proceeded using a compound and rubbing out the light scratches, and I used a polish afterwards (on just a foam applicator) and 'buffed' out the rest of the scratches. There are still some scratches left that need to be removed (but are very difficult to see unless light is shining on the light at the right angle) once I get the buffer out later this winter once my tails are mounted on my car. I am VERY happy with how they turned out, and all it took was doing some research, being patient and making sure the prep work was all done correctly!
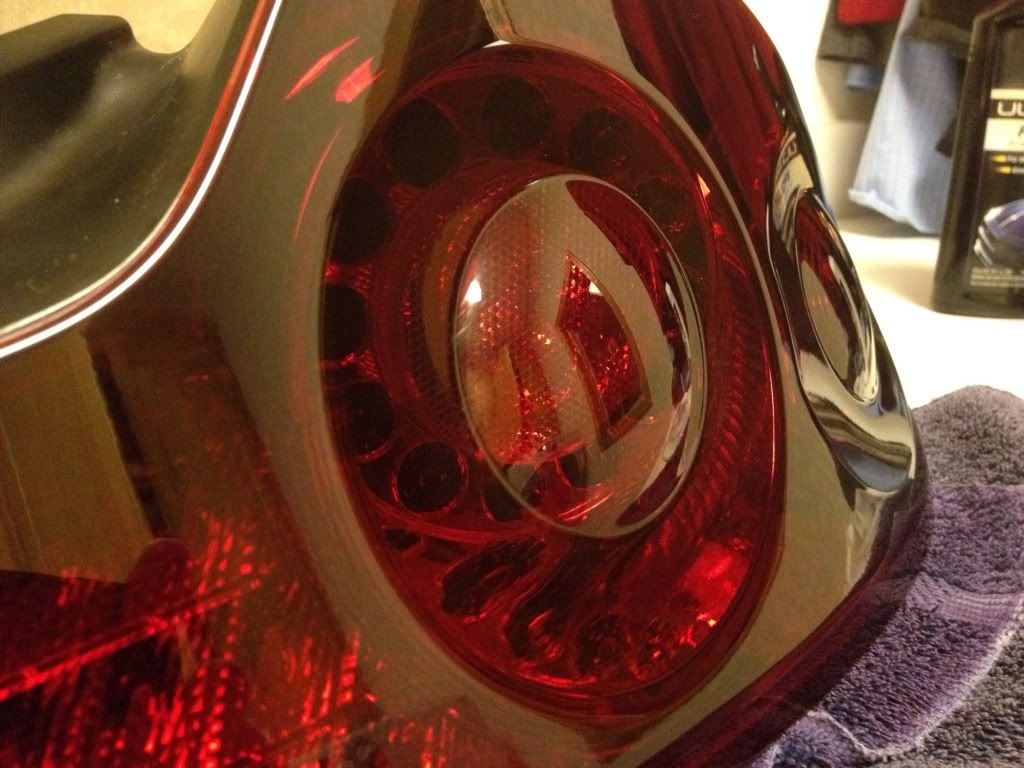
I would be happy to help anyone who wants to do this to their tail lights, because I would HATE for someone to try this for their first time on their stock tails and mess something up that can't be fixed.
I then proceeded using a compound and rubbing out the light scratches, and I used a polish afterwards (on just a foam applicator) and 'buffed' out the rest of the scratches. There are still some scratches left that need to be removed (but are very difficult to see unless light is shining on the light at the right angle) once I get the buffer out later this winter once my tails are mounted on my car. I am VERY happy with how they turned out, and all it took was doing some research, being patient and making sure the prep work was all done correctly!
I would be happy to help anyone who wants to do this to their tail lights, because I would HATE for someone to try this for their first time on their stock tails and mess something up that can't be fixed.